1. Introduction
This manual provides essential information for the safe and effective operation of your Longer RAY5 40W Laser Engraver. Please read this manual thoroughly before operating the device to ensure proper usage, prevent damage, and maximize the lifespan of your engraver. Retain this manual for future reference.

Figure 1: Longer RAY5 40W Laser Engraver with included accessories.
2. Safety Information
WARNING: Laser radiation can cause severe eye injury and skin burns. Always wear appropriate laser safety goggles during operation. Never look directly into the laser beam. Ensure proper ventilation to avoid inhaling fumes from engraved materials.
- Operate the laser engraver in a well-ventilated area.
- Keep children and pets away from the operating area.
- Do not leave the machine unattended during operation.
- Ensure the work surface is fire-resistant.
- Familiarize yourself with the emergency stop procedure.
- Avoid engraving or cutting highly reflective, transparent, or unknown materials without proper precautions.
3. Package Contents
Verify that all components are present and undamaged upon unpacking.
- Longer RAY5 40W Laser Engraver Unit
- Air Assist Kit
- 3-in-1 Rotary Roller Attachment (including Roller Rotary, Chuck Rotary, Sphere-Engraving Module, Ring-Engraving Stud)
- 16 Pcs Raiser (Leg Extensions)
- Power Adapter and Cables
- USB Drive (containing software, drivers, and detailed instructions)
- Safety Goggles
- Basic Tool Kit for Assembly

Figure 2: Various components of the 3-in-1 Rotary Roller Attachment for cylindrical engraving.
4. Setup
4.1 Assembly
- Unpack Components: Carefully remove all parts from the packaging.
- Frame Assembly: Assemble the main frame of the engraver according to the detailed instructions provided on the included USB drive. Ensure all screws are tightened securely.
- Laser Module Installation: Mount the 40W laser module onto the gantry. Connect the necessary cables.
- Air Assist Kit Installation: Attach the air assist nozzle to the laser module and connect the air pump (if included or purchased separately) to the designated interface.
- Raiser Installation (Optional): If engraving taller objects or using the rotary attachment, install the 16 Pcs Raiser extensions to elevate the engraver.
- Rotary Roller Attachment (Optional): For cylindrical objects, refer to Section 6 for installation and usage.
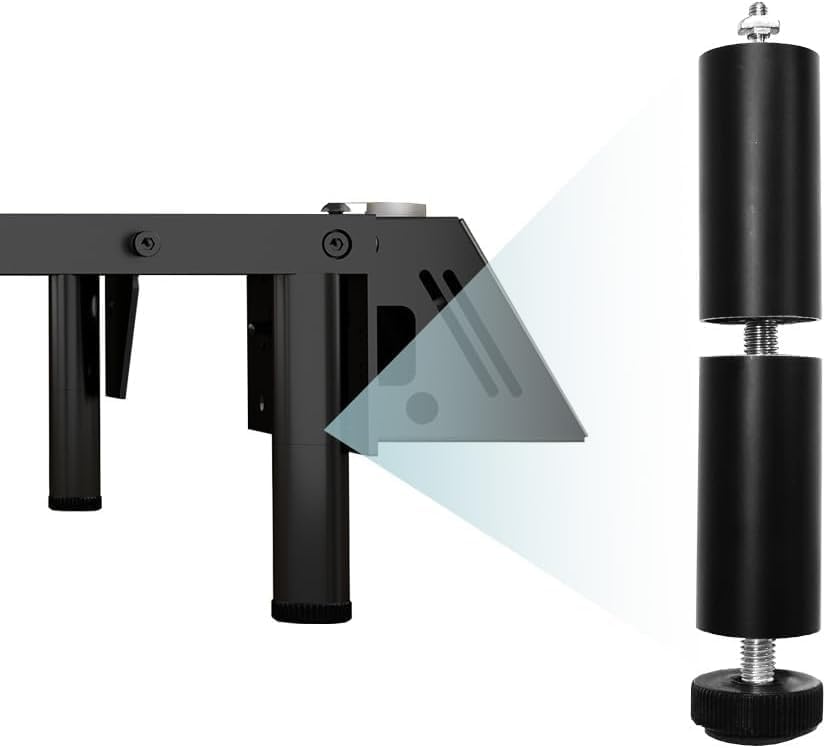
Figure 3: Raiser legs for increasing the working height of the engraver.
4.2 Software Installation
The included USB drive contains drivers and recommended software such as LightBurn and LaserGRBL. Install these programs on your computer (Windows 7+, macOS, or Linux compatible).
- Insert the USB drive into your computer.
- Follow the on-screen instructions to install the necessary drivers for the RAY5 40W.
- Install LightBurn (paid software, trial available) or LaserGRBL (free). Detailed setup guides for integrating the engraver with these software packages are on the USB drive.

Figure 4: The Longer RAY5 40W supports various connection methods and is compatible with popular laser software.
5. Operating Instructions
5.1 Basic Engraving/Cutting
- Prepare Material: Place the material to be engraved or cut on the work surface. Ensure it is flat and secured.
- Focus the Laser: Adjust the laser module height to achieve optimal focus. Use the provided focusing tool or follow software instructions.
- Design in Software: Create or import your design in LightBurn or LaserGRBL.
- Set Parameters: Adjust laser power, speed, and passes based on the material type and desired effect. Refer to material test guides for optimal settings.
- Preview and Position: Use the software's preview function to ensure the design is correctly positioned on your material.
- Start Operation: Ensure safety goggles are worn. Initiate the engraving/cutting process from the software or the engraver's touchscreen.

Figure 5: The Longer RAY5 40W can engrave and cut a wide variety of materials.
5.2 Multi-Color Engraving
The RAY5 40W features a 256-bit color scale for detailed, multi-color engraving. This is achieved by varying laser power and speed to create different shades and depths on compatible materials. Experiment with settings to achieve desired color effects.
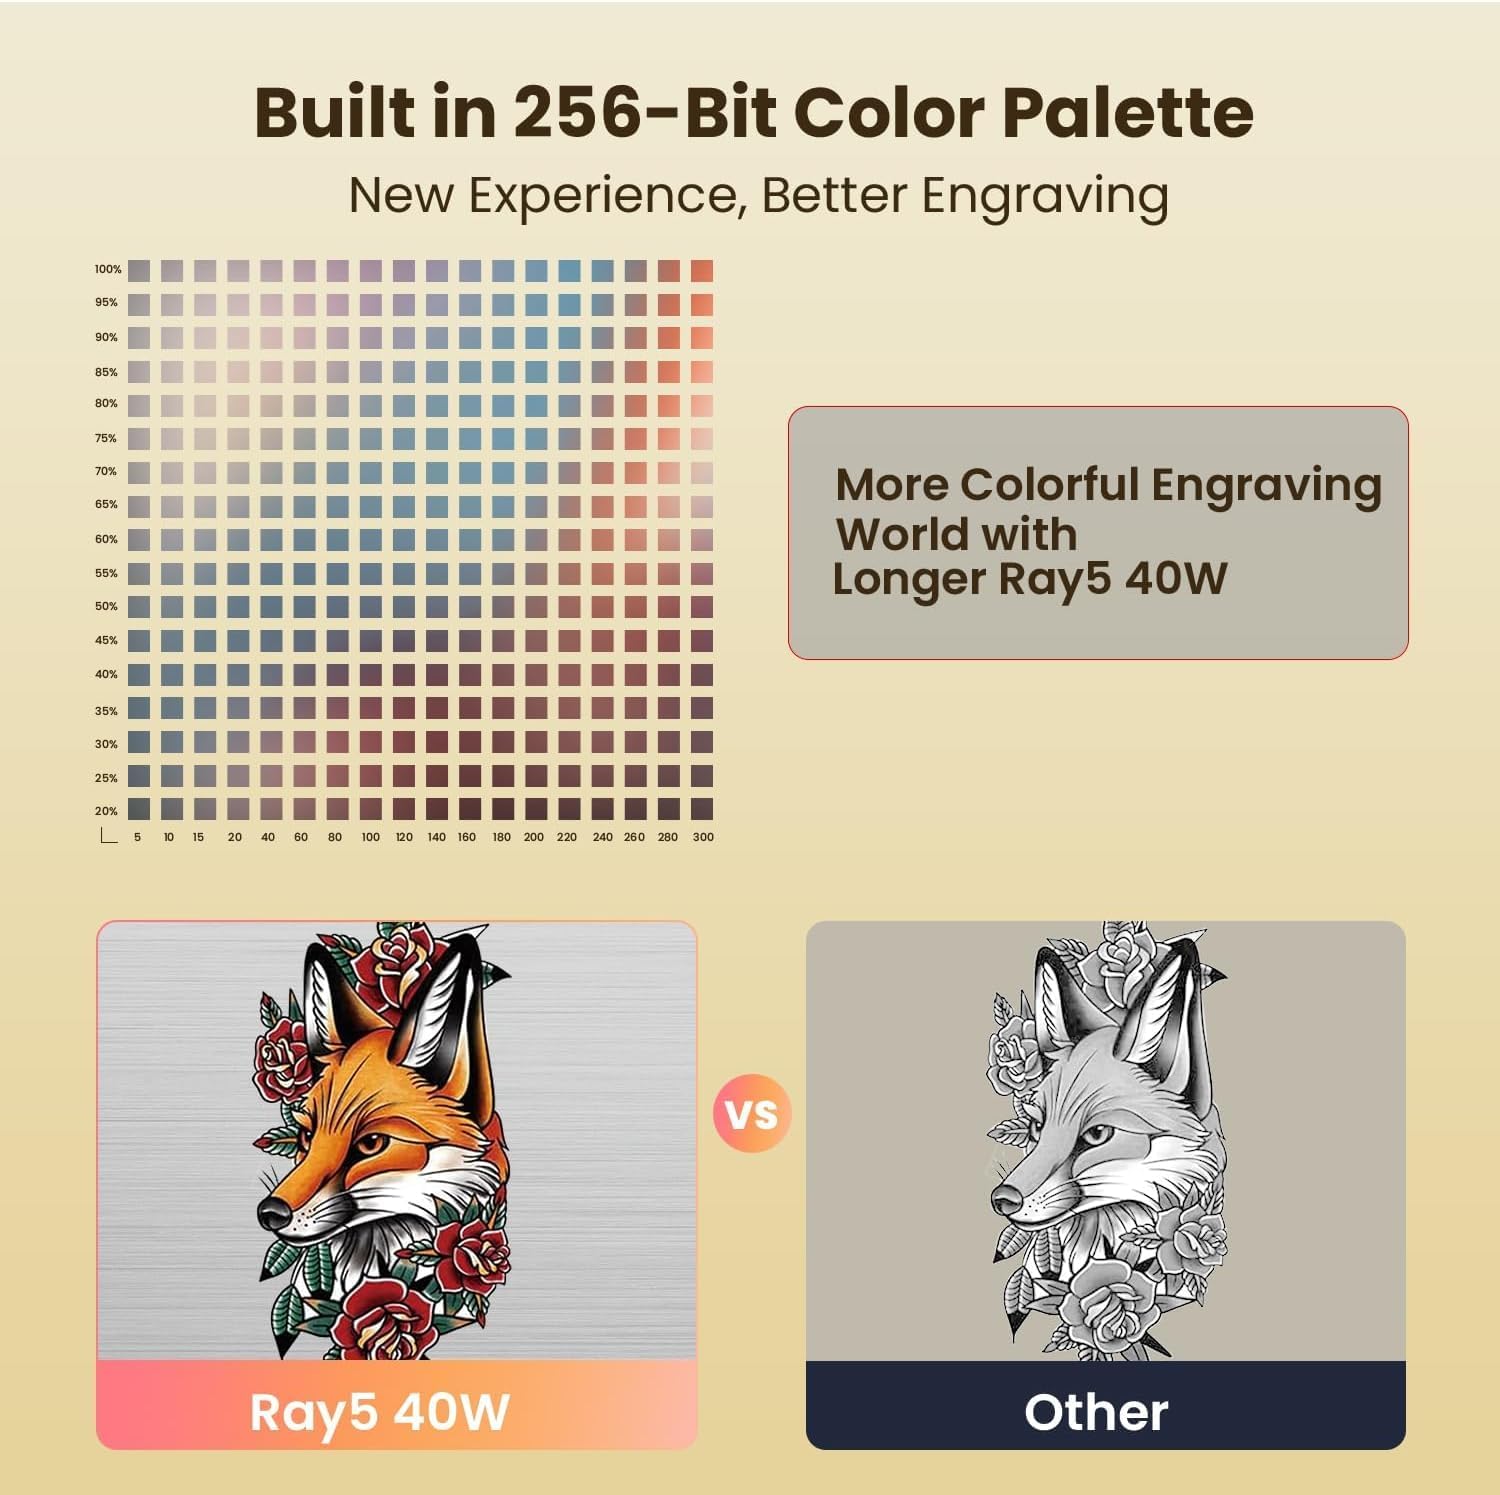
Figure 6: The 256-bit color palette allows for more detailed and vibrant engravings.
6. Rotary Attachment Usage
The 3-in-1 Laser Rotary Attachment is designed for engraving cylindrical objects such as tumblers, bottles, and rings.
6.1 Installation
- Ensure the main engraver unit is powered off.
- Place the rotary attachment on the work surface, ensuring it is stable.
- Connect the rotary attachment to the designated port on the engraver.
- Adjust the engraver's height using the raisers if necessary to accommodate the rotary attachment and the object.
6.2 Operating the Rotary Attachment
- Select Jaws: Choose the appropriate jaws (Roller Rotary, Chuck Rotary, Sphere-Engraving Module, or Ring-Engraving Stud) for your cylindrical object.
- Secure Object: Carefully secure the object in the rotary attachment. Ensure it is centered and stable. The jaws can be rotated 180° for adjustment.
- Software Configuration: In your engraving software (e.g., LightBurn), enable the rotary axis and input the correct parameters for your object's diameter and the rotary attachment.
- Focus and Preview: Focus the laser on the surface of the cylindrical object. Use the preview function to verify the engraving path.
- Start Engraving: With safety goggles on, begin the engraving process.

Figure 7: Dimensions of the rotary attachment jaws for various cylindrical objects.

Figure 8: Jaws of the rotary attachment can be rotated 180 degrees for versatile object handling.
7. Air Assist System
The integrated air assist system helps to remove smoke and debris from the laser's focal point during cutting and engraving. This results in cleaner cuts, reduced charring, and improved engraving quality.
- The air assist can be automatically controlled via LightBurn, allowing for strong airflow during cutting and weaker airflow during engraving.
- Ensure the air assist nozzle is properly aligned with the laser beam.
- Regularly check and clean the air assist nozzle to prevent blockages.

Figure 9: Automatic controlled air assist improves cutting and engraving results.
8. Maintenance
- Clean Laser Lens: Regularly clean the laser lens with a soft, lint-free cloth and lens cleaning solution to maintain optimal laser performance.
- Clean Gantry and Rails: Keep the gantry and linear rails free from dust and debris to ensure smooth movement.
- Check Belts: Inspect the drive belts for tension and wear. Adjust or replace as needed.
- Firmware Updates: Periodically check the Longer official website for firmware updates to ensure your engraver has the latest features and bug fixes.
9. Troubleshooting
| Problem | Possible Cause | Solution |
|---|---|---|
| Laser not firing or weak output | Incorrect focus, dirty lens, low power setting, loose cable. | Adjust focus, clean lens, increase power setting, check connections. |
| Engraving/Cutting is inaccurate or distorted | Loose belts, unstable material, incorrect software settings. | Check and tighten belts, secure material, verify software parameters. |
| Machine not connecting to computer | Driver issues, incorrect port selection, faulty USB cable. | Reinstall drivers, select correct COM port, try a different USB cable. |
| Air assist not working | Blocked nozzle, disconnected hose, faulty pump. | Clean nozzle, check hose connections, test air pump. |
10. Specifications
- Model: Longer RAY5 40W
- Optical Output Power: 40W
- Laser Spot Size: 0.08 * 0.1mm (ultra-fine)
- Engraving Speed: Up to 24000 mm/min
- Motherboard: Upgraded 32-bit chipset (240MHz ESP32 Chip Processor)
- Color Scale: 256-bit
- Connectivity: WiFi, USB, App, TF card
- Compatibility: LaserGRBL, LightBurn, Laserbox Basic
- Operating Systems: Windows 7+, macOS, Linux
- Product Dimensions: 26.4 x 26 x 3.15 inches
- Cutting Capacity (Pine Wood): 0.59" (15mm) in single pass, up to 25mm with multiple passes
- Cutting Capacity (Acrylic): 0.31" (8mm) in single pass, up to 35mm with multiple passes
- Cutting Capacity (Stainless Steel): 0.002" (0.05mm)
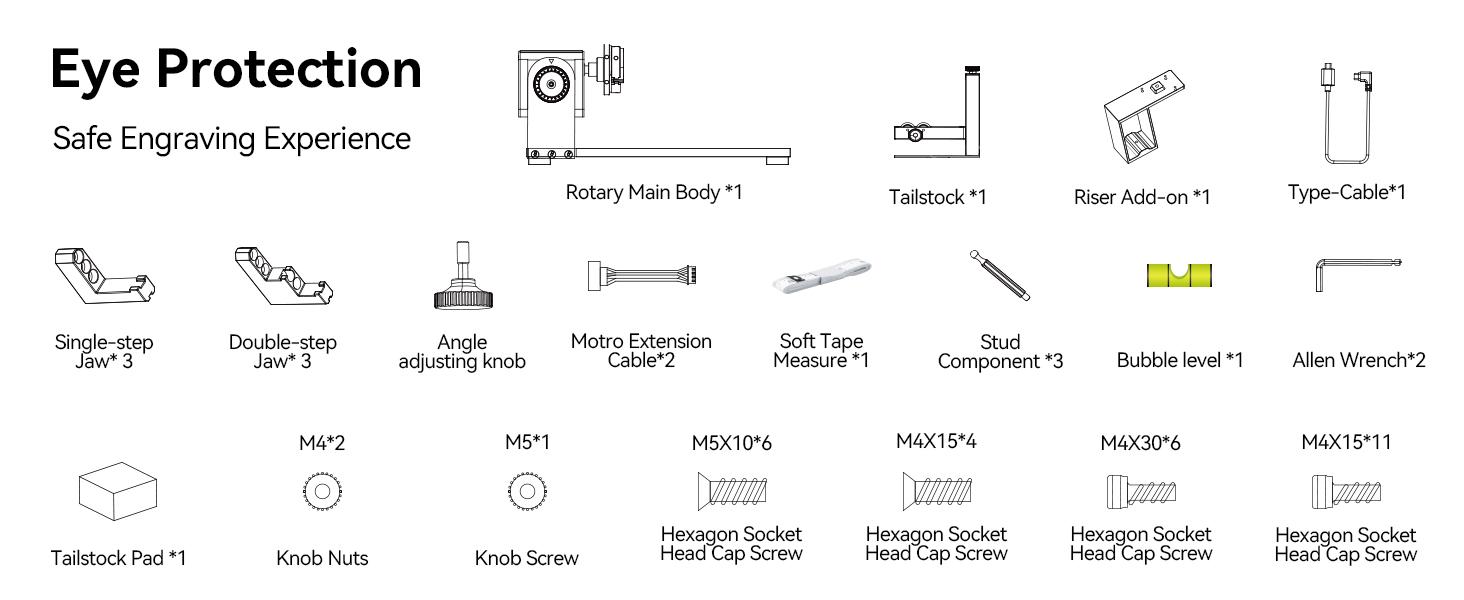
Figure 10: The Longer RAY5 40W offers strong cutting capabilities across various materials.
11. Warranty and Support
For warranty information, technical support, or service inquiries, please refer to the official Longer website or contact Longer customer service directly. The company provides multi-channel support including email, live chat, phone, and a Facebook group.

Figure 11: Longer offers comprehensive multi-channel customer support.