
1. Introduction
Thank you for choosing the AudioSource AT3345BT Vinyl Record Player. This all-in-one turntable system is designed to provide a high-fidelity audio experience with its integrated 2.1 channel speaker system, Bluetooth 5.4 connectivity, and patented speaker isolation technology. This manual provides essential information for setting up, operating, and maintaining your record player to ensure optimal performance and longevity.
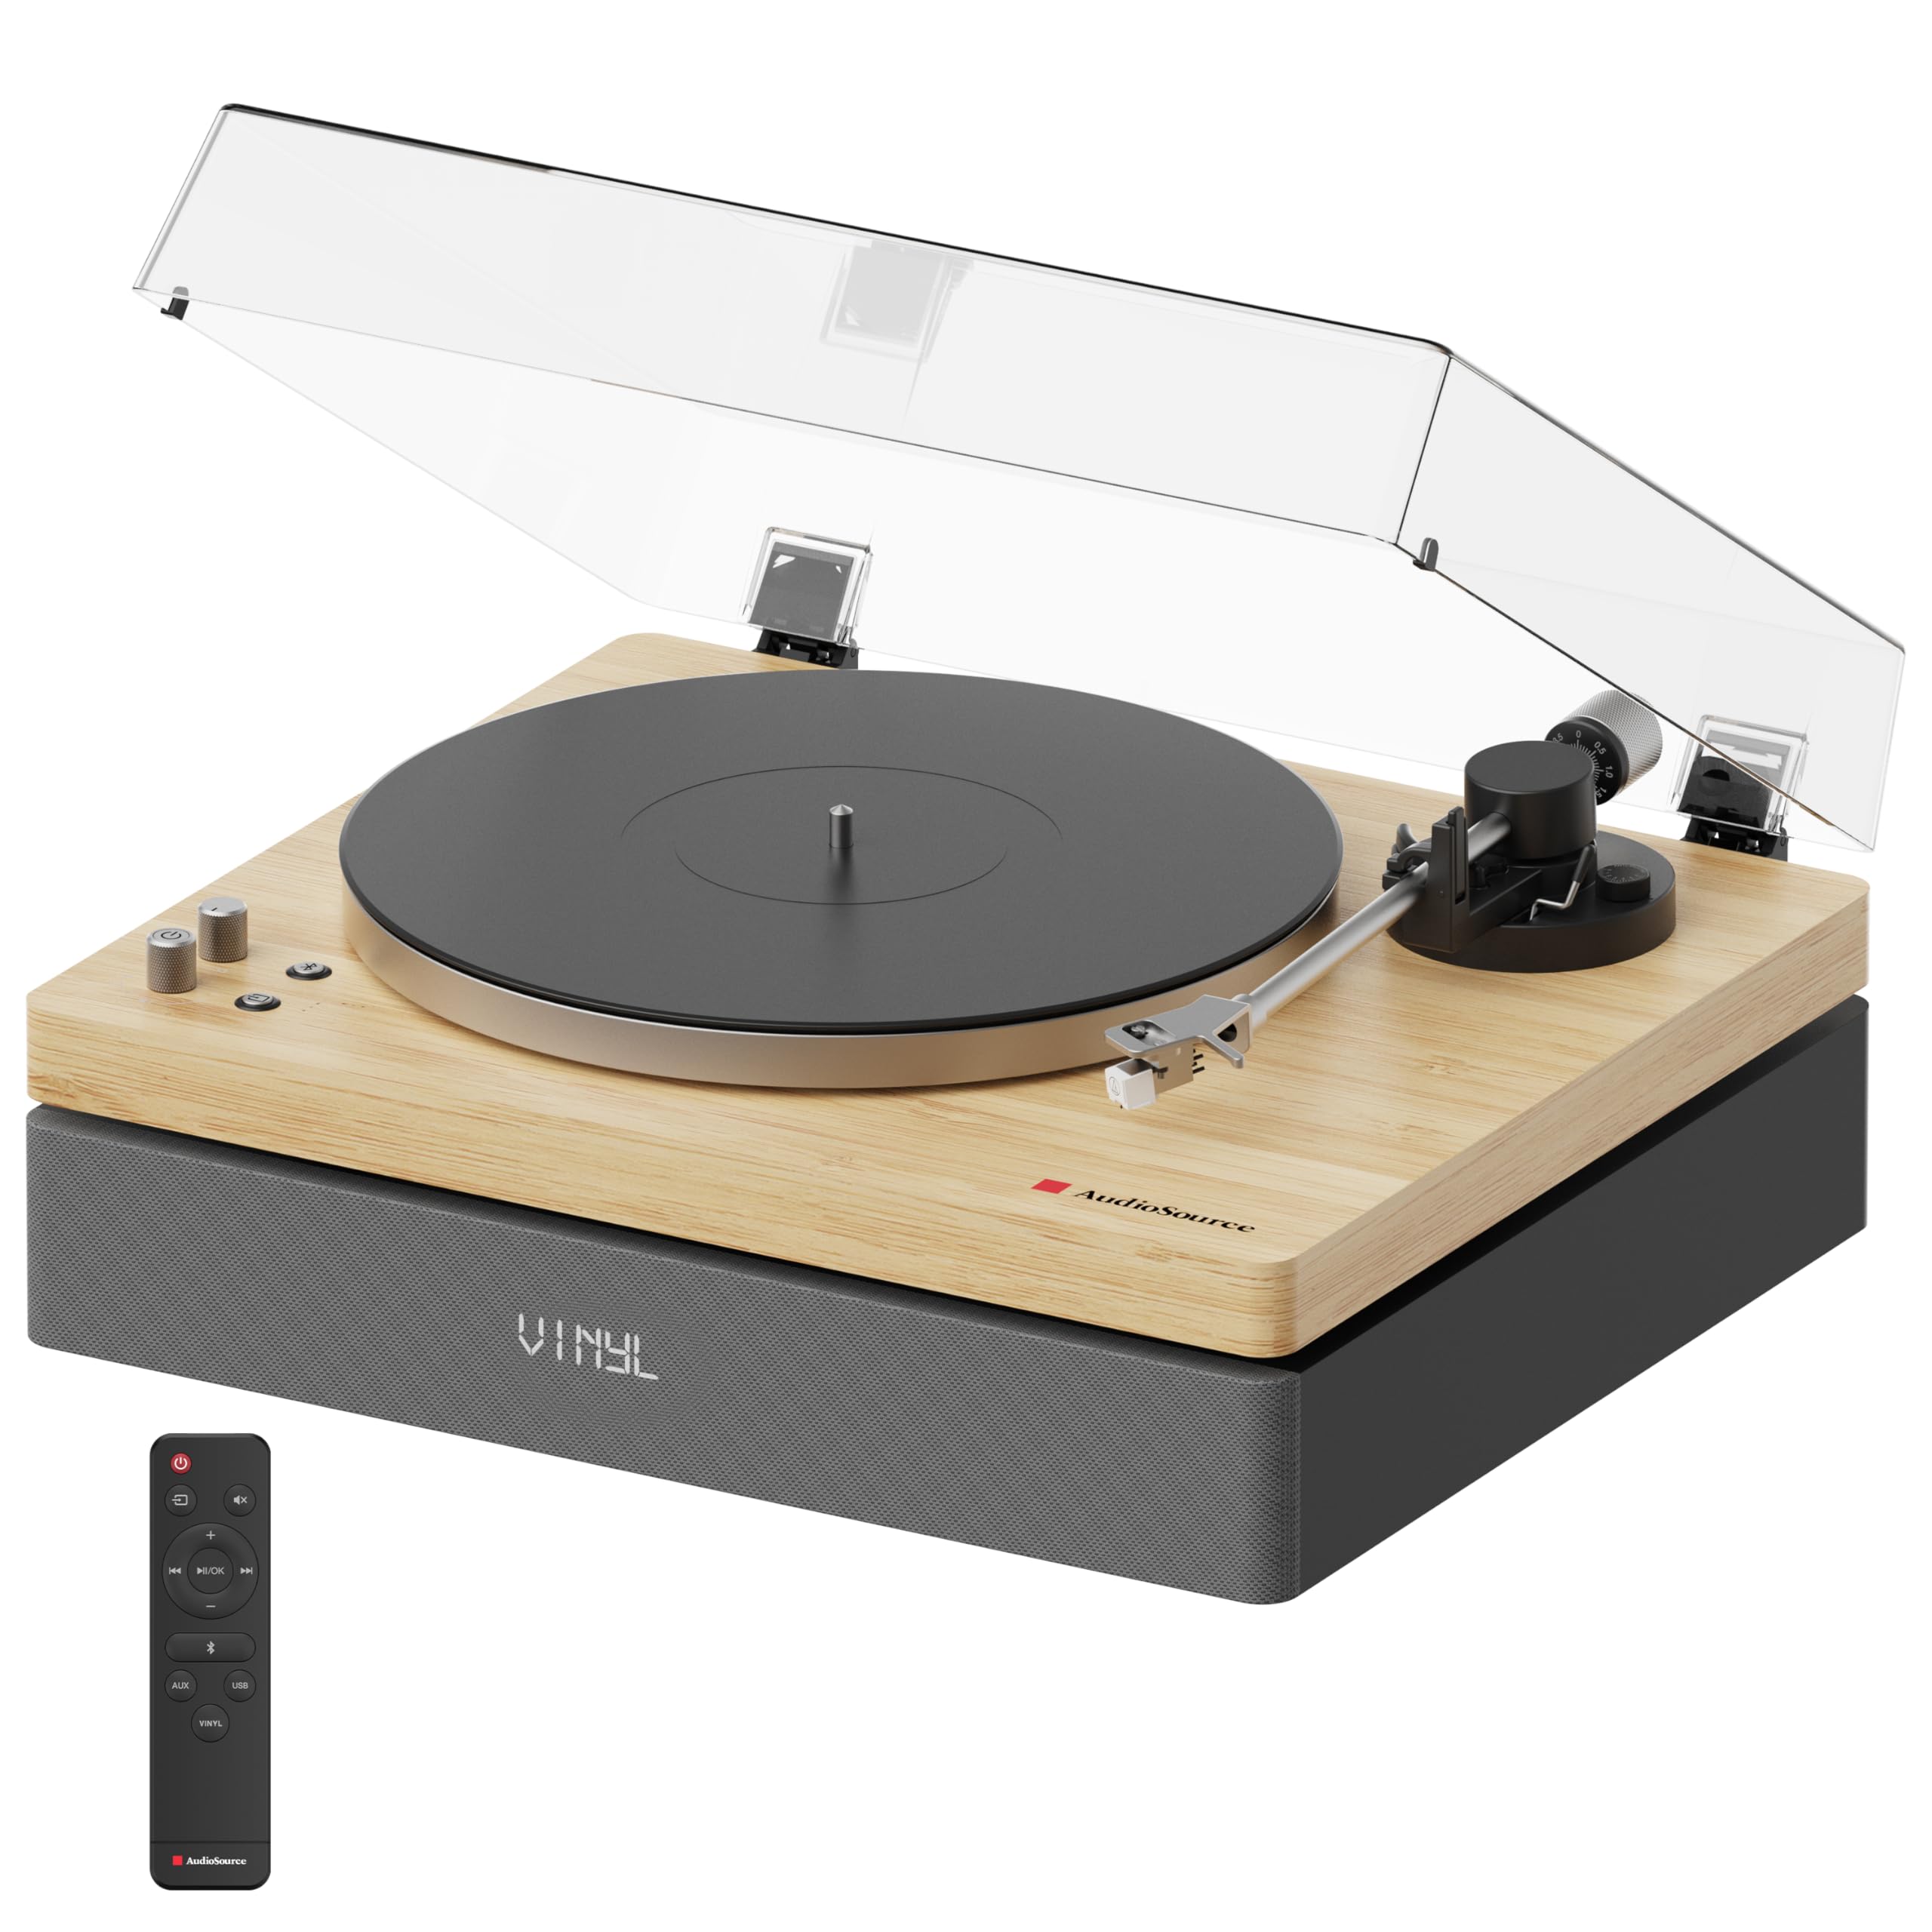
Image: The AudioSource AT3345BT Vinyl Record Player in Natural finish, showcasing its elegant design and integrated speaker base.
2. Important Safety Instructions
- Read all instructions before operating the unit.
- Keep this manual for future reference.
- Do not use this apparatus near water.
- Clean only with a dry cloth.
- Do not block any ventilation openings. Install in accordance with the manufacturer's instructions.
- Do not install near any heat sources such as radiators, heat registers, stoves, or other apparatus (including amplifiers) that produce heat.
- Protect the power cord from being walked on or pinched.
- Only use attachments/accessories specified by the manufacturer.
- Unplug this apparatus during lightning storms or when unused for long periods of time.
- Refer all servicing to qualified service personnel.
3. What's Included
Please check that all items listed below are included in your package:
- Turntable Body & Dust Cover
- 45 RPM Adapter
- Remote Control
- Turntable Platter & Slip Mat
- Counter Weight
- Power Cord
- 3.5mm Mini Cable
- User Manual
- Quick-start Guide
- AAA batteries x2
- Warranty Card

Image: Visual representation of the turntable's dimensions and a list of included accessories.
4. Setup
4.1 Placement
Place the turntable on a stable, level surface away from direct sunlight, heat sources, and excessive dust. The patented speaker isolation design minimizes vibration, but proper placement further enhances sound quality. Ensure adequate space around the unit for ventilation.
4.2 Assembly
- Install the Platter and Belt: Carefully place the platter onto the spindle. Locate the drive belt and stretch it around the motor pulley and the inner rim of the platter.
- Attach the Slip Mat: Place the felt slip mat on top of the platter.
- Install the Counterweight: Slide the counterweight onto the rear of the tonearm. Rotate it until the tonearm is balanced horizontally.
- Set Tracking Force: Consult the quick-start guide or stylus manufacturer's recommendations for the correct tracking force. Adjust the counterweight accordingly.
- Set Anti-Skate: Adjust the anti-skate dial to match the tracking force setting. This prevents the stylus from skipping across the record.
- Install the Dust Cover: Insert the hinges of the dust cover into the slots at the rear of the turntable body.

Image: Close-up view of the turntable platter with a record and slip mat, ready for playback.

Image: Diagram illustrating the patented speaker isolation design, showing how the turntable mechanism is decoupled from the speaker housing to reduce vibration.
4.3 Connections
- Power Connection: Connect the power cord to the AC IN port on the rear of the turntable and then to a wall outlet.
- Auxiliary Input (Optional): To connect an external audio device (e.g., CD player, TV) via a 3.5mm mini cable, use the AUX IN port.
- USB Playback (Optional): Insert a USB flash drive into the USB port for playing digital music files.
- External Speakers (Optional): To connect to powered external speakers or an existing stereo system, use the AUX Out RCA Jacks.
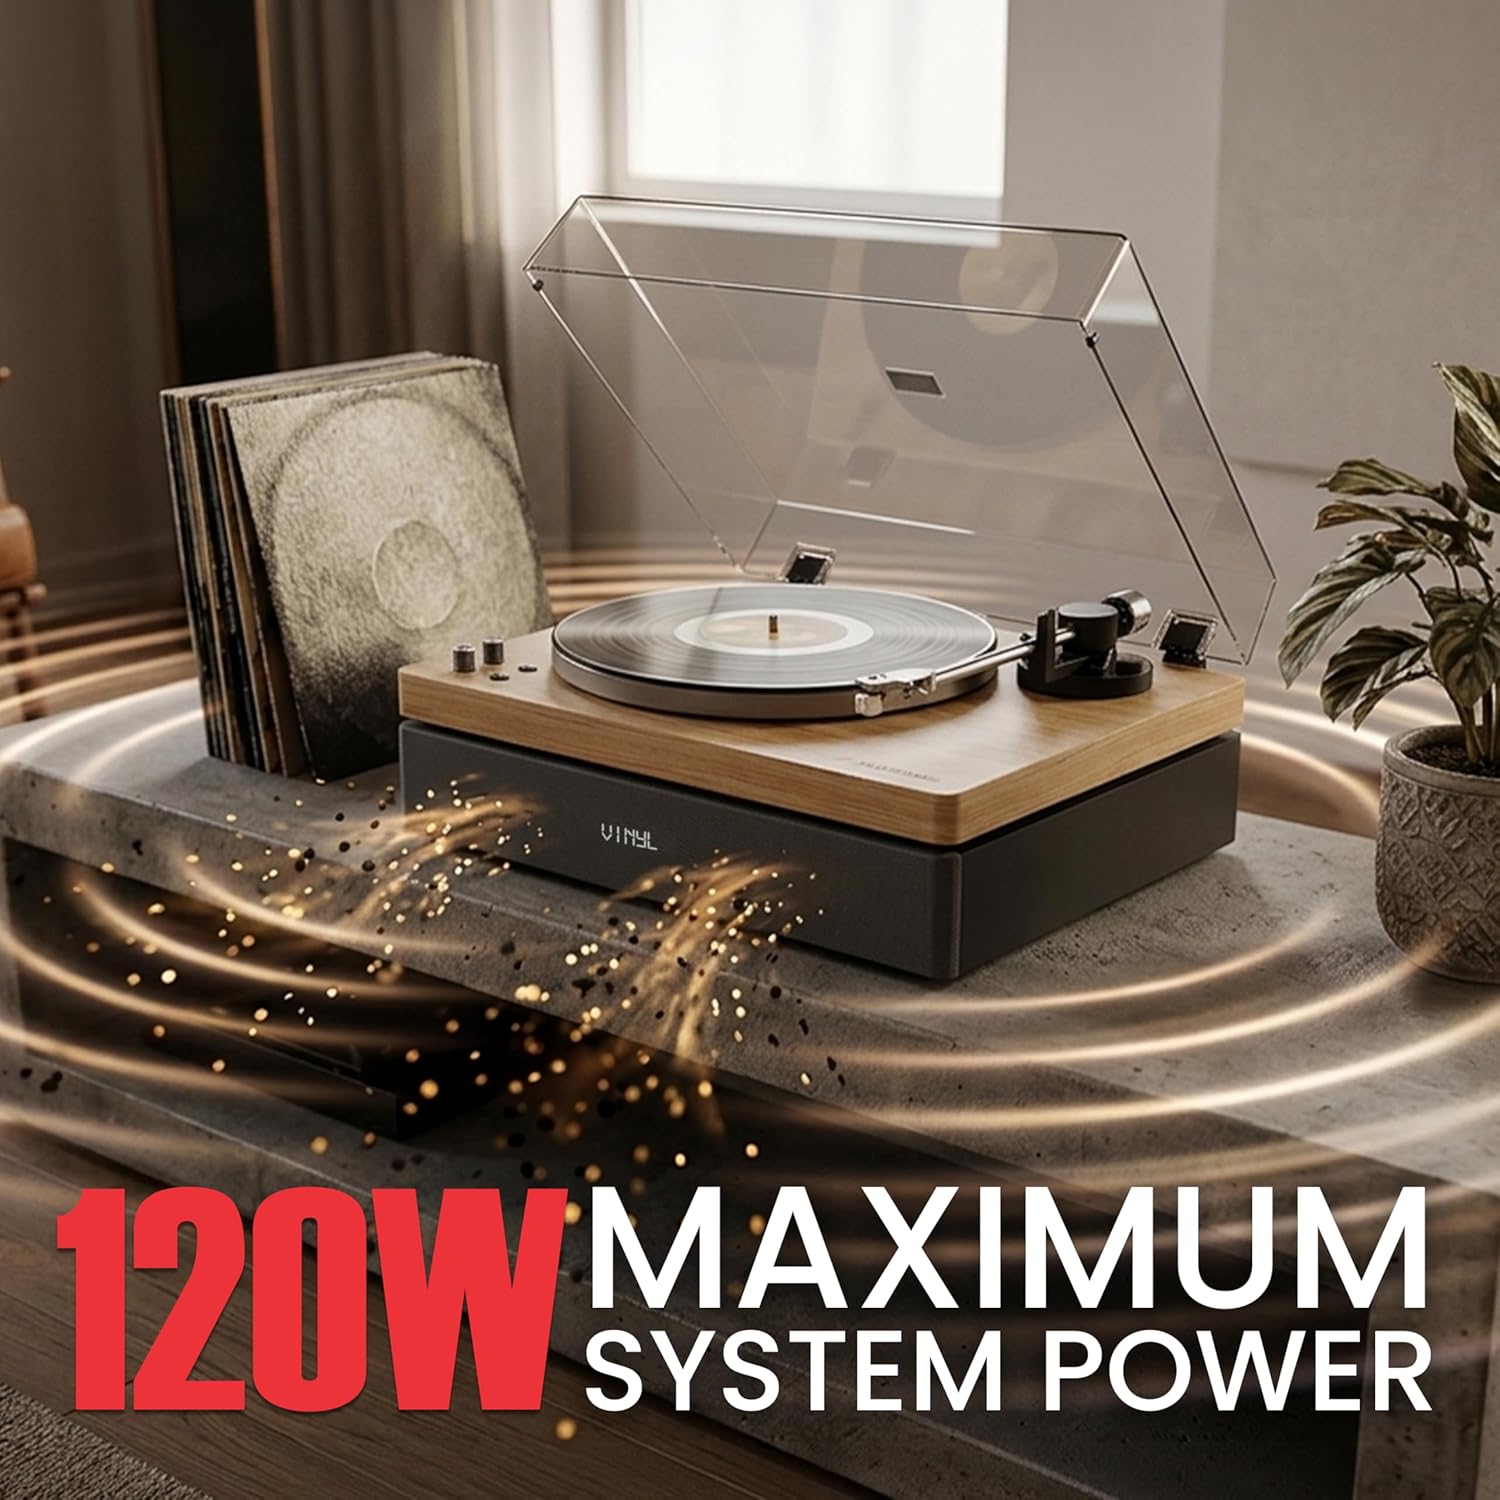
Image: Rear view of the turntable showing the AUX IN, USB, AUX Out (RCA), and AC IN power connections.
5. Operating Instructions
5.1 Basic Turntable Operation
- Power On: Press the Power button on the unit or remote control.
- Select Source: Use the 'VINYL' button on the unit or remote to select the turntable source.
- Select Speed: Choose between 33 1/3 RPM or 45 RPM using the speed selector knob, matching the record you are playing. Use the 45 RPM adapter for records with larger center holes.
- Place Record: Carefully place your vinyl record on the platter.
- Start Playback: Lift the tonearm using the cueing lever, position it over the desired track, and gently lower it onto the record.
- Adjust Volume: Use the volume knob on the unit or the +/- buttons on the remote.
- End Playback: Lift the tonearm using the cueing lever and return it to the tonearm rest.

Image: Top-down view of the turntable showing the speed selector, power/volume knob, and Bluetooth pairing button.
5.2 Bluetooth 5.4 Streaming
- Select Bluetooth Source: Press the 'BT' button on the unit or remote control. The display will show 'BT' and flash, indicating pairing mode.
- Pair Device: On your smartphone, tablet, or other Bluetooth device, search for 'AudioSource AT3345BT' in the Bluetooth settings and select it to pair.
- Playback: Once paired, you can stream audio wirelessly to the turntable's built-in speakers.
- Multipoint Pairing: The unit supports multipoint pairing, allowing two devices to be connected simultaneously.

Image: A smartphone connected via Bluetooth to the turntable, demonstrating wireless audio streaming.
5.3 Auxiliary Input (AUX IN)
Connect your external audio device to the AUX IN port on the rear of the turntable using a 3.5mm mini cable. Press the 'AUX' button on the remote control to select this input source.
5.4 USB Playback
Insert a USB flash drive containing MP3 or WAV audio files into the USB port. Press the 'USB' button on the remote control to select this input source. Use the remote to navigate tracks.
6. Maintenance
6.1 Cleaning
- Dust Cover: Wipe the dust cover with a soft, dry, anti-static cloth. Avoid harsh chemicals.
- Turntable Body: Use a soft, dry cloth to clean the turntable's surface.
- Stylus: Gently clean the stylus with a soft brush designed for stylus cleaning, moving from back to front. Do not use excessive force.
- Records: Keep your records clean using a record brush or cleaning solution to prevent dust buildup and improve sound quality.

Image: Close-up view of the Audio Technica stylus, highlighting its delicate nature and the importance of careful handling.
6.2 Stylus Replacement
The stylus (needle) is a consumable part and will wear out over time, typically after 300-500 hours of playback. A worn stylus can damage your records and degrade sound quality. The AudioSource AT3345BT uses a standard Audio Technica cartridge, allowing for easy replacement. Refer to the stylus manufacturer's instructions for specific replacement procedures.
7. Troubleshooting
| Problem | Possible Cause | Solution |
|---|---|---|
| No power | Power cord not connected; Power outlet not active | Ensure power cord is securely connected. Test outlet with another device. |
| No sound from speakers | Volume too low; Incorrect input source selected; Stylus not lowered | Increase volume. Select correct input (VINYL, BT, AUX, USB). Lower tonearm onto record. |
| Skipping or distorted sound | Record dirty or damaged; Stylus worn or dirty; Tracking force/anti-skate incorrect; Turntable not level | Clean record. Clean or replace stylus. Re-adjust counterweight and anti-skate. Ensure turntable is on a level surface. |
| Bluetooth pairing issues | Device too far; Turntable not in pairing mode; Interference | Ensure device is within range. Select BT input and wait for flashing indicator. Move away from other wireless devices. |
| Delayed audio (Bluetooth/Vinyl) | Bluetooth latency; Internal processing issue | For Bluetooth, try re-pairing or using a different source device. For vinyl, ensure the record is clean and the stylus is in good condition. If problem persists, contact support. |
8. Specifications
| Feature | Detail |
|---|---|
| Brand | Audiosource |
| Model Name | Integrated Turntable System (AT3345BT) |
| Maximum Rotational Speed | 45 rpm (supports 33 1/3 and 45 RPM) |
| Speaker System | Built-In 120W 2.1 Channel Speaker with Subwoofer |
| Bluetooth Version | 5.4 |
| Special Features | Adjustable Anti-Skate Control & Counterweight, Patented Speaker Isolation System |
| Material | Aluminum, Veneer, Wood |
| Item Weight | 25.6 pounds (11.6 kg) |
| Dimensions (L x W x H) | 17.19" x 14.2" x 7.25" (43.66 cm x 36.07 cm x 18.42 cm) |
| Power Consumption | 0.5 watts (Standby) |
| Signal-to-Noise Ratio | 90 dB |
| Compatible Devices | Headphones, Personal Computer, Smartphone, Tablet |
9. Warranty Information
The AudioSource AT3345BT Vinyl Record Player comes with a 1 Year Manufacturer Warranty from the date of purchase. This warranty covers defects in materials and workmanship under normal use. It does not cover damage caused by misuse, accident, unauthorized modification, or normal wear and tear (e.g., stylus wear). Please retain your proof of purchase for warranty claims.
For detailed warranty terms and conditions, please refer to the Warranty Card included in your package.
10. Customer Support
If you encounter any issues or have questions regarding your AudioSource AT3345BT Vinyl Record Player that are not addressed in this manual, please contact AudioSource customer support.
Contact Information:
- Website: www.audiosource.net (Example, please refer to actual product documentation for correct website)
- Email: support@audiosource.net (Example, please refer to actual product documentation for correct email)
- Phone: 1-800-XXX-XXXX (Example, please refer to actual product documentation for correct phone number)
Please have your model number (AT3345BT) and purchase date ready when contacting support.

