1. Introduction
This instruction manual provides comprehensive guidance for the safe and efficient operation of your NEWBULIG Portable Countertop Ice Maker with Handle, Model ZBJ-NB-PP10-GN2. Please read all instructions carefully before first use and retain this manual for future reference.
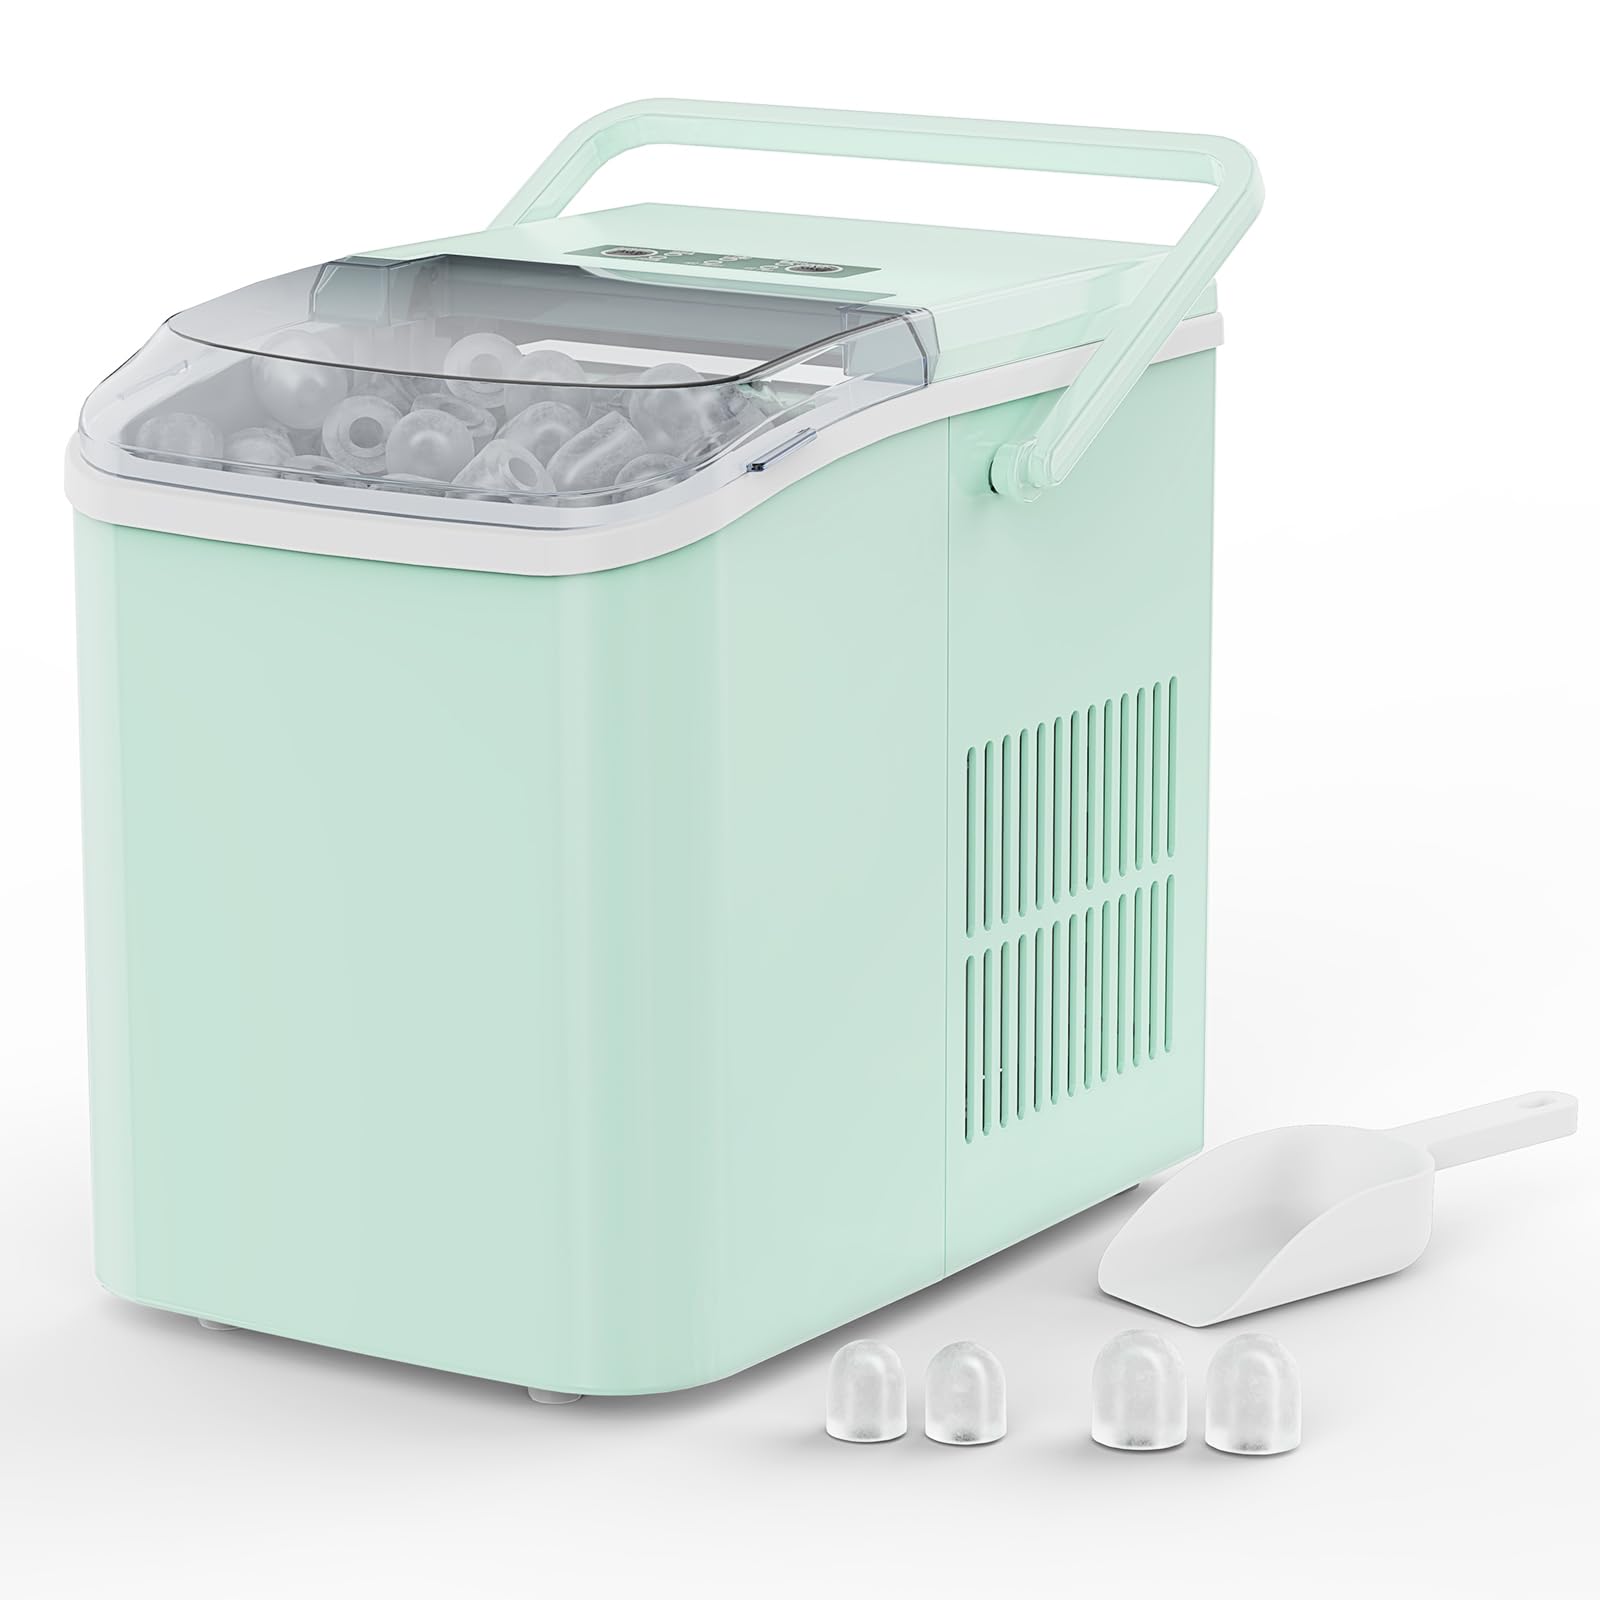
Figure 1: NEWBULIG Portable Countertop Ice Maker
2. Safety Information
DANGER: Risk of Fire or Explosion. This appliance uses flammable refrigerant (R600a). Do not use mechanical devices to defrost the ice maker. Do not puncture refrigerant tubing. Ensure proper ventilation around the unit and keep it away from heat sources.
Always unplug the unit before cleaning or performing any maintenance. Keep out of reach of children.
3. Product Overview
The NEWBULIG Portable Countertop Ice Maker is designed for convenient ice production in various settings. It produces bullet-shaped ice cubes quickly and features an intuitive control panel for ease of use.
Key Features:
- Rapid Ice Production: Makes 9 bullet ice cubes in approximately 6 minutes.
- High Capacity: Produces up to 26.5 pounds (12 kg) of ice per 24 hours.
- Two Ice Cube Sizes: Select between small (22x26mm) and large (25x24mm) bullet ice.
- Smart Indicators: "ADD WATER" and "ICE FULL" alerts for user convenience.
- Auto-Cleaning Function: Simplifies maintenance.
- Portable Design: Compact size with a handle for easy transport.
- Water Tank Capacity: 1.5 Liters.
Components:
- Ice Maker Unit
- Ice Basket
- Ice Scoop
- Ice Storage Bag

Figure 2: Front View

Figure 3: Side View

Figure 4: Back View
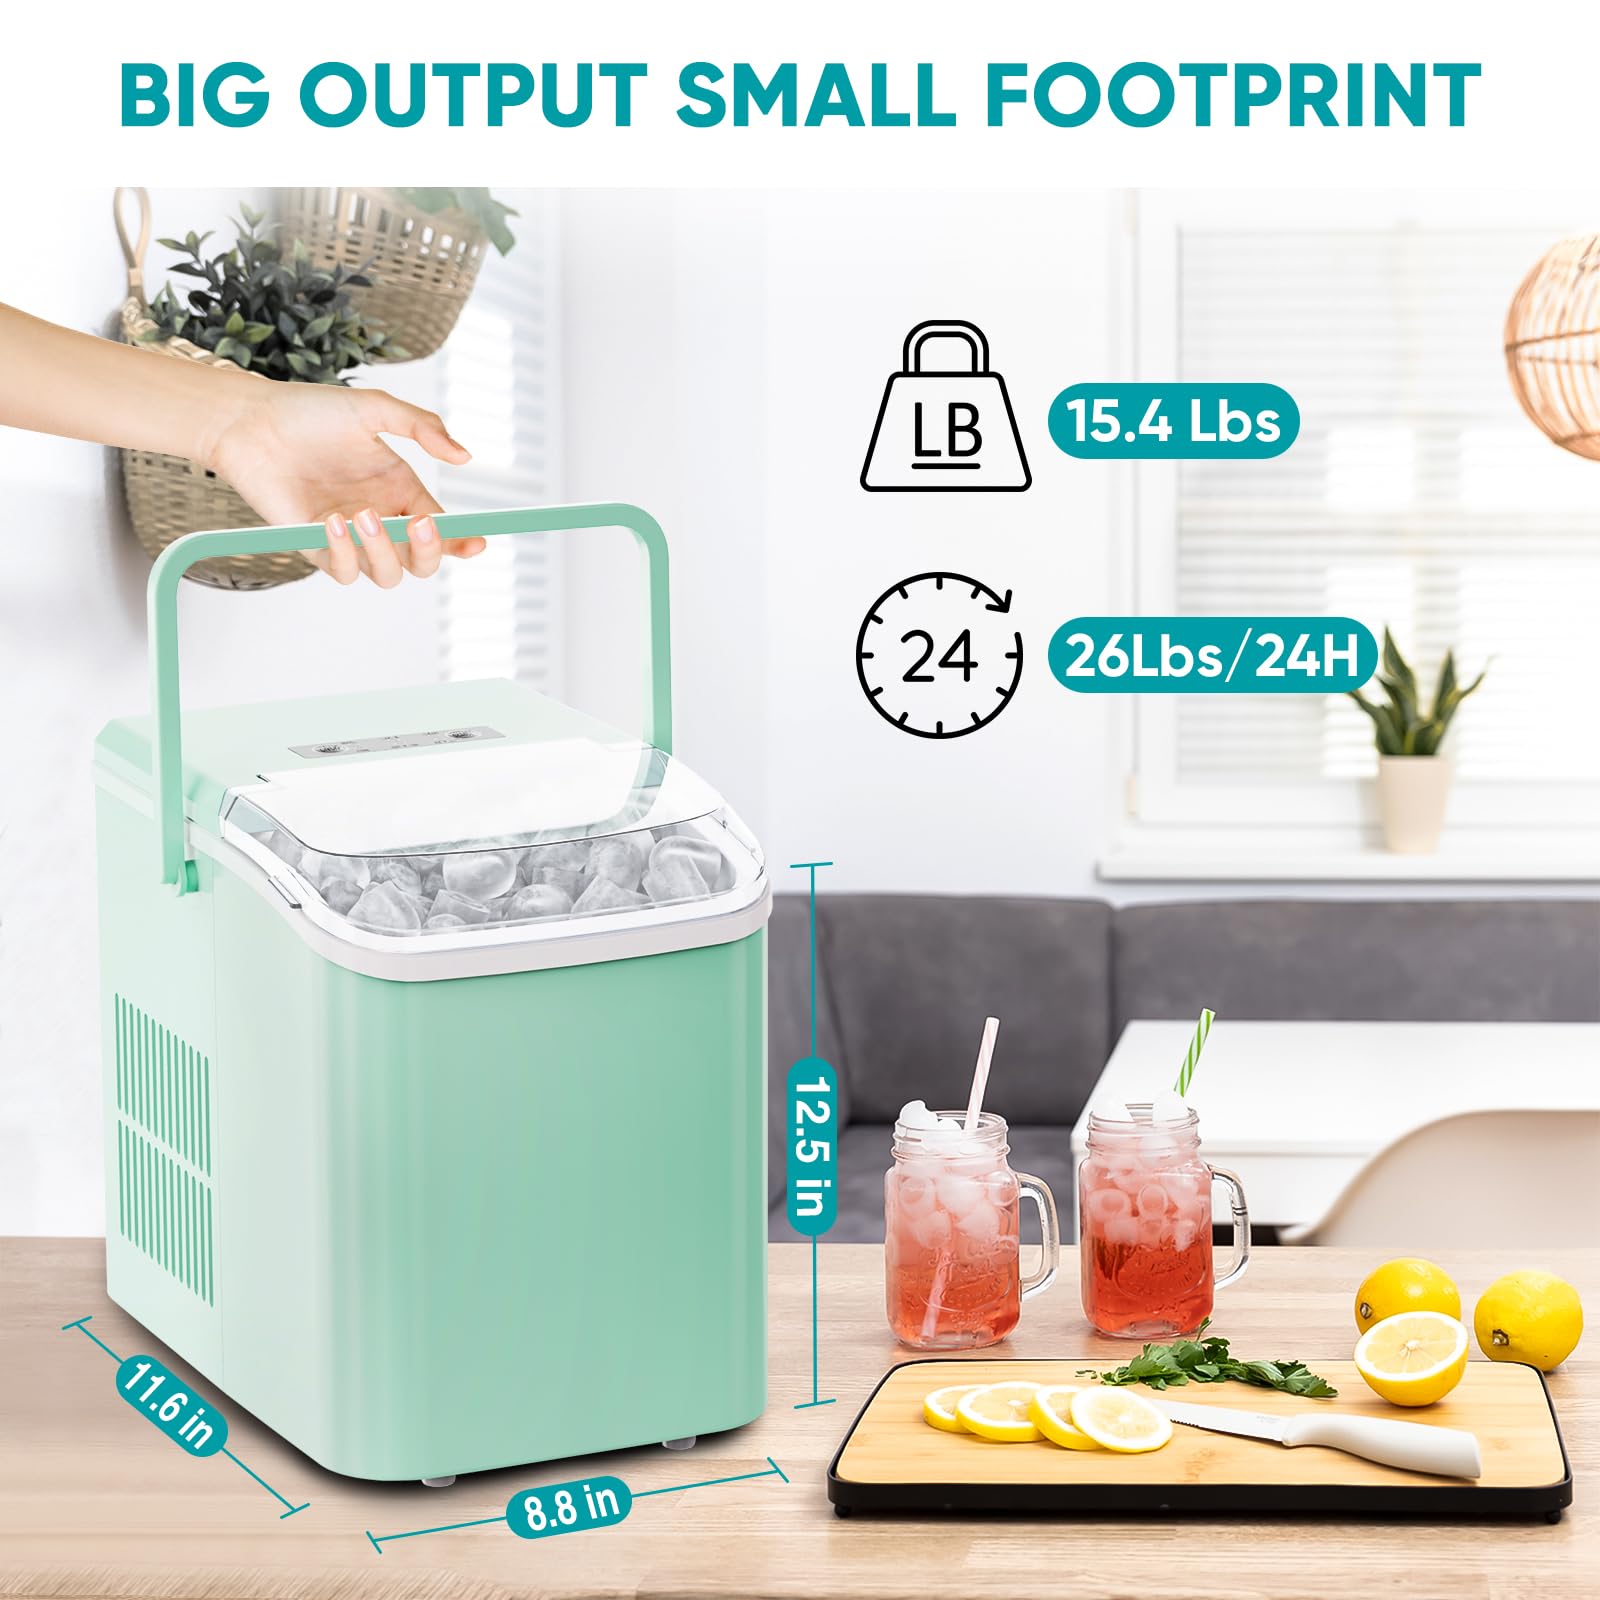
Figure 5: Two Ice Cube Sizes
4. Setup
Before operating your ice maker, follow these steps:
- Unpacking: Carefully remove the ice maker and all packaging materials from the box. Inspect the unit for any damage.
- Placement: Place the ice maker on a stable, level surface away from direct sunlight and heat sources. Ensure there is adequate ventilation around the unit (at least 4 inches / 10 cm of space on all sides).
- Initial Cleaning: Before first use, clean the interior of the ice maker. Remove the ice basket and scoop. Wipe the interior with a soft cloth dampened with warm water and a mild detergent. Rinse thoroughly and dry.
- Water Filling: Open the lid and remove the ice basket. Fill the water reservoir with potable water up to the MAX fill line. Do not overfill.
- Power Connection: Plug the power cord into a grounded electrical outlet.
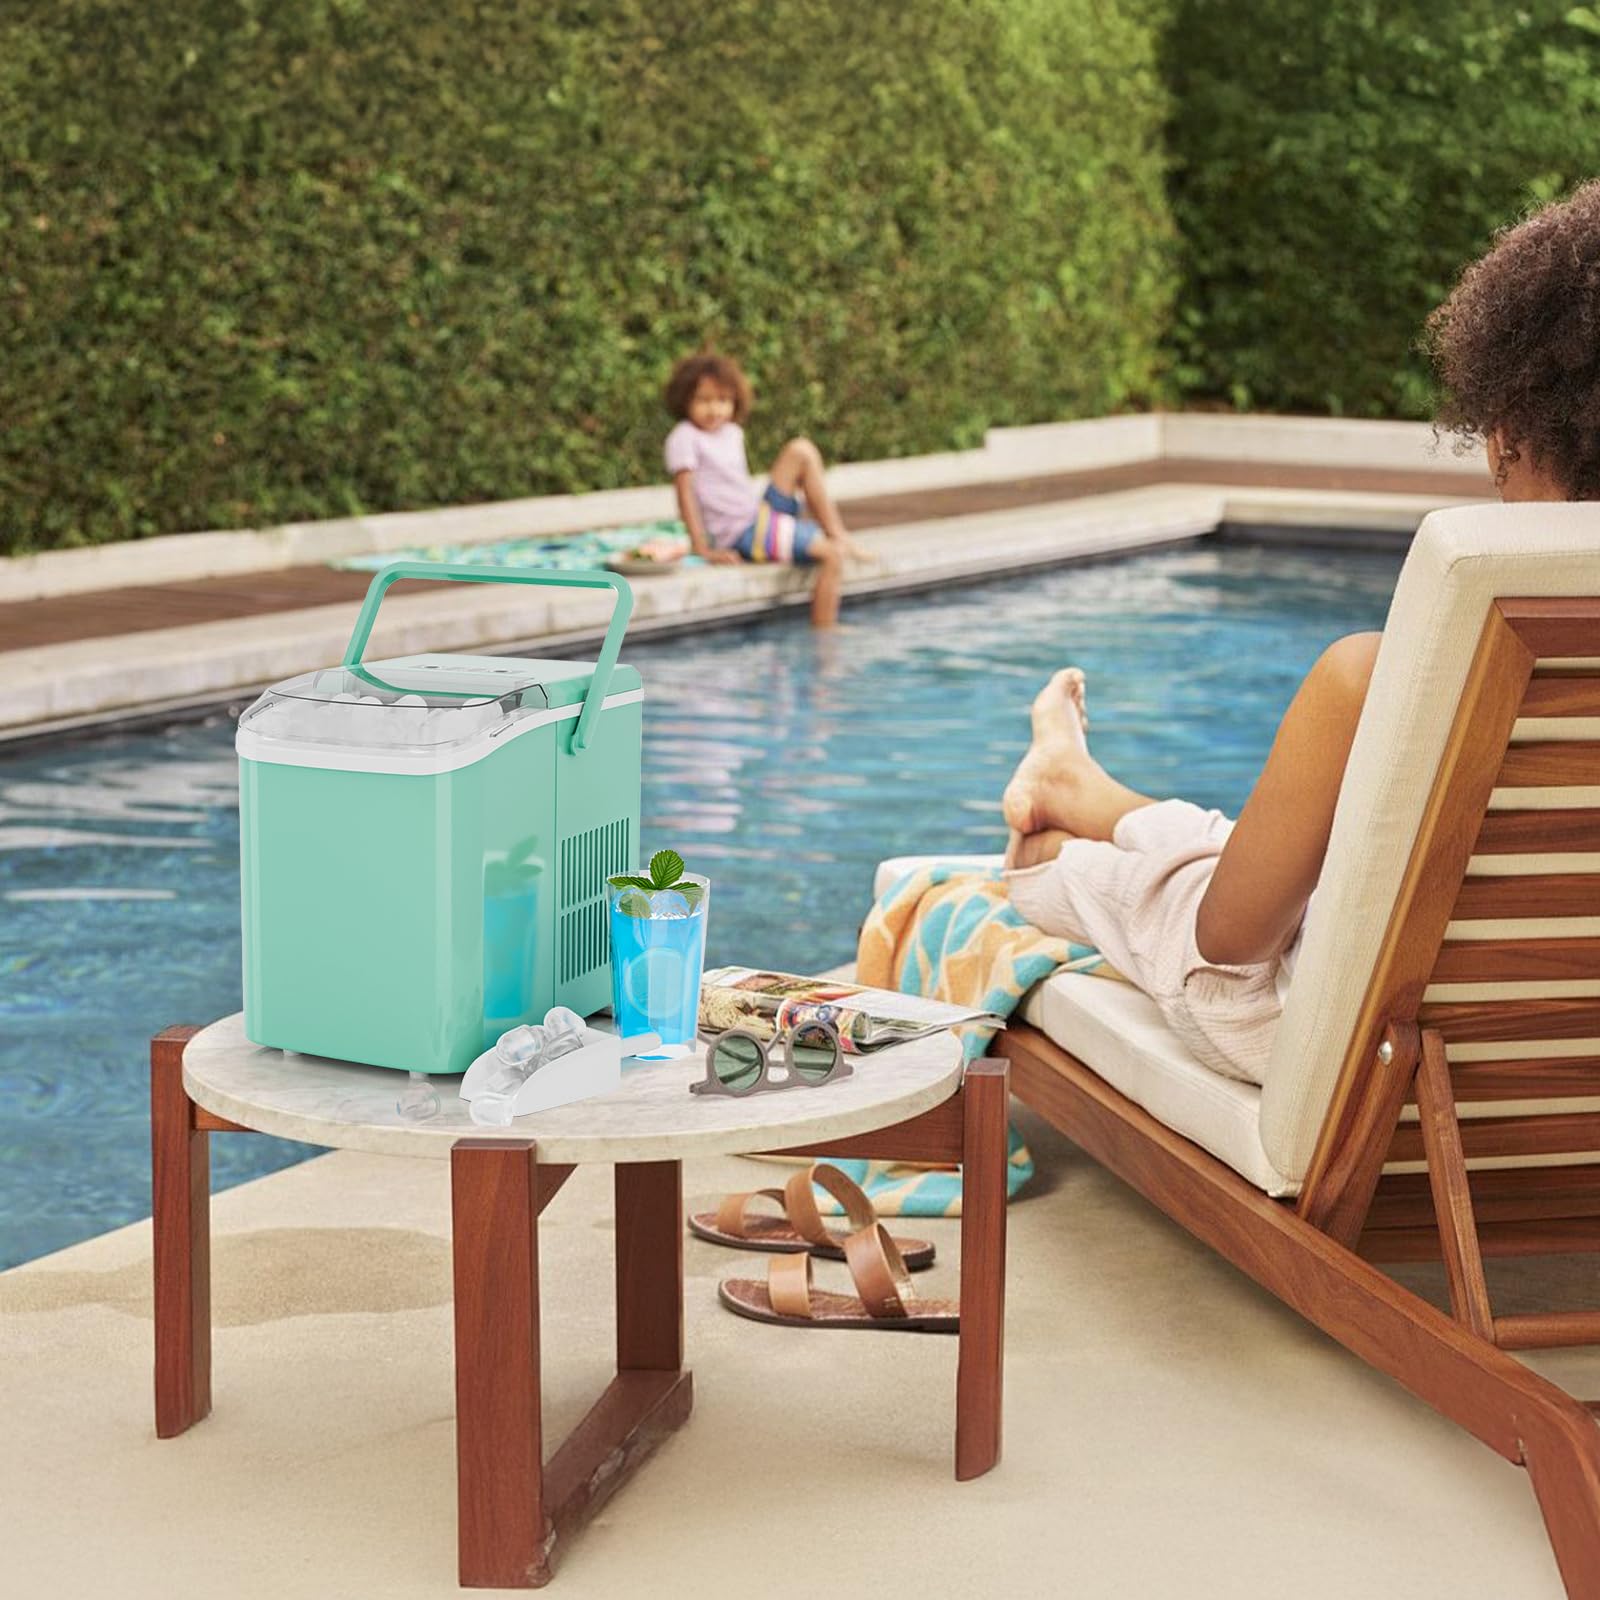
Figure 6: Ice Maker Placement
5. Operating Instructions
Follow these steps to begin making ice:
- Power On: Press the "ON/OFF" button on the control panel. The "POWER" indicator light will illuminate.
- Select Ice Size: Press the "SELECT" button to choose your desired ice cube size: "S" for small or "L" for large. The corresponding indicator light will illuminate.
- Start Ice Production: The ice maker will automatically begin the ice-making cycle after selecting the size. The "POWER" light will blink during operation.
- Ice Collection: When the "ICE FULL" indicator light illuminates, the ice basket is full. Use the provided ice scoop to remove the ice. The unit will pause ice production until ice is removed.
- Add Water: If the "ADD WATER" indicator light illuminates, the water reservoir is low. Add more potable water as described in the "Setup" section. The unit will resume ice production automatically after refilling.
- Power Off: To stop ice production, press the "ON/OFF" button.
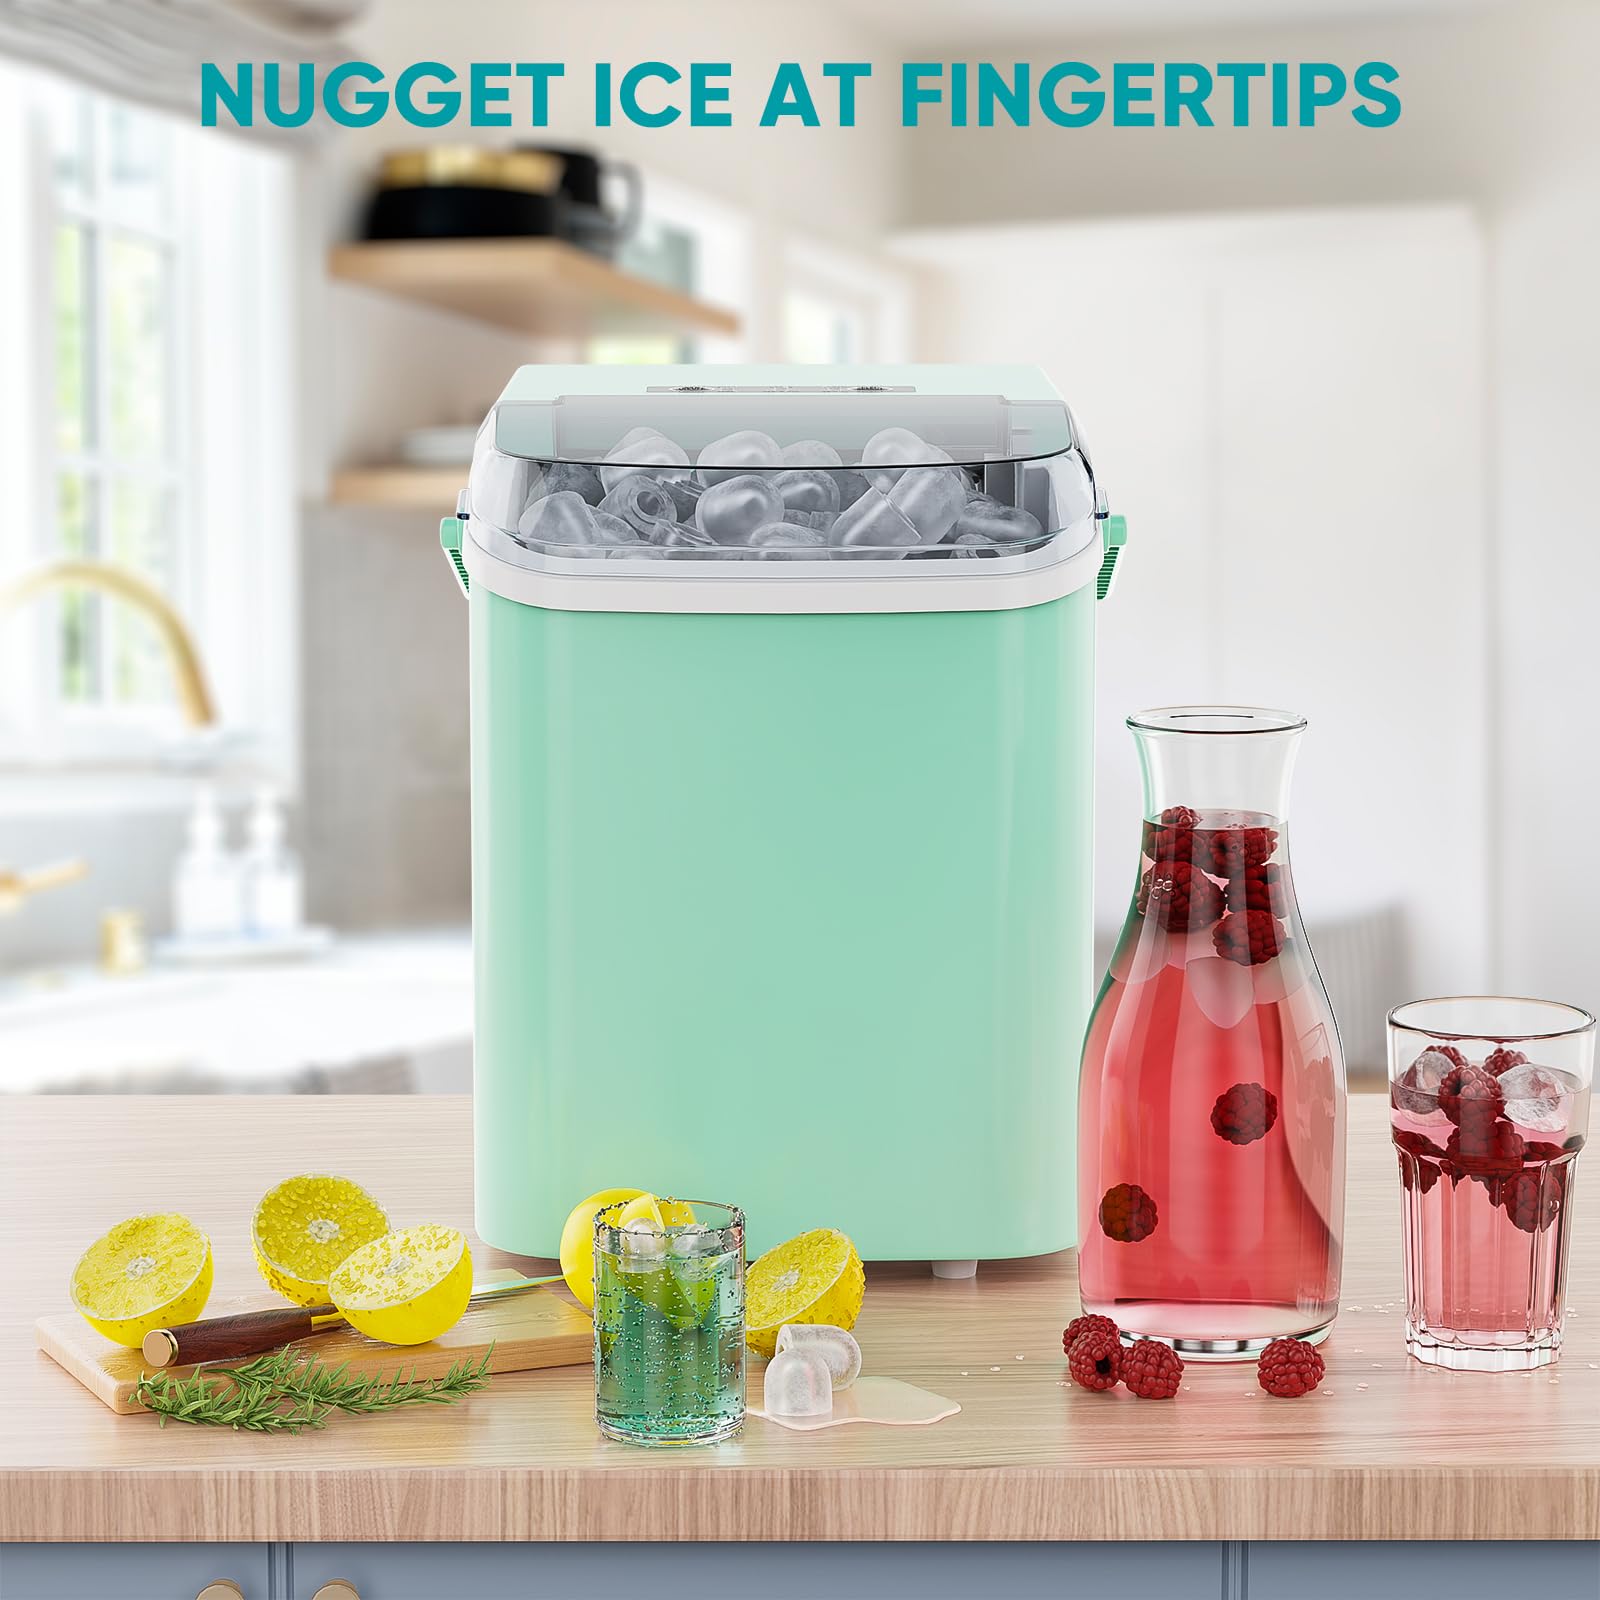
Figure 7: Control Panel Overview
Figure 8: Quick Start Guide
6. Maintenance
Regular cleaning and maintenance ensure optimal performance and longevity of your ice maker.
- Auto-Cleaning Function:
- Ensure the water reservoir is filled with clean water.
- Press and hold the "ON/OFF" button for 5 seconds. The "CLEAN" indicator light will illuminate, and the unit will perform a 15-minute self-cleaning cycle.
- After the cycle, drain the water from the unit. Refer to the full product manual for the exact location of the drain plug.
- Manual Cleaning:
- Unplug the ice maker before cleaning.
- Remove the ice basket and scoop.
- Wipe the interior and exterior surfaces with a soft cloth and mild detergent.
- Rinse thoroughly and dry all components before reassembly.
- Do not immerse the unit in water.
7. Troubleshooting
Refer to this section for common issues and solutions.
- "ADD WATER" Light On: The water reservoir is empty. Refill with potable water.
- "ICE FULL" Light On: The ice basket is full. Remove ice to resume production.
- Ice Not Forming:
- Check if the water reservoir is filled.
- Ensure the unit is plugged in and powered on.
- Verify the ambient temperature is within the recommended operating range (typically 10°C to 32°C / 50°F to 90°F).
- Unusual Noise: This may indicate a need for cleaning or a minor obstruction. If the noise persists, contact customer support.
8. Specifications
| Feature | Specification |
|---|---|
| Brand | NEWBULIG |
| Model Number | ZBJ-NB-PP10-GN2 |
| Item Weight | 6.99 kg (15.4 lbs) |
| Product Dimensions | 32 x 21.84 x 29.46 cm (12.5" x 11.6" x 8.4") |
| Material | Plastic, Alloy Steel |
| Voltage | 110 Volts |
| Wattage | 160 watts |
| Water Tank Capacity | 1.5 Liters |
| Ice Production per Day | 26.5 Pounds |
| Refrigerant | R600a |
| UPC | 768857252033 |
9. Warranty and Support
For warranty information, technical support, or service inquiries, please refer to the contact details provided on the product packaging or the manufacturer's official website. Keep your purchase receipt as proof of purchase.