Introduction
This manual provides detailed instructions for the setup, programming, and operation of your BN-LINK Indoor Digital Timer Outlet. This versatile device is designed to help you manage power usage for various indoor electrical appliances, offering convenience and energy efficiency.
Key features include:
- Up to 8 customizable ON/OFF programs.
- 7-day programmable schedule with various day combinations.
- Daylight Saving Time mode.
- Random Vacation mode for enhanced home security.
- Large, clear display screen and sensitive buttons for easy operation.
- 3-prong grounded outlet, 15A/1875W resistive rating.
Safety Information
Please read and understand all safety instructions before using this product. Failure to follow these instructions may result in electric shock, fire, or serious injury.
- For indoor use only. Do not expose to rain or moisture.
- Do not exceed electrical ratings: 125V, 60 Hz, 15A/1875W Resistive, 10A/1250W Tungsten, 1/2HP.
- Always ensure the timer is securely plugged into a grounded outlet.
- Do not use with appliances that could cause a hazardous condition if left unattended (e.g., heating appliances, power tools).
- If using with a space heater, ensure the timer's wattage rating exceeds the heater's wattage. Never plug the timer into an extension strip or surge protector when used with a heater. Periodically inspect the heater's plug for deterioration.
- Keep out of reach of children.
Product Overview
The BN-LINK Indoor Digital Timer Outlet features a clear LCD display and intuitive buttons for easy programming. It includes a single 3-prong grounded outlet.
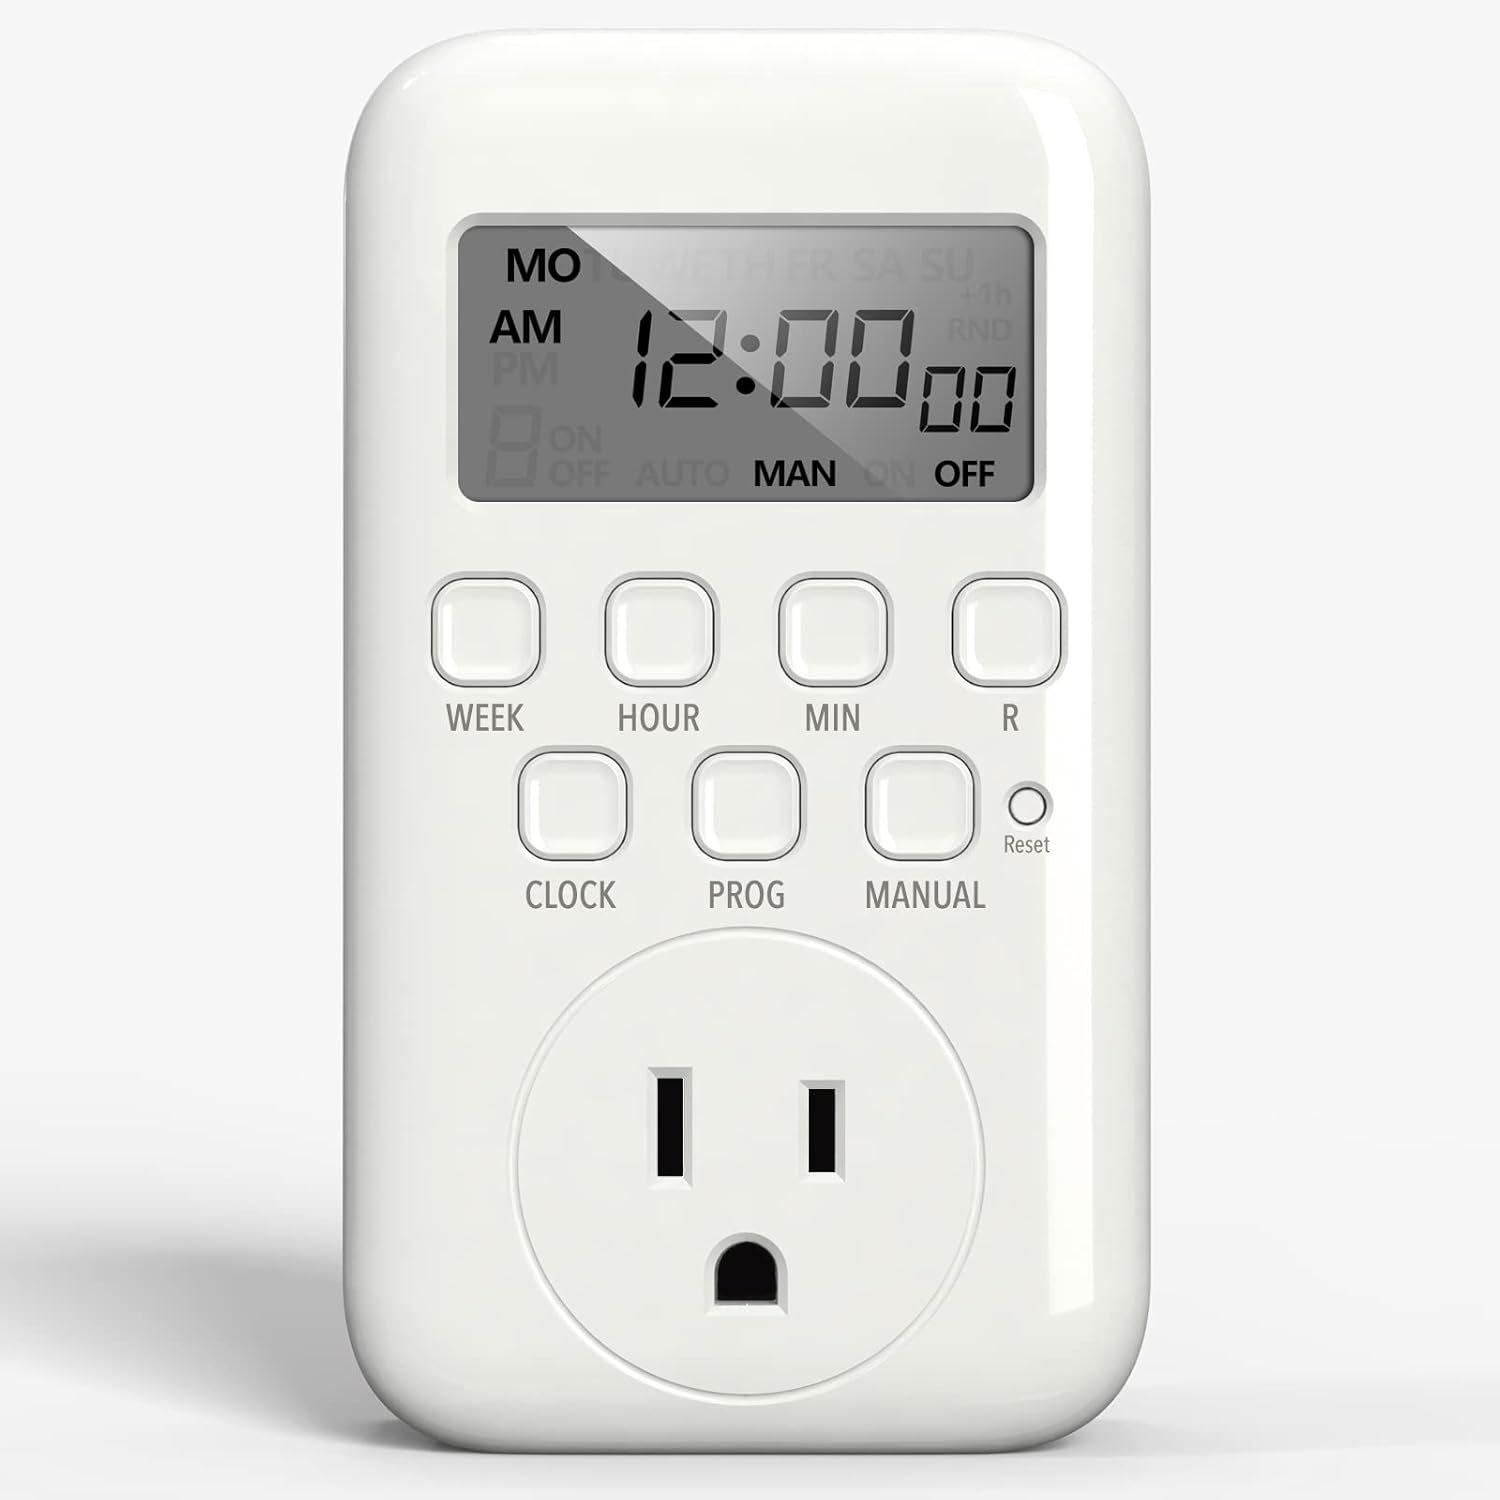

Controls and Display:
- LCD Display: Shows current time, day, and programming status (ON, OFF, AUTO, MAN, RND).
- WEEK Button: Used to select the day(s) of the week for time and program settings.
- HOUR Button: Used to adjust the hour.
- MIN Button: Used to adjust the minute.
- R (Reset) Button: Resets the timer to default settings. Requires a non-metallic pointed tool.
- CLOCK Button: Used in combination with WEEK, HOUR, MIN to set current time/day. Also returns to current time display.
- PROG Button: Enters program setting mode and cycles through ON/OFF programs.
- MANUAL Button: Switches between AUTO, MANUAL ON, and MANUAL OFF modes.
Setup
1. Initial Setup
Before first use, or if the screen is blank, plug the timer into any power socket for at least 30 minutes to charge the internal battery. After charging, press the 'RESET' button using a non-metallic pointed tool (like a toothpick or pencil) to clear all previous settings and ensure proper function.
2. Setting Current Day and Time
To set the current day and time:
- Press and hold the 'CLOCK' button.
- While holding 'CLOCK', press the 'WEEK' button repeatedly until the correct day of the week is displayed at the top of the screen.
- While holding 'CLOCK', press the 'HOUR' button repeatedly until the correct hour (AM/PM) is displayed.
- While holding 'CLOCK', press the 'MIN' button repeatedly until the correct minute is displayed.
- Release the 'CLOCK' button. The current time and day are now set.
Operating Instructions
1. Setting ON/OFF Programs
The timer allows you to set up to 8 distinct ON/OFF programs. Each program can be set for specific days or combinations of days.
- Press the 'PROG' button once. The display will show '1 ON' (Program 1 ON time).
- Press the 'WEEK' button repeatedly to select the desired day(s) for this program. Options include individual days, weekdays, weekends, or all 7 days.
- Press the 'HOUR' and 'MIN' buttons to set the desired ON time for Program 1. Ensure AM/PM is correct.
- Press the 'PROG' button again. The display will show '1 OFF' (Program 1 OFF time).
- Repeat steps 2 and 3 to set the desired OFF time for Program 1.
- To set additional programs (2 ON/OFF through 8 ON/OFF), repeat steps 1-5. Press 'PROG' to advance to the next program number.
- After setting all desired programs, press the 'CLOCK' button to return to the current time display.
2. Auto and Manual Mode
The timer has three operating modes: AUTO, MANUAL ON, and MANUAL OFF. To run your programmed schedules, the timer must be in AUTO mode.
- AUTO ON: The timer will power on and stay on until the next programmed OFF time.
- AUTO OFF: The timer will power off and stay off until the next programmed ON time.
- MANUAL ON: The timer will bypass all programs and remain ON indefinitely.
- MANUAL OFF: The timer will bypass all programs and remain OFF indefinitely.
To switch between modes, press and hold the 'MANUAL' button for 4 seconds or more. The display will cycle through AUTO, MANUAL ON, and MANUAL OFF. Release the button when the desired mode is displayed.
3. Daylight Savings Time (DST)
To activate or deactivate Daylight Savings Time:
- Press the 'HOUR' and 'MIN' buttons simultaneously.
- A '+1h' symbol will appear on the right side of the screen when DST is activated, and the time will adjust by one hour.
- Repeat the action to deactivate DST.
4. Random Vacation Mode
The Random Vacation mode helps deter intruders by randomly turning your programmed lights ON and OFF, making your home appear occupied when you are away.
- Press the 'WEEK' and 'HOUR' buttons simultaneously.
- An 'RND' symbol will appear on the right side of the screen when Vacation mode is activated.
- Repeat the action to deactivate Vacation mode.
Troubleshooting
If you encounter issues with your BN-LINK Indoor Digital Timer Outlet, please refer to the following common troubleshooting steps:
- Blank Display: Ensure the timer's internal battery is charged by plugging it into an outlet for at least 30 minutes. If the display remains blank, perform a 'RESET'.
- Programs Not Running: Verify that the timer is in 'AUTO' mode. If it's in 'MANUAL ON' or 'MANUAL OFF', it will bypass programmed schedules.
- Incorrect Time/Day: Perform a 'RESET' and then re-set the current day and time carefully, ensuring correct AM/PM selection.
- Appliance Not Turning ON/OFF: Check that the appliance is properly plugged into the timer and is functioning correctly. Ensure the timer's program is set to the correct ON/OFF times and days.
- Overlapping Programs: Ensure there are no overlapping ON/OFF programs, as this can cause unexpected behavior.
For further assistance, please contact BN-LINK customer support.
Maintenance
To ensure the longevity and proper functioning of your BN-LINK Indoor Digital Timer Outlet, follow these maintenance guidelines:
- Cleaning: Unplug the timer before cleaning. Wipe the exterior with a soft, dry cloth. Do not use liquid cleaners or abrasive materials.
- Storage: When not in use for extended periods, store the timer in a cool, dry place away from direct sunlight and extreme temperatures.
- Inspection: Periodically inspect the timer for any signs of damage, such as cracks in the casing or frayed wires. Discontinue use if damage is found.
Specifications
| Feature | Specification |
|---|---|
| Model Number | BNE-60/U167 |
| Product Dimensions | 1.47"D x 2.68"W x 4.72"H |
| Voltage | 125V~, 60 Hz |
| Resistive Rating | 15A/1875W |
| Tungsten Rating | 10A/1250W |
| Motor Rating | 1/2HP |
| Number of Programs | 8 ON/OFF |
| Battery | 1 Unknown (included) |
| Certifications | ETL Listed |

Warranty and Support
For warranty information or technical support, please refer to the product packaging or visit the official BN-LINK website. You can also contact BN-LINK customer service directly for assistance with any product-related inquiries.
Contact Information:
- Website: www.bn-link.com
- Email: (Refer to website for current email address)
- Phone: (Refer to website for current phone number)


