
1. Introduction
This manual provides detailed instructions for the installation, operation, and maintenance of your Dpofirs 1.7 Inch Wall Mount Music Amplifier. Please read this manual thoroughly before using the product to ensure proper function and safety. Keep this manual for future reference.
2. Safety Information
- Do not expose the device to water or moisture.
- Do not attempt to disassemble or repair the unit yourself. Refer all servicing to qualified personnel.
- Ensure proper ventilation around the unit to prevent overheating.
- Use only the specified power supply and accessories.
- Keep out of reach of children.
3. Package Contents
Verify that all items listed below are included in your package:
- 1 x Wall Mount Music Amplifier
- 1 x Wall Mount 86 Back Box
- 1 x Remote Controller
- 1 x User Manual (this document)
- 1 x Screwdriver
- 2 x Screws

Image: The package contents include the amplifier unit, wall mount box, remote control, screwdriver, and screws.
4. Product Overview
4.1 Front Panel and Display

Image: The amplifier's front panel features a 1.7-inch LCD screen displaying status information like 'LINK' and volume, along with touch-sensitive control buttons below it.
The amplifier features a 1.7-inch LCD screen for clear visual feedback and an intuitive user interface. Control buttons are located below the screen for easy access.
4.2 Control Buttons

Image: This image highlights the touch buttons on the amplifier: Backspace key, Confirm key (OK/Play/Pause), Previous song, Next song, and Volume button (VOL). It also shows the infrared remote control.
- Backspace Key: Used to go back or exit menus.
- OK/Play/Pause Key: Confirms selections, plays, or pauses audio.
- Previous Song Key: Navigates to the previous track.
- Next Song Key: Navigates to the next track.
- VOL (Volume) Key: Adjusts the volume level.
4.3 Remote Control
The included remote control provides convenient access to all functions from a distance. Refer to the image above for button layout and functions.
5. Setup
5.1 Wall Mounting
- Choose a suitable location on a wall for installation.
- Install the provided 86 back box into the wall. Ensure it is securely fixed.
- Connect the necessary wiring (power, speaker cables) to the amplifier unit.
- Mount the amplifier unit onto the 86 back box using the provided screws and screwdriver.

Image: The amplifier unit is shown neatly installed on a wall in a living room, demonstrating its space-saving design.
5.2 Speaker Connection
The amplifier supports two speakers (2x25W output). Connect your speakers to the appropriate terminals on the back of the amplifier. Ensure correct polarity (+/-) for optimal sound quality. The speaker impedance should be between 4-8 Ohms.
5.3 Power Connection
Connect the amplifier to a suitable power source. Once connected, the unit will power on and the display will illuminate.
6. Operating Instructions
6.1 Basic Operation
- Power On/Off: Press the power button on the remote control or the designated button on the unit (if available) to turn the amplifier on or off.
- Volume Adjustment: Use the 'VOL+' and 'VOL-' buttons on the unit or remote control to increase or decrease the volume.
- Mode Selection: Press the 'Mode' button on the remote to switch between different input modes (e.g., Bluetooth, Audio Input, Radio).
6.2 Bluetooth Connectivity
- Switch the amplifier to Bluetooth mode using the 'Mode' button on the remote. The display will show 'LINK' or a similar indicator.
- On your external Bluetooth device (e.g., smartphone, tablet), enable Bluetooth and search for available devices.
- Select 'Dpofirs Amplifier' (or similar name) from the list of devices to pair.
- Once paired, the display will indicate a successful connection, and you can stream audio wirelessly. The effective range is approximately 10 meters (32.8 feet).

Image: The amplifier is shown in a room setting, wirelessly connected to a smartphone, illustrating its Bluetooth streaming capability.
6.3 Audio Input Playback
The amplifier supports audio input playback, allowing connection to devices like TVs or projectors via an audio cable.
- Connect your external audio source (e.g., TV, projector) to the amplifier's audio input port using a suitable audio cable.
- Switch the amplifier to Audio Input mode using the 'Mode' button.
- Play audio from your connected device.
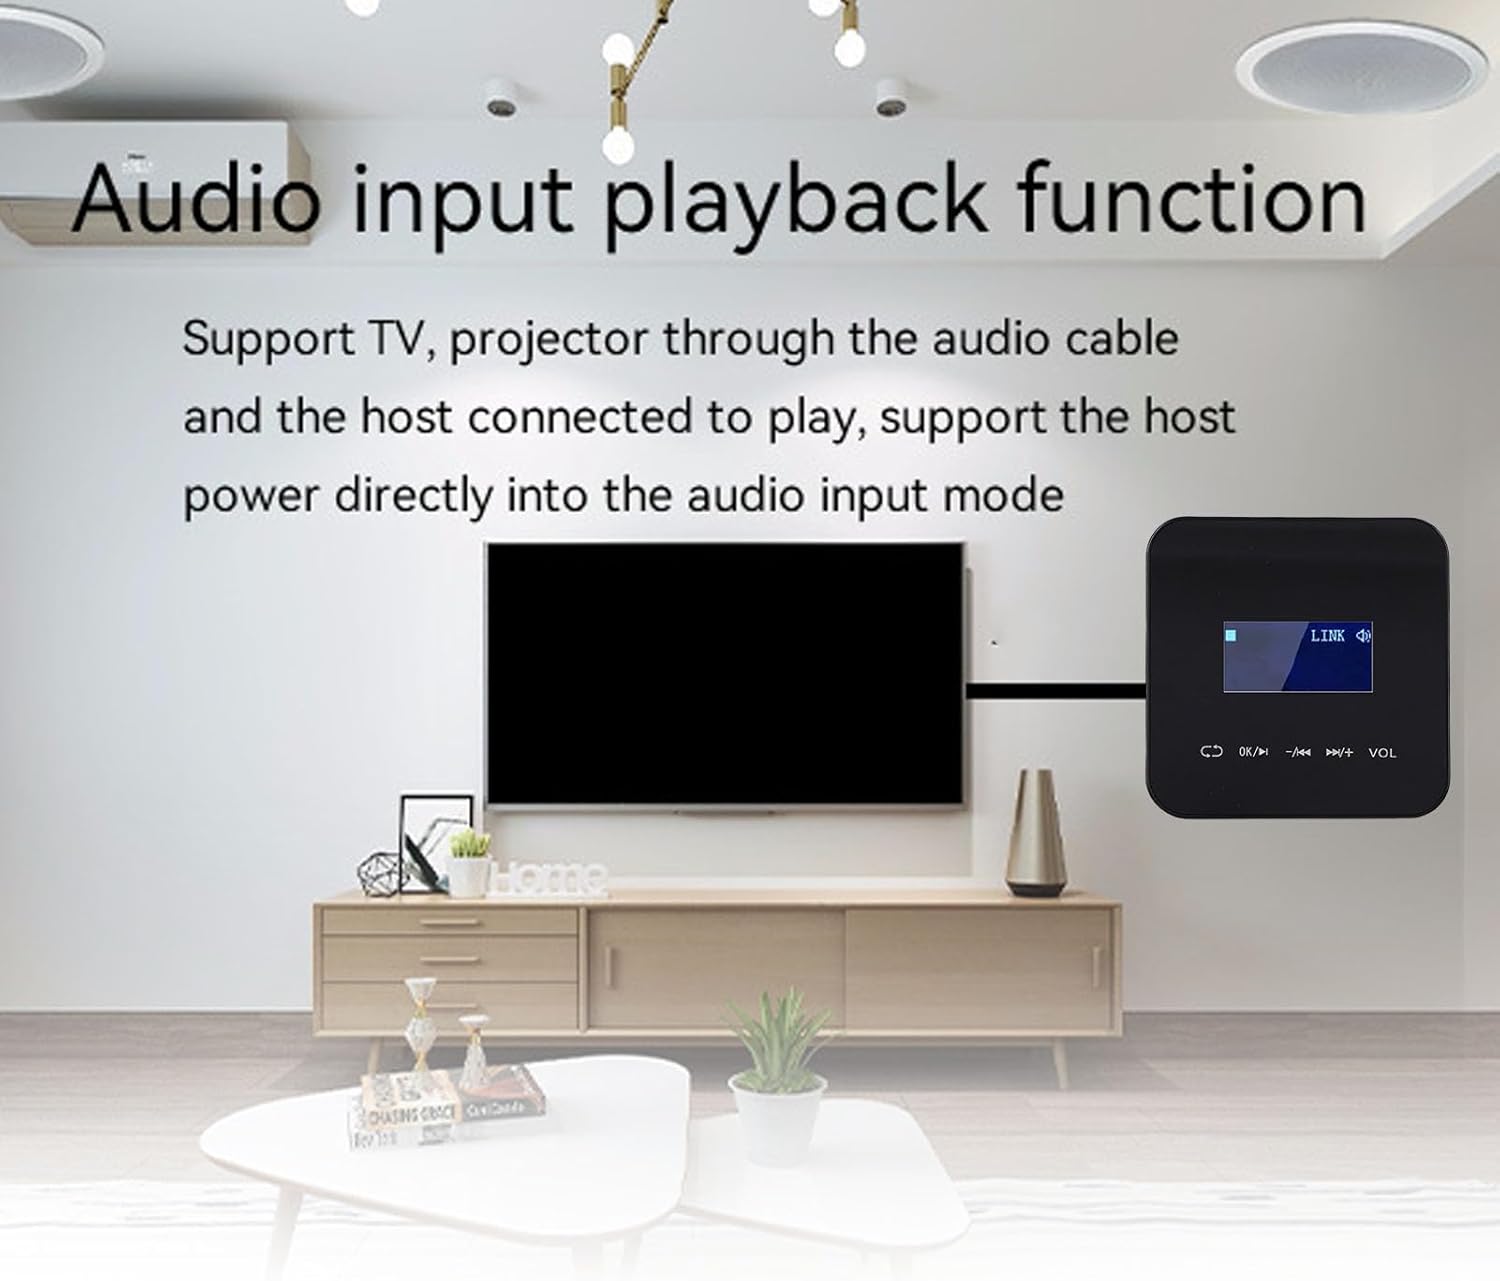
Image: The amplifier is depicted connected to a television, demonstrating its audio input playback function for external devices.
6.4 Media Playback (USB/SD Card)
The amplifier supports various audio formats including MP3, WMA, WAV, AAC, and APE. If a USB drive or Small Memory Card (up to 32GB, not included) is inserted, the amplifier can play media files directly.
- Insert a USB drive or Small Memory Card containing supported audio files into the designated slot.
- Switch the amplifier to the appropriate media playback mode (e.g., USB or SD Card) using the 'Mode' button.
- Use the 'Previous Song' and 'Next Song' buttons to navigate tracks, and 'OK/Play/Pause' to control playback.
6.5 Radio Function
The unit includes a built-in radio module for quick radio search.
- Switch the amplifier to Radio mode using the 'Mode' button.
- Use the navigation buttons to search for and select radio stations.
Image: The amplifier's display shows 'LINK', which can indicate connection status or a mode like radio, confirming the presence of a radio module.
7. Maintenance
- Cleaning: Use a soft, dry cloth to clean the surface of the amplifier. Do not use liquid cleaners or abrasive materials.
- Storage: If not in use for an extended period, store the amplifier in a cool, dry place away from direct sunlight.
- Ventilation: Ensure that the ventilation openings are not blocked to prevent overheating.
8. Troubleshooting
| Problem | Possible Cause | Solution |
|---|---|---|
| No power | Power cable not connected; Power outlet faulty | Check power cable connection; Try a different power outlet |
| No sound output | Speakers not connected; Volume too low; Incorrect input mode selected | Check speaker connections and polarity; Increase volume; Select correct input mode |
| Bluetooth not pairing | Amplifier not in Bluetooth mode; Device too far; Bluetooth disabled on external device | Switch to Bluetooth mode; Move device closer; Enable Bluetooth on external device |
| Remote control not working | Battery depleted; Obstruction between remote and unit | Replace remote battery (CR1220); Remove obstructions; Ensure direct line of sight |
9. Specifications
| Feature | Specification |
|---|---|
| Output Power | 2x25W (Supports 2 Speakers) |
| Speaker Impedance | 4-8 Ohms |
| Small Memory Card Support | Up to 32GB (Excluded) |
| Display | 1.7 inch LCD Screen |
| Screen Resolution | 128x64 |
| Bluetooth Range | ≤10m / 32.8ft |
| Total Harmonic Distortion | 0.03% (1W, 1KHZ) |
| Frequency Response | 20Hz-20kHz (+/-2dB) |
| Signal to Noise Ratio | 98dB |
| Supported Formats | MP3, WMA, WAV, AAC, APE, etc. |
| Remote Battery Type | 1xCR1220 Battery (Built-in 140mAh) |
| Item Weight | 10.2 ounces |
| Package Dimensions | 3.54 x 3.54 x 2.76 inches |
10. Application Scenarios
The Dpofirs Wall Mount Music Amplifier is versatile and suitable for various environments:
- Home: Ideal for playing any style of music in living rooms, bedrooms, or kitchens.
- Conference Room: Provides background music or audio for presentations.
- Coffee Shop: Creates a warm ambiance with suitable background music.

Image: This image illustrates the amplifier's suitability for different settings: a comfortable home living area, a professional conference room, and a cozy coffee shop.
11. Warranty and Support
For warranty information and technical support, please refer to the contact details provided on the product packaging or the official Dpofirs website. Keep your purchase receipt as proof of purchase for warranty claims.