1. Introduction
This manual provides detailed instructions for the setup, operation, maintenance, and troubleshooting of your ACEMAGIC S1 Mini PC. Please read this manual thoroughly before using the device to ensure proper functionality and safety.
2. Safety Information
- Always use the original power adapter provided with the device.
- Do not expose the device to water, moisture, or extreme temperatures.
- Avoid placing the device in direct sunlight or near heat sources.
- Do not attempt to open or repair the device yourself. Refer to qualified service personnel.
- Ensure proper ventilation around the device to prevent overheating.
3. Package Contents
Verify that all items are present in the package:
- ACEMAGIC S1 Mini PC
- Power Adapter
- User Manual (this document)
- Base Holder
4. Product Overview
4.1 Front and Rear Panels
The ACEMAGIC S1 Mini PC features a unique design with an integrated LCD display and various ports for connectivity.
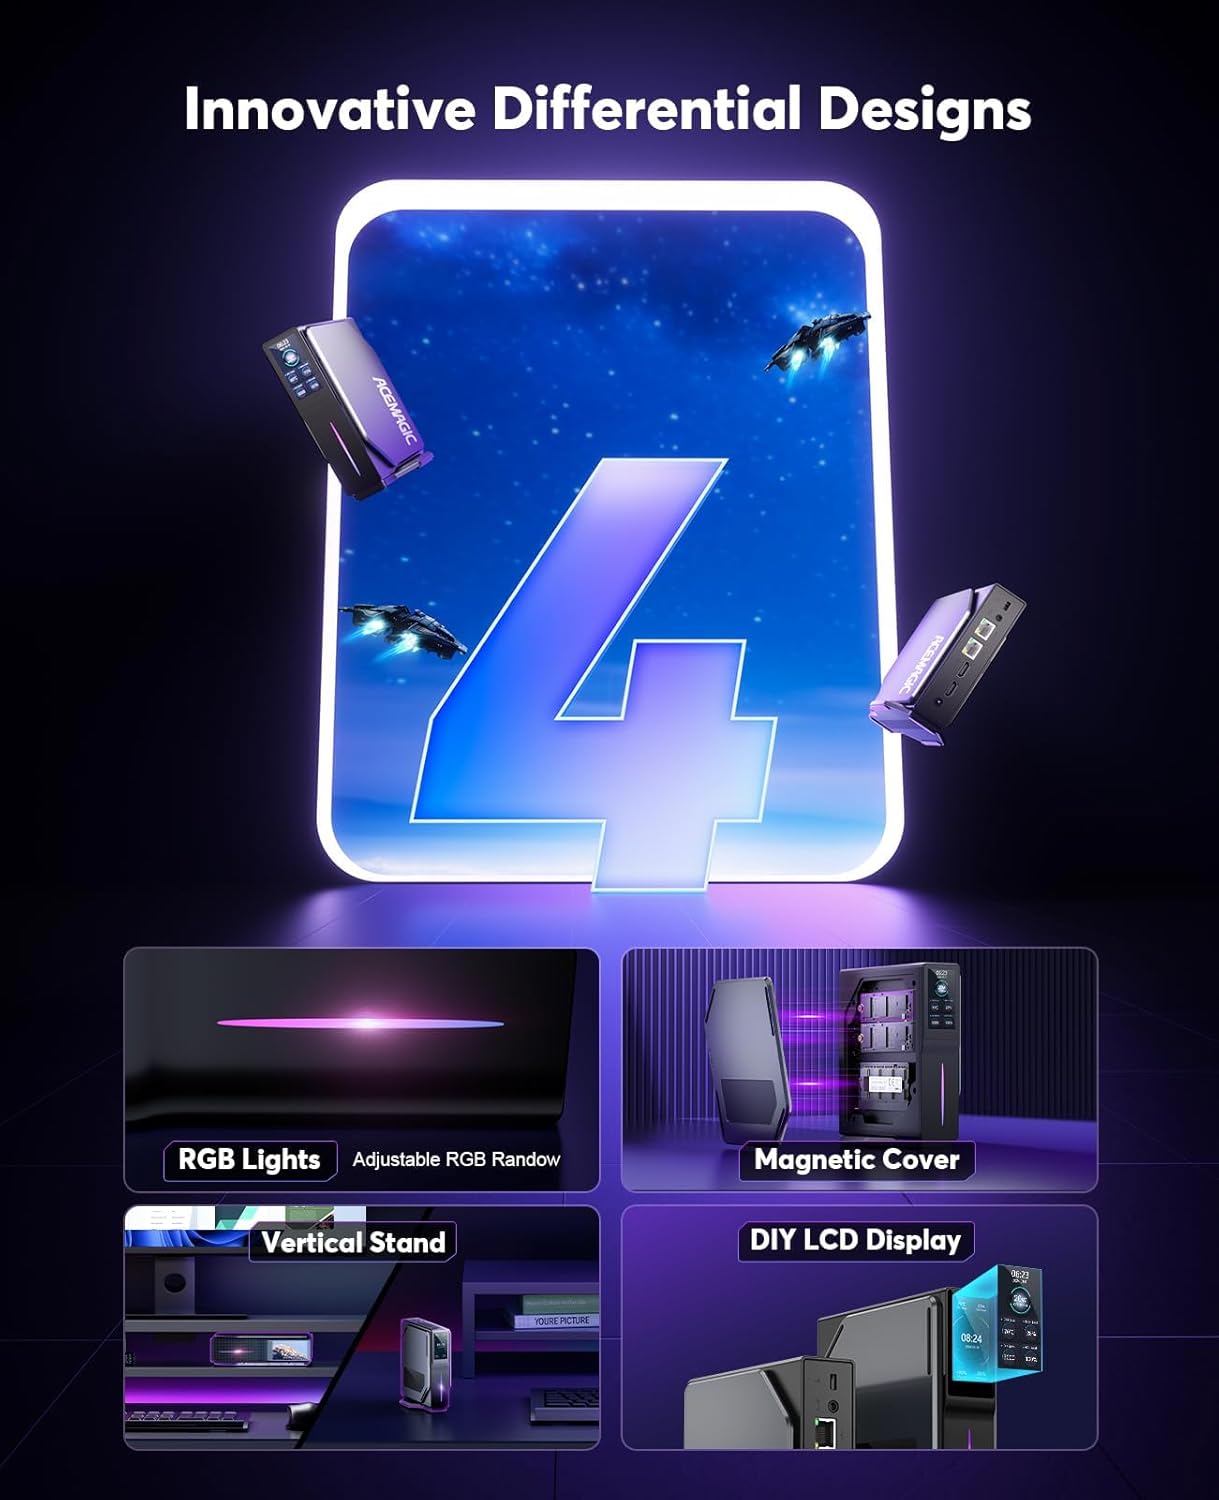
Image: Front and rear view of the ACEMAGIC S1 Mini PC, highlighting the various input/output ports and the LCD screen.
4.2 Unique Features
- DIY LCD Display: Monitor operating status, time, and temperature.
- RGB Lights: Adjustable lighting for aesthetic customization.
- Magnetic Cover: Facilitates easy memory replacement.
- Dual LAN Ports: Offers versatile network configuration options.

Image: Close-up of the ACEMAGIC S1 Mini PC's DIY LCD display, showing CPU temperature, power consumption, memory usage, and CPU load. The image also illustrates various display themes.
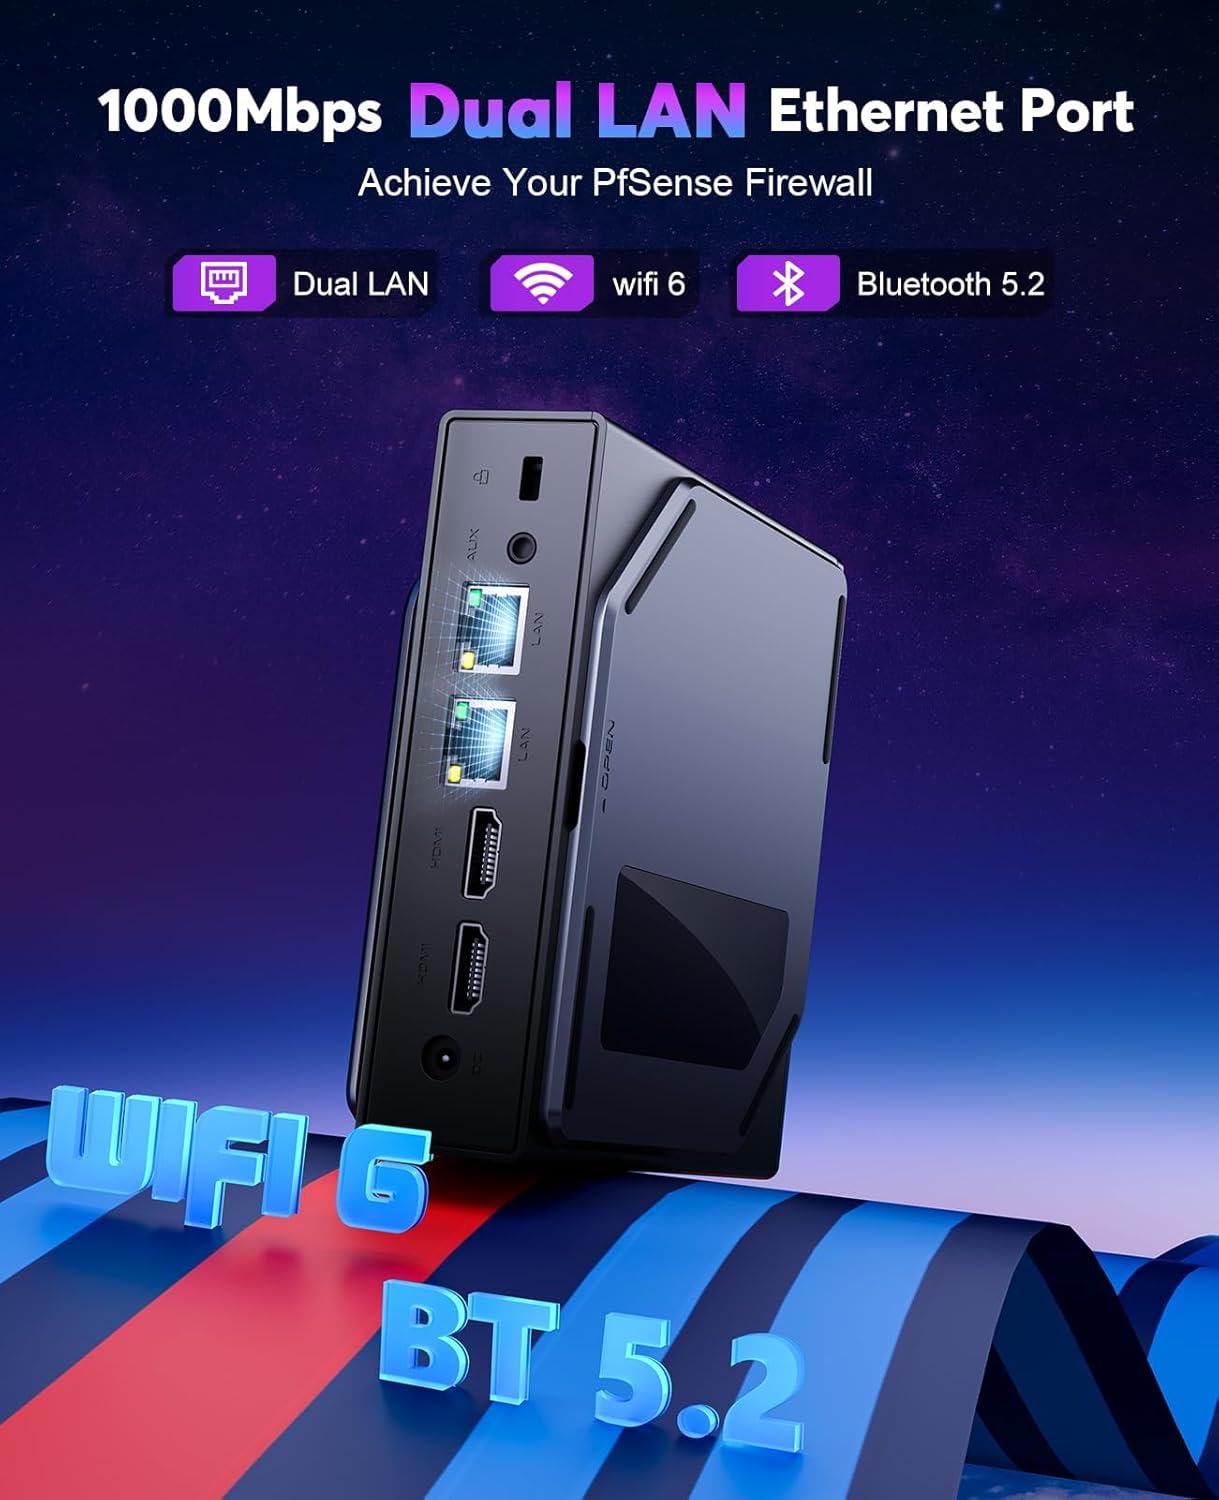
Image: Rear view of the ACEMAGIC S1 Mini PC, emphasizing the dual Gigabit LAN Ethernet ports, along with indicators for WiFi 5 and Bluetooth 4.2 connectivity.
5. Setup
5.1 Connecting Peripherals
- Connect your monitor(s) to the HDMI ports on the rear panel. The device supports dual 4K@60Hz UHD screen display.
- Connect your keyboard and mouse to the available USB 2.0 or USB 3.0 ports.
- For wired network access, connect an Ethernet cable to one of the LAN ports.
- Connect the power adapter to the DC-in port and then to a power outlet.
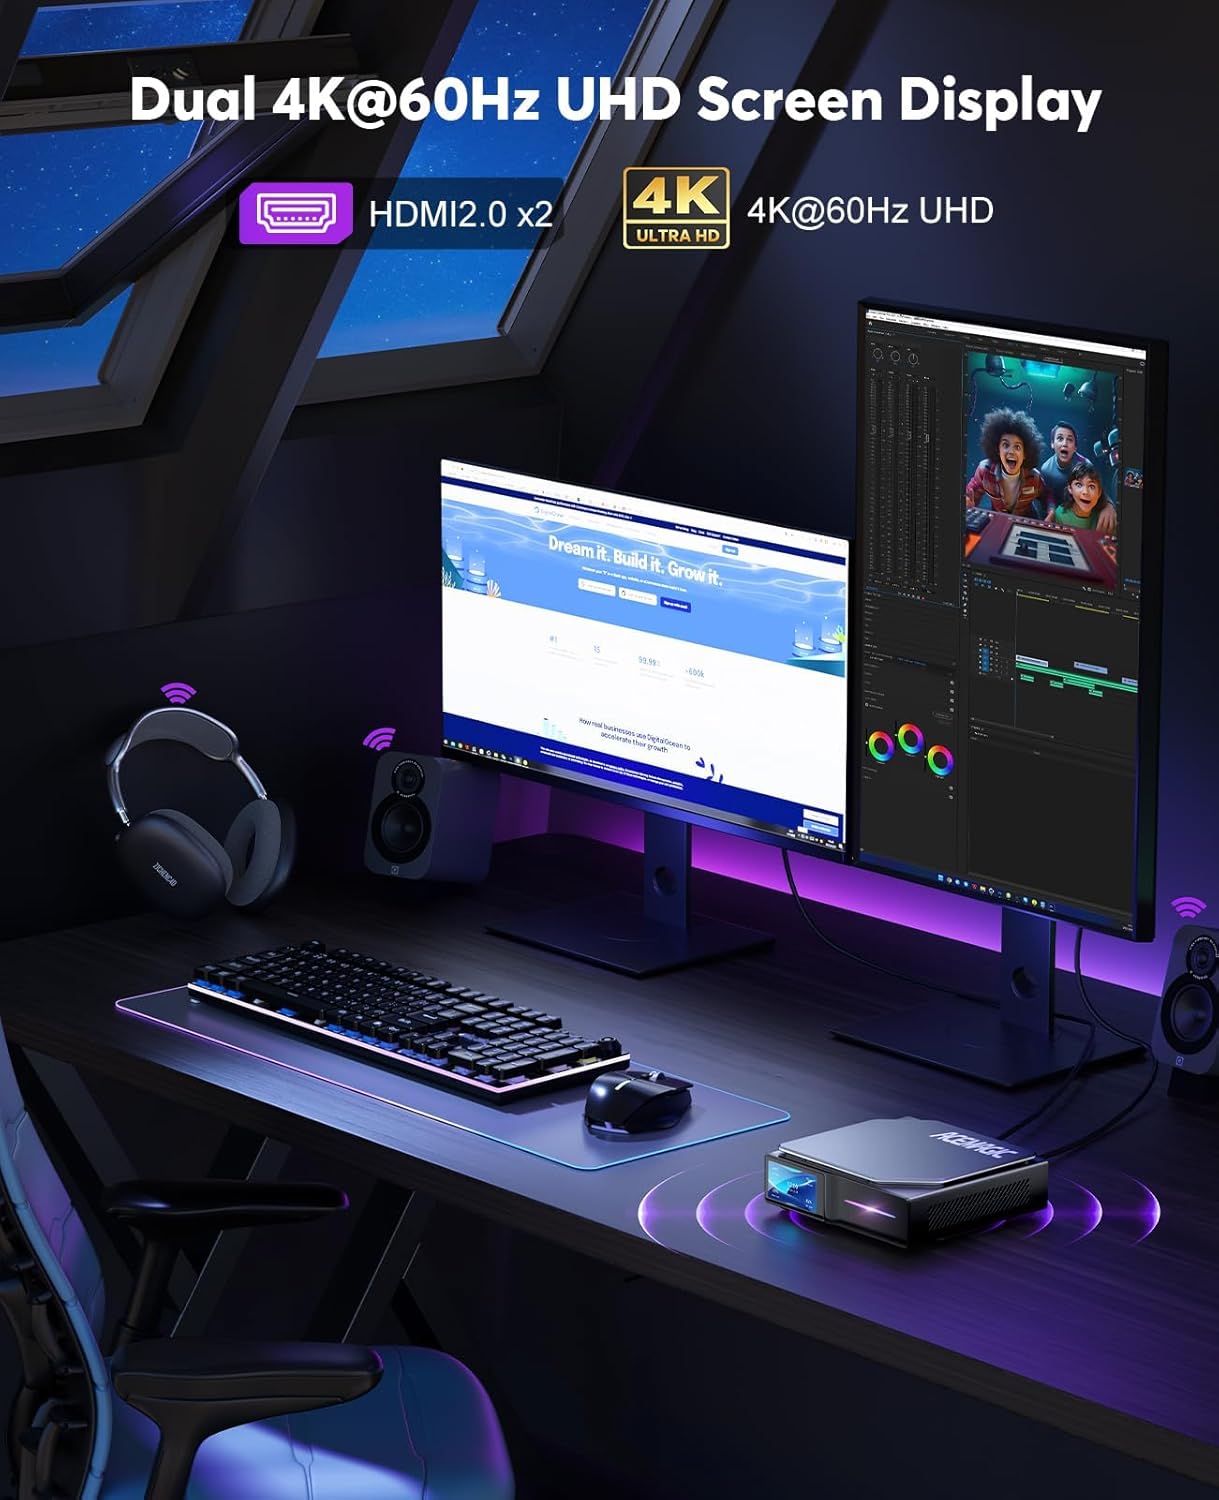
Image: The ACEMAGIC S1 Mini PC connected to two 4K UHD monitors, demonstrating its dual display capability for a multi-tasking setup.
5.2 Powering On
Press the power button located on the front panel of the Mini PC. The device will boot up, and the LCD display will activate.
5.3 Placement Options
The ACEMAGIC S1 Mini PC can be placed either vertically using the included base holder or horizontally, depending on your desk space and preference.

Image: The ACEMAGIC S1 Mini PC shown in both horizontal and vertical orientations on a desk, illustrating its flexible placement options.
6. Operating
6.1 Basic Operation
- Power On: Press the power button.
- Power Off: Use the operating system's shutdown function. Alternatively, press and hold the power button for 5 seconds to force shutdown (not recommended for regular use).
- Restart: Use the operating system's restart function.
6.2 Using the LCD Display
The integrated LCD display provides real-time information about the Mini PC's status. You can monitor:
- CPU Temperature
- CPU Power Consumption
- Memory Usage
- CPU Load
- Current Time
Refer to the operating system's settings or specific ACEMAGIC software (if provided) for customization options of the LCD display themes and values.
6.3 Network Connectivity
- WiFi 5 (802.11ac): Connect to wireless networks using the built-in dual-band (2.4G + 5G) WiFi. Access network settings through your operating system.
- Dual Gigabit LAN: For stable and high-speed wired connections, use the two Ethernet ports. This allows for advanced network configurations such as a PfSense firewall.
6.4 Bluetooth Connectivity
The Mini PC supports Bluetooth 4.2, allowing you to connect wireless peripherals such as keyboards, mice, and headphones. Enable Bluetooth through your operating system's settings and pair your devices.
7. Maintenance
7.1 Cleaning
Regularly clean the exterior of the Mini PC with a soft, dry cloth. Do not use liquid cleaners or abrasive materials. Ensure ventilation openings are free from dust accumulation.
7.2 Memory Replacement
The ACEMAGIC S1 features a magnetic cover design for easy access to internal components, particularly for memory replacement. Gently remove the magnetic side panel to access the memory slots. Ensure the device is powered off and unplugged before performing any internal maintenance.
7.3 Heat Dissipation System
The Mini PC is equipped with an efficient heat dissipation and noise-reduction system to maintain optimal performance. Ensure that the air vents are not obstructed to allow for proper airflow.

Image: Internal view of the ACEMAGIC S1 Mini PC, highlighting the cooling fan and heat dissipation components designed to keep the system cool and quiet during operation.
8. Troubleshooting
- No Power: Ensure the power adapter is securely connected to both the Mini PC and a working power outlet. Try a different outlet.
- No Display: Verify that the monitor is correctly connected to the HDMI port and is powered on. Check the monitor's input source settings.
- Network Issues: For wired connections, check the Ethernet cable. For WiFi, ensure the WiFi adapter is enabled in the operating system and you are connected to the correct network with the correct password.
- Slow Performance: Close unnecessary applications. Check for background processes. Ensure adequate ventilation.
- LCD Display Not Working: Check if the display is enabled in the system settings or any dedicated ACEMAGIC software.
If problems persist, refer to the support section for further assistance.
9. Specifications
| Feature | Specification |
|---|---|
| Processor | 12th Gen Alder Lake-N97 (up to 3.6 GHz) |
| RAM | 8GB DDR4 |
| Storage | 256GB M.2 SSD |
| Graphics | Intel UHD Graphics |
| Max Screen Resolution | 3840x2160 (4K) |
| Wireless Connectivity | WiFi 5 (802.11ac, 2.4G + 5G), Bluetooth 4.2 |
| LAN | Dual Gigabit Ethernet |
| USB Ports | 2x USB 2.0, 2x USB 3.0 |
| Video Output | 2x HDMI 1.2 (Dual 4K@60Hz UHD) |
| Operating System | Supports Linux, Windows |
| Special Features | DIY LCD Screen, RGB Lights, Magnetic Cover, Wake On LAN, RTC Wake, Auto Power On |
| Dimensions | 12.4 x 12.8 x 4 cm (approx. 4.88 x 5.04 x 1.57 inches) |
| Weight | 0.38 kg (approx. 0.84 lbs) |
10. Warranty and Support
10.1 Warranty Information
ACEMAGIC offers a 1-year limited warranty on the S1 Mini PC from the date of purchase. This warranty covers defects due to design and workmanship. Please retain your proof of purchase for warranty claims.
10.2 Customer Support
For technical assistance, troubleshooting, or warranty inquiries, please contact ACEMAGIC customer support. Refer to the official ACEMAGIC website or your purchase documentation for contact details.


