
Introduction
Thank you for choosing the Sylviera 12x20FT Heavy Duty Metal Carport. This manual provides essential information for the safe and efficient assembly, operation, and maintenance of your carport. Please read these instructions carefully before beginning installation and retain them for future reference. This carport is designed to provide reliable shelter for vehicles, boats, or equipment, offering protection against various weather conditions.
Safety Information
Warning:
- The edges of some metal components may be sharp. Always wear cut-resistant gloves during installation to prevent injury.
- Ensure the installation site is level and clear of obstructions.
- Do not attempt assembly during strong winds, heavy rain, or other adverse weather conditions.
- Always use appropriate safety gear, including gloves and eye protection.
- Ensure all connections are securely fastened to maintain structural integrity.
- This carport is not intended for use as a permanent structure and should be anchored properly.
Package Contents
Your Sylviera 12x20FT Heavy Duty Metal Carport is shipped in multiple cartons and includes all necessary components for assembly. Please verify all parts against the included detailed instruction manual before beginning. The package typically includes:
- Pre-labeled and pre-drilled metal frame components (posts, beams, crossbars).
- Galvanized steel roof panels.
- Fasteners (screws, bolts, nuts).
- Cut-resistant gloves for safe handling.
- Protective rubber strips for sharp edges.
- High-density weather-resistant sealing tape.
- Ground anchors and side tension rods.
- Illustrated assembly manual.

Image: Typical package contents including gloves and three cartons for the carport components.
Specifications
| Feature | Detail |
|---|---|
| Model Number | CP20x20 |
| Dimensions (L x W x H) | 236"L x 233"W x 106"H (approx. 19.67ft L x 19.42ft W x 8.83ft H) |
| Size | 12x20FT (Nominal) |
| Material | Galvanized Steel Frame, Metal Roof Panels |
| Color | Black |
| Item Weight | 382 Pounds |
| Floor Area | 382.03 Square Feet |
| Wind Resistance Rating | 100 MPH |
| Snow Load Capacity | 35 PSF (Pounds per Square Foot) |
| UV Protection | Yes |
| Water Resistance Level | Waterproof |

Image: Carport features for all-weather protection, including roof load capacity and wind resistance.
Setup and Installation
The Sylviera carport is designed for quick and easy installation. It is recommended that three adults participate in the assembly process. No specialized tools are required beyond what is typically found in a household toolkit.
Preparation:
- Choose a Flat Surface: Ensure the carport is installed on a completely flat and stable surface to guarantee structural integrity and proper drainage.
- Unpack and Identify Parts: Carefully unpack all components. Each part is labeled for easy identification. Refer to the detailed instruction manual for a complete parts list and diagrams.
- Wear Safety Gear: Always wear the provided cut-resistant gloves and eye protection during assembly.
Assembly Steps:
Follow the step-by-step instructions and diagrams provided in your detailed manual. General steps include:
- Assemble the Frame: Begin by connecting the main support posts and horizontal beams. Ensure all connections are snug but do not fully tighten bolts until the entire frame is assembled.
- Install Reinforcement Structures: Attach the top triangular support structure, side reinforcing crossbars, and bottom support structures as indicated in the manual. These reinforcements are crucial for the carport's stability and wind resistance.
- Attach Roof Panels: Carefully place and secure the galvanized steel roof panels. Apply the high-density weather-resistant sealing tape to prevent leaks. Ensure the protective film is removed from the panels if present.
- Install Ground Reinforcements: Secure the carport to the ground using the provided ground anchors and side tension rods. This enhances stability, especially in harsh weather conditions.
- Final Tightening: Once all components are in place and aligned, fully tighten all bolts and fasteners.
- Apply Protective Rubber Guards: Place the protective rubber strips on all sharp edges, particularly along the roof, to prevent accidental scratches and enhance safety.

Image: Visual guide for easy assembly, stressing the importance of a flat installation surface.

Image: Detailed view of the carport's reinforcement points for enhanced stability.
Operating and Usage
Your Sylviera 12x20FT Heavy Duty Metal Carport provides versatile and spacious coverage for various needs.
- Vehicle Shelter: The carport can accommodate one full-size truck or SUV, protecting it from sun, rain, snow, and hail. Its open structure allows easy access for larger vehicles like RVs and boats.
- Outdoor Storage: Utilize the ample space for storing outdoor equipment, tools, or other bulky items, keeping them protected from the elements.
- Multi-purpose Covered Area: The carport can also serve as a covered area for outdoor activities, providing shade and shelter.
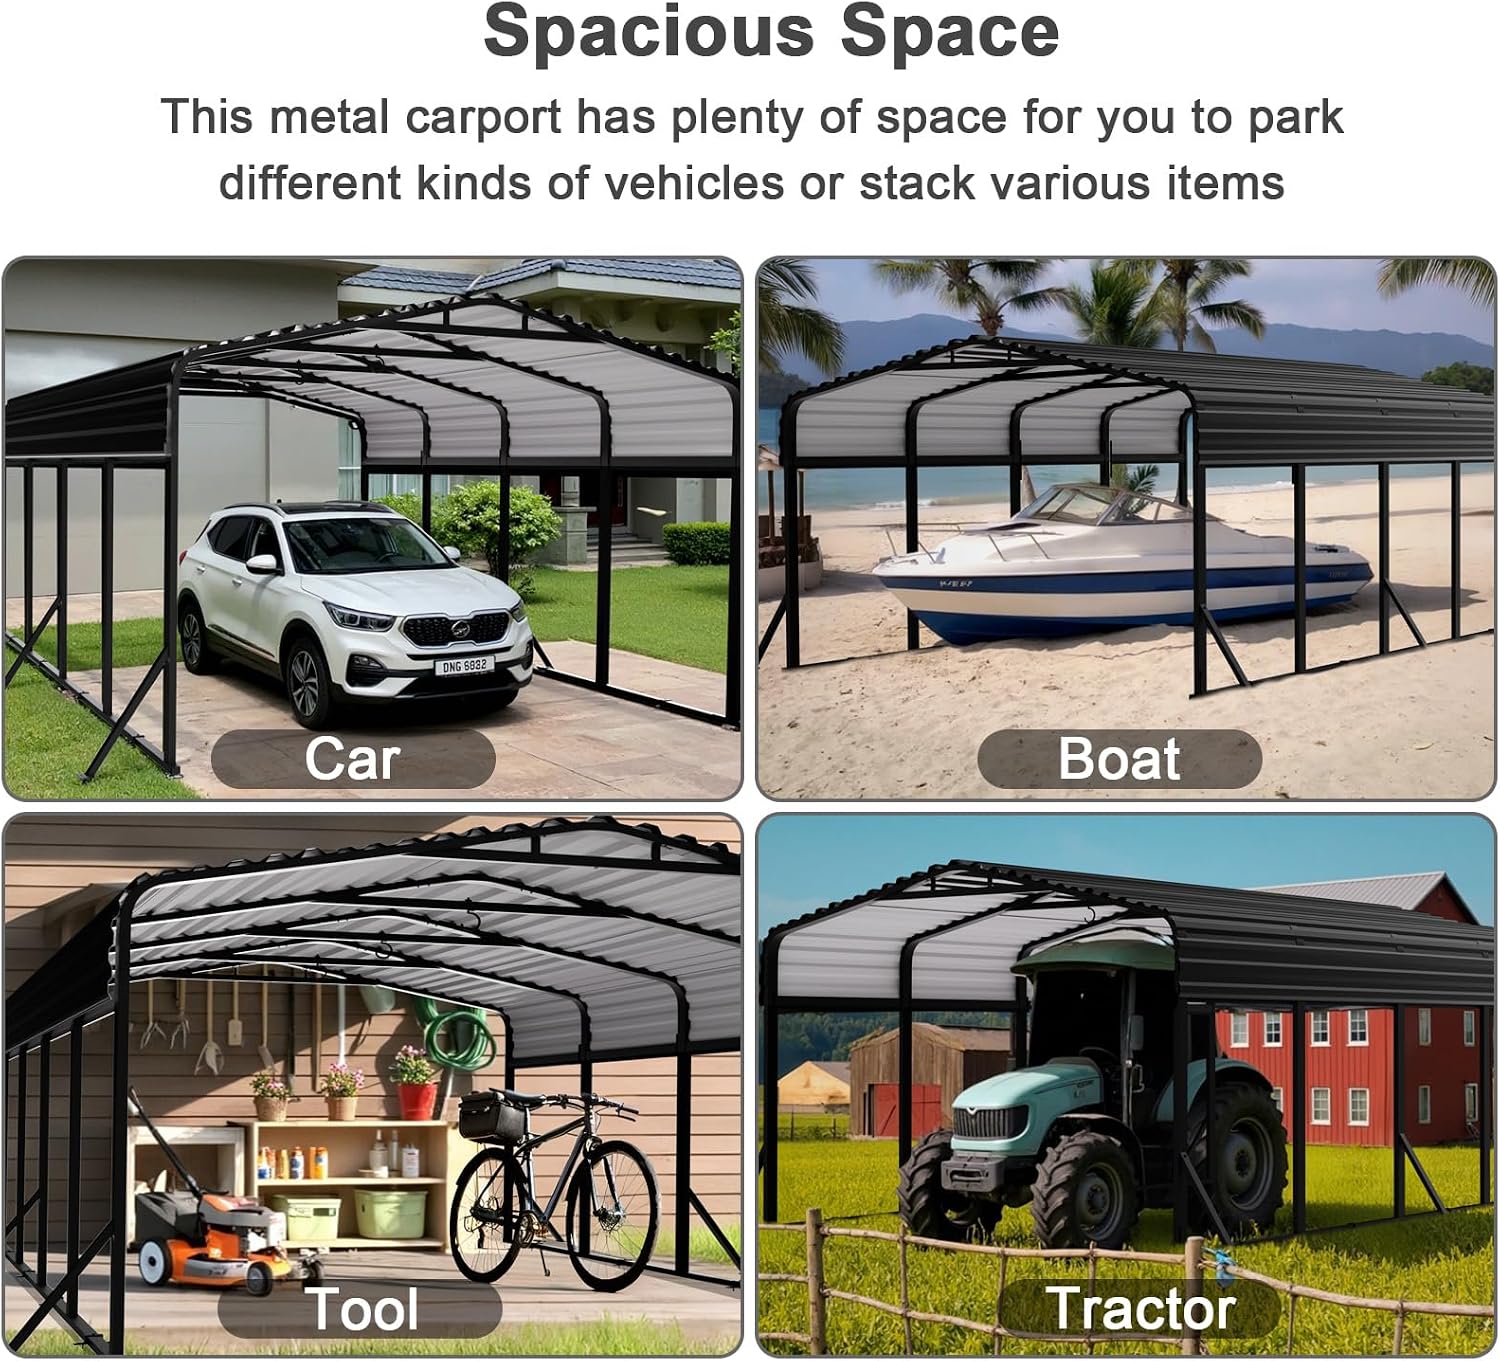
Image: Examples of how the carport's spacious design can be used for various vehicles and storage.
Maintenance
The Sylviera Heavy Duty Metal Carport is constructed with rust-resistant materials, requiring minimal maintenance to ensure its longevity and performance.
- Regular Inspection: Periodically inspect all bolts, screws, and connections to ensure they remain tight. Re-tighten any loose fasteners.
- Cleaning: Clean the roof panels and frame as needed with mild soap and water. Avoid abrasive cleaners or tools that could scratch the powder-coated finish or galvanized steel.
- Snow Removal: While the carport has a high snow load capacity, it is advisable to remove excessive snow accumulation to prevent undue stress on the structure, especially during prolonged heavy snowfall.
- Drainage: Ensure the area around the carport remains clear to allow for proper water drainage and prevent pooling.
Troubleshooting
If you encounter any issues with your carport, consider the following common solutions:
- Loose Connections: If the structure feels unstable, check all bolts and screws. Re-tighten any that have come loose over time due to wind or vibration.
- Leaks: If you notice water leaks, inspect the roof panel seams. Ensure the sealing tape is properly applied and intact. Reapply or add more sealing tape if necessary.
- Damage from Weather: In the event of extreme weather, inspect the frame and roof panels for any damage. Replace any severely bent or broken components immediately to maintain safety and structural integrity.
- Difficulty Assembling: If you are having trouble with assembly, double-check the instruction manual diagrams and ensure all parts are correctly oriented. Do not force parts together.
Warranty and Support
For warranty information and customer support, please refer to the documentation included with your purchase or contact the manufacturer directly. Keep your purchase receipt as proof of purchase.
Manufacturer: Sylviera
For assistance with parts, assembly, or any other inquiries, please contact Sylviera customer service through their official website or the retailer where the product was purchased.