
1. Introduction
This manual provides detailed instructions for the safe and effective use of your GODOX iT32 TTL Camera Flash and X5N Wireless Trigger. Please read this manual thoroughly before operation to ensure optimal performance and to prevent damage to the product.
The GODOX iT32 flash and X5N trigger combination offers a versatile lighting solution for photographers. It features a detachable design, intuitive touchscreen controls, and seamless wireless integration with the Godox 2.4GHz Wireless X System. This model is compatible with Nikon cameras including D750, D850, D7500, D800, D810, D780, D500, D7100, Z6, Z7II, Z8, and ZFC.
2. What's in the Box
Upon unboxing your GODOX iT32 + X5N kit, you should find the following components:
- 1x GODOX iT32 TTL Camera Flash
- 1x GODOX X5N Wireless Trigger (for Nikon)
- 1x Diffuser
- 1x Magnetic Base
- 1x USB Type-C Charging Cord
- 1x 1/2 CTO Gel
- 1x 1/1 CTO Gel
- 1x Storage Bag

Image: All components included in the GODOX iT32 + X5N package.
Video: An unboxing video demonstrating the contents of the GODOX iT32 with X5 package.
3. Setup
3.1 Attaching the X5N Trigger to Your Camera
- Ensure your camera is powered off.
- Slide the X5N Wireless Trigger onto your camera's hotshoe.
- Secure the trigger by rotating the locking mechanism until it is firmly in place.
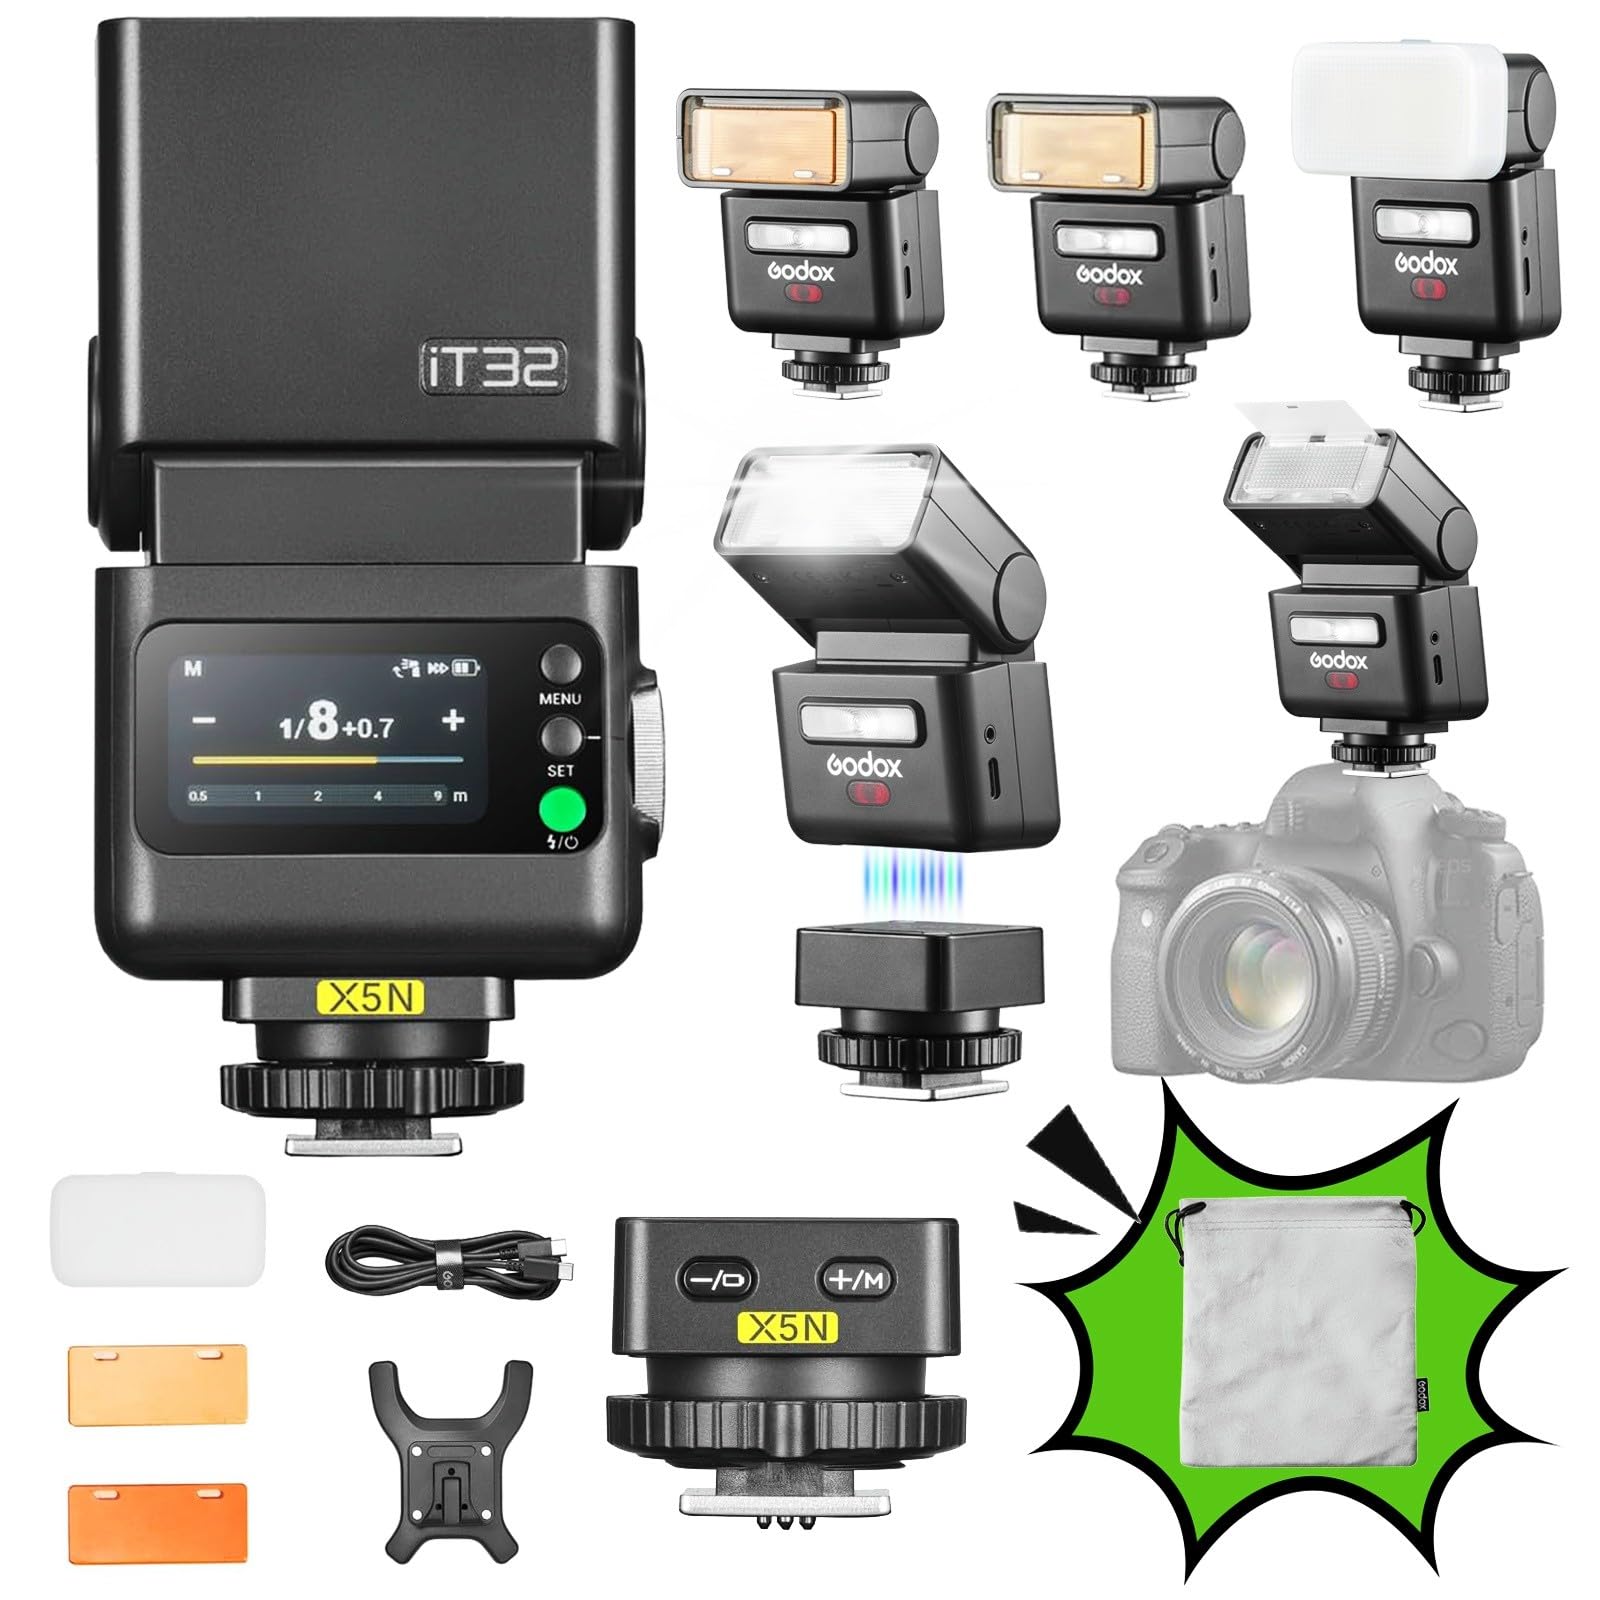
Image: The GODOX iT32 flash and X5N trigger attached to a Nikon camera's hotshoe.
3.2 Attaching the iT32 Flash to the X5N Trigger
- Align the magnetic base of the iT32 flash with the top of the X5N trigger.
- The flash will magnetically snap into place, creating a secure connection.
The magnetic interface allows for quick attachment and detachment, facilitating seamless transitions between on-camera and off-camera flash setups.
3.3 Powering On and Initial Settings
- Long-press the power button on the iT32 flash until the screen illuminates.
- Swipe up or rotate the dial to unlock the screen.
- The iT32 will automatically identify the attached X5N version and display key information such as model type, battery level, and charging status.

Image: The iT32's touchscreen displaying operational information.
4. Operating the GODOX iT32 + X5N
4.1 On-Camera Flash Operation
When the iT32 is attached to the X5N on your camera's hotshoe, it functions as an on-camera flash. You can adjust settings directly on the iT32's touchscreen.
- TTL Mode: For automatic flash exposure, the iT32 will communicate with your camera to determine the appropriate flash output. Adjust flash exposure compensation (FEC) by dragging the yellow slider on the touchscreen.
- Manual (M) Mode: For precise control, manually set the flash power (from 1/1 to 1/256). This can be done by tapping the +/- icons, sliding the bar, or rotating the dial.
- Rotating Head: The flash head can rotate 90° upwards and 270° left/right for bounce flash photography.
- Built-in Reflector & Diffuser: Pull out the integrated reflector and wide-angle diffuser for softer, more even light distribution.

Image: Demonstrates the rotating flash head and the built-in reflector/diffuser.
4.2 Off-Camera Wireless Operation
When the iT32 is detached from the X5N trigger, the X5N automatically switches to trigger mode, allowing you to wirelessly control the iT32 or other Godox Wireless X System flashes.
- 2.4GHz Multi-Light Sync: The iT32 has a built-in 2.4GHz receiver, and the X5N acts as a sender. No manual pairing is needed for instant wireless communication.
- Controlling Multiple Flashes: Use the X5N to trigger multiple Godox flashes simultaneously or individually by setting different groups and channels.

Image: An example of using the iT32 off-camera for multi-light setups.
Video: An overview of the Godox iT32 and X5 Camera Flash features and operation.
5. Maintenance
- Cleaning: Use a soft, dry cloth to clean the flash body and screen. Avoid using harsh chemicals or abrasive materials.
- Storage: Store the flash and trigger in a cool, dry place, away from direct sunlight and extreme temperatures. Use the provided storage bag for protection.
- Battery Care: The iT32 features USB-C charging. Ensure the device is fully charged before extended storage and periodically recharge it to maintain battery health.

Image: The iT32 flash connected for USB-C charging.
6. Troubleshooting
| Problem | Possible Cause | Solution |
|---|---|---|
| Flash not firing | Low battery, incorrect settings, trigger not connected | Charge battery, check flash mode (TTL/M), ensure X5N is securely mounted and powered on. |
| Inconsistent exposure | Incorrect flash compensation, ambient light issues, distance to subject | Adjust FEC, use M mode for consistent output, verify subject distance is within flash range. |
| Wireless sync failure | Incorrect channel/ID, interference, distance too far | Verify channel and ID settings on both iT32 and X5N, reduce distance, try a different channel. |
7. Specifications
| Feature | Detail |
|---|---|
| Model | iT32+X5 N |
| Brand | GODOX |
| Compatible Mountings | Nikon (with X5N trigger) |
| Camera Flash Type | External, TTL |
| Flash Sync Speed | Up to 1/250s |
| Wireless System | Godox 2.4GHz Wireless X System |
| Item Weight | 14.9 ounces |
| Package Dimensions | 6.97 x 4.65 x 3.23 inches |
| Power Source | Internal rechargeable battery (USB-C charging) |
8. Warranty and Support
For warranty information and technical support, please refer to the official GODOX website or contact your local distributor. Keep your purchase receipt as proof of purchase for warranty claims.
Online resources and FAQs may also be available on the GODOX Store.