1. Safety Information
Read all safety warnings and instructions carefully before using this device. Failure to follow these instructions may result in electric shock, fire, or serious injury.
- Do not exceed the maximum voltage ratings specified for the device (DC/AC 600V).
- Ensure the test leads are properly connected and in good condition before each use.
- Do not use the device if it appears damaged or if the battery cover is not securely closed.
- Exercise extreme caution when working with live circuits. Always assume circuits are live until proven otherwise.
- Keep hands and fingers behind the probe barriers during measurements.
- Do not operate the device in wet environments or during electrical storms.
- Replace batteries promptly when the low battery indicator appears to ensure accurate readings.
2. Product Overview
The UOFKIPBA ZL128B is a True RMS Smart Pen Multimeter designed for accurate and reliable electrical measurements. It features a digital display with 4000 counts, non-contact voltage (NCV) detection, and automatic identification of measurement types. This compact device is suitable for testing DC/AC voltage, resistance, capacitance, frequency, diode, and live wire detection.
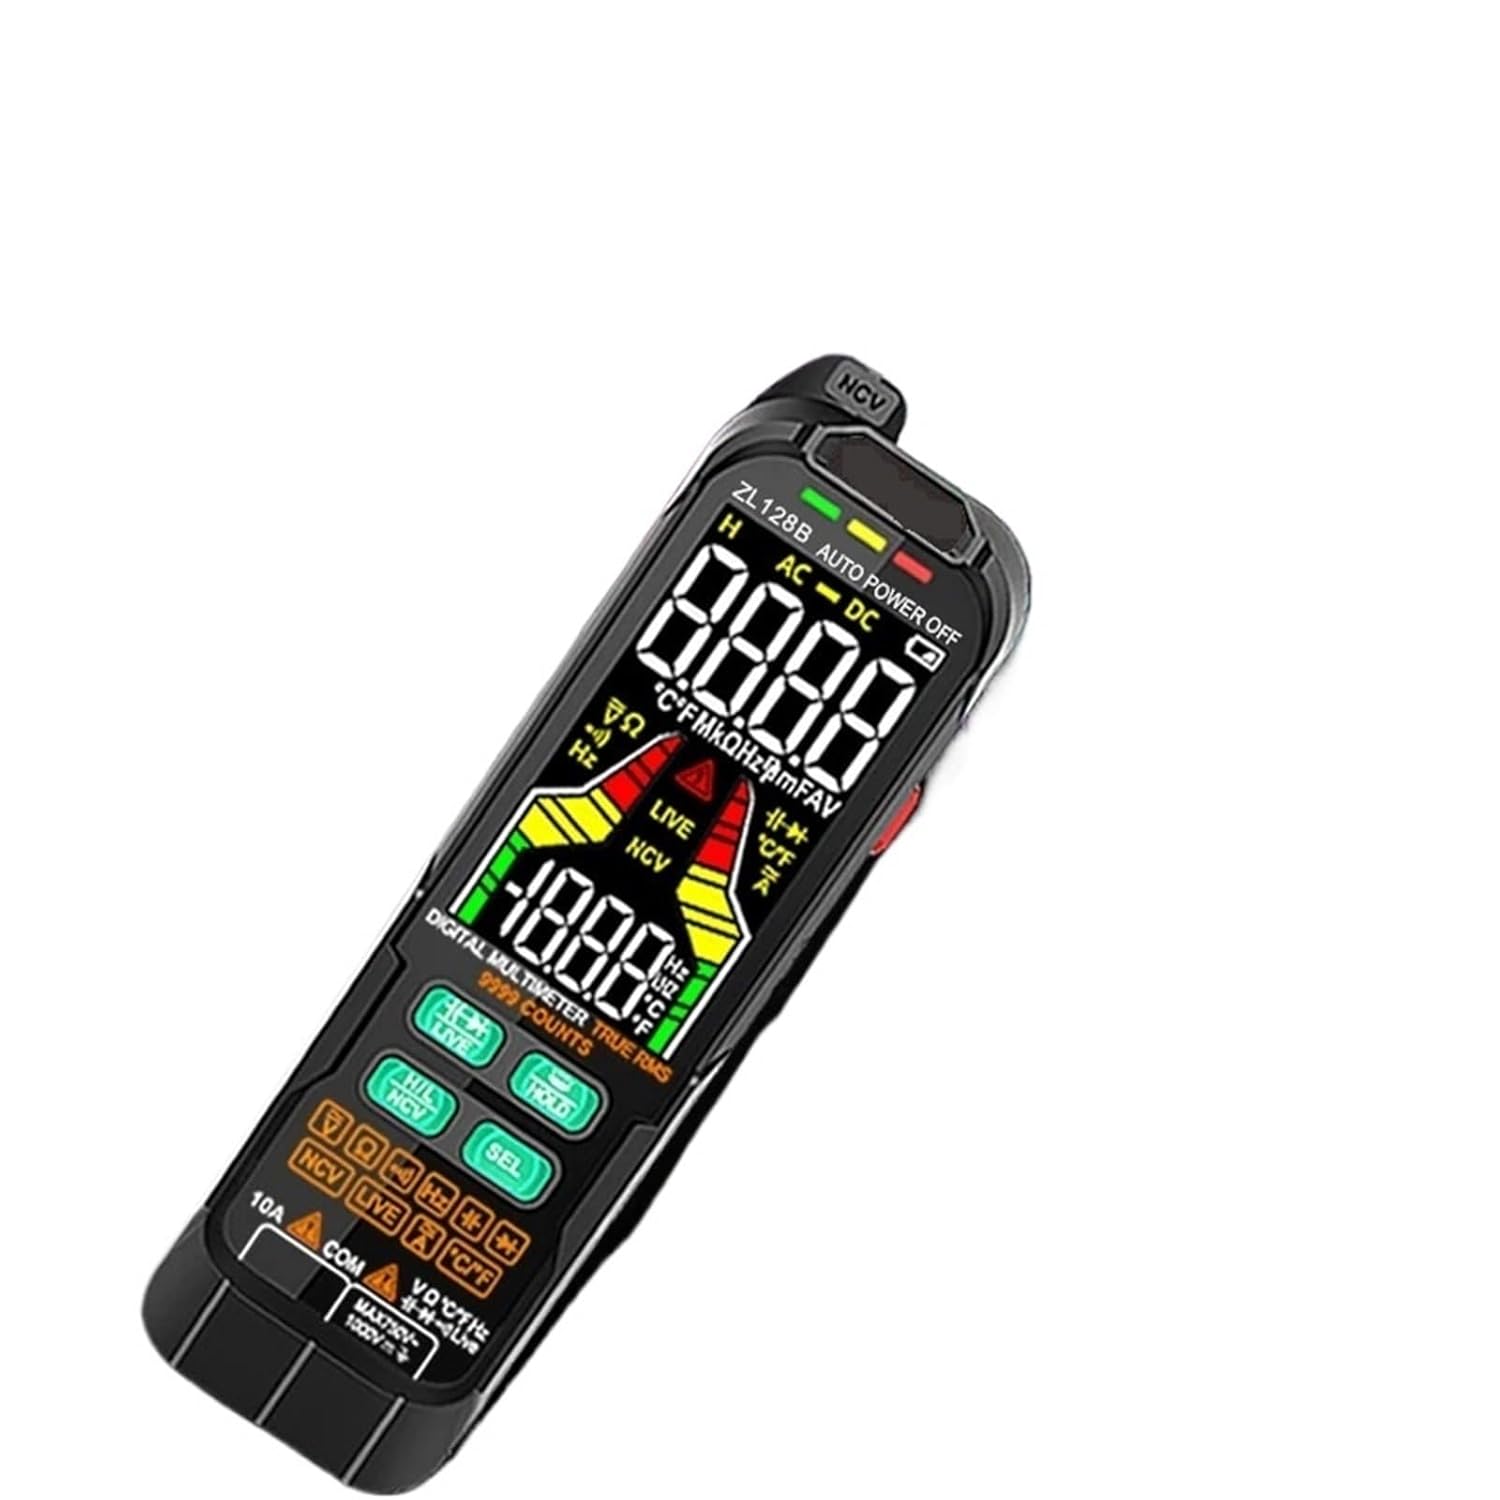
This image shows the UOFKIPBA ZL128B True RMS Smart Pen Multimeter, highlighting its digital display and various function buttons. The device is black with a clear LCD screen displaying measurement readings and mode indicators.
3. Setup
3.1 Battery Installation
- Locate the battery compartment on the back of the multimeter.
- Use a screwdriver to open the battery compartment cover.
- Insert two 1.5V AAA batteries, ensuring correct polarity (+ and -).
- Replace the battery compartment cover and secure it with the screw.
The device is powered by 2x1.5V AAA batteries (included).
4. Operating Instructions
The ZL128B multimeter features smart auto-ranging for most measurements, simplifying operation. Press the 'SEL' button to cycle through specific functions within a mode if needed.

This image displays the UOFKIPBA ZL128B Smart Pen Multimeter being held in a hand, demonstrating its ergonomic design and compact size. The display shows a reading of '14' and 'NCV', indicating its non-contact voltage detection capability.
4.1 Automatic Measurement Mode
- Turn on the multimeter. It will typically default to an automatic measurement mode.
- Connect the test probes to the circuit or component you wish to measure. The multimeter will automatically detect and display the measurement type (e.g., AC voltage, DC voltage, resistance).
4.2 DC/AC Voltage Measurement
- In auto mode, connect the red probe to the positive terminal and the black probe to the negative terminal (for DC) or across the points for AC.
- The display will show the voltage reading and indicate whether it is DC or AC.
4.3 Resistance Measurement
- Ensure the circuit is de-energized before measuring resistance.
- Connect the probes across the component. The multimeter will display the resistance value in Ohms (Ω), kilo-Ohms (kΩ), or Mega-Ohms (MΩ).
4.4 Capacitance Measurement
- Ensure the capacitor is fully discharged before measurement to prevent damage to the multimeter.
- Connect the probes across the capacitor terminals. The display will show the capacitance value in Farads (F), micro-Farads (µF), or nano-Farads (nF).
4.5 Frequency (Hz) Measurement
- Connect the probes to the signal source. The multimeter will display the frequency in Hertz (Hz) or kiloHertz (kHz).
4.6 Diode Test
- Ensure the diode is disconnected from the circuit.
- Connect the red probe to the anode and the black probe to the cathode. The display will show the forward voltage drop. Reverse the probes; an open circuit reading indicates a good diode.
4.7 Non-Contact Voltage (NCV) Detection
- Activate the NCV function (refer to device buttons).
- Bring the tip of the multimeter near a live wire or outlet. The device will indicate the presence of AC voltage through an audible beep and/or visual indicator.
4.8 Live Wire Detection
- Activate the Live Wire function (refer to device buttons).
- Insert the red probe into the socket or touch the wire. The device will indicate if the wire is live.
4.9 Data Hold Function
- Press the 'HOLD' button to freeze the current reading on the display. Press it again to release.
5. Specifications
| Parameter | Specification |
|---|---|
| Display Type | Digital Display, 4000 counts |
| DC Voltage Range | 4V/40V/400V/600V ±(0.5%reading+3) |
| AC Voltage Range | 4V/40V/400V/600V ±(0.8%reading+3) |
| Measuring Resistance Range | 400Ω/40kΩ/400kΩ/4MΩ/40MΩ ±(1.5%reading+10) |
| Measuring Capacitance Range | 40nF/400nF/4µF/40µF/400µF/4mF ±(3.0%reading+5) |
| Frequency Range | 40Hz/400Hz/4kHz/40kHz/400kHz/4MHz |
| Maximum Voltage | DC/AC 600V |
| Measurement Speed | 3 times per second |
| Operating Temperature | 0 - 50 °C |
| Battery Type | 2 x 1.5V AAA Batteries |
| Product Dimensions | 1.1 x 0.9 x 2.8 inches |
| Weight | 0.078 kg (approx. 2.75 oz) |
6. Maintenance
- Cleaning: Wipe the device with a damp cloth and mild detergent. Do not use abrasives or solvents.
- Battery Replacement: Replace batteries when the low battery indicator appears on the display. Refer to Section 3.1 for instructions.
- Storage: If the device is not used for an extended period, remove the batteries to prevent leakage. Store in a cool, dry place away from direct sunlight.
- Probe Inspection: Regularly inspect test leads for any damage, cracks, or exposed wiring. Replace damaged leads immediately.
7. Troubleshooting
- Device does not power on: Check if batteries are installed correctly and have sufficient charge. Replace batteries if necessary.
- Inaccurate readings: Ensure test leads are properly connected. Check battery level. Verify the correct measurement mode is selected (if not in auto mode).
- No display: Check battery connection and charge. If the issue persists, contact support.
- "OL" or "OVER" displayed: This indicates an overload or out-of-range measurement. Ensure the measured value is within the device's specified range.
8. Warranty and Support
For warranty information or technical support, please refer to the documentation provided with your purchase or contact the manufacturer directly through their official website or customer service channels. Keep your purchase receipt as proof of purchase.