
Introduction
Thank you for choosing the Vivitar Digital Camera Binocular. This device combines powerful binocular viewing with high-quality digital camera and video recording capabilities, designed for outdoor enthusiasts, travelers, and sports observers. It allows you to capture 16MP photos and record 2.7K QHD videos, featuring both day and night use functionality.
This manual provides essential information for setting up, operating, maintaining, and troubleshooting your new digital camera binocular. Please read it thoroughly before use to ensure optimal performance and longevity of your device.

Figure 1: Front view of the Vivitar Digital Camera Binocular, highlighting its 3.0" screen, 4x optical zoom, 10x digital zoom, 2.5K UHD video resolution, 40MP image resolution, and 2500mAh rechargeable lithium battery.
Setup
Follow these steps to prepare your Vivitar Digital Camera Binocular for first use.
1. Charging the Battery
The device is powered by a rechargeable Lithium Ion battery. Before first use, fully charge the battery.
- Connect the included USB cable to the binocular's USB port.
- Connect the other end of the USB cable to a compatible USB power adapter (not included) or a computer's USB port.
- The charging indicator will illuminate. Once fully charged, the indicator light will change or turn off (refer to device screen for battery status).
2. Inserting a Memory Card
A MicroSD card (not included) is required to store photos and videos. The device supports cards up to 32GB.
- Locate the memory card slot, typically on the side or bottom of the device.
- Gently insert the MicroSD card with the gold contacts facing the correct direction (refer to the diagram near the slot).
- Push the card in until it clicks into place. To remove, push it again until it springs out.

Figure 2: The Vivitar Digital Camera Binocular shown with its carrying case, USB cable, and a 32GB MicroSD card, illustrating the accessories for setup and use.
3. Powering On/Off
- Press and hold the Power button (usually marked with a universal power symbol) to turn the device on or off.
- The 3-inch IPS LCD screen will activate upon power-on.
Operating Instructions
This section details how to use the various functions of your digital camera binocular.
1. Basic Controls
Familiarize yourself with the main control buttons:
- Power Button: Turns the device on/off.
- Mode (M) Button: Switches between Photo, Video, and Playback modes.
- OK Button: Confirms selections or starts/stops recording/capturing.
- Navigation Buttons (Up/Down/Left/Right): Used for menu navigation, zoom control, and adjusting settings.
- Brightness/IR Button: Adjusts screen brightness or activates/deactivates night vision (infrared) mode.

Figure 3: The Vivitar Digital Camera Binocular displaying its control buttons and illustrating its capability for both day and night use.
2. Taking Photos
- Press the Mode (M) button until the camera icon appears on the screen, indicating Photo mode.
- Aim the binoculars at your subject. Use the navigation buttons to adjust the 4x optical zoom and up to 10x digital zoom as needed.
- Press the OK button to capture a 16MP photo. The effective still resolution is 40MP.

Figure 4: The Vivitar Digital Camera Binocular in use, demonstrating its 10x digital zoom capability to bring distant subjects, such as a squirrel, closer into view.
3. Recording Videos
- Press the Mode (M) button until the video camera icon appears, indicating Video mode.
- Frame your subject using the binoculars and the 3-inch IPS LCD screen.
- Press the OK button to start recording 2.7K QHD video at 30 frames per second. Press OK again to stop recording.
4. Day and Night Use
The binocular is equipped with night vision capabilities for use in low-light conditions.
- In low light, press the Brightness/IR button to activate the infrared (IR) illuminator for enhanced viewing and recording in darkness.
- The screen will display a monochrome image in night vision mode.
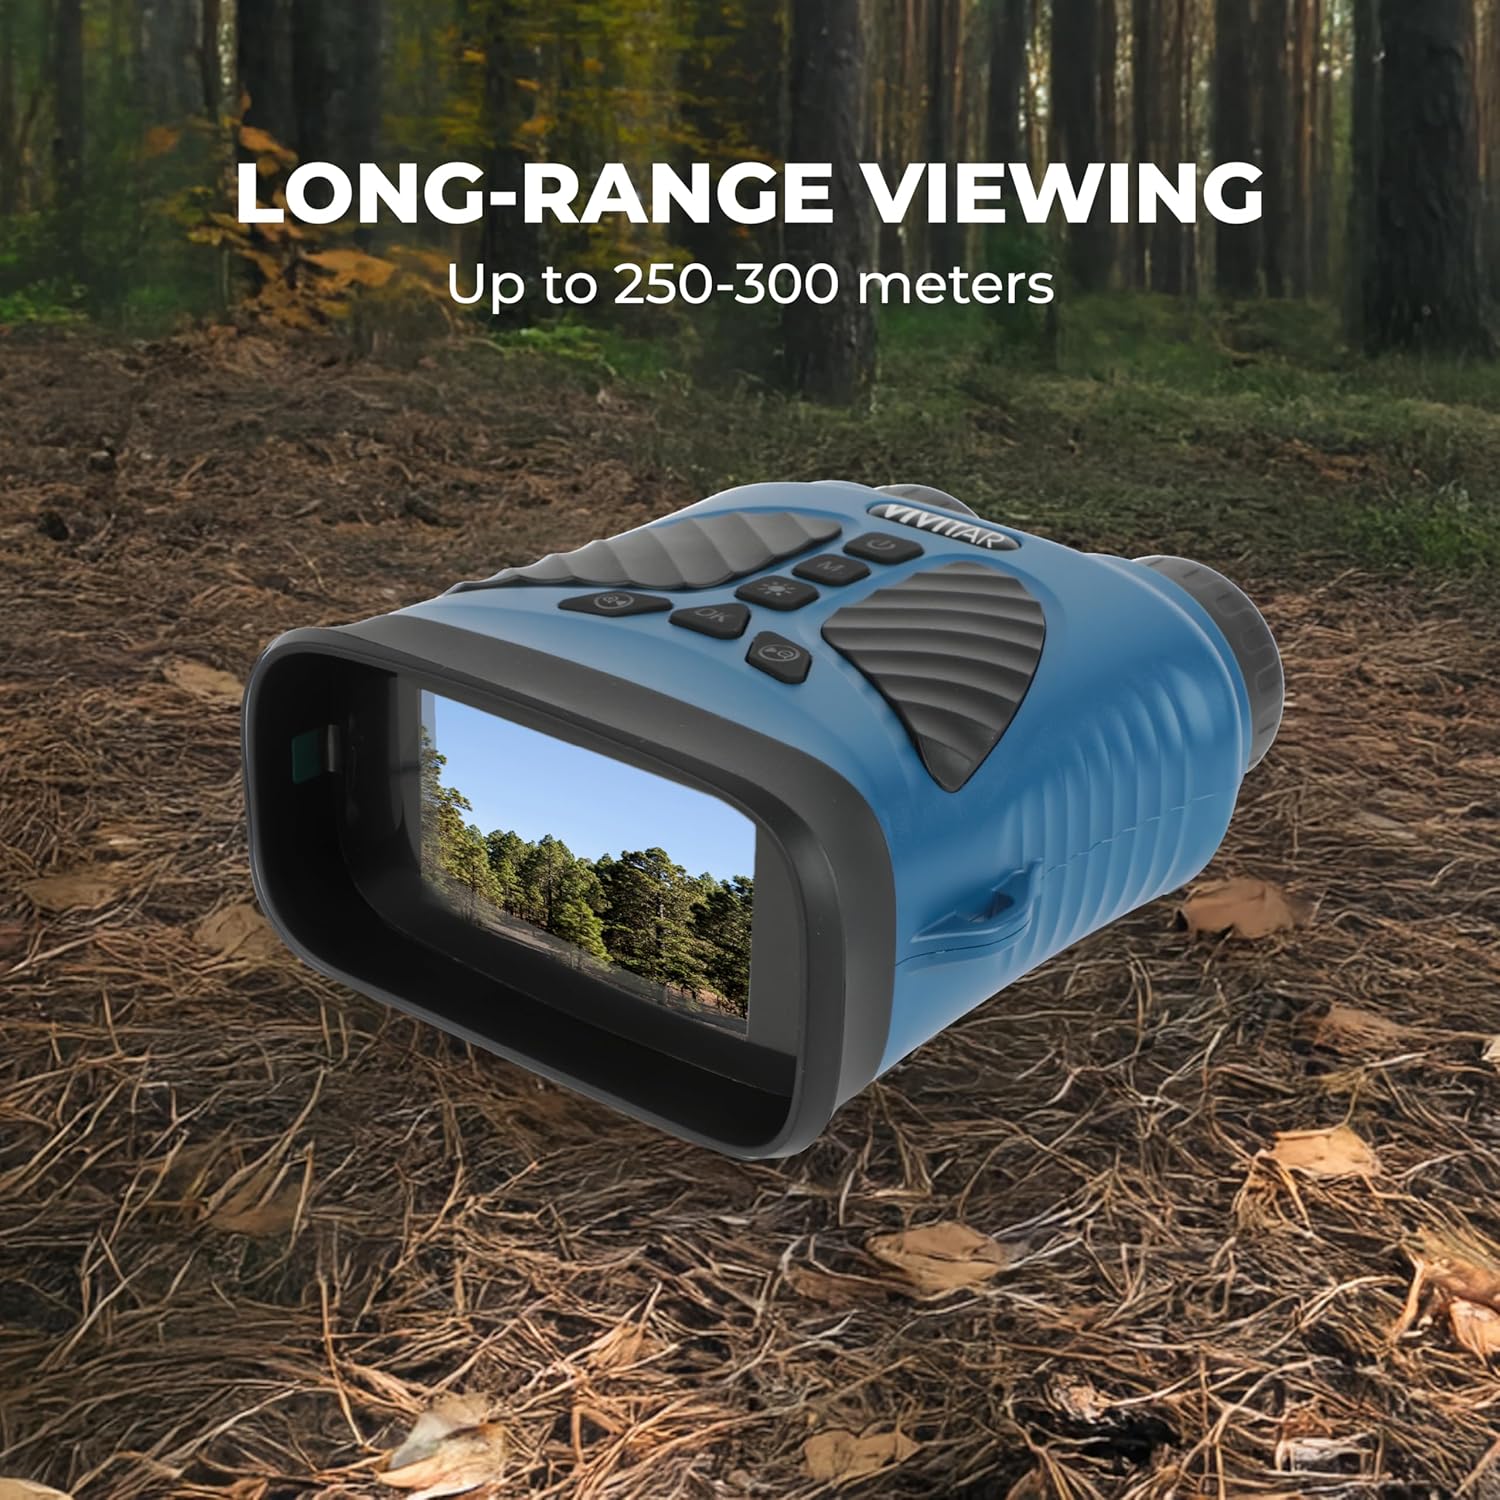
Figure 5: The Vivitar Digital Camera Binocular displaying a clear view of a forest on its screen, demonstrating its long-range viewing capability of up to 250-300 meters.
5. Playback Mode
- Press the Mode (M) button until the playback icon appears.
- Use the Navigation buttons to scroll through your captured photos and videos.
- Press the OK button to view a photo or play a video.
6. Connecting to a Computer
- Turn off the binocular.
- Connect the binocular to your computer using the USB cable.
- The device should appear as a removable disk drive on your computer, allowing you to transfer files.
Maintenance
Proper care will extend the life and performance of your Vivitar Digital Camera Binocular.
- Cleaning Lenses and Screen: Use a soft, lint-free cloth specifically designed for optical surfaces. Do not use abrasive cleaners or solvents.
- Body Cleaning: Wipe the rubberized body with a soft, damp cloth. Avoid excessive moisture.
- Battery Care: Store the device with a partially charged battery if not used for extended periods. Avoid extreme temperatures.
- Storage: Store the binocular in a cool, dry place, away from direct sunlight and dust. Use the provided carrying case for protection during transport.
- Water Resistance: This device is NOT water resistant. Avoid exposure to rain, splashes, or immersion in water.
- Drop Resistance: While designed with a soft rubber body for durability, avoid dropping the device from significant heights to prevent internal damage.
Troubleshooting
If you encounter issues with your Vivitar Digital Camera Binocular, refer to the following common problems and solutions.
Device Does Not Power On
- Ensure the battery is fully charged. Connect the device to a power source and allow it to charge for at least 30 minutes before attempting to power on again.
- Check the USB cable and power adapter for damage.
Memory Card Not Recognized or Error Message
- Ensure the MicroSD card is inserted correctly and fully seated in the slot.
- Try removing and reinserting the memory card.
- Format the memory card using the device's menu (if available) or a computer. Warning: Formatting will erase all data on the card.
- Try a different compatible MicroSD card to rule out a faulty card.
Poor Image/Video Quality
- Ensure the lenses are clean and free from smudges or dust.
- Check lighting conditions. For low light, activate night vision mode.
- Hold the device steady during capture to avoid blur.
- Ensure the subject is within the optimal focus range.
Device Freezes or Becomes Unresponsive
- Press and hold the Power button for 10-15 seconds to force a shutdown.
- If the device does not respond, allow the battery to fully discharge, then recharge and restart.
Specifications
| Model Name | Digital Camera Binocular |
| Model Number | VIVCVIR12 |
| Brand | Vivitar |
| Photo Sensor Resolution | 16 MP |
| Effective Still Resolution | 40 MP |
| Video Resolution | 2704p (2.7K QHD) |
| Frame Rate | 30 FPS |
| Optical Zoom | 4x |
| Digital Zoom | 10x |
| Screen Size | 3 Inches (IPS LCD) |
| Special Feature | Night Vision |
| Photo Sensor Technology | CMOS |
| Supported File Format | AVI (Video) |
| Battery Type | Lithium Ion (2500mAh) |
| Connectivity Technology | USB |
| Water Resistance Level | Not Water Resistant |
| Mount Type | Tripod |
| UPC | 681066092231 |
Warranty and Support
For detailed warranty information, please refer to the warranty card included with your purchase or visit the official Vivitar website. Warranty terms and conditions may vary by region.
If you require technical assistance or have questions not covered in this manual, please visit the Vivitar support website or contact their customer service department. Contact information can typically be found on the Vivitar official website or on your product packaging.
Official Vivitar Website: www.vivitar.com


