
1. Introduction
This manual provides detailed instructions for the setup, operation, and maintenance of your EASYERA Smart Digital Wall Clock (Model AC-WC165S). This innovative wall clock features app control, RGBIC lighting, workout timer modes, and automatic time synchronization for a modern and functional timekeeping experience.
2. Key Features
- App Control: Manage time, lighting, workouts, and settings directly from your smartphone.
- Advanced RGBIC Lighting: Customize colors, brightness, and dynamic effects to match any environment.
- Built-In Workout Timer Modes: Includes presets for interval training, HIIT, and other fitness routines.
- Extra-Large 16.5” Digital Display: High-contrast digits ensure clear readability, suitable for various settings.
- Music Sync RGB Mode: Backlight reacts in real-time to surrounding sound, creating immersive ambient lighting.
- Auto Network Time Sync: Wi-Fi connectivity ensures precise timekeeping with automatic adjustments.
- Plug-in Power: Requires a 5V/2A power adapter and 11.5-foot cable cord (included).
3. What's in the Box
- EASYERA Smart Digital Wall Clock (Model AC-WC165S)
- Power Adapter (5V/2A)
- 11.5-foot USB Cable
- Remote Control
- Mounting Nails (2)
- Measuring Tape for Mounting
- Quick Start Guide
- User Manual

Image: Contents of the EASYERA Smart Digital Wall Clock package. Includes the clock, remote, power adapter, USB cable, mounting nails, and documentation.
4. Setup
4.1 Power Connection
- Connect the provided 11.5-foot USB cable to the clock.
- Plug the USB cable into the 5V/2A power adapter.
- Plug the power adapter into a standard electrical outlet. The clock display will illuminate.

Image: The EASYERA Smart Digital Wall Clock powered on and displaying time, with its long power cable visible.
4.2 App Download and Wi-Fi Pairing
- Scan the QR code in the Quick Start Guide or search for "EasyEra" in your mobile app store to download the companion app.
- Open the EasyEra app and tap "Add Device".
- To enter pairing mode, press the WIFI button on the remote control, or press and hold the second TIME SET button on the right side of the device. The Wi-Fi icon on the clock display will flash.
- Select the automatically detected device (AC-WC165S) in the app.
- Enter your 2.4GHz Wi-Fi network password. (Note: 5GHz Wi-Fi is not supported).
- Wait approximately 1 minute for the pairing process to complete. The Wi-Fi icon on the clock will become solid once connected.
Video: Demonstrates the process of pairing the EASYERA Smart Digital Wall Clock with the EasyEra mobile application, including entering Wi-Fi details and confirming connection.
4.3 Mounting the Clock
The clock can be mounted on a wall using the two included mounting nails. Use the provided measuring tape to accurately mark the positions for the nails on your wall, aligning them with the keyhole slots on the back of the clock.
5. Operating Instructions
5.1 Time Display and Settings
- The clock automatically synchronizes time via Wi-Fi, ensuring accuracy.
- It supports Automatic Daylight Saving Time (DST) adjustments.
- The display shows time, day of the week, month, and date.
- Use the remote control or app to switch between 12-hour and 24-hour formats.
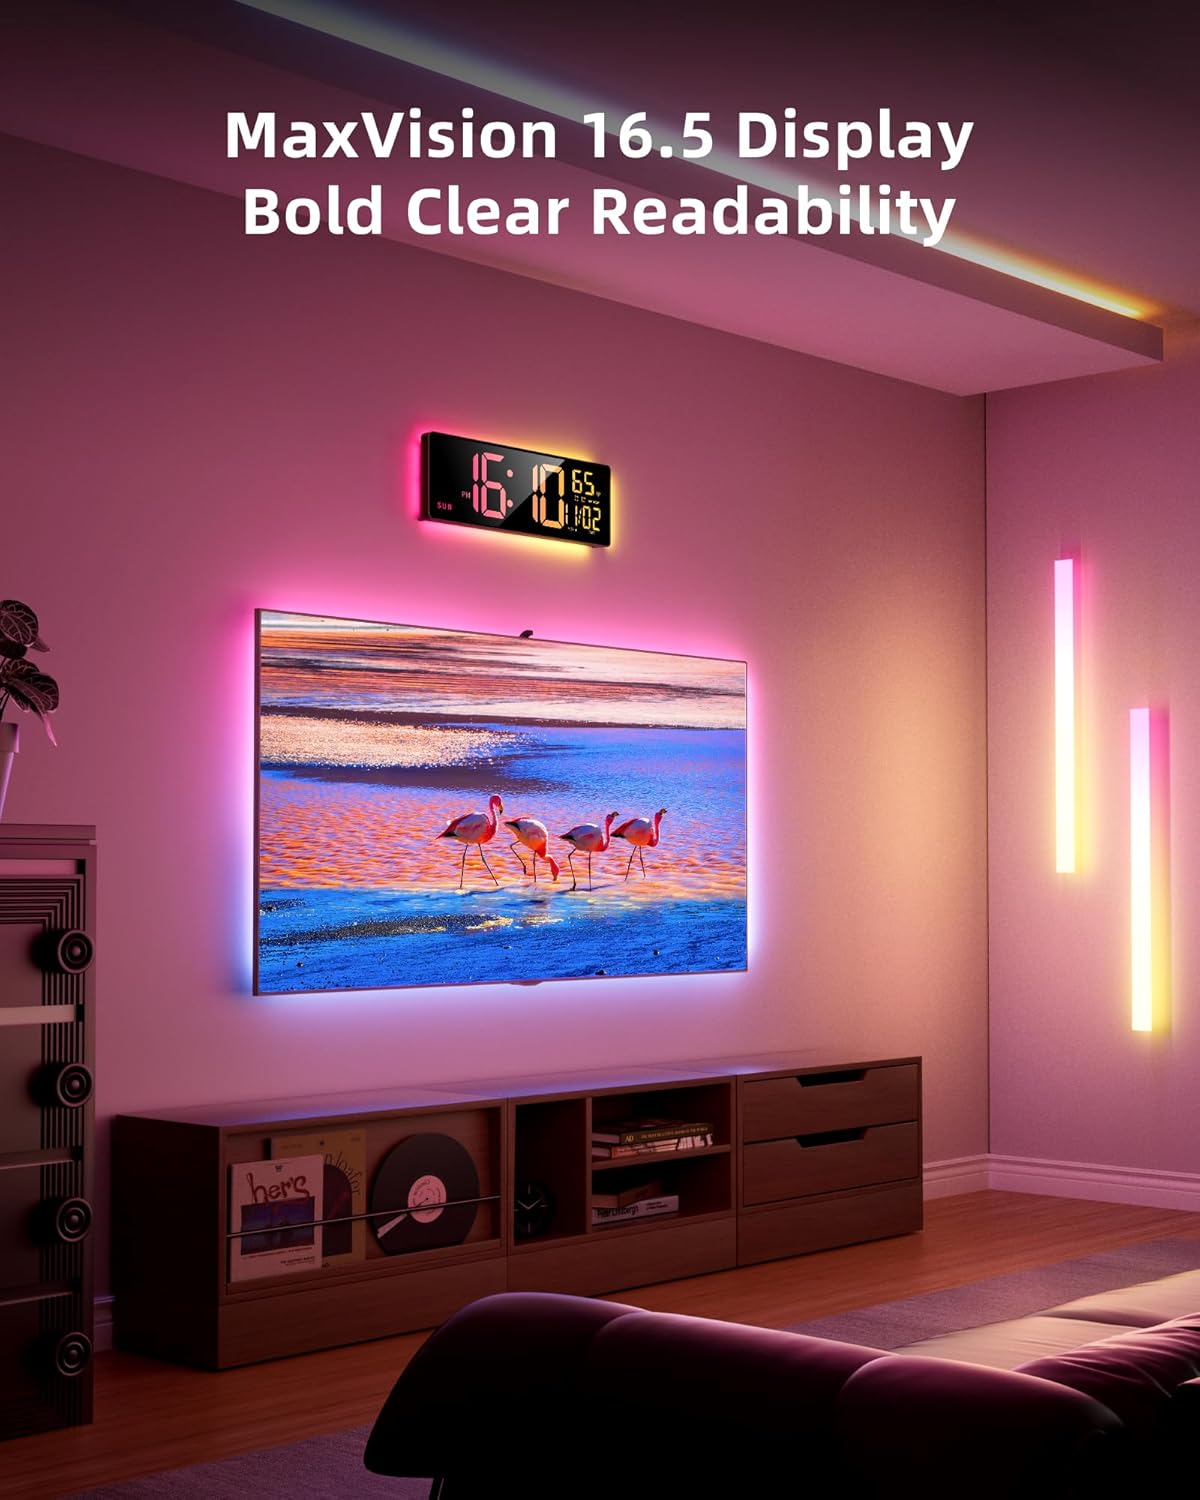
Image: A close-up of the 16.5-inch digital display, clearly showing the time, day, date, and outdoor temperature.
5.2 RGBIC Lighting Control
The clock features customizable RGBIC lighting for both the main display and the backlight. You can control these settings via the EasyEra app or the remote control.
- Preset Colors: The device offers 11 preset time colors. Tap a color pattern in the app to switch colors instantly.
- Custom Colors: Tap the "+" icon in the top right corner of the "Mood" tab in the app to create a custom color. The time display is divided into 6 sections, and the backlight into 12 zones. You can apply different colors to each section/zone by deselecting "Select All".
- Brightness Adjustment: Use the brightness slider in the app to adjust the backlight brightness (minimum 20%).
- Lighting Effects: In addition to static colors, four lighting effects are available: Breathing, Gradient, Jump, and Marquee.
Video: Tutorial on how to control and customize the time panel colors of the EASYERA Smart Digital Wall Clock using the mobile app, including selecting preset colors and creating custom color combinations.
Video: Guide on customizing the backlight colors of the EASYERA Smart Digital Wall Clock through the app, demonstrating how to select colors for different zones and apply various lighting effects.
5.3 Music Sync RGB Mode
Activate the Music Sync mode in the app to have the clock's backlight react to surrounding sounds, creating dynamic lighting effects for parties, gaming, or home theaters.

Image: The clock's backlight dynamically changing colors in sync with music, creating an immersive atmosphere in a living room.
5.4 Workout Timer Modes
The clock includes preset workout modes and allows for custom configurations, making it a useful tool for home gyms.
- In the app, navigate to "Exercise Reminder".
- Three workout modes are preset (EMOM, HIIT, Tabata). You can add your own custom modes by tapping "+ Add".
- Each custom mode supports: custom name, workout duration per set, rest time between sets, number of sets, and reminder volume.
- Up to 5 workout modes can be saved.
- During workouts, a beep sounds 3 seconds before each set ends and before rest ends. After all sets, you will hear "Training End".
Video: Demonstrates how to use the Exercise Reminder mode on the EASYERA Smart Digital Wall Clock via the app, including setting custom workout parameters and the audio cues during a session.

Image: The clock functioning as a workout timer for various exercise routines like HIIT, Tabata, and EMOM, displayed in a gym setting.
5.5 Alarms
Set up to two alarms (Alarm 1 and Alarm 2) via the EasyEra app for workday and weekend schedules.

Image: A screenshot from the EasyEra app illustrating the dual alarm function, allowing users to set separate alarms for weekdays and weekends.
5.6 Brightness and Auto Dimming
Adjust the display brightness manually or enable the auto-dimmer feature for optimal visibility in varying light conditions. The clock can automatically adjust its brightness based on ambient light.

Image: The clock demonstrating its brightness levels (L1-L10) and auto-dimmer function, adapting to different lighting conditions in a bedroom.
5.7 Remote Control Usage
The included remote control provides an alternative method for adjusting basic settings such as time, alarms, and display colors without using the app.
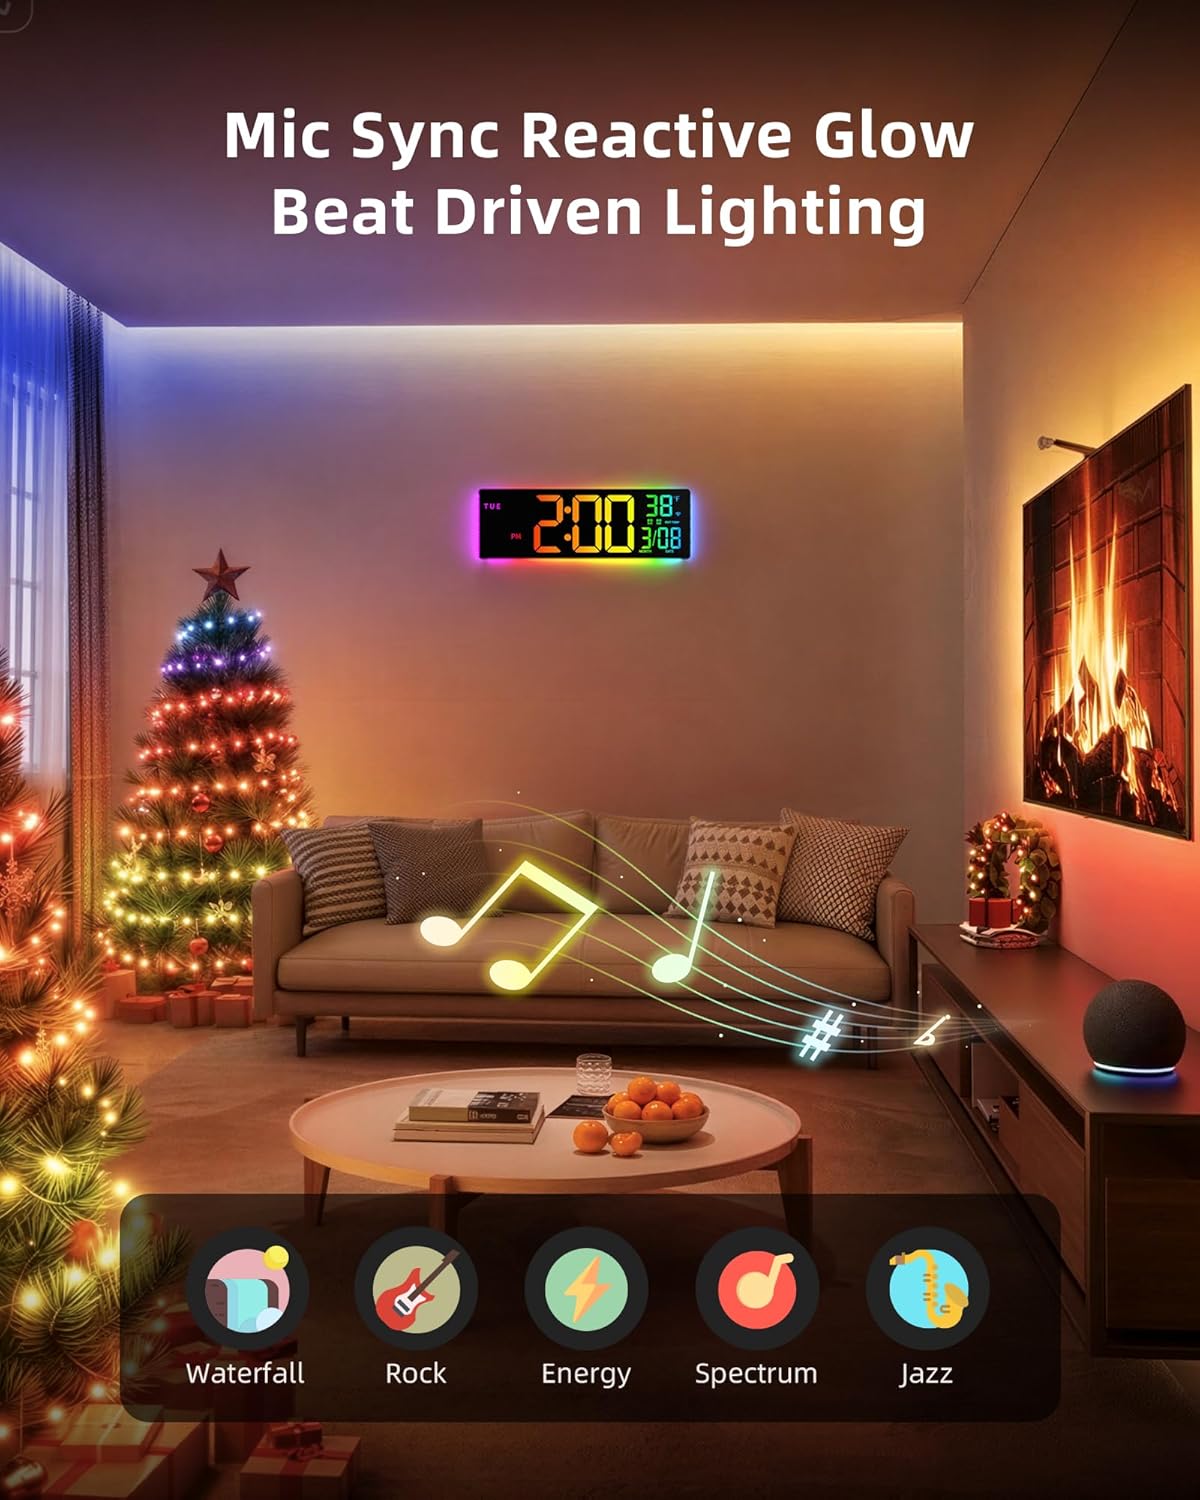
Image: The remote control for the clock, showing buttons for time set, alarm settings, light control, dimmer, and display colors.
6. Maintenance
- Cleaning: Use a soft, dry cloth to clean the clock's display and casing. Avoid abrasive cleaners or solvents.
- Power: Ensure the clock is always connected to a stable power source (5V/2A). It is not battery-operated.
- Placement: Place the clock in an indoor environment, away from direct sunlight, extreme temperatures, and high humidity.
7. Troubleshooting
| Problem | Solution |
|---|---|
| Clock not turning on. | Ensure the power adapter is securely plugged into both the clock and a working electrical outlet. Verify the power adapter is 5V/2A. |
| Wi-Fi pairing fails. |
|
| Time is incorrect. | Ensure the clock is successfully connected to Wi-Fi. The time should automatically synchronize. Check your app settings for correct time zone. |
| Remote control not working. | Check if the remote's battery needs replacement. Ensure there are no obstructions between the remote and the clock. |
8. Specifications
| Feature | Detail |
|---|---|
| Brand | EASYERA |
| Model Number | AC-WC165S |
| Display Type | LED |
| Screen Size | 16.5 inches |
| Product Dimensions (W x H) | 15.6"W x 5.2"H |
| Power Source | Corded Electric (5V/2A adapter included) |
| Material Type | Acrylonitrile Butadiene Styrene (ABS) |
| Mounting Type | Wall Mount |
| Smart Home Compatibility | Yes |
| Indoor/Outdoor Usage | Indoor |
| UPC | 810089907189 |
9. Warranty & Support
For warranty information and customer support, please refer to the official EASYERA website or contact their customer service directly. You can also visit the EASYERA Store on Amazon for additional product details and support resources.
This product is verified by Transparency, ensuring authenticity. Each item has a unique code that is verified before shipping.