1. Introduction
Thank you for choosing the IKT BY605 Self-Cleaning Bottom Load Water Cooler Dispenser. This manual provides essential information for the safe and efficient operation, maintenance, and troubleshooting of your new appliance. Please read it thoroughly before use and retain it for future reference.
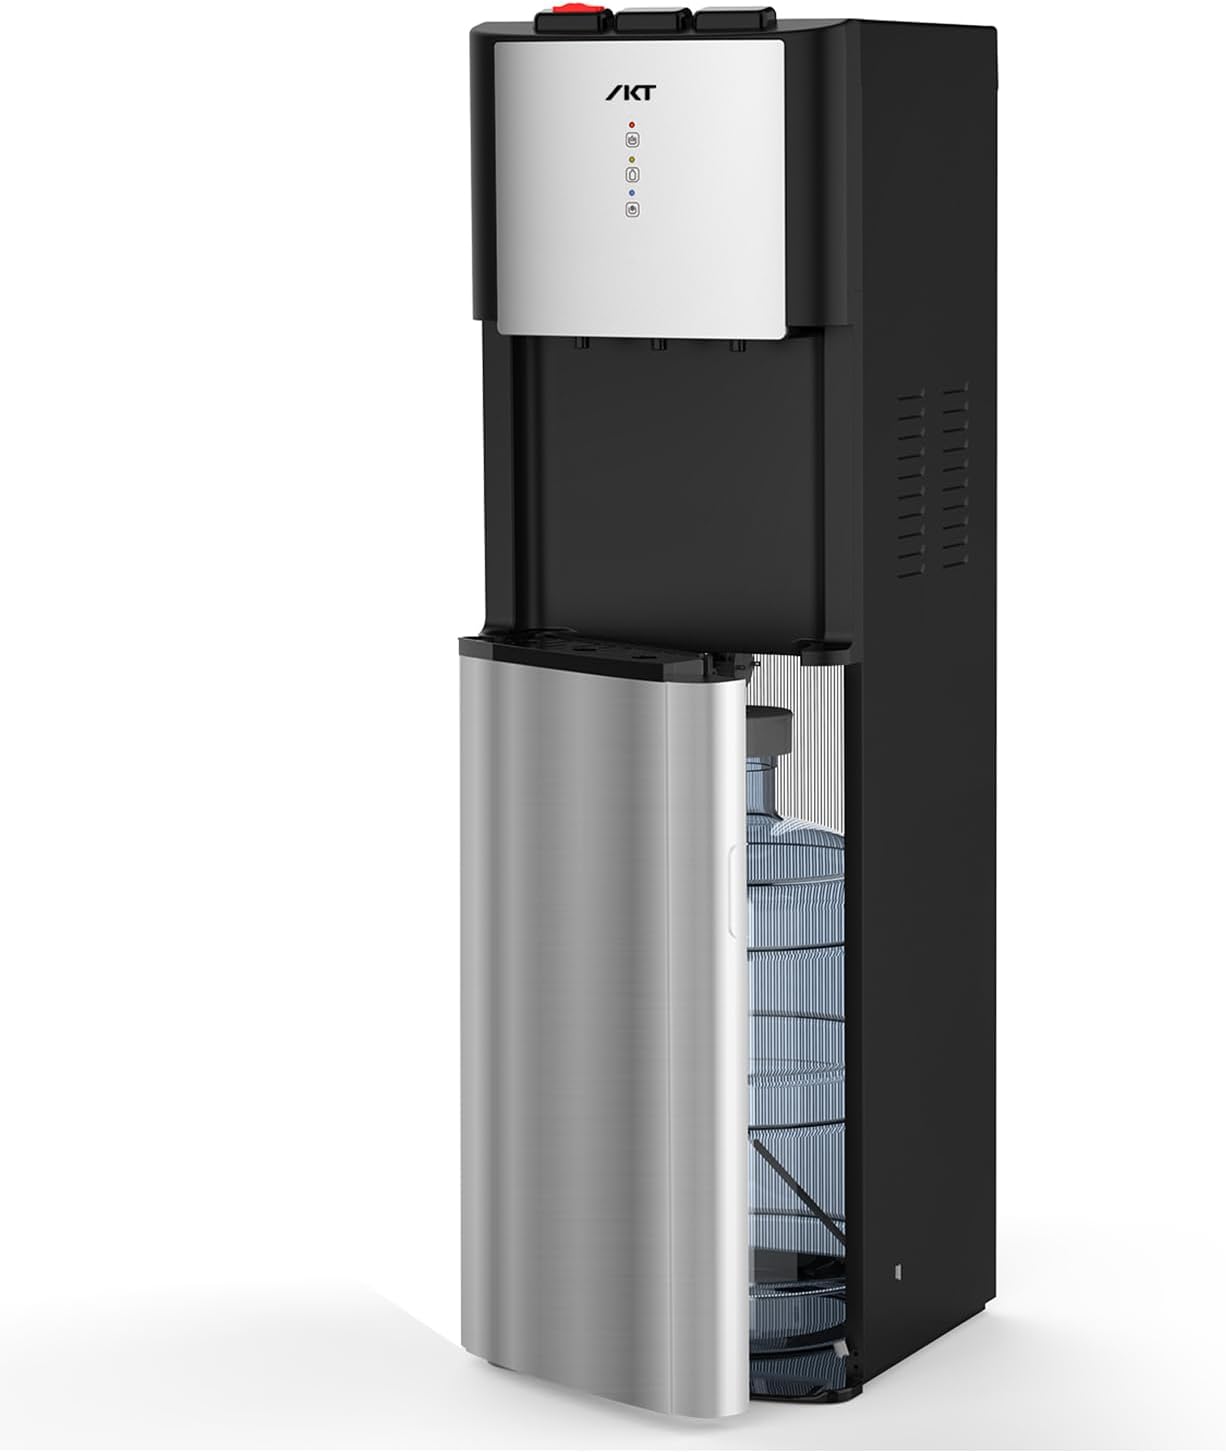
Image 1.1: Front view of the IKT BY605 water cooler dispenser with a stainless steel finish.
2. Important Safety Instructions
To reduce the risk of injury or property damage, basic safety precautions should always be followed when using electrical appliances. Read all instructions before using this dispenser.
- Always place the dispenser on a level surface.
- Do not operate the dispenser with a damaged cord or plug.
- Keep the dispenser away from direct sunlight and heat sources.
- Ensure proper ventilation around the unit.
- Unplug the dispenser before cleaning or maintenance.
- This appliance is not intended for use by persons (including children) with reduced physical, sensory or mental capabilities, or lack of experience and knowledge, unless they have been given supervision or instruction concerning use of the appliance by a person responsible for their safety.
- The hot water dispenser features a child safety lock to prevent accidental dispensing of hot water. Always engage this lock when not in use, especially in households with children.
3. Product Overview
3.1 Components and Features
The IKT BY605 water cooler dispenser is designed for convenience and efficiency, offering multiple water temperatures and user-friendly features.
- Three Temperature Settings: Provides hot, cold, and room-temperature water.
- Self-Cleaning Feature: An automatic cleaning process utilizing a UV lamp in the water tank ensures water purity. The UV lamp operates continuously when the machine is plugged in.
- Bottom Loading Design: Accommodates 3- or 5-gallon water bottles, eliminating the need for heavy lifting.
- Empty Bottle Alert: An indicator light notifies you when the water bottle needs replacement.
- Child Safety Lock: Located on the hot water dispenser to prevent accidental hot water dispensing.
- Durable Construction: Features a stylish stainless-steel accent.
- Removable Drip Tray: For easy cleaning and spill management.

Image 3.1: Close-up of the dispenser's control panel, showing the child safety lock button and LED indicators for hot, empty bottle, and cold water status.

Image 3.2: Dispensing area showing the three buttons for hot, room, and cold water.
4. Setup Instructions
- Unpacking: Carefully remove the dispenser from its packaging. Inspect for any shipping damage.
- Placement: Place the dispenser on a firm, level surface. Ensure there is at least 4 inches of clearance from the wall to allow for proper ventilation. Avoid direct sunlight or heat sources.
- Initial Standby: After placing the unit, allow it to stand upright for at least 4-6 hours before plugging it in. This allows the refrigerant to settle.
- Water Bottle Installation (Bottom Load):
- Open the lower cabinet door.
- Remove the cap from a new 3- or 5-gallon water bottle.
- Insert the water probe into the bottle opening. Ensure a secure fit.
- Slide the water bottle into the cabinet.
- Close the cabinet door.

Image 4.1: Illustration of the bottom-loading design, highlighting ease of bottle installation.
- Power Connection: Plug the power cord into a grounded electrical outlet.
- Initial Water Flow: Before turning on heating or cooling, dispense water from all three spigots (hot, cold, room temperature) until water flows steadily. This primes the system and prevents dry heating/cooling.
5. Operating Instructions
5.1 Powering On/Off
On the rear panel of the dispenser, you will find separate ON/OFF switches for the hot and cold water functions.
- To activate hot water, switch the "HOT" switch to ON. The red indicator light will illuminate.
- To activate cold water, switch the "COLD" switch to ON. The blue indicator light will illuminate.
- The room temperature water is always available when the unit is plugged in and primed.
Video 5.1: Demonstration of dispensing cold and hot water from the IKT water cooler.
5.2 Dispensing Water
- Place your cup or container under the desired spigot.
- For cold or room temperature water, press the corresponding button.
- For hot water, first slide the child safety lock, then press the hot water button. Release the button to stop dispensing.
5.3 Indicator Lights
The front panel features LED indicators to show the status of the dispenser:
- Red Light: Indicates hot water heating is active.
- Blue Light: Indicates cold water chilling is active.
- Yellow Light (Empty Bottle Alert): Illuminates when the water bottle is empty and needs replacement. Note: The pump may continue to run for a few minutes after the bottle empties before this light activates.

Image 5.2: Diagram illustrating the function of the LED indicator lights on the dispenser's front panel.
6. Maintenance
6.1 Self-Cleaning Feature (UV Lamp)
The IKT BY605 includes a self-cleaning feature that uses a UV lamp to help maintain water purity and prevent biofilm buildup in the water tank. This UV lamp is located within the cold water reservoir and operates continuously as long as the machine is plugged in. There is no specific button or indicator for this function.

Image 6.1: Close-up view of the internal cold water reservoir, indicating the location of the UV lamp.

Image 6.2: Conceptual diagram showing the effectiveness of UV-infused cleaning over time.
6.2 Cleaning the Exterior
- Unplug the dispenser before cleaning.
- Wipe the exterior surfaces with a soft, damp cloth. For stubborn stains, use a mild, non-abrasive cleaner.
- Avoid using harsh chemicals or abrasive pads, as these can damage the stainless steel finish.
6.3 Cleaning the Drip Tray
- The drip tray is removable for easy cleaning.
- Slide out the drip tray from under the spigots.
- Empty any collected water and wash the tray with warm, soapy water.
- Rinse thoroughly and dry before reinserting.
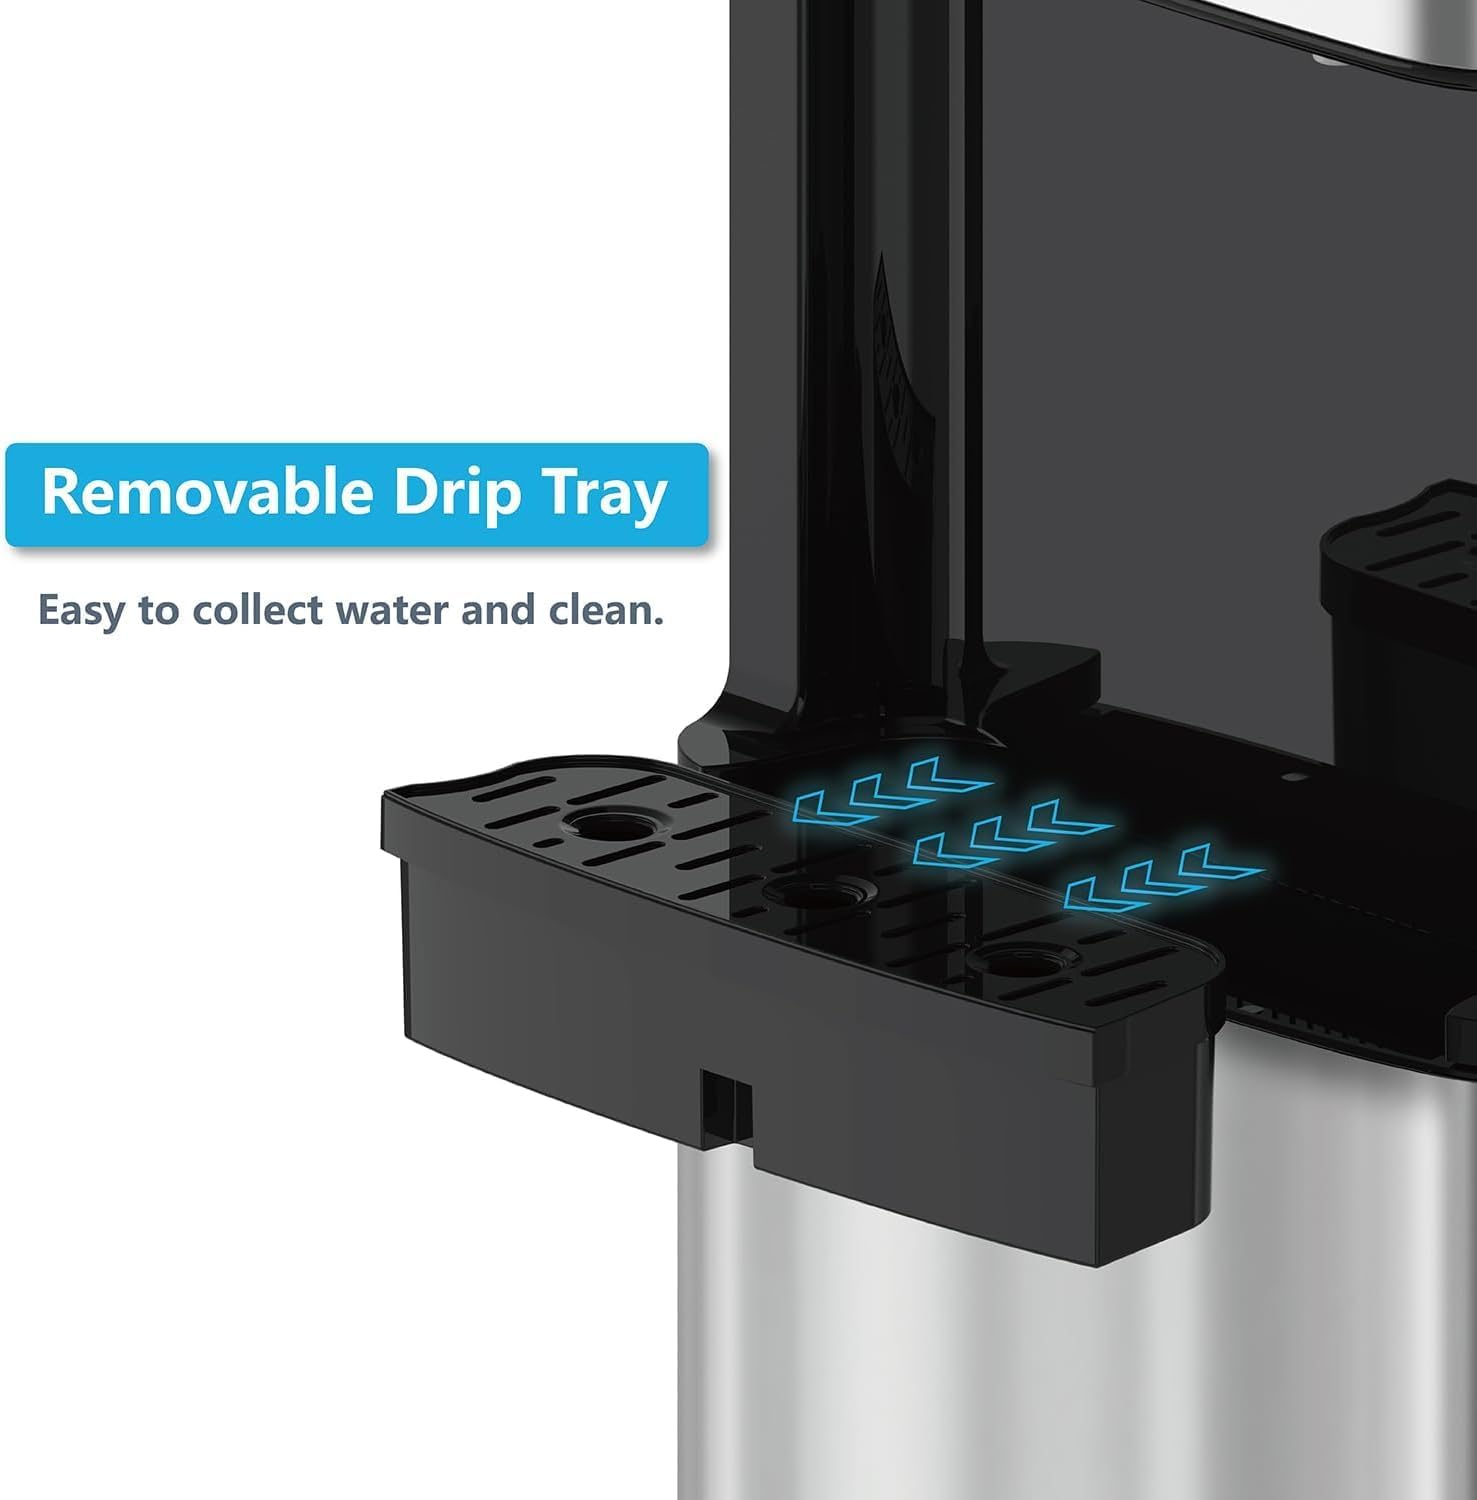
Image 6.3: Detail of the removable drip tray, designed for easy collection and cleaning of spills.
7. Troubleshooting
| Problem | Possible Cause | Solution |
|---|---|---|
| No water dispensing. | Empty water bottle; airlock in system; power off. | Replace bottle; prime system by dispensing from all spigots; check power connection and switches. |
| Water not hot/cold enough. | Hot/cold switch off; insufficient time for heating/cooling; poor ventilation. | Ensure switches are ON; allow 15-30 minutes for temperature stabilization; ensure adequate clearance around the unit. |
| Empty Bottle Alert (yellow light) not working. | Sensor issue; bottle not fully empty yet. | Wait a few minutes after the bottle appears empty; ensure the water probe is correctly seated. |
| Water leakage. | Improperly installed water bottle; damaged water probe. | Re-seat the water bottle and probe; inspect probe for damage. |
| Unusual noise. | Compressor cycling (normal); unit not level. | Ensure the unit is on a level surface. Compressor noise during cooling cycles is normal. |
Video 7.1: Factory testing of the IKT water cooler dispenser before shipment, demonstrating basic functionality.
8. Specifications
| Feature | Detail |
|---|---|
| Model Number | BY605 |
| Brand | IKT |
| Color | Stainless Steel |
| Material | Stainless Steel |
| Capacity | 3-5 Gallons (bottle) |
| Product Dimensions (D x W x H) | 14"D x 12.2"W x 40.8"H |
| Item Weight | 39 pounds |
| Power Source | Corded Electric |
| Upper Temperature Rating (Hot) | 95 Degrees Celsius |
| Installation Type | Freestanding |
| Access Location | Bottom |

Image 8.1: Dimensions of the IKT BY605 water cooler dispenser.
9. Warranty and Support
The IKT BY605 Self-Cleaning Bottom Load Water Cooler Dispenser comes with a one-year warranty from the date of purchase. Additionally, a 30-day return policy is offered.
For any issues, questions, or support needs regarding your water cooler, please contact IKT customer service. Refer to your purchase documentation for specific contact details or visit the official IKT website.
Manufacturer: IKT


