1. Introduction
This manual provides essential information for the safe and effective installation, operation, and maintenance of your INTERGREAT 53"H Black Wall Gun Safe. Please read these instructions thoroughly before using the safe and retain them for future reference. This safe is designed to provide secure storage for firearms, ammunition, and other valuable items.
2. Safety Information
- Always keep the safe locked and keys/codes secured away from children and unauthorized individuals.
- Do not store loaded firearms in the safe. Always unload firearms before storing them.
- Ensure the safe is securely mounted to prevent tipping or removal.
- Never share your access codes or fingerprint data with unauthorized persons.
- Keep emergency keys in a secure location separate from the safe.
- Verify the safe is properly closed and locked after each use.
3. Package Contents
Before beginning installation, please verify that all components are present:
- INTERGREAT 53"H Black Wall Gun Safe
- Emergency Keys (2)
- Removable Shelves (3)
- Mounting Hardware (Expansion bolts)
- User Manual (this document)
4. Product Features
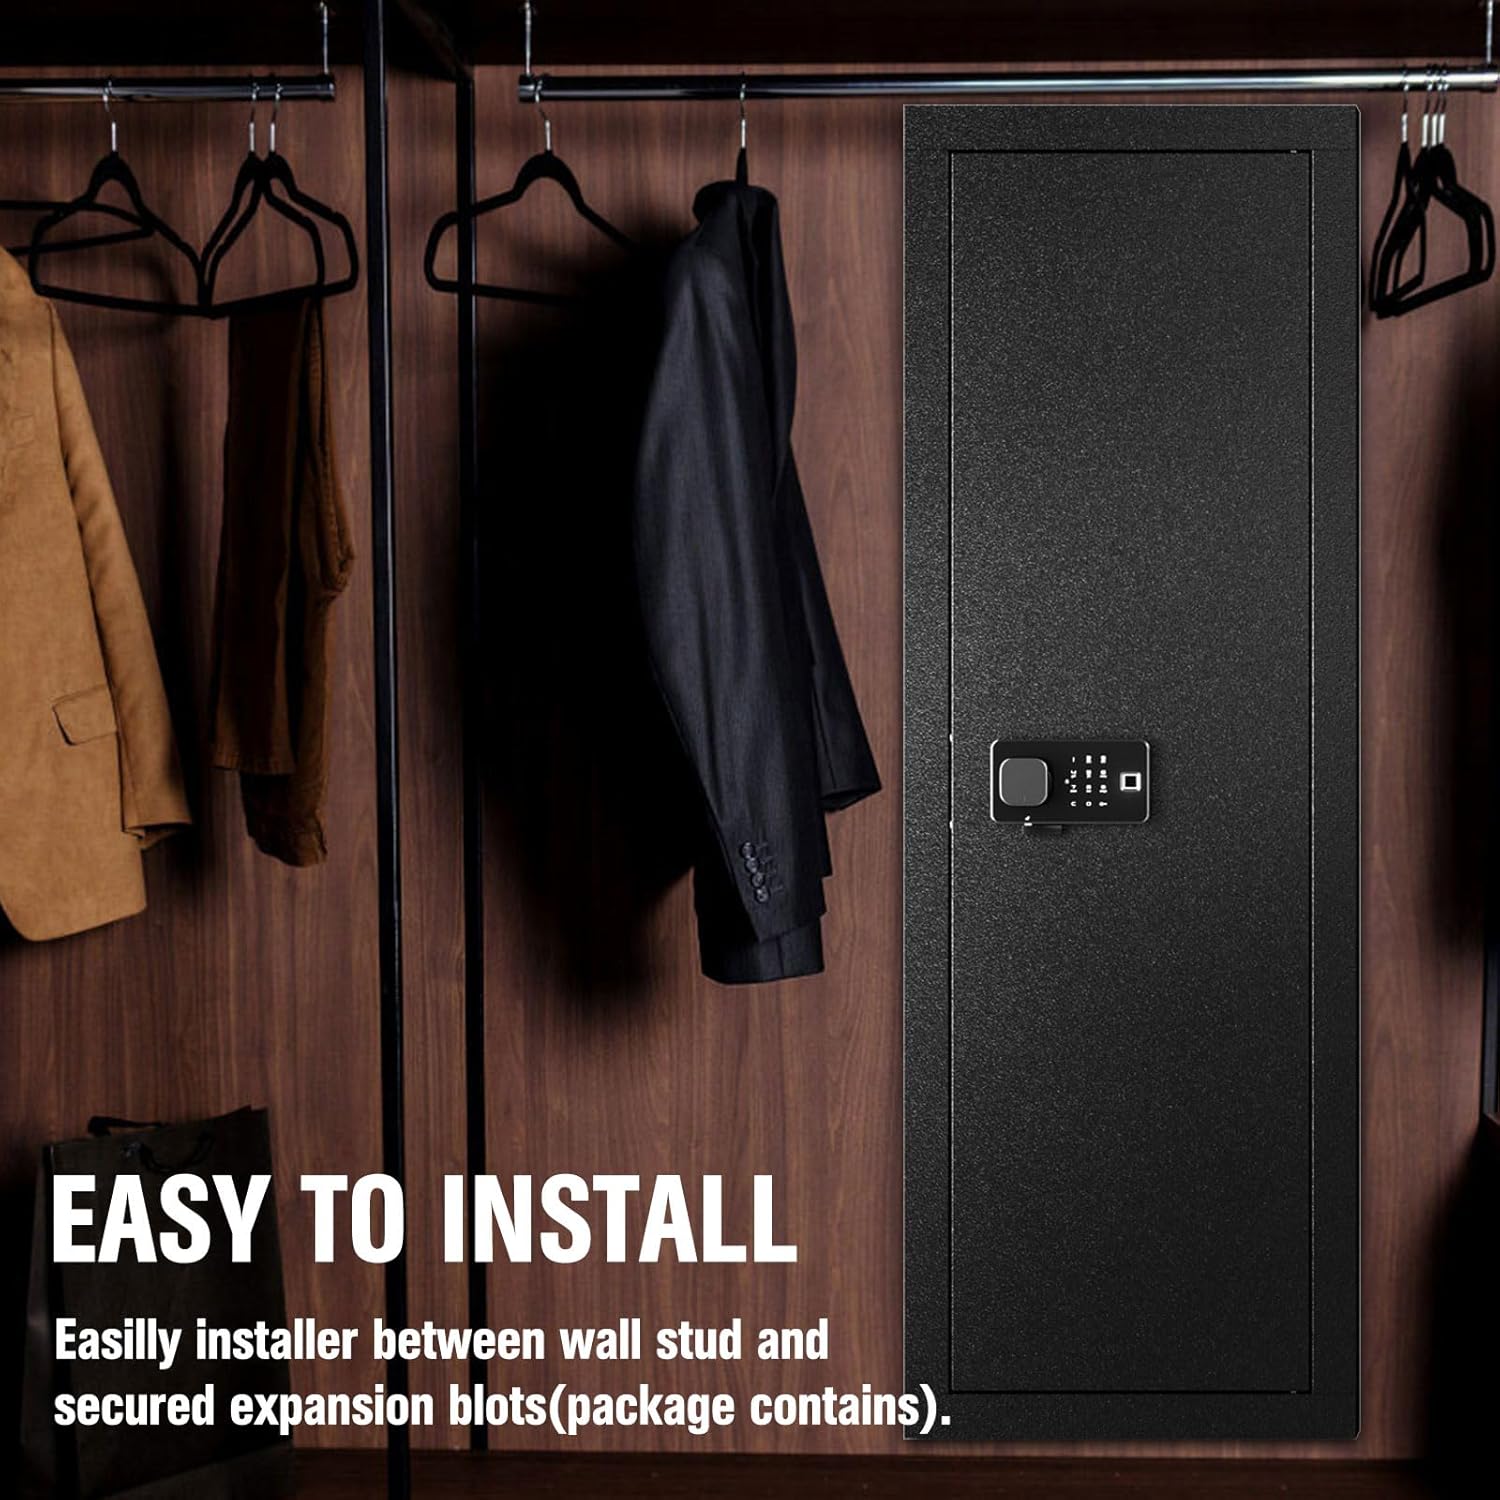
- Hidden Design: Designed for in-wall installation between standard wall studs.
- Multiple Unlocking Methods: Digital keypad, fingerprint recognition, and emergency key access.
- Adjustable Interior: Three removable shelves and key hooks for flexible storage configurations.
- Anti-Theft Alarm: Activates a 60-second warning beep after 3 incorrect password attempts or detection of movement/bumping.
- Durable Construction: Metal construction for enhanced security.
5. Specifications
| Feature | Description |
|---|---|
| Exterior Dimensions (H x W x D) | 53" x 18" x 5.86" |
| Mounting Type | Wall Mount (between studs) |
| Material | Metal |
| Lock Type | Electronic Combination Lock (Keypad, Fingerprint, Emergency Key) |
| Power Source | 4 AA Batteries (not included) |
| Shelves | 3 Removable |
6. Setup and Installation
6.1 Site Selection
Choose a suitable location for installation, typically between two wall studs. The safe is designed to fit within a standard 14.75-inch stud spacing. Verify stud spacing before cutting any drywall. Some installations may require minor trimming of studs.
6.2 Mounting the Safe
The safe is designed for easy installation using the provided expansion bolts. Follow these general steps:
- Locate and mark the desired installation position between wall studs.
- Carefully cut an opening in the drywall according to the safe's dimensions (18"W x 53"H).
- Insert the safe into the wall opening.
- Secure the safe to the wall studs using the provided expansion bolts. Ensure the safe is flush with the wall surface and firmly attached.

6.3 Battery Installation
The electronic lock requires 4 AA batteries (not included). Open the battery compartment, typically located on the inside of the safe door, and insert the batteries according to the polarity markings. Close the compartment securely.
7. Operating Instructions
7.1 Unlocking Methods
Your safe offers three methods for unlocking:
- Digital Keypad: Enter your programmed password followed by the '#' key.
- Fingerprint Recognition: Place your registered fingerprint on the scanner.
- Emergency Key: In case of battery failure or forgotten codes, use the emergency key to manually open the safe.


7.2 Programming Passwords and Fingerprints
Refer to the specific instructions provided with your safe for detailed steps on setting up your initial password and registering fingerprints. The 'set up' button is typically a green button located on the inside of the safe door.
7.3 Anti-Theft Alarm System
The safe is equipped with an anti-theft alarm. If an incorrect password is entered three times consecutively, or if the safe detects significant movement or bumping, an audible alarm will sound for 60 seconds. To stop the alarm, enter the correct user code and press '#', or power off the system.

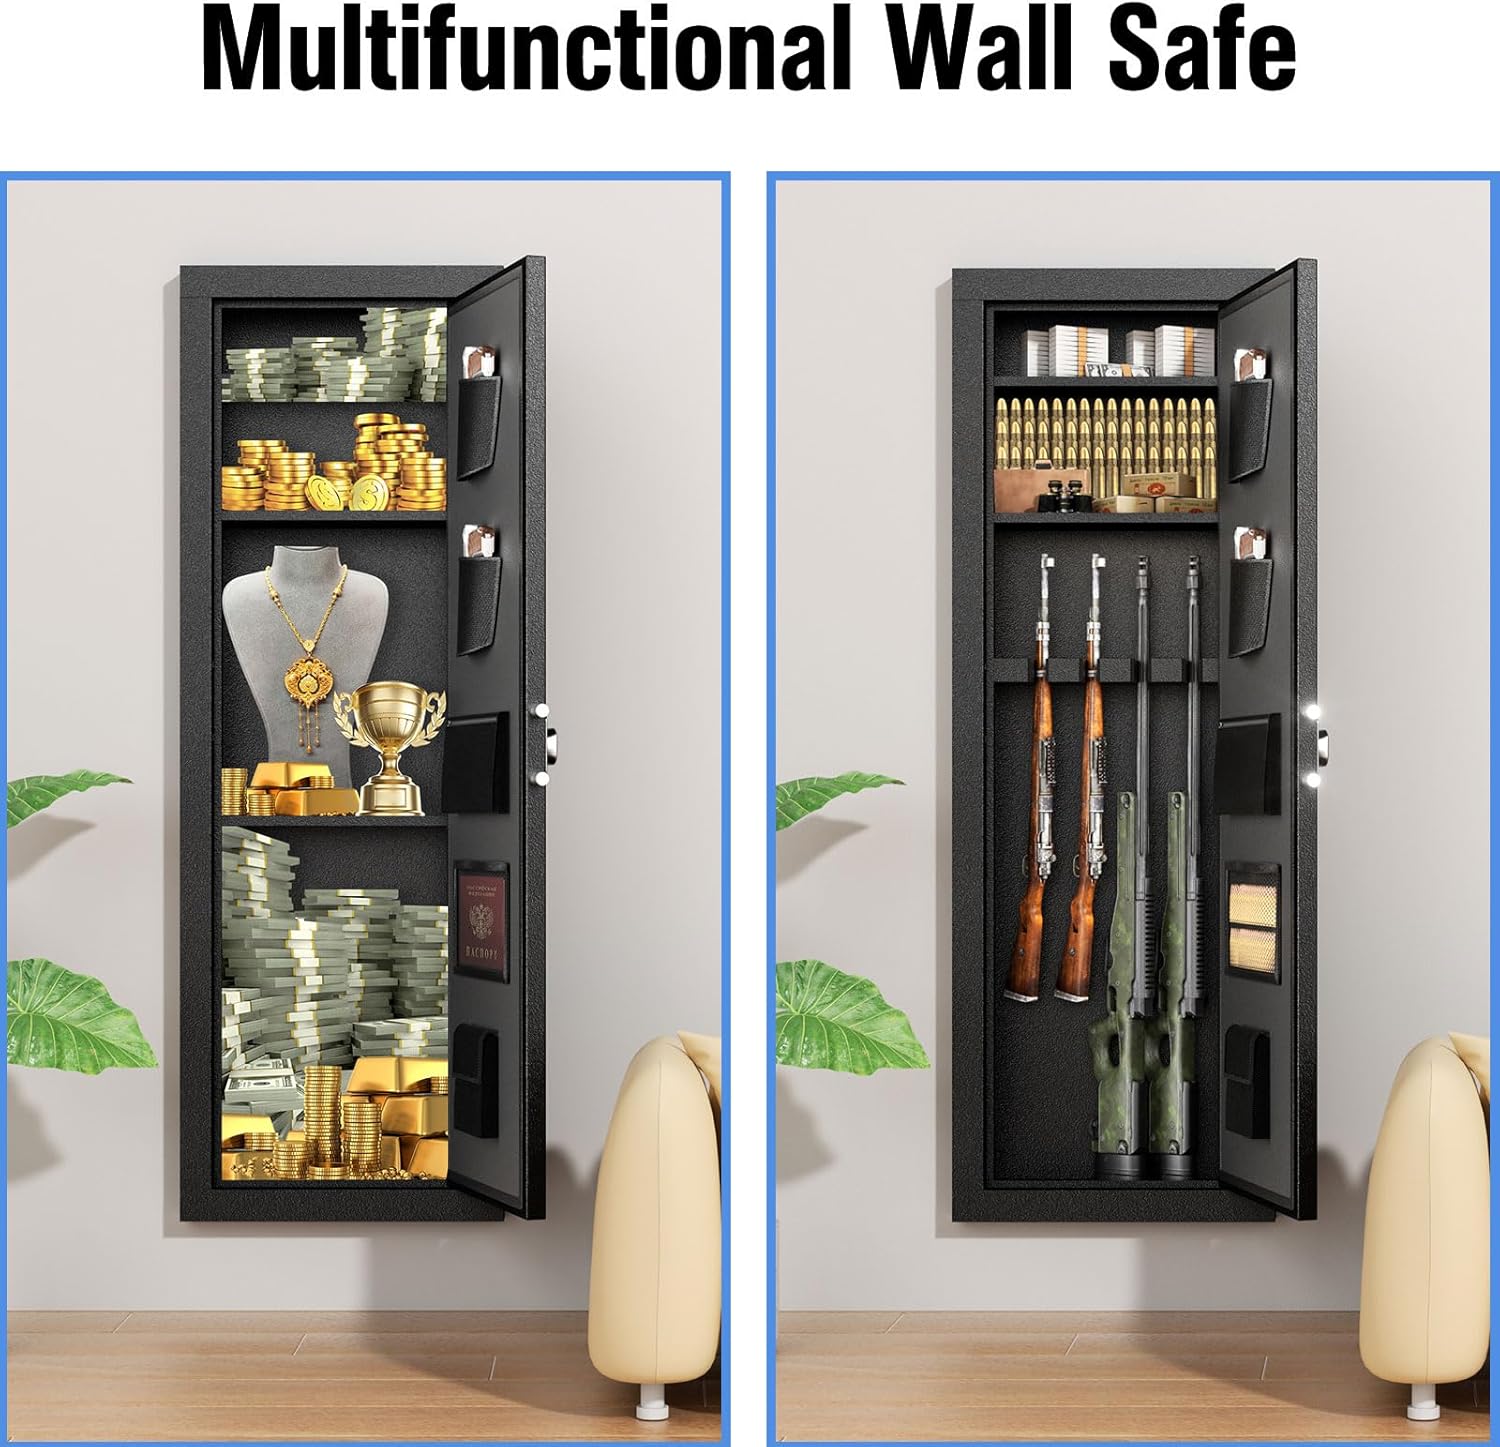
7.4 Interior Configuration
The safe includes three removable shelves that can be adjusted or removed to accommodate items of various sizes, including rifles. Key hooks are also provided for organizing smaller items.


8. Maintenance
- Battery Replacement: Replace the 4 AA batteries annually or when the low battery indicator appears. Always use new, high-quality alkaline batteries.
- Cleaning: Wipe the exterior and interior of the safe with a soft, dry cloth. Avoid abrasive cleaners or solvents.
- Lock Mechanism: Do not lubricate the lock mechanism. If issues arise, contact customer support.
9. Troubleshooting
- Safe will not open with code/fingerprint:
- Ensure batteries are fresh and correctly installed.
- Re-enter the code carefully.
- Try using a different registered fingerprint.
- Use the emergency key to open the safe.
- Alarm sounds unexpectedly:
- Check if the safe was bumped or moved.
- Verify no one attempted to enter an incorrect code multiple times.
- Enter the correct code to disarm the alarm.
- Door does not close properly:
- Ensure no items inside the safe are obstructing the door or locking mechanism.
- If using door holsters, ensure they do not interfere with shelves or contents when the door is closed.
- Difficulty with programming:
- Refer to the specific programming instructions provided with your safe.
- Ensure you are pressing the correct 'set up' button (often a green button inside the door).
10. Product Videos
10.1 Product Overview and Installation Guide
This video provides a comprehensive overview of the INTERGREAT 53"H Black Wall Gun Safe, including its features and a step-by-step guide for installation.
10.2 Feature Demonstration
Watch this video for a demonstration of the safe's key features, including the multiple unlocking methods and interior organization options.
11. Warranty and Support
For warranty information, technical support, or to purchase replacement parts, please visit the official INTERGREAT website or contact their customer service directly. Details can typically be found on the product packaging or the manufacturer's website.


