
1. Product Overview
The MilleLoom Countertop Dishwasher is a compact and portable appliance designed for efficient dish cleaning in various settings such as apartments, RVs, and small kitchens. It offers multiple cleaning programs and flexible water inlet options for user convenience.
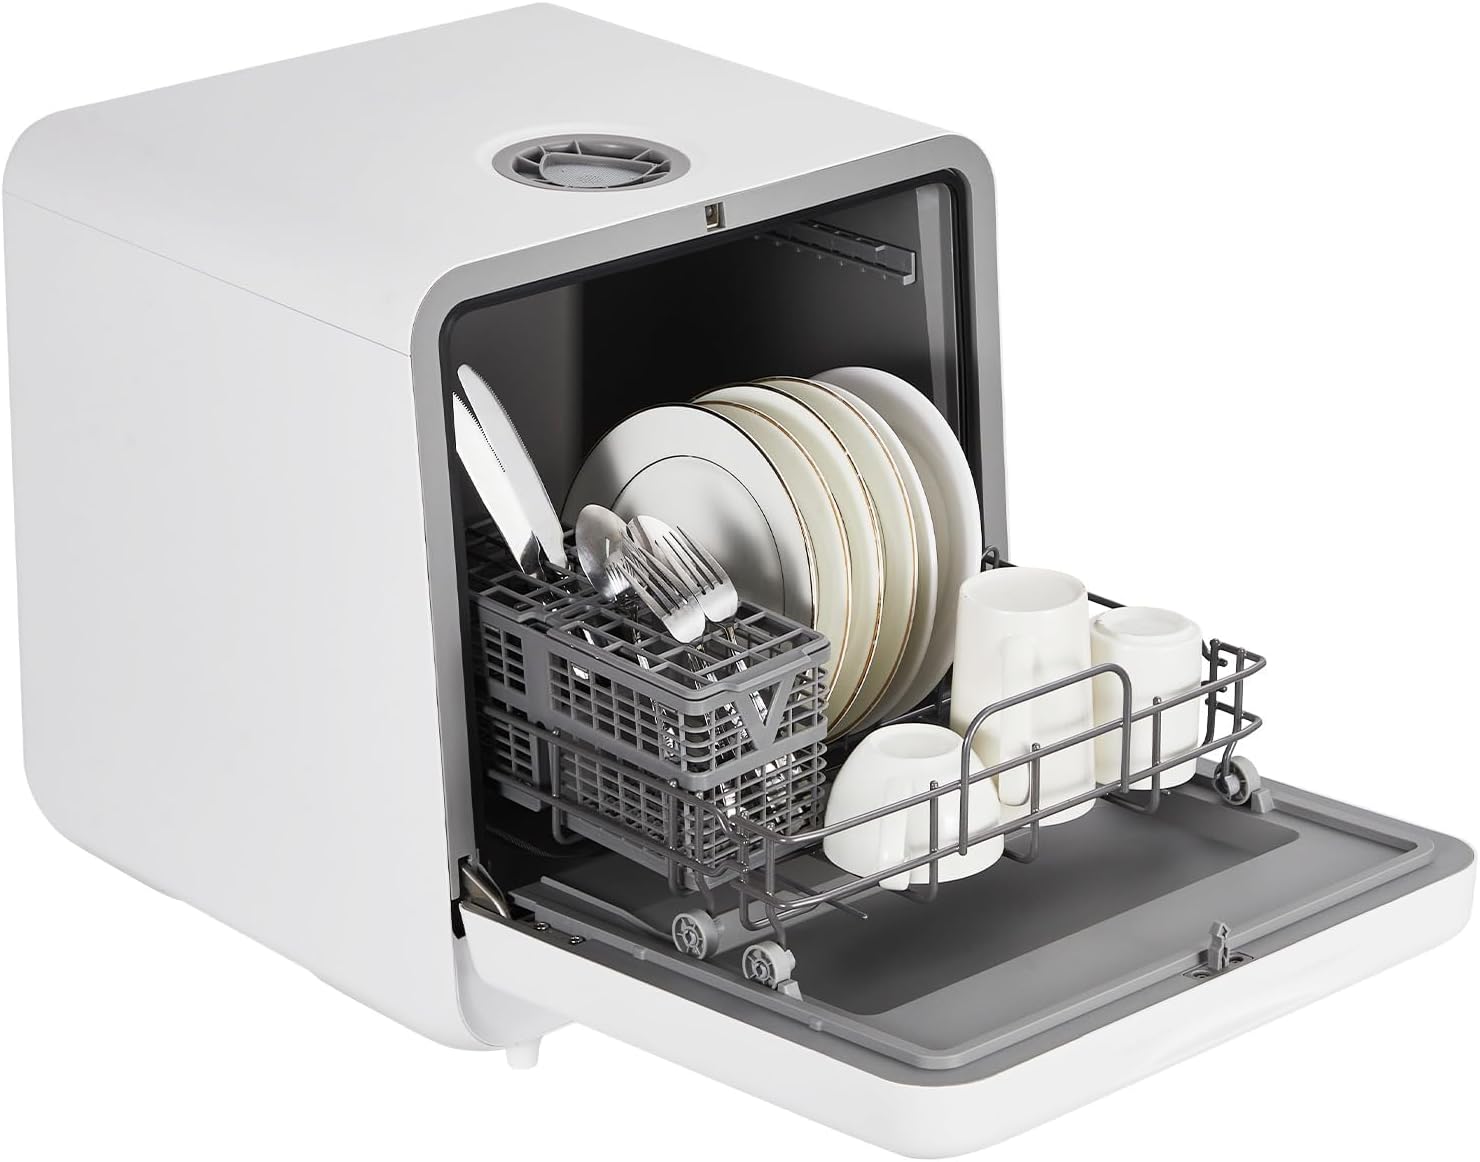
Front view of the MilleLoom Countertop Dishwasher.
2. What's in the Box
Before setting up your dishwasher, ensure all components are present. The standard package includes:
- Dishwasher Unit
- Basket
- Cutlery Basket
- Pipe Hoop
- Inlet Hose
- Drain Hose
- User Manual
- Water Cup (for manual water tank filling)
- Cover (to seal top inlet if using faucet mode)
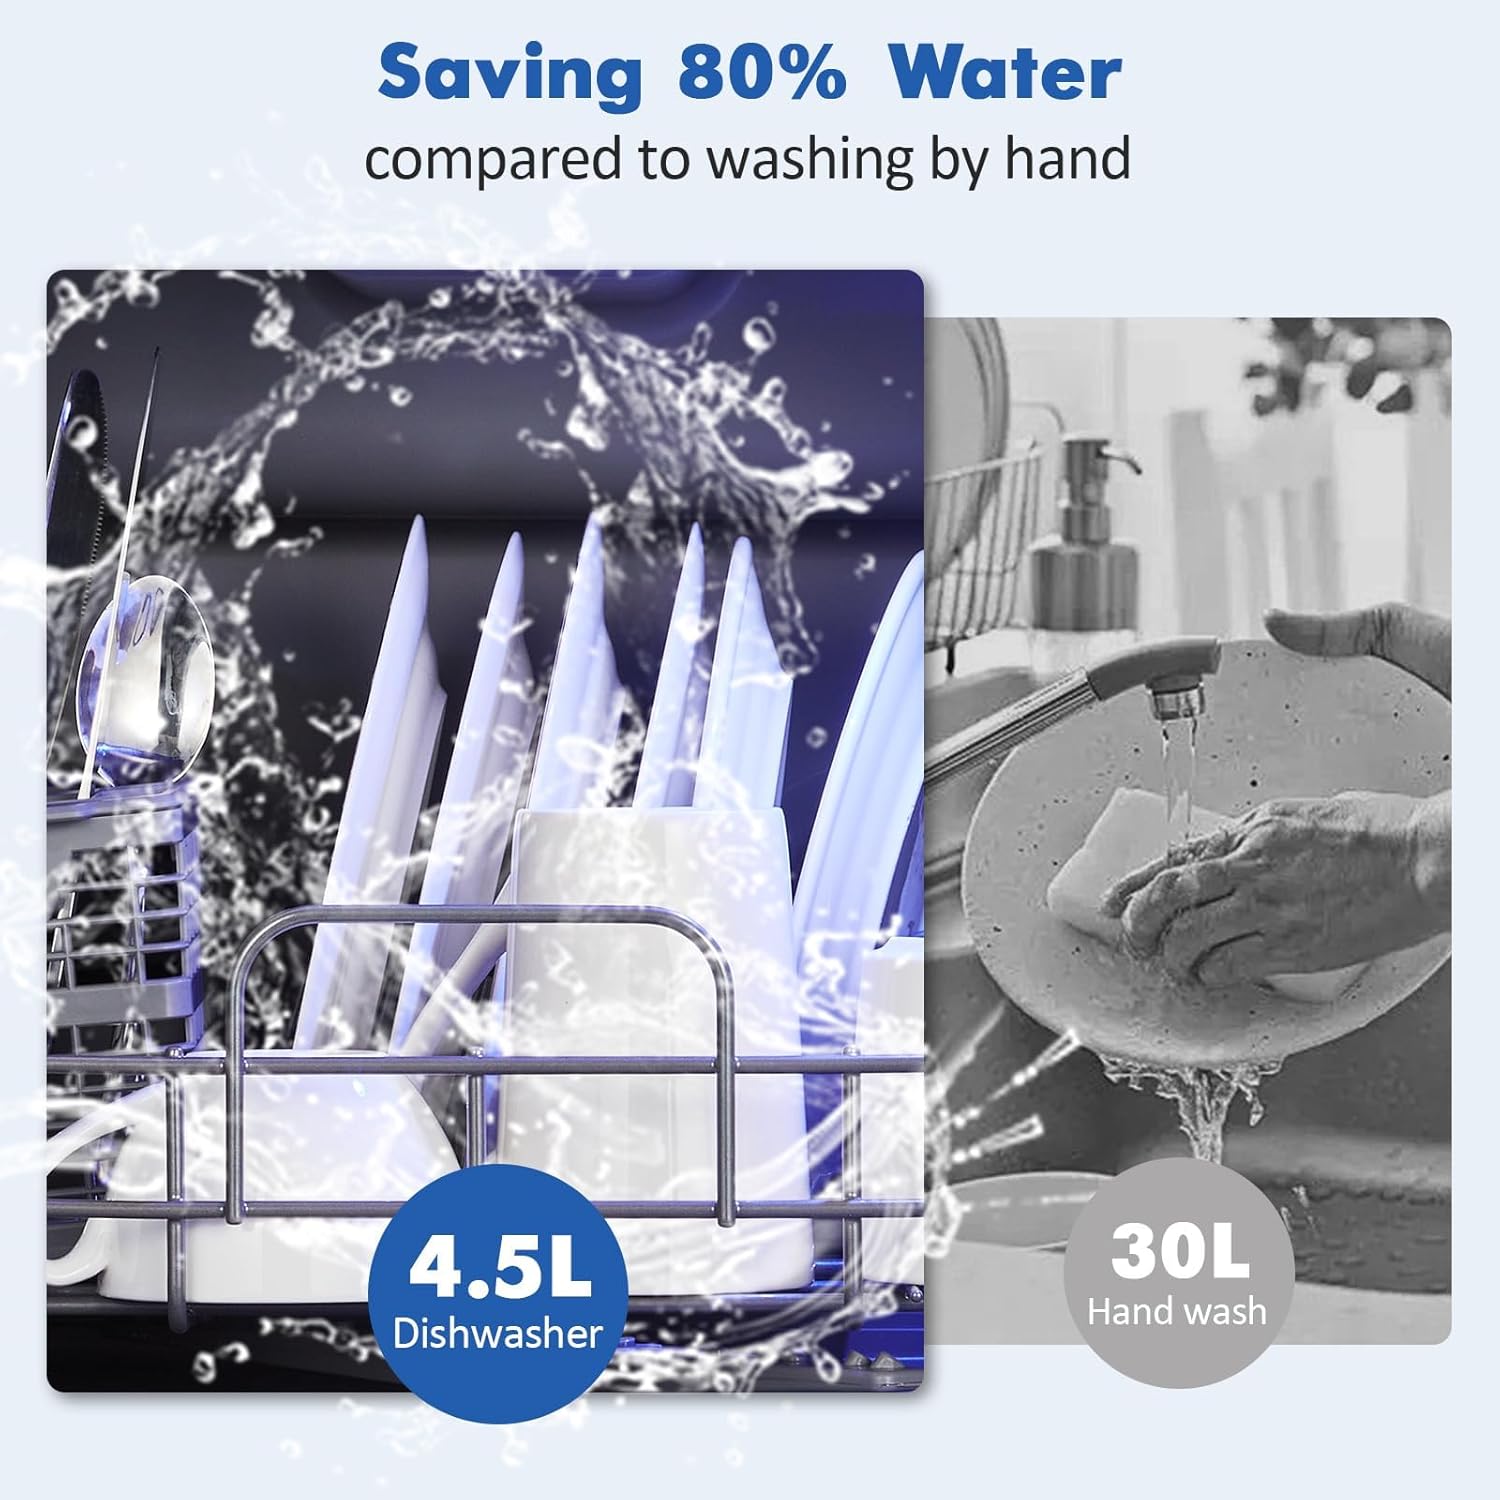
Illustration of included accessories: Basket, Cutlery Basket, Pipe Hoop, Inlet Hose, Drain Hose, User Manual, Water Cup, and Cover.
3. Setup and Installation
This countertop dishwasher requires no complex permanent installation, offering flexibility in placement. It supports two water inlet modes: Faucet Mode and Manual Water Tank Mode.
3.1 Water Inlet Modes

The dishwasher supports both direct faucet connection and manual water tank filling.
3.1.1 Faucet Mode Setup
For direct connection to a kitchen faucet:
- Connect the inlet hose to the dishwasher's water inlet port.
- Attach the other end of the inlet hose to your kitchen faucet using the provided adapter (if necessary).
- Ensure all connections are secure to prevent leaks.
- Place the drain hose into a sink or suitable drainage area.
- Turn on the faucet to supply water to the dishwasher.

Illustration of the dishwasher connected to a faucet for water supply.
3.1.2 Manual Water Tank Mode Setup
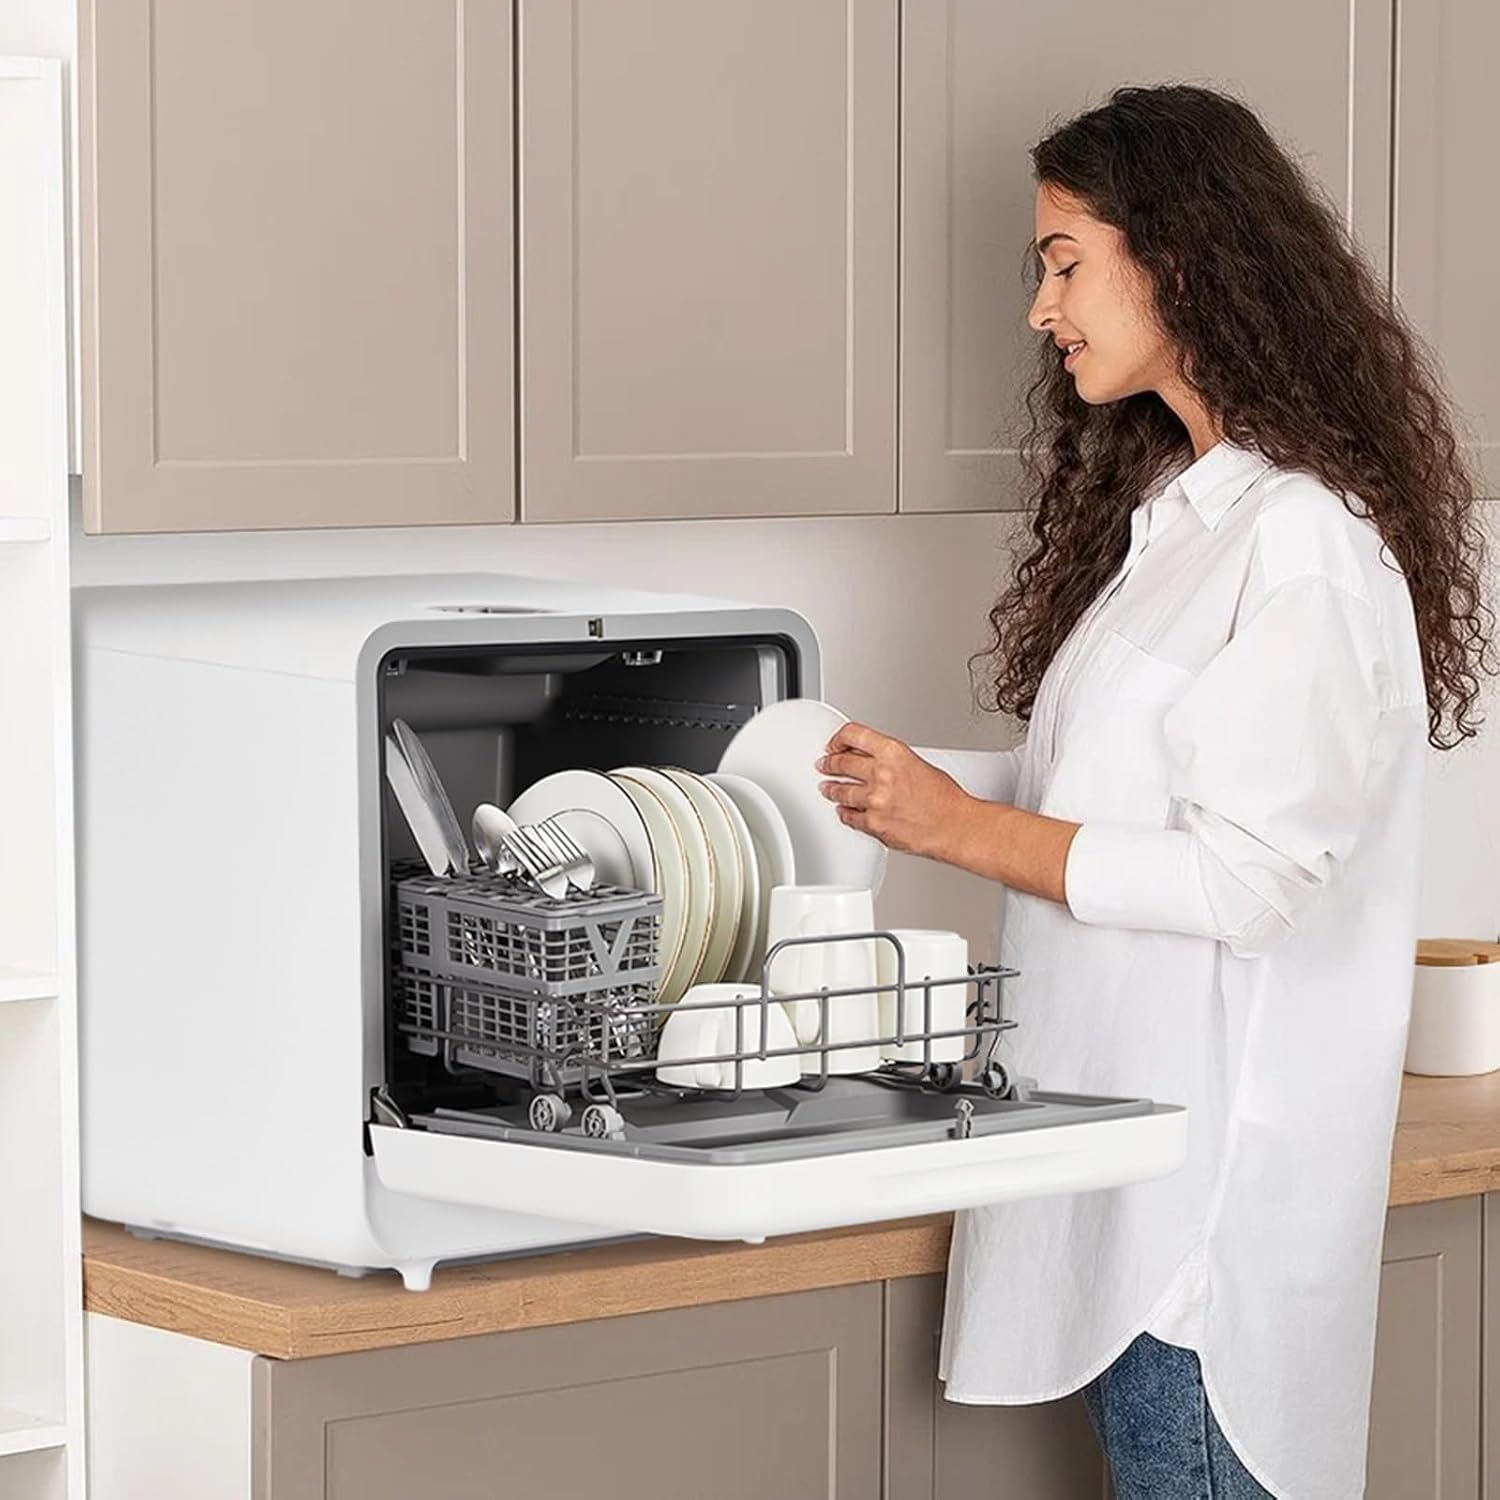
For manual filling using the integrated 5L water tank:
- Ensure the dishwasher is placed on a stable, level surface.
- Locate the water filling port on the top of the dishwasher.
- Use the provided water cup to pour water into the tank until the indicator shows it is full (approximately 5 liters).
- Place the drain hose into a sink or suitable drainage area.

A user manually filling the water tank of the dishwasher.
3.2 Initial Use
- Plug the dishwasher into a grounded electrical outlet.
- Perform a test run without dishes to check for leaks and proper drainage.
4. Operating Instructions
The dishwasher features 6 cleaning programs and an extra drying function to meet various cleaning needs.
4.1 Loading Dishes
Proper loading ensures optimal cleaning performance.
- Scrape off large food particles before loading.
- Place larger items in the main basket, ensuring they do not block the spray arms.
- Use the cutlery basket for forks, spoons, and knives.
- Avoid overcrowding to allow water and detergent to reach all surfaces.

A user loading various dishes, including plates, cups, and cutlery, into the dishwasher.
4.2 Adding Detergent
Use only dishwasher-specific detergent. Refer to the detergent manufacturer's instructions for the correct amount. The detergent dispenser is typically located inside the door.
4.3 Selecting a Program
The dishwasher offers 6 versatile cleaning modes:
- ECO: Energy-efficient cycle for normally soiled dishes.
- Intensive: For heavily soiled dishes and pots.
- Normal: Standard cycle for everyday dishware.
- Rapid: Quick wash for lightly soiled items.
- Glass: Gentle cycle for delicate glassware.
- Rinse: Pre-rinse cycle for dishes that will be washed later.

The control panel displaying the six available cleaning programs.
4.4 Starting a Wash Cycle
- Close the dishwasher door securely.
- Press the 'Program' button to select your desired cycle.
- Press the 'Start/Pause' button to begin the cycle.
4.5 High-Temperature Cleaning and Drying
The dishwasher operates at an impressive 162°F (72°C) for thorough cleaning and hygiene. It features 3 spray arms for 720° full coverage and an extra drying function to ensure dishes are dry and fresh.

The dishwasher's interior during a high-temperature wash cycle, highlighting the three spray arms providing full coverage.

Illustration of the hot air drying and ventilation system within the dishwasher.
5. Maintenance
Regular maintenance ensures the longevity and optimal performance of your dishwasher.
5.1 Cleaning the Filters
The dishwasher has filters at the bottom of the tub to trap food particles. These should be cleaned regularly (e.g., weekly or bi-weekly) to prevent blockages and ensure efficient cleaning.
- Turn off and unplug the dishwasher.
- Remove the filter assembly by twisting or lifting it out.
- Rinse the filters under running water to remove any trapped food debris. Use a soft brush if necessary.
- Reinstall the filters, ensuring they are securely locked in place.
5.2 Cleaning the Interior and Exterior
- Wipe down the interior with a damp cloth after each use to prevent food residue buildup.
- Clean the exterior surfaces with a soft, damp cloth and mild detergent. Avoid abrasive cleaners.
- Periodically run a dishwasher cleaning cycle with a specialized cleaner or a cup of white vinegar placed in the bottom of the dishwasher (without dishes).
5.3 Spray Arm Maintenance
Check the spray arm nozzles periodically for blockages. If any holes are clogged, clear them with a toothpick or small wire.
6. Troubleshooting
If you encounter issues with your dishwasher, refer to the following common problems and solutions:
| Problem | Possible Cause | Solution |
|---|---|---|
| Dishwasher does not start | Power cord unplugged; Door not fully closed; No water supply | Check power connection; Ensure door latches securely; Verify water supply (faucet open or tank filled) |
| Dishes not clean | Improper loading; Clogged spray arms; Insufficient detergent; Incorrect program selected | Reload dishes correctly; Clean spray arm nozzles; Add appropriate detergent; Select suitable wash program |
| Water not draining | Clogged drain hose or filter; Drain hose kinked | Clean filters and drain hose; Straighten drain hose |
| Leaks | Loose hose connections; Damaged door seal | Tighten hose connections; Inspect and replace door seal if damaged |
| Unusual noise | Dishes interfering with spray arms; Foreign object in pump | Rearrange dishes; Inspect and remove any foreign objects |
If the problem persists after attempting these solutions, please contact customer support.
7. Specifications
Detailed specifications for the MilleLoom Countertop Dishwasher Model GJ46i2rh8l1c4pah0eJqLwRdG:
| Feature | Detail |
|---|---|
| Brand | MilleLoom |
| Model Number | GJ46i2rh8l1c4pah0eJqLwRdG |
| Installation Type | Countertop |
| Product Dimensions (D x W x H) | 18"D x 17"W x 18"H |
| Capacity (Water Tank) | 5 L |
| Special Feature | Extra-Drying Function |
| Color | White |
| Controls Type | Touch |
| Material | Stainless Steel |
| Included Components | Inlet Hose |
| Voltage | 120V |
| Number of Programs | 6 |
| Item Weight | 30.45 Pounds |
| Recommended Uses | Everyday dishware and glassware, pots and pans, heavily soiled bakeware |
Dimensions of the dishwasher: 18.11"H x 17.73"W x 16.93"D (approximate, based on image).
8. Warranty Information
This MilleLoom Countertop Dishwasher comes with a 30-day manufacturer's warranty. This warranty covers defects in materials and workmanship under normal use during the warranty period. Please retain your proof of purchase for warranty claims.
The warranty does not cover damage caused by:
- Improper installation or use.
- Accidents, abuse, or neglect.
- Unauthorized repairs or modifications.
- Normal wear and tear.
9. Customer Support
For technical assistance, warranty claims, or any questions regarding your MilleLoom Countertop Dishwasher, please contact our customer support team.
Please have your model number (GJ46i2rh8l1c4pah0eJqLwRdG) and purchase date ready when contacting support.
Contact information (e.g., website, email, phone number) can typically be found on the product packaging or the official MilleLoom website.