
Introduction
Thank you for choosing the Pockrif 3.5 Cub Large Fireproof Safe Box. This manual provides essential instructions for the safe's setup, operation, maintenance, and troubleshooting. Please read it thoroughly before use to ensure proper functionality and security.
Safety Information
- Always keep the emergency keys in a secure location, separate from the safe. Never store them inside the safe.
- Ensure the safe is anchored securely to a wall, floor, or closet to prevent unauthorized removal or tipping.
- Replace batteries when low to avoid electronic lockout.
- This safe is designed for security and moisture resistance. While it offers fire resistance, it is not completely fireproof for extreme, prolonged exposure.
Package Contents
Verify that all components are present in the package:
- Safe Box (1)
- Emergency Keys (2)
- Expansion Bolts (4)
- User Manual (1)
Product Overview
The Pockrif 3.5 Cub Large Fireproof Safe Box features robust construction and multiple security functions to protect your valuables.

Image: Front view of the Pockrif 3.5 Cub Safe Box with its door open, displaying internal dimensions and capacity for various items such as cash, jewelry, and documents. The safe measures approximately 12.2 inches deep, 13.78 inches wide, and 19.69 inches high.

Image: Visual representation of the safe's robust construction, highlighting its resistance to drilling, prying, collision, and small cracks, ensuring enhanced security.

Image: Detailed view of the safe's alloy steel construction, featuring 25mm thick locking bolts and a 45mm thick steel door, designed to resist drilling and forced entry.
- Digital Keypad: For electronic passcode entry.
- Emergency Keyhole: Provides manual access in case of forgotten passcode or dead batteries.
- Solid Steel Construction: Made from cold-rolled steel with 25mm locking bolts and a 45mm thick steel door for enhanced security.
- Removable Shelf: Allows for flexible storage arrangements.
- LED Interior Light: Illuminates the safe's interior when opened.
- External Battery Case Port: For temporary power supply if internal batteries are depleted.
Setup
1. Initial Unlocking
For the first use, or if you forget your password or the batteries run out, use the emergency key:
- Locate the keyhole cover on the digital keypad. Gently remove it.
- Insert one of the provided emergency keys into the keyhole and turn it clockwise.
- While holding the key turned, rotate the safe handle clockwise to open the door.

Image: Illustration of the two unlocking methods: using the emergency key for initial access or battery failure, and using the digital passcode for daily operation. The external battery case is also depicted.
2. Battery Installation
The safe requires 4 AA batteries (not included) for the electronic lock system.
- Open the safe door using the emergency key (if it's the first time) or your current passcode.
- Locate the battery compartment on the inside of the safe door.
- Insert 4 AA batteries, ensuring correct polarity (+/-).
- Close the battery compartment cover.
3. Mounting the Safe
To enhance security and prevent unauthorized removal, it is highly recommended to anchor the safe.
- Choose a suitable location, such as a wall, floor, or inside a closet.
- The safe has pre-drilled holes on the back and bottom. Position the safe and mark the drilling points on the surface.
- Drill holes at the marked positions.
- Align the safe with the drilled holes and insert the provided expansion bolts.
- Tighten the bolts securely to fix the safe in place.

Image: Step-by-step guide for mounting the safe to a wall or inside a closet using pre-drilled holes and expansion bolts.
Operating Instructions
1. Setting or Changing the Passcode
You can set a personal passcode of 3 to 8 digits.
- With the safe door open, locate the red reset button on the inside of the door.
- Press the reset button. The keypad will beep, and the yellow indicator light will flash.
- Enter your desired new passcode (3-8 digits) on the keypad.
- Press the "#" button to confirm. The safe will beep, and the yellow light will turn off.
- Important: With the door still open, test your new passcode to ensure it works correctly before closing the safe.
2. Opening the Safe (Electronic Method)
- Enter your programmed passcode on the keypad.
- Press the "#" button.
- If the passcode is correct, the green indicator light will illuminate, and you will hear a beep.
- Within 5 seconds, turn the handle clockwise to open the safe door.
3. Opening the Safe (Emergency Key Method)
This method is for emergencies, such as forgotten passcodes or dead batteries.
- Remove the keyhole cover on the keypad.
- Insert an emergency key and turn it clockwise.
- While the key is turned, rotate the safe handle clockwise to open the door.
4. Alarm System and Mute Function
The safe is equipped with an alarm system for enhanced security.
- If an incorrect passcode is entered 3 consecutive times, the safe will emit a continuous warning sound.
- To silence the alarm temporarily, long press the "1" button on the keypad.
- To reactivate the sound function, long press the "1" button again.
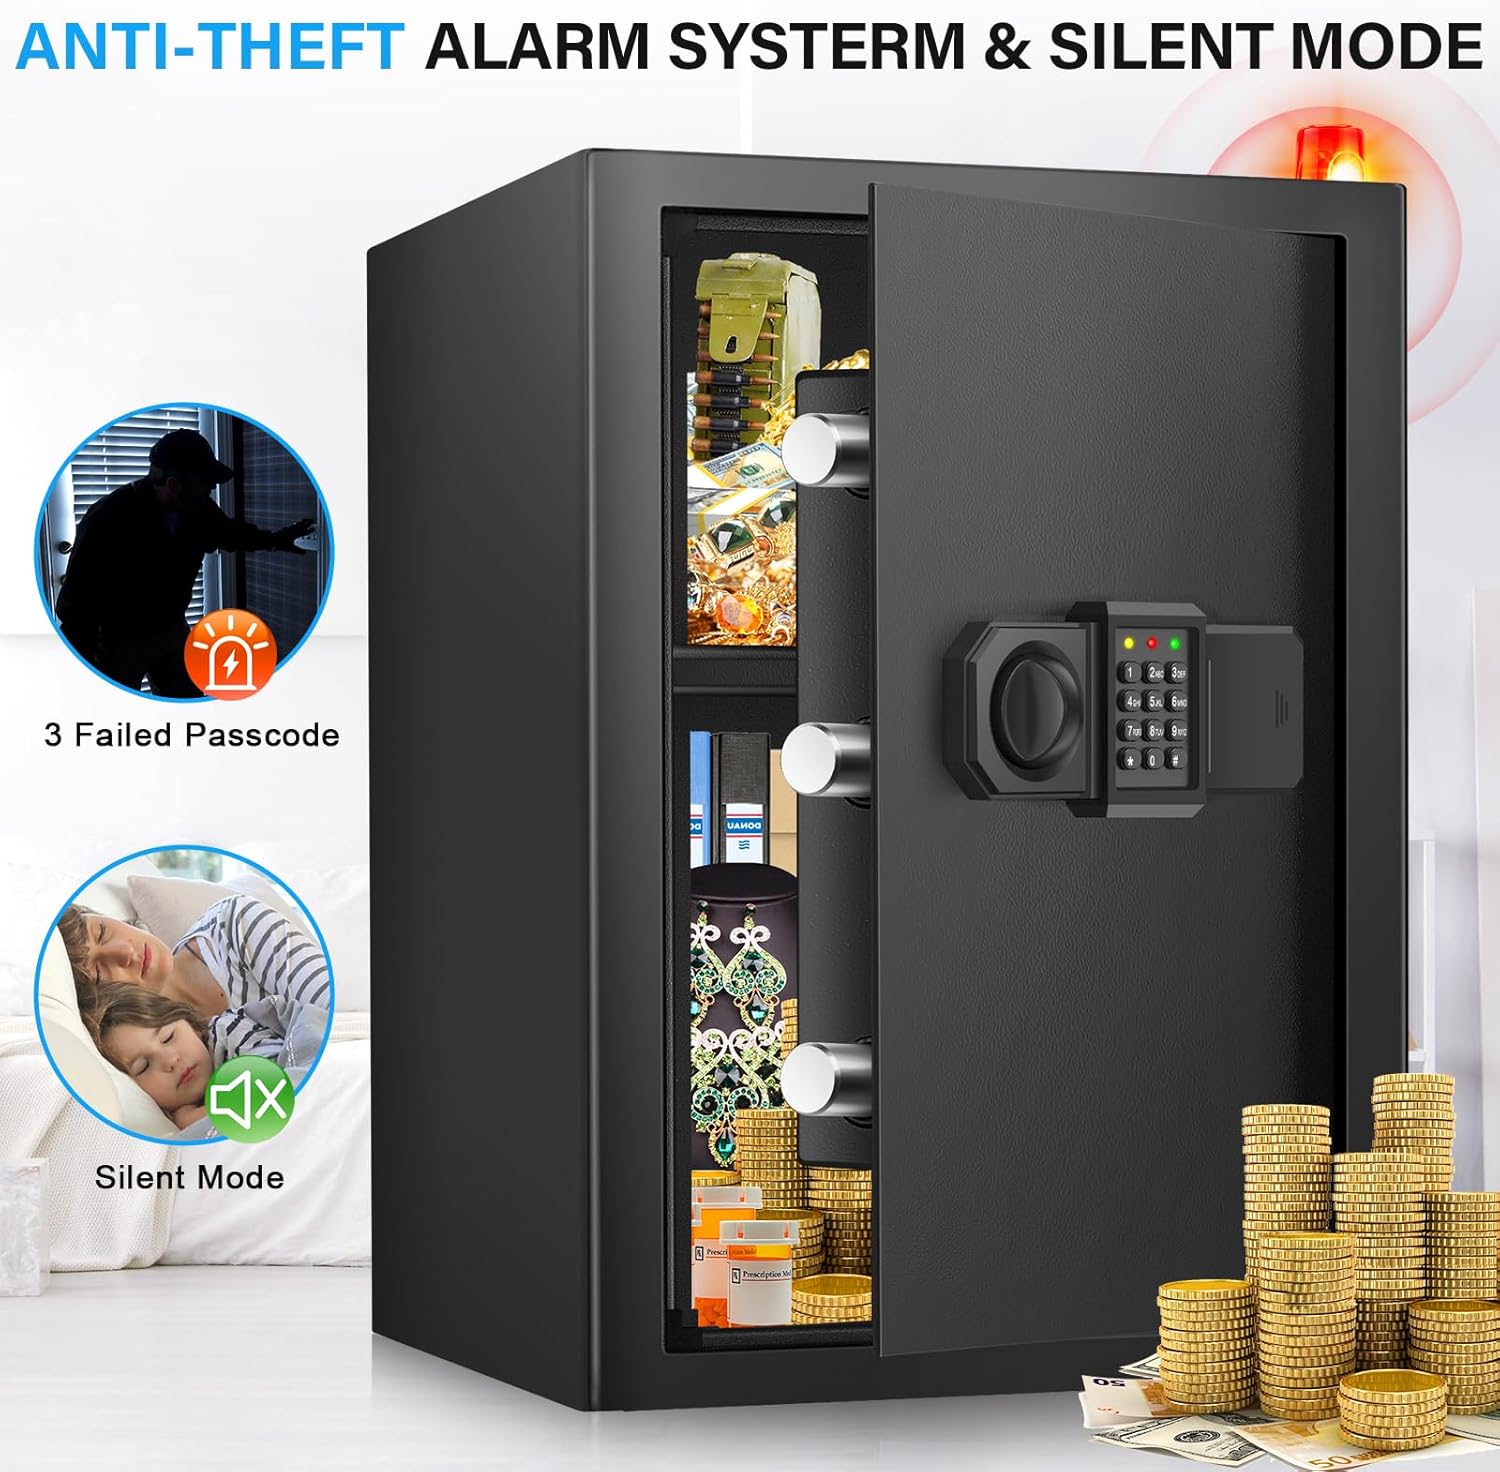
Image: Visual representation of the anti-theft alarm system activating after three failed passcode attempts, and the option to use silent mode.
5. LED Interior Light
The safe features a built-in LED light that automatically illuminates the interior when the door is opened, providing visibility in dark environments.
6. Using the Removable Shelf
The included shelf can be adjusted or removed to accommodate items of various sizes, allowing for flexible organization of your valuables.

Image: Comparison of the safe's interior with the removable shelf in place, suitable for smaller items, and with the shelf removed, allowing for larger items.
7. External Battery Case Usage
If the internal batteries are completely depleted and the safe cannot be opened electronically, use the external battery case:
- Insert fresh batteries into the external battery case.
- Plug the external battery case into the designated port on the keypad.
- Enter your passcode as usual. The safe should now power on and allow access.
Maintenance
- Clean the exterior of the safe with a soft, dry cloth. Avoid using harsh chemicals or abrasive cleaners.
- Regularly check the battery level and replace batteries annually or when the low battery indicator appears.
- Keep the emergency keys clean and stored in a dry, secure location.
Troubleshooting
- Problem: Safe does not open with the electronic passcode.
- Solution:
- Check if the batteries are low. Use the external battery case or replace the internal batteries.
- Ensure you are entering the correct passcode.
- If the keypad is completely unresponsive, the batteries might be fully depleted. Use the emergency key to open the safe and replace the internal batteries.
- Problem: The alarm sounds repeatedly.
- Solution: The alarm activates after 3 consecutive incorrect passcode entries. Enter the correct passcode or use the emergency key to disarm the alarm and open the safe.
- Problem: Emergency keys are lost.
- Solution: The keyhole has a serial number. Contact Pockrif customer support with this serial number to request a replacement key.
- Problem: Keypad is malfunctioning or unresponsive even with new batteries.
- Solution: If replacing batteries does not resolve the issue, contact Pockrif customer support for further assistance.
Specifications
| Brand | Pockrif |
| Model Number | 50ER |
| Product Dimensions | 13.8"D x 14.6"W x 19.7"H |
| Lock Type | Electronic Combination Lock, Key |
| Color | Black |
| Capacity | 3.5 Cubic Feet |
| Material | Alloy Steel |
| Special Features | Alarm System, Anti-Theft, Combination Lock, Fireproof, Removable Shelf |
| Mounting Type | Floor Mount |
| Item Weight | 29 Pounds |
| Water Resistance Level | Moisture Resistant |
Warranty and Support
Pockrif is committed to providing quality products and customer satisfaction. If you encounter any questions or require assistance with your safe, please do not hesitate to contact our customer support team. We are dedicated to resolving any issues you may experience.
For support, please refer to the contact information provided with your purchase or visit the official Pockrif website.