
1. Setup and Assembly
This section guides you through the initial setup and assembly of your iScooter DX5 Electric Scooter. Please follow these steps carefully to ensure safe and proper operation.
1.1 Unboxing and Component Identification
Carefully remove all components from the packaging. Verify that all parts listed in the packing list are present and undamaged.

Figure 1: All components of the iScooter DX5 Electric Scooter laid out after unboxing.
1.2 Assembly Video Guide
For a visual step-by-step guide on assembling your iScooter DX5, please watch the official installation video below. This video covers all major assembly steps from unboxing to final checks.
Video 1: Official iScooter DX5 Adults Electric Scooter with Seat Installation Video. This video demonstrates the complete assembly process, including handlebar, brake, mirror, and wheel installation.
1.3 Detailed Assembly Steps (Key Points from Video)
- Handlebar Installation: Secure the handlebar stem to the fork using the provided hex keys. Ensure all bolts are tightened evenly for stability.

Figure 2: The handlebar assembly with the 9-inch full-color LCD display and control buttons.
- Brake Lever and Mirror Attachment: Attach the brake levers and rearview mirrors to the handlebars. Adjust their positions for comfortable reach and optimal visibility.
- Cable Management: Use zip ties to neatly secure all cables along the frame, preventing interference with moving parts and ensuring a clean appearance.
- Headlight and Reflector Installation: Mount the front headlight and side reflectors onto the fork. Connect the headlight wiring securely.
- Front Fender Installation: Attach the front fender to the fork using the designated screws. Ensure it is securely fastened and does not obstruct the wheel.
- Front Wheel Installation: Carefully align the front wheel with the fork, ensuring the brake rotor slides correctly between the brake pads. Insert and tighten the axle bolt.
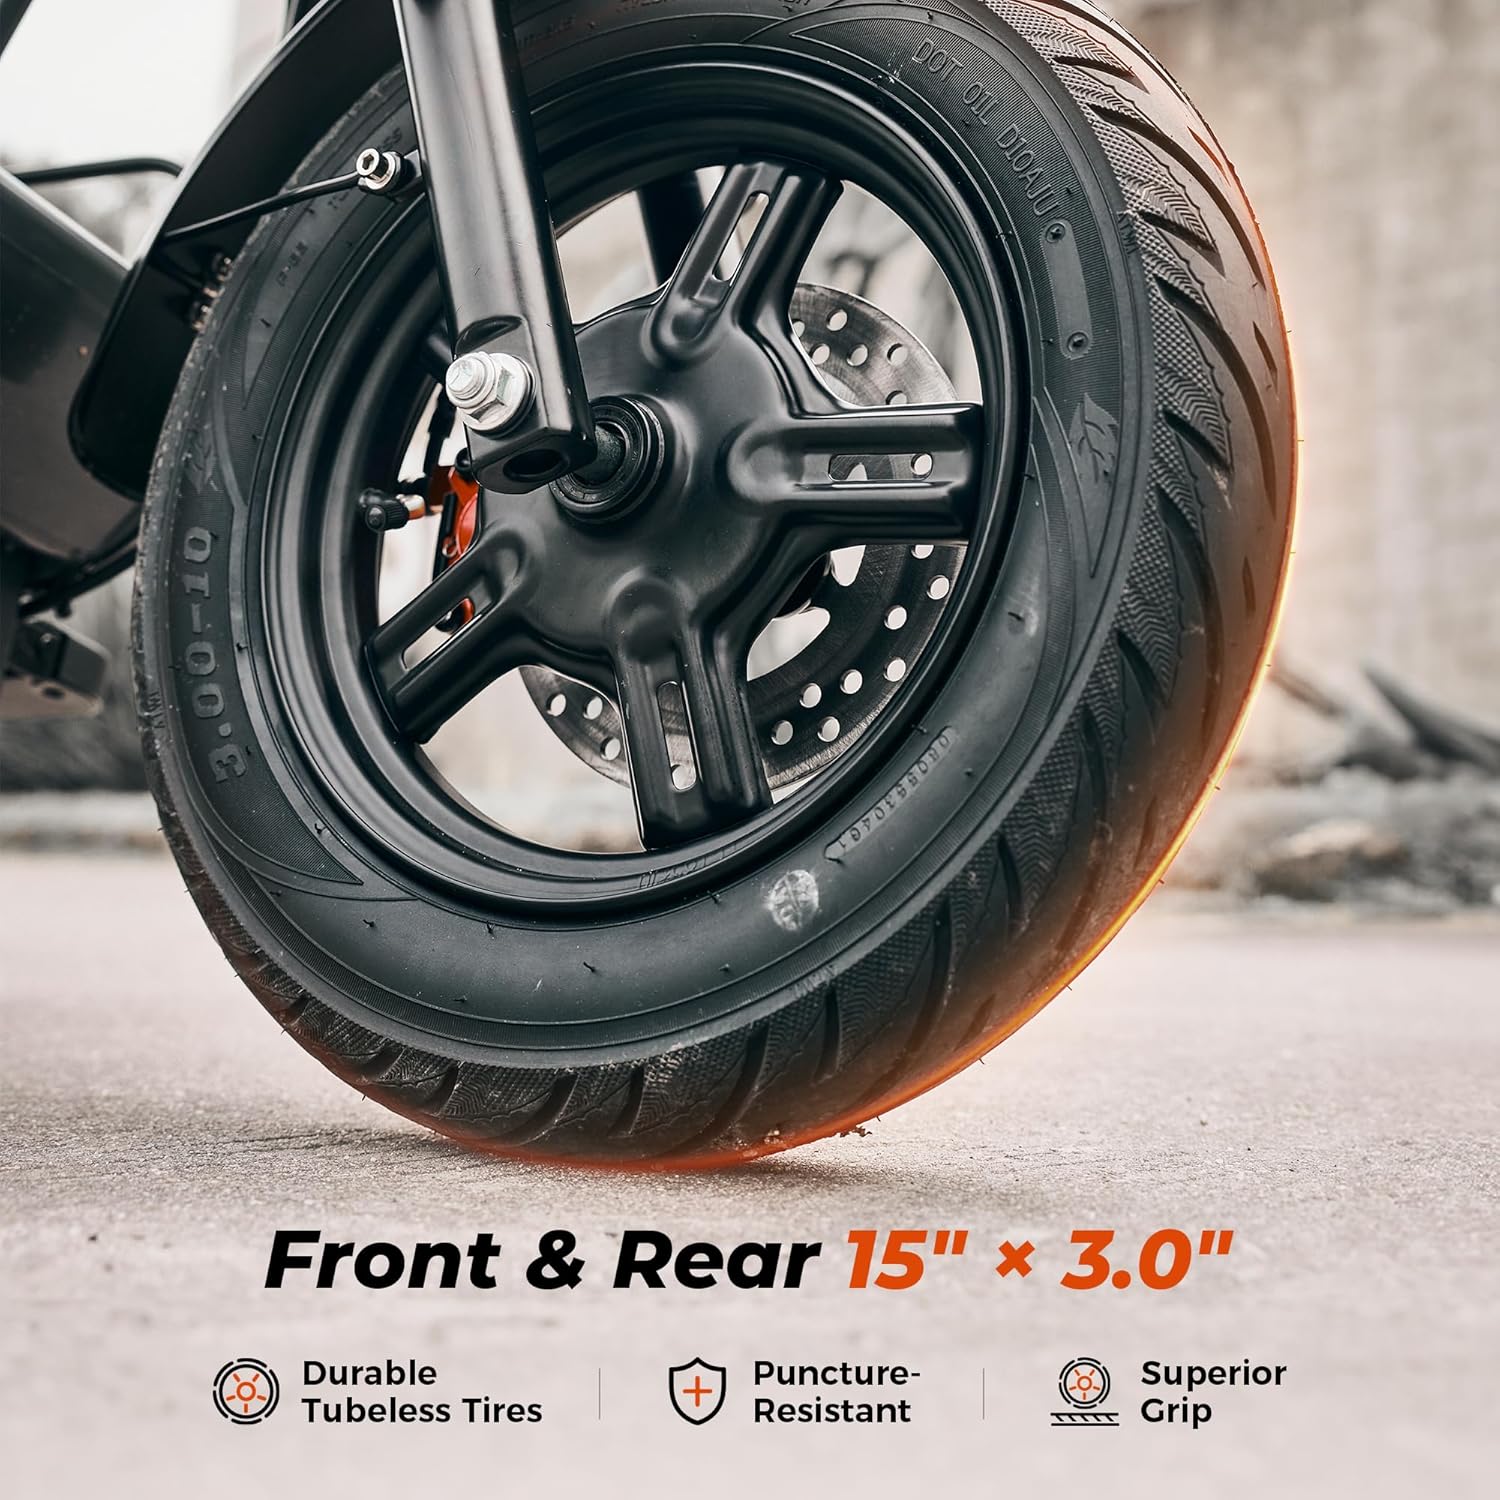
Figure 3: Detailed view of the 15-inch vacuum pneumatic tire and front hydraulic disc brake system.
- Footrest Installation: Attach the foldable footrests to the side of the scooter frame. Ensure they can be securely folded and unfolded.
- Seat Installation: Place the seat onto the rear rack and secure it with the provided hardware.

Figure 4: The enlarged comfort saddle designed for reduced pressure and improved breathability.
- Front Basket and Scooter Bag: Install the detachable front basket and attach the scooter bag as desired for storage.

Figure 5: The iScooter DX5 featuring its detachable front basket for convenient storage.
2. Operating Instructions
Familiarize yourself with the controls and features of your iScooter DX5 before your first ride.
2.1 Power On/Off and NFC Unlock
- Power On: Ensure the battery disconnect switch (located near the footrest) is in the "ON" position. Tap your NFC smart card to the display to unlock and power on the scooter.
- Power Off: Tap the NFC card again or hold the power button to turn off the scooter.

Figure 6: Overview of the handlebar controls, including the NFC unlock area on the display.
2.2 Speed Modes
The iScooter DX5 offers four speed modes to adapt to various riding conditions and preferences. Use the 'S' button on the handlebar to cycle through the modes:
- 1st Gear Mode: 15 MPH (Energy-saving mode)
- 2nd Gear Mode: 21 MPH (Urban commuting, steady speed)
- 3rd Gear Mode: 28 MPH (Balanced power, faster ride)
- 4th Gear Mode: 35 MPH (Turbo sprint, full power)

Figure 7: Visual representation of the four available speed modes and their corresponding speeds.
2.3 Lighting System and Horn
- Headlight: Press the headlight switch on the left handlebar to turn the front LED headlight on or off.
- Tail Light & Turn Signals: The tail light automatically brightens when braking. Use the turn signal button on the left handlebar to activate left or right turn signals.
- Horn: Press the horn button on the left handlebar to alert pedestrians or traffic.

Figure 8: Details of the advanced lighting system, including front headlight, tail light, and integrated turn signals.
2.4 Anti-theft Alarm Feature
The iScooter DX5 includes a built-in anti-theft alarm. When activated, any unauthorized movement of the scooter will trigger an audible alarm and lock the motor, deterring theft.
3. Maintenance
Regular maintenance ensures the longevity and optimal performance of your iScooter DX5.
- Brake System: Regularly inspect the dual hydraulic disc brakes for wear and tear. Ensure brake fluid levels are adequate and brake pads are not excessively worn. Adjust as necessary or consult a professional.

Figure 9: The dual hydraulic disc brake system provides instant and reliable stopping power.
- Tire Pressure: Check the pressure of the 15" x 3.0" vacuum pneumatic tires regularly. Maintain recommended pressure for optimal ride comfort, range, and tire lifespan.

Figure 10: Rugged 15" x 3.0" tires offer superior grip and puncture resistance, supporting up to 330 lbs.
- Suspension System: Periodically inspect the front hydraulic and rear air spring suspension for any signs of damage or leaks. Ensure all mounting bolts are tight.

Figure 11: The advanced dual suspension system, featuring front hydraulic and rear air spring suspension for a smooth ride.
- Battery Care: To prevent battery drain from the alarm system during long periods of inactivity, ensure the battery disconnect switch is in the "OFF" position.

Figure 12: The 48V 15.6Ah long-range battery, offering up to 45 miles on a single charge.
- General Cleaning: Clean the scooter regularly with a damp cloth. Avoid using high-pressure water jets directly on electrical components.
4. Troubleshooting
This section addresses common issues you might encounter with your iScooter DX5.
| Problem | Possible Cause | Solution |
|---|---|---|
| Scooter does not power on. | Battery disconnect switch is OFF; Low battery; Loose connections. | Ensure battery switch is ON. Charge the battery. Check all cable connections. |
| Motor not engaging. | NFC card not tapped; Parking mode active; Brake engaged. | Tap NFC card to activate. Release the brake or shift gear to unlock parking mode. |
| Reduced range or speed. | Low tire pressure; Heavy load; Uphill riding; Cold weather. | Check and inflate tires. Reduce load. Consider riding conditions. |
| Brakes feel weak. | Worn brake pads; Low brake fluid; Air in brake lines. | Inspect and replace brake pads. Check brake fluid. Consult a professional for bleeding brake lines. |
| Alarm triggers unexpectedly. | Sensitive alarm setting; Accidental movement. | Ensure scooter is stable when armed. Refer to the full manual for alarm sensitivity adjustment. |
5. Specifications
Key technical specifications for the iScooter DX5 Electric Scooter:
- Model Name: DX5
- Motor: Peak 1500W (1000W rated) Brushless Motor
- Battery: 48V 15.6Ah (748.8Wh) Lithium Battery
- Max Speed: 35 MPH (Four speed modes: 15/21/28/35 MPH)
- Max Range: 38-45 Miles (depending on riding conditions)
- Tires: 15" x 3.0" Vacuum Pneumatic E-Motorcycle Tires
- Brakes: Dual Hydraulic Disc Brakes
- Suspension: Front Hydraulic Suspension & Rear Air Spring Suspension (Dual Suspension)
- Max Load Capacity: 330 lbs
- Product Dimensions (LxWxH): 58.27" x 26.8" x 55.1"
- Item Weight: 100 Pounds
- Water Resistance: IPX4
- Special Features: 9" LCD Color Instrument Panel, NFC Unlocking, Anti-Theft Alarm, Removable Storage Basket, Scooter Bag

Figure 13: An overview of the iScooter DX5 highlighting its main features and specifications.
6. Warranty & Support
6.1 Warranty Information
iScooter offers a limited warranty on different parts of the DX5 Electric Scooter. We provide a 360-day or 180-day warranty depending on the specific component. Please refer to your purchase documentation or contact customer support for detailed warranty terms and conditions.
6.2 Customer Support
For any questions, technical assistance, or warranty claims, please contact iScooter customer support. You can find contact details on the official iScooter website or through your purchase platform.
Visit the official iScooter Store: iScooter Store on Amazon


