
1. Introduction
Thank you for choosing the CARORI 6-Quart 9-in-1 Electric Pressure Cooker. This appliance is designed to simplify your cooking process, offering multiple functions in one compact unit. Please read this manual thoroughly before first use to ensure safe and efficient operation.
2. Important Safety Instructions
When using electrical appliances, basic safety precautions should always be followed to reduce the risk of fire, electric shock, and injury to persons.
- Read all instructions.
- Do not touch hot surfaces. Use handles or knobs.
- To protect against electrical shock, do not immerse cord, plugs, or the main unit in water or other liquid.
- Close supervision is necessary when any appliance is used by or near children.
- Unplug from outlet when not in use and before cleaning. Allow to cool before putting on or taking off parts.
- Do not operate any appliance with a damaged cord or plug, or after the appliance malfunctions or has been damaged in any manner.
- The use of accessory attachments not recommended by the appliance manufacturer may cause injuries.
- Do not use outdoors.
- Do not let cord hang over edge of table or counter, or touch hot surfaces.
- Do not place on or near a hot gas or electric burner, or in a heated oven.
- Extreme caution must be used when moving an appliance containing hot oil or other hot liquids.
- Always attach plug to appliance first, then plug cord into the wall outlet. To disconnect, turn any control to “off”, then remove plug from wall outlet.
- Do not use appliance for other than intended use.
- This appliance cooks under pressure. Improper use may result in scalding injury. Make certain unit is properly closed before operating.
- Never put hands or face near the steam release valve during operation.
- Ensure the float valve is down before opening the lid.
- Only use the original pressure cooker lid. Using any other lid may cause damage or injury.
3. Product Components
The CARORI Electric Pressure Cooker comes with the following components:
- Electric Pressure Cooker Main Unit
- Ceramic Non-Stick Inner Pot
- Condensation Cup
- Steaming Rack
- Measuring Cup
- Rice Spoon
- Recipe Book
- User's Manual (this document)
- Power Cord

Figure 3.1: Included Components. The image displays the CARORI Electric Pressure Cooker main unit, ceramic non-stick inner pot, condensation cup, steaming rack, measuring cup, rice spoon, recipe book, and user manual.
4. Setup
- Unpack: Carefully remove all components from the packaging. Retain packaging for future storage or transport.
- Clean: Wash the inner pot, steaming rack, measuring cup, and rice spoon with warm, soapy water. Rinse thoroughly and dry. Wipe the exterior of the main unit and lid with a damp cloth.
- Assemble:
- Place the inner pot into the main unit. Ensure it sits properly.
- Attach the condensation cup to the designated slot on the back of the cooker.
- Ensure the sealing ring is correctly installed inside the lid.
- Placement: Place the pressure cooker on a stable, level surface away from heat sources and direct sunlight. Ensure adequate ventilation around the unit.
- Power Connection: Plug the power cord into a 120V electrical outlet. The display will illuminate.
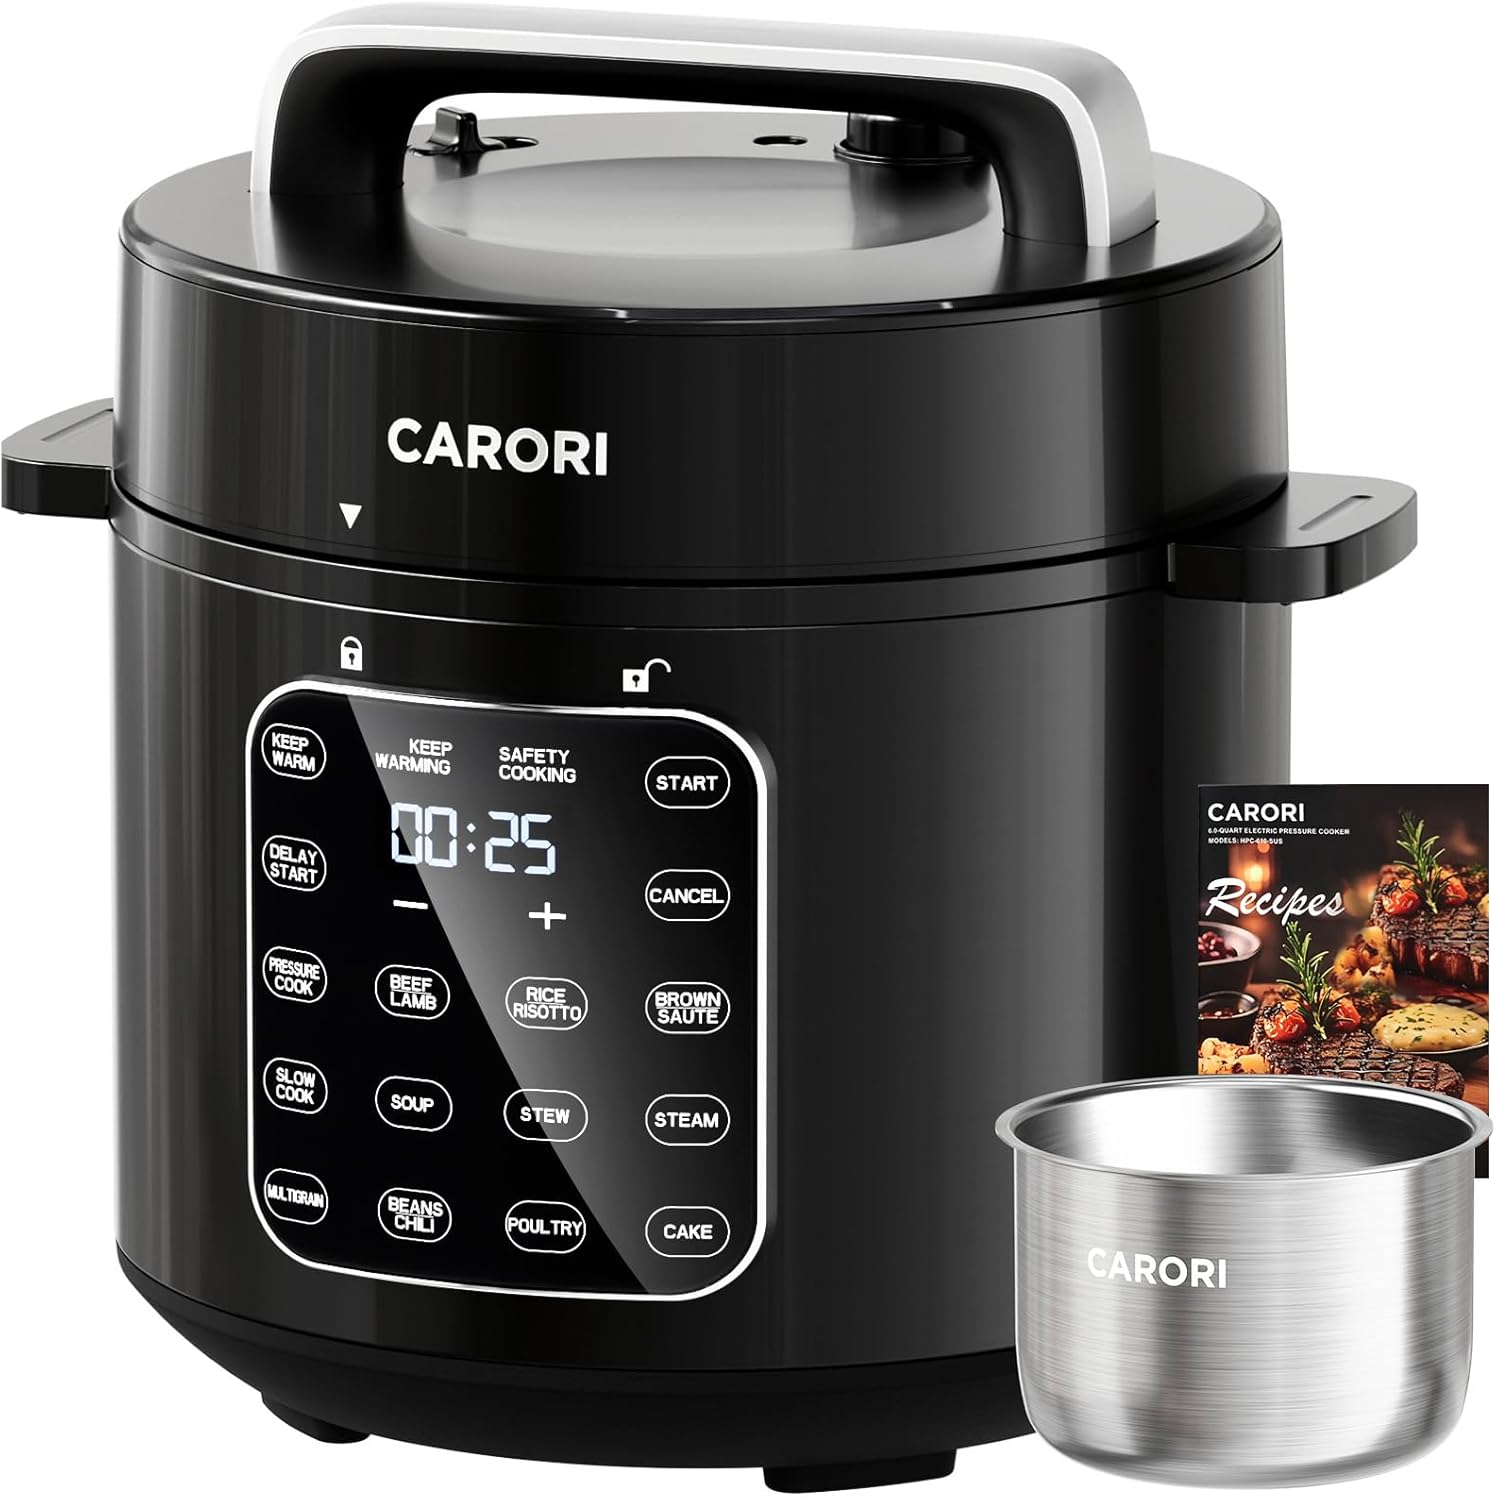
Figure 4.1: The CARORI Electric Pressure Cooker ready for use on a kitchen counter.
5. Operating Instructions
5.1 Control Panel Overview
The CARORI Electric Pressure Cooker features an IMD touch screen with 12 preset functions and additional controls for easy operation.

Figure 5.1: The touch screen control panel showing various preset buttons and time adjustment controls.
Available Presets: Pressure Cook, Beef/Lamb, Rice/Risotto, Brown/Sauté, Slow Cook, Soup, Stew, Steam, Multigrain, Beans/Chili, Poultry, Cake.
Additional Controls: Keep Warm, Delay Start, Start, Cancel, Time Adjustment (+/-).
5.2 Basic Operation Steps
- Prepare Ingredients: Place your ingredients and the required amount of liquid into the inner pot. Do not exceed the MAX fill line.
- Close Lid: Place the lid on the cooker, aligning the arrow on the lid with the arrow on the base. Rotate the lid clockwise until it locks into place. The display will show a locked icon.
- Set Venting Knob: Ensure the steam release valve is set to the "Seal" position for pressure cooking. For non-pressure functions like Sauté, it can be in "Vent" position.
- Select Function: Press the desired preset button (e.g., "Pressure Cook", "Rice/Risotto"). The default cooking time will appear on the display.
- Adjust Time (Optional): Use the "+" or "-" buttons to adjust the cooking time if needed.
- Start Cooking: Press the "Start" button. The cooker will begin preheating, and then the cooking cycle will start.
- Pressure Release: Once cooking is complete, the cooker will beep and switch to "Keep Warm" mode.
- Natural Release: Allow the pressure to release naturally. This is recommended for foods that expand, like grains or beans.
- Quick Release: Carefully switch the steam release valve to the "Vent" position. Always keep hands and face away from the steam release valve.
- Open Lid: Once the float valve drops down, indicating all pressure has been released, rotate the lid counter-clockwise and lift to open.
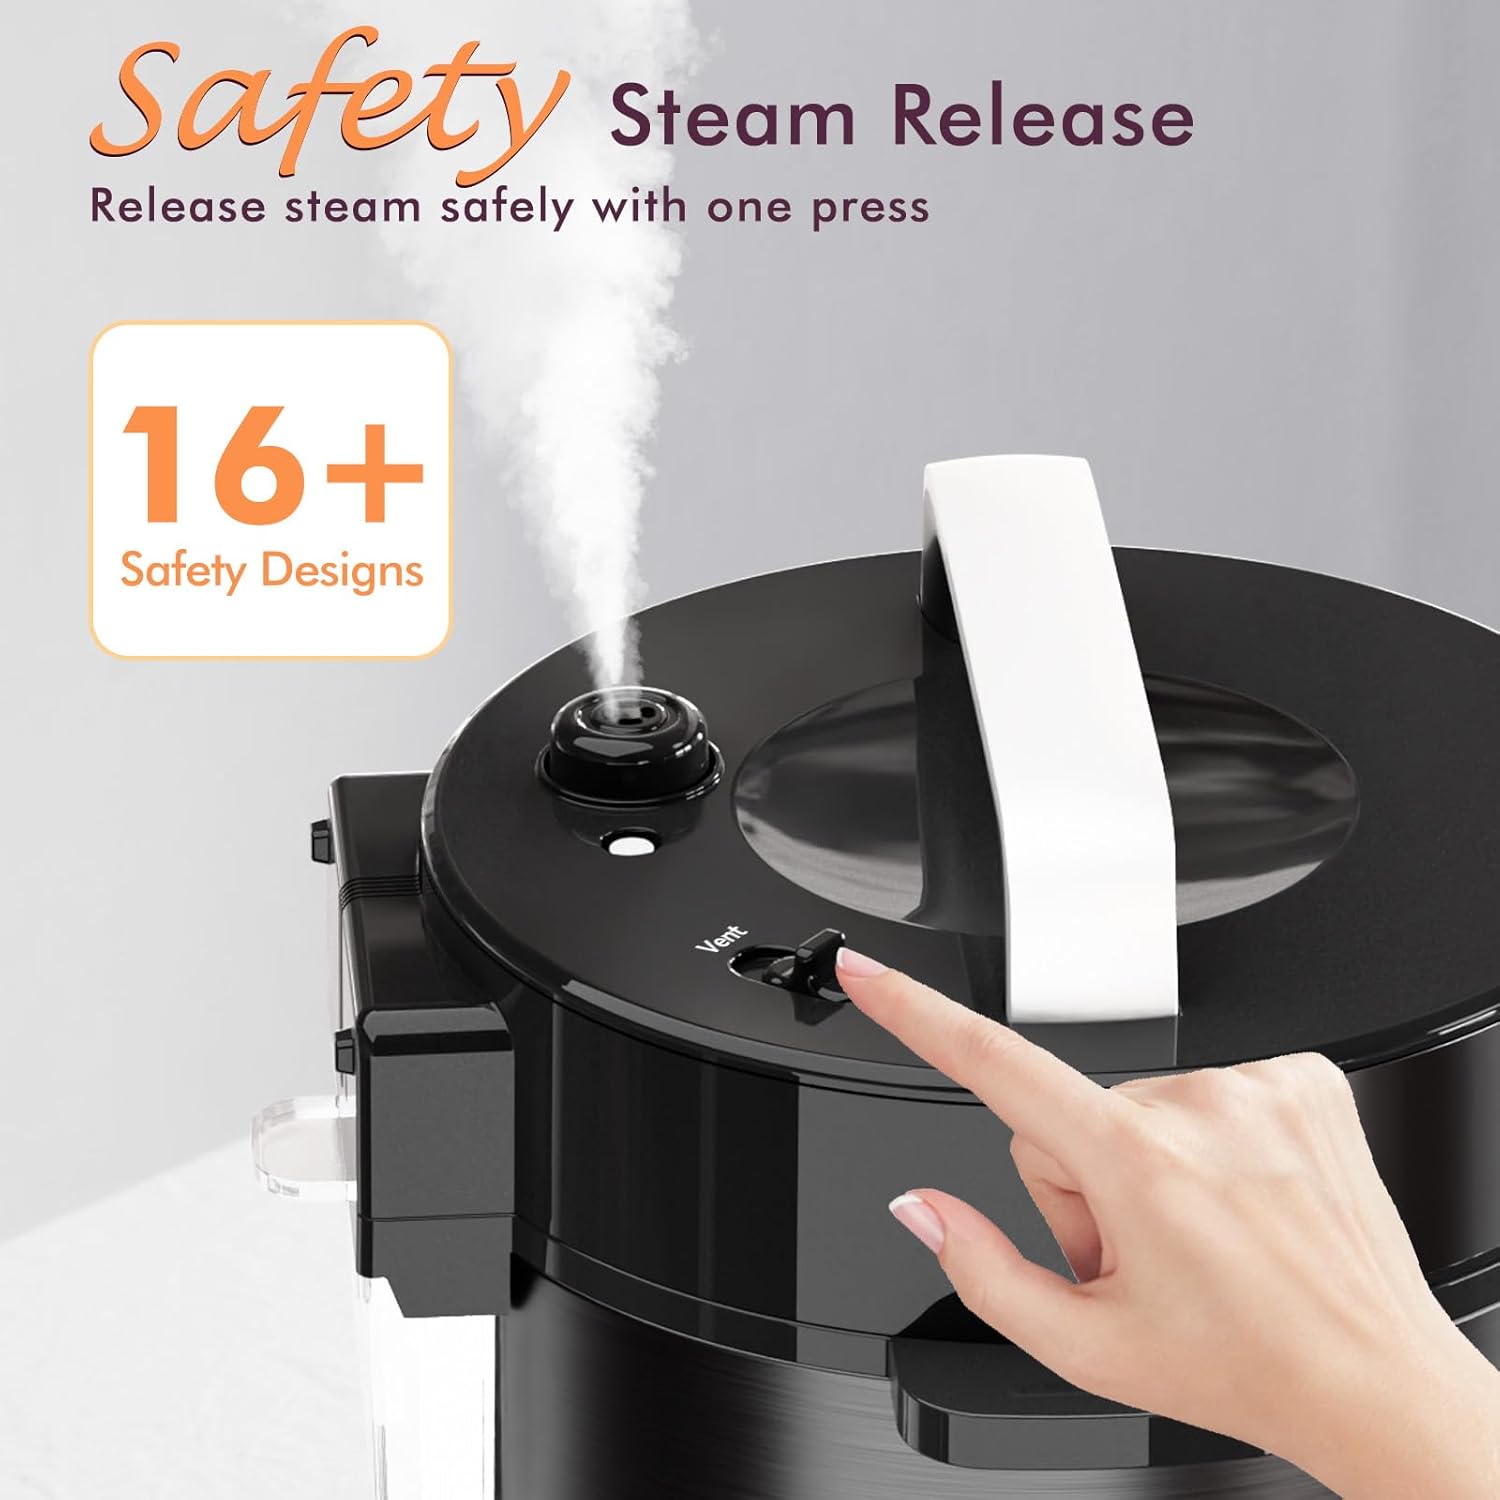
Figure 5.2: Operating the steam release switch for safe pressure release.
5.3 Delay Start Function
The Delay Start function allows you to program the cooker to start cooking at a later time, up to 24 hours in advance.
- Follow steps 1-3 from "Basic Operation Steps".
- Select your desired cooking function and adjust the cooking time.
- Press the "Delay Start" button.
- Use the "+" or "-" buttons to set the delay time (in hours).
- Press "Start". The timer will count down, and the cooker will automatically begin cooking once the delay time expires.

Figure 5.3: Utilizing the Delay Start function to schedule cooking.
6. Cleaning and Maintenance
Proper cleaning and maintenance will extend the life of your CARORI Electric Pressure Cooker.
- Unplug: Always unplug the appliance and allow it to cool completely before cleaning.
- Inner Pot & Accessories: The ceramic non-stick inner pot, condensation cup, and steaming rack are dishwasher safe. They can also be washed by hand with warm, soapy water and a non-abrasive sponge.
- Lid: The lid can be washed by hand. Remove the sealing ring and float valve for thorough cleaning. Ensure all parts are dry before reassembling.
- Main Unit: Wipe the exterior of the main unit with a damp cloth. Do not immerse the main unit in water or any other liquid.
- Storage: Store the cleaned and dried appliance in a cool, dry place.

Figure 6.1: Dishwasher-safe components for easy cleanup.
7. Troubleshooting
| Problem | Possible Cause | Solution |
|---|---|---|
| Cooker does not turn on. | Not plugged in; power outlet malfunction. | Ensure power cord is securely plugged into a working outlet. Check circuit breaker. |
| Lid cannot be closed. | Inner pot not correctly placed; sealing ring not properly installed. | Ensure inner pot is seated correctly. Check if the sealing ring is flat and properly positioned in the lid. |
| Steam leaks from lid during pressure cooking. | Sealing ring dirty/damaged; food debris on rim; steam release valve in "Vent" position. | Clean or replace sealing ring. Clean lid rim. Ensure steam release valve is set to "Seal". |
| Food is undercooked. | Insufficient cooking time; not enough liquid. | Increase cooking time. Ensure minimum liquid requirements are met for pressure cooking. |
8. Specifications
- Model: HPC-610-SUB
- Capacity: 6 Quarts
- Power: 1000 Watts
- Voltage: 120 Volts
- Material: Metal, Polypropylene (PP), Stainless Steel
- Color: Diamond Black
- Product Dimensions (D x W x H): 12"D x 11.42"W x 12"H
- Item Weight: 12 Pounds
- Control Method: Push Button, Touch (IMD Touch Screen)
- Special Features: Dishwasher Safe (removable parts), Keep Warm Setting, Locking Lid, Programmable, 16+ Safety Features
9. Warranty and Support
The CARORI Electric Pressure Cooker (Model: HPC-610-SUB) comes with a 1 Year Manufacturer Warranty.
For warranty claims, technical support, or any questions regarding your product, please contact CARORI customer service. Refer to the contact information provided in your product packaging or visit the official CARORI website.
Please retain your proof of purchase for warranty purposes.