1. Introduction
This manual provides detailed instructions for the installation, operation, and maintenance of your EZAIoT TRV901W WiFi Radiator Thermostat. Please read this manual carefully before using the device to ensure proper function and safety.
The EZAIoT TRV901W is a smart thermostatic radiator valve designed to optimize and digitize your home heating system. It features an ultra-compact design, a bright OLED color display with a 4-way rotating function for easy readability, and stable WiFi6 technology for convenient control via the Smart Life (Tuya) app. It supports precise PID control and open window detection to enhance energy efficiency and reduce heating costs. The device is compatible with Alexa and Google Home for voice control and does not require an additional gateway.
2. Package Contents
Verify that all components are present in your package:
- 3 x EZAIoT TRV901W Radiator Thermostats
- 6 x AA Batteries
- 18 x Valve Adapters (for various radiator types)
- User Manual (this document)
3. Setup and Installation
3.1 Battery Installation
- Gently twist and remove the battery cover from the back of the thermostat.
- Insert two AA batteries into the compartment, ensuring correct polarity (+/-).
- Replace the battery cover, twisting it until it clicks securely into place.
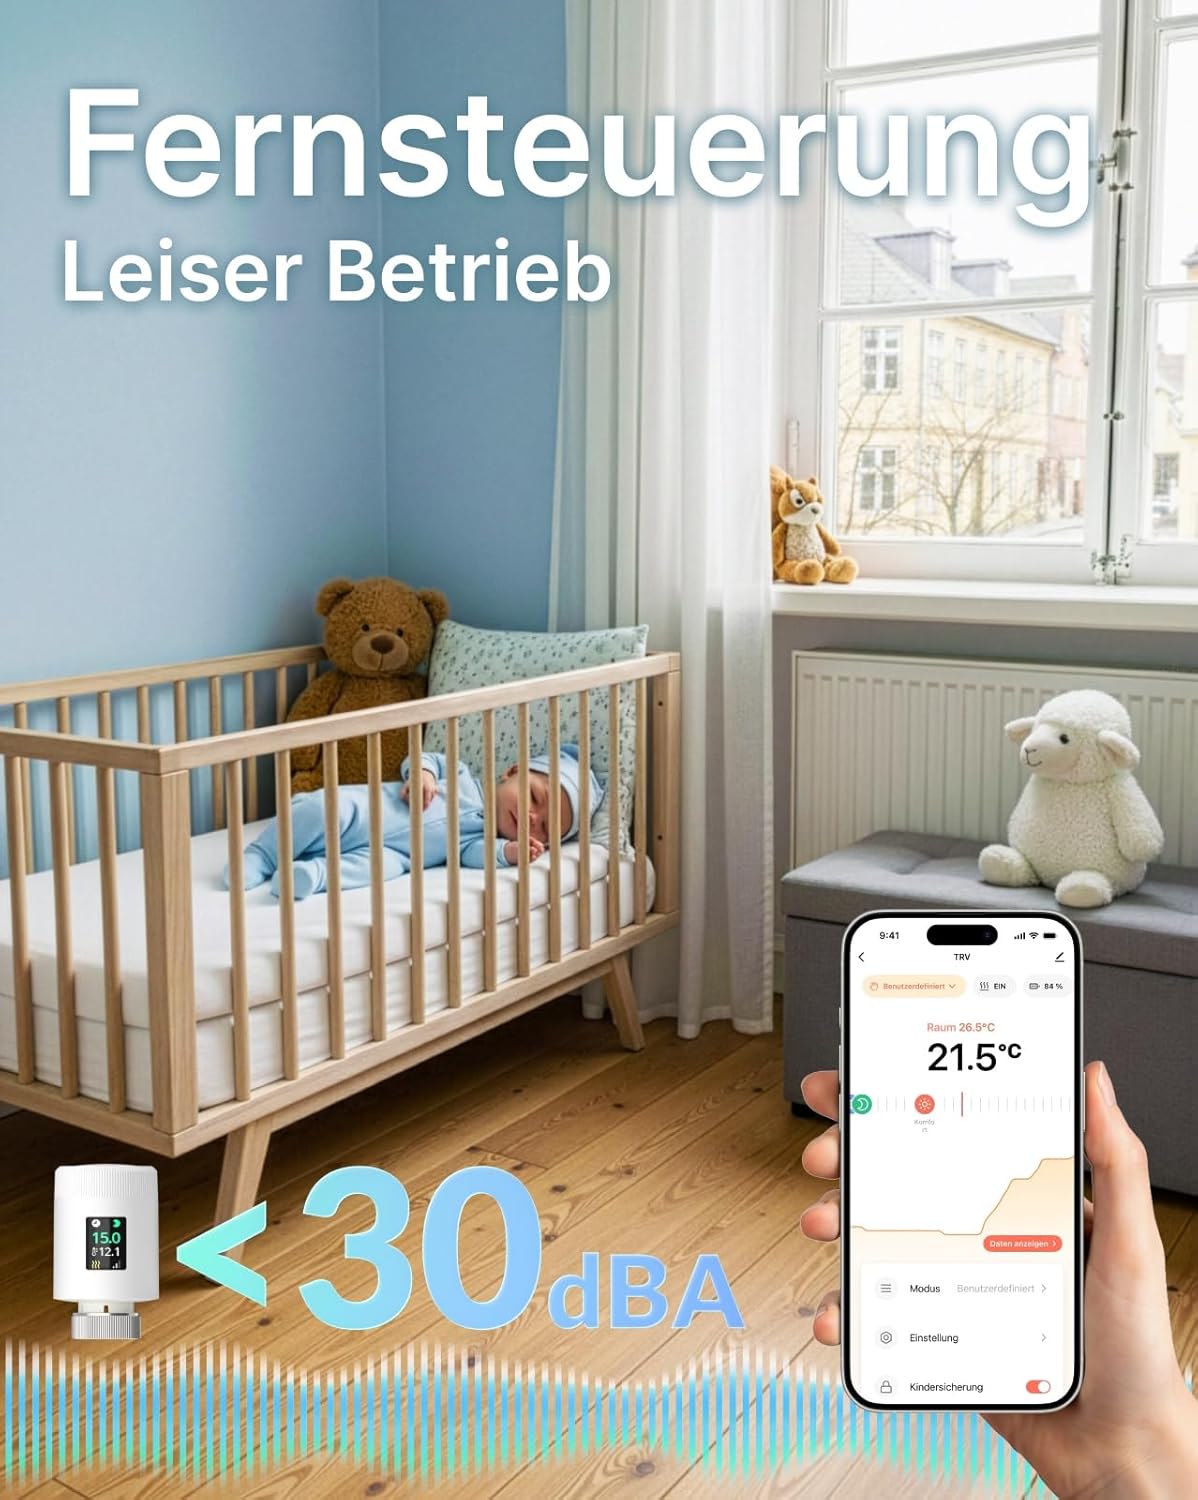
Image 1: EZAIoT TRV901W Radiator Thermostat. This image shows the compact design of the thermostat, with its digital display indicating temperature and battery status. It highlights the device's appearance when installed on a radiator valve.
3.2 Physical Installation on Radiator
The TRV901W is designed for quick installation without a hub. It replaces your existing thermostatic radiator valve.
- Turn off your heating system before beginning installation.
- Remove your old thermostatic radiator valve head by unscrewing it.
- Identify the correct adapter from the 18 included adapters that fits your radiator valve.
- Attach the appropriate adapter to your radiator valve.
- Screw the EZAIoT TRV901W thermostat onto the adapter until it is securely fastened. Do not overtighten.
- Turn your heating system back on.

Image 2: Thermostat installed on a radiator. This image illustrates the thermostat mounted on a radiator, emphasizing its role in intelligent energy saving, symbolized by a piggy bank. It also shows compatibility logos for Alexa, Google Home, and Home Assistant.
3.3 App Pairing (Smart Life / Tuya App)
The thermostat connects directly to your home WiFi (2.4 GHz and 5 GHz compatible) without a separate gateway.
- Download the "Smart Life" or "Tuya Smart" app from your smartphone's app store (iOS or Android).
- Register or log in to your account.
- Ensure your smartphone is connected to your home WiFi network.
- On the thermostat, press and hold the main button (or follow specific pairing instructions on the device display) to enter pairing mode. The WiFi icon on the display will flash.
- In the Smart Life app, tap "+" to add a device. Select "Small Home Appliance" > "Thermostat" or "Radiator Valve".
- Follow the on-screen instructions in the app to connect the thermostat to your WiFi network. You may need to enter your WiFi password.
- Once connected, the WiFi icon on the thermostat display will become solid.
- You can now control and program your thermostat via the app.
4. Operating Instructions
4.1 Manual Control
The thermostat features a rotating color display for direct temperature adjustment.
- Adjusting Temperature: Rotate the thermostat body clockwise to increase the temperature, and counter-clockwise to decrease it. The new set temperature will be displayed.
- Display Rotation: The display automatically rotates for optimal viewing angle.
- Child Lock: To prevent accidental changes, activate the child lock feature via the app or by following specific instructions on the device (refer to app for details).

Image 3: Detailed view of the thermostat. This image highlights the internal components, the vibrant color display, and the compact dimensions (50mm diameter, 82.9mm length). It also shows the rotating temperature control feature.
4.2 App Control (Smart Life / Tuya)
Use the Smart Life app for comprehensive control and scheduling.
- Set Temperature: Adjust the desired room temperature remotely.
- Create Schedules: Program personalized heating schedules based on your daily routine to save energy.
- Holiday Mode: Activate holiday mode to maintain a lower, energy-saving temperature while you are away.
- Rapid Heating: Utilize the rapid heating function for quick temperature boosts.
- Open Window Detection: The thermostat automatically detects open windows and temporarily pauses heating to prevent energy waste.
- Low Battery Indicator: The app and device display will show a low battery warning when replacement is needed.
4.3 Voice Control (Alexa / Google Home)
Integrate your TRV901W with Amazon Alexa or Google Home for convenient voice commands.
- Ensure your Smart Life/Tuya account is linked to your Alexa or Google Home app.
- Discover new devices in your voice assistant app.
- Use commands such as:
- "Alexa, set [Thermostat Name] to 22 degrees."
- "Hey Google, what's the temperature in [Room Name]?"
- "Alexa, turn off [Thermostat Name]."
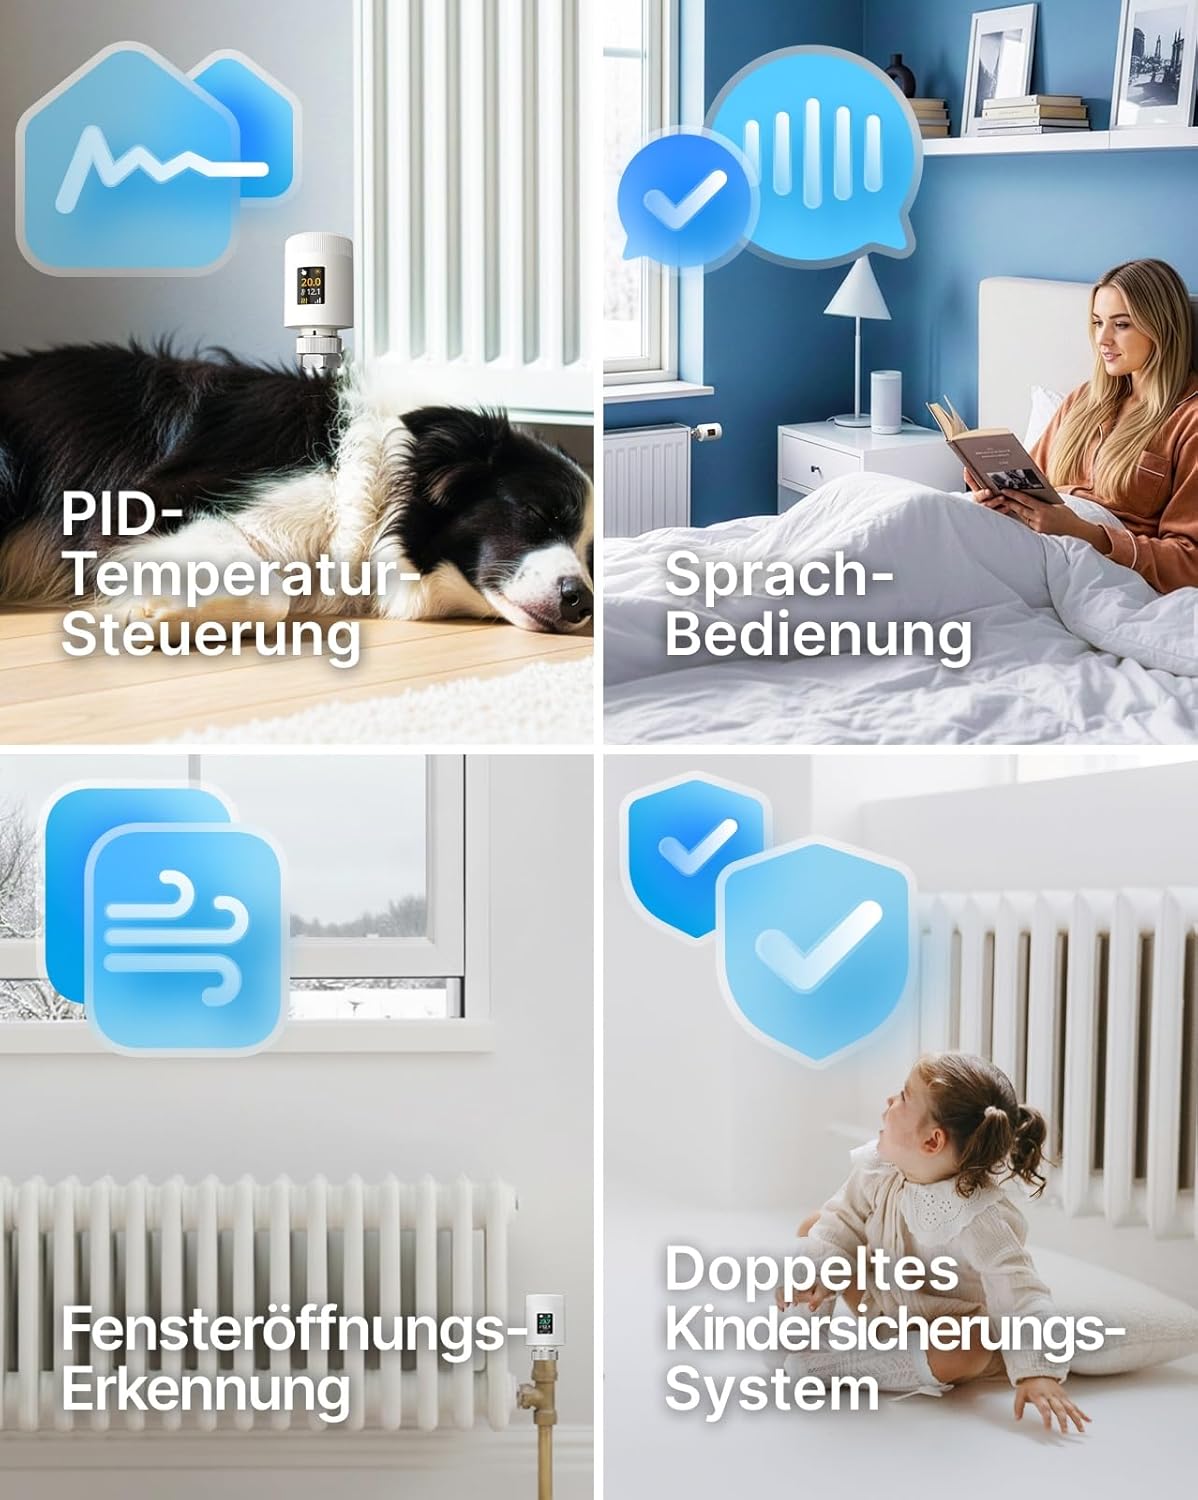
Image 4: Remote control and quiet operation. This image depicts a user controlling the thermostat via a smartphone app, with a baby sleeping peacefully in the background, illustrating the quiet operation (less than 30 dBA) and remote control capabilities.
5. Maintenance
5.1 Battery Replacement
When the low battery indicator appears on the display or in the app, replace the batteries promptly.
- Remove the battery cover.
- Remove the old AA batteries.
- Insert new AA batteries, observing correct polarity.
- Replace the battery cover.
Note: Dispose of used batteries responsibly according to local regulations.
5.2 Cleaning
Clean the thermostat regularly to ensure optimal performance and appearance.
- Wipe the device with a soft, dry cloth.
- Do not use abrasive cleaners, solvents, or chemical sprays, as these can damage the surface and internal components.
- Ensure no liquid enters the device.
6. Troubleshooting
| Problem | Possible Cause | Solution |
|---|---|---|
| Thermostat not connecting to WiFi. | Incorrect WiFi password, out of range, 2.4/5 GHz band issue, router settings. |
|
| Temperature not adjusting. | Batteries low, valve stuck, thermostat not properly installed. |
|
| Voice control not working. | Smart Life/Tuya account not linked, device not discovered, incorrect commands. |
|
| Display is blank or unresponsive. | Dead batteries, device malfunction. |
|
7. Specifications
| Feature | Detail |
|---|---|
| Model | TRV901W |
| Brand | EZAIoT |
| Product Dimensions | 5 x 5 x 5 cm (approx. 50 x 50 x 82.9 mm); 807 g (for 3 units) |
| Specific Use | Boiler, Radiator Heating, Radiators |
| Batteries Required | Yes (2x AA per thermostat, 6x AA included for 3 units) |
| Included Components | 3 Radiator Thermostats, 6 AA Batteries, 18 Valve Adapters |
| Controller Type | Smart Life (Tuya) App |
| Special Features | Low Battery Indicator, Temperature Indicator, Holiday Mode, Programmable, Automatic Scheduling, Child Lock, Rotating Color Display, Open Window Detection, PID Control, WiFi 2.4/5 GHz compatible, Alexa/Google Home/Home Assistant compatible. |
8. Warranty Information
EZAIoT products are manufactured to high-quality standards. This product comes with a standard manufacturer's warranty against defects in materials and workmanship from the date of purchase. Please retain your proof of purchase for warranty claims.
The warranty does not cover damage caused by improper installation, misuse, unauthorized modifications, or normal wear and tear. For specific warranty terms and conditions, please refer to the warranty card included with your product or contact EZAIoT customer support.
9. Customer Support
If you encounter any issues or have questions regarding your EZAIoT TRV901W WiFi Radiator Thermostat, please contact our customer support team.
- Online Support: Visit the official EZAIoT website for FAQs, troubleshooting guides, and contact forms.
- Email Support: [Insert Manufacturer Email Address Here, if available, otherwise omit]
- Phone Support: [Insert Manufacturer Phone Number Here, if available, otherwise omit]
Please have your product model (TRV901W) and purchase information ready when contacting support.


