1. Introduction
Thank you for choosing the TOOLTOP Awithz SH2 Mini Spot Welding Machine. This compact and versatile 2-in-1 device is designed for precise spot welding of various lithium battery packs, including 18650, 26650, and 36650 cylindrical batteries, as well as mobile phone batteries. Featuring a large color screen, built-in smart chip, and adjustable welding pin spacing, the SH2 offers both automatic and manual welding modes for efficient and reliable repairs and DIY projects. Please read this manual thoroughly before operation to ensure safe and optimal performance.
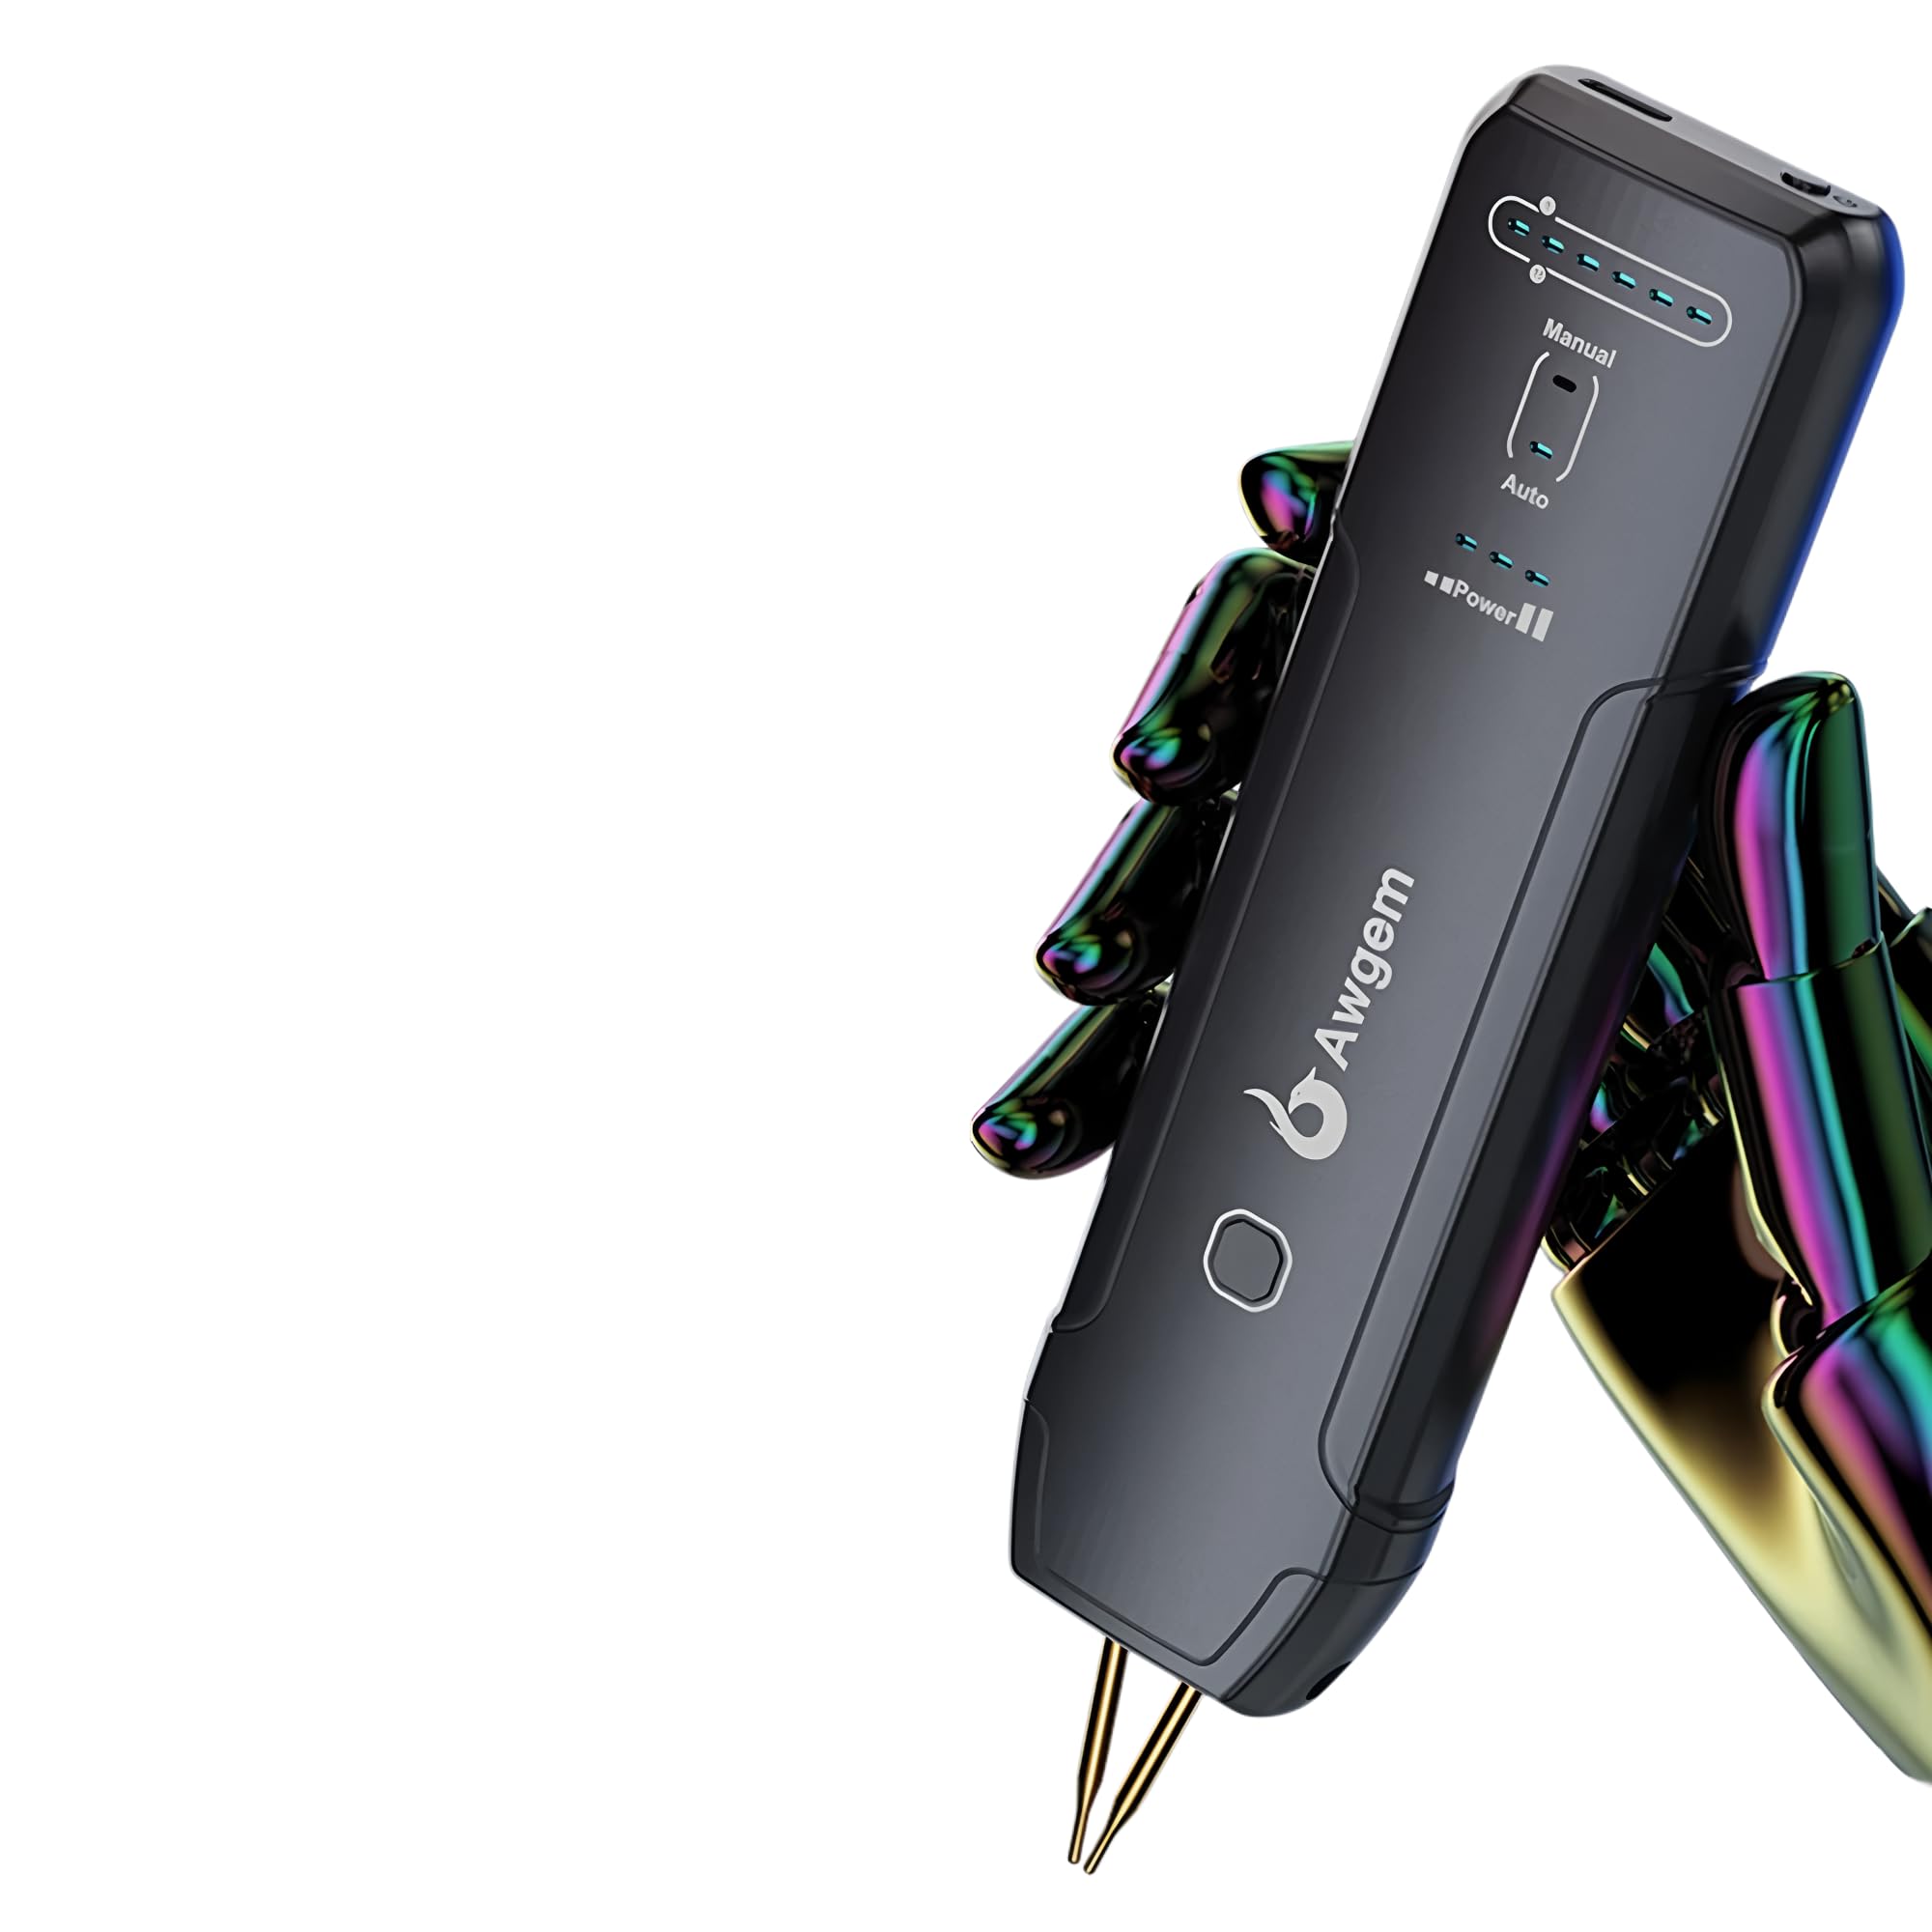
Image 1.1: Overview of the TOOLTOP Awithz SH2 Mini Spot Welding Machine.
2. Safety Information
Always prioritize safety when operating electrical equipment. Failure to follow these safety guidelines may result in injury or damage to the device.
- Read the Manual: Read and understand all instructions before using the spot welder.
- Eye Protection: Always wear appropriate eye protection (safety glasses or goggles) to shield against sparks and debris.
- Ventilation: Use the device in a well-ventilated area to avoid inhaling fumes.
- Flammable Materials: Keep the work area clear of flammable liquids, gases, and materials.
- Electrical Safety: Do not operate the device with wet hands or in damp conditions. Ensure the charging cable and device are free from damage.
- Battery Safety: Exercise extreme caution when working with batteries. Improper handling can lead to short circuits, fires, or explosions. Do not attempt to weld damaged or leaking batteries.
- Children and Pets: Keep the device out of reach of children and pets.
- Maintenance: Only perform maintenance as described in this manual. For complex repairs, contact qualified service personnel.
- Proper Use: Use the device only for its intended purpose of spot welding compatible battery types.
3. Package Contents
Verify that all items listed below are present in your package:
- 1 x TOOLTOP Awithz SH2 Mini Spot Welding Machine (Model: TT-Awithz-SH2)
- 1 x Type-C Charging Cable
- Nickel Sheet (sample)
- Sandpaper (sample)
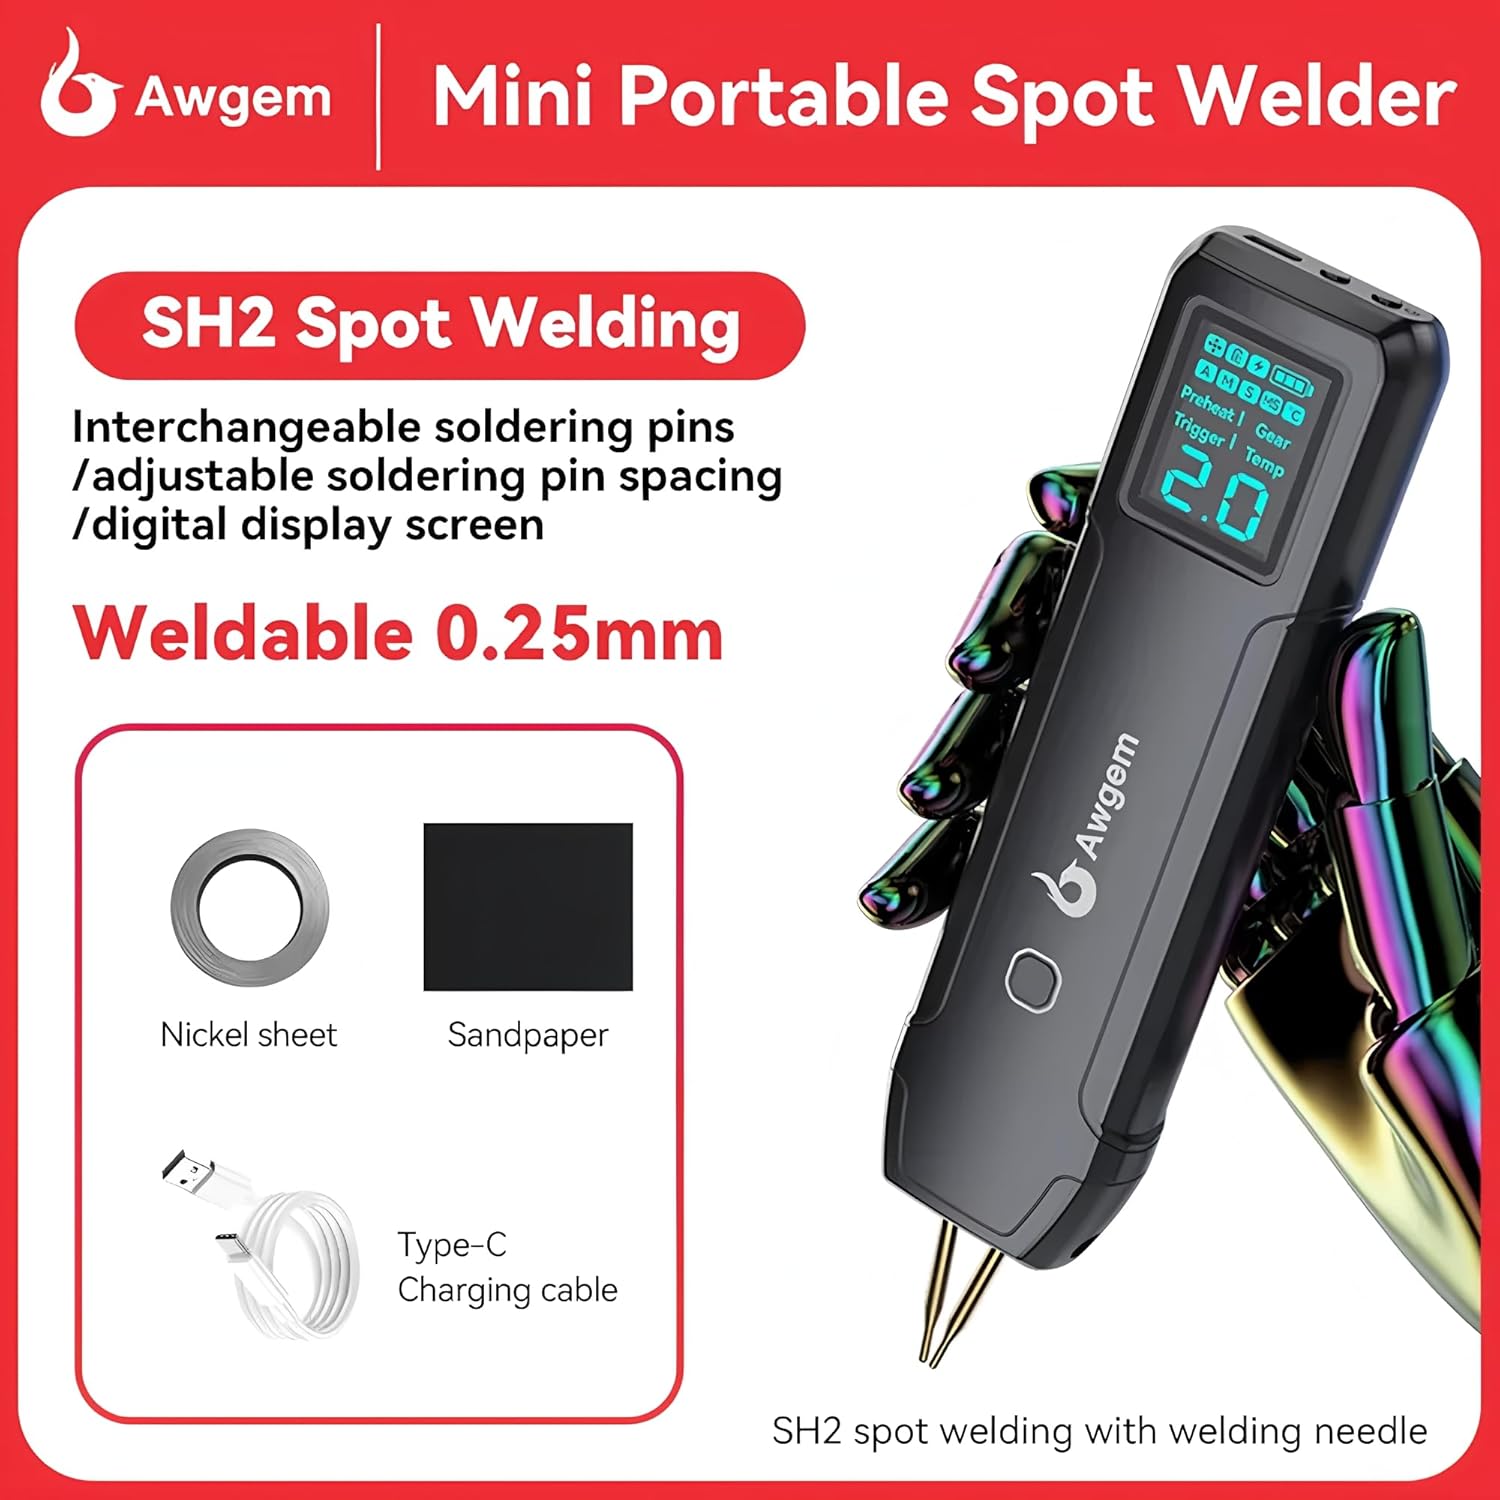
Image 3.1: Included accessories: Nickel sheet, sandpaper, and Type-C charging cable.
4. Product Features
The TOOLTOP Awithz SH2 Mini Spot Welding Machine incorporates several advanced features for enhanced performance and user convenience:
- 2-in-1 Lightweight Design: The welding machine and welding pen are integrated into a single, compact unit for portability and ease of use.
- Built-in Smart Chip: Features an industrial-grade temperature sensor and safety chip for stable operation and protection.
- Dual Mode Operation: Supports both automatic and manual welding modes, providing flexible control for various welding tasks.
- Double Pulse Millisecond Welding: Ensures strong and reliable welds with precise control over welding pulses.
- Adjustable Welding Pin Spacing: The distance between welding pins can be adjusted from 0.5mm to 3mm to suit different welding requirements.
- Wide Compatibility: Suitable for spot welding 18650, 26650, 36650 cylindrical batteries, and mobile phone batteries.
- Weldable Materials: Capable of welding nickel plating up to 0.25mm, steel sheet up to 0.2mm, iron sheet up to 0.2mm, and pure nickel sheet up to 0.15mm.
- Replaceable Welding Pins: Designed for easy replacement of welding pins, ensuring long-term usability and optimal performance.

Image 4.1: Illustration of double pulse welding capability and compatible battery types.

Image 4.2: Internal design emphasizing safety, durability, and endurance features.
5. Setup
Before using your Awithz SH2 spot welder, follow these steps for initial setup:
- Charge the Device: Connect the Type-C charging cable to the device and a suitable USB power adapter (not included). Ensure the device is fully charged before first use. The display will indicate charging status.
- Inspect Welding Pins: Check the welding pins for any damage or wear. Ensure they are clean and sharp for optimal conductivity.
- Adjust Welding Pin Spacing:
- Loosen the fixing screw for the welding needle.
- Adjust the welding needles to the desired spacing (0.5mm to 3mm) based on the material thickness and battery type.
- Tighten the fixing screw to secure the welding needles in place.
- Prepare Work Area: Ensure your work area is clean, well-lit, and free from flammable materials. Have appropriate safety gear, such as eye protection, readily available.
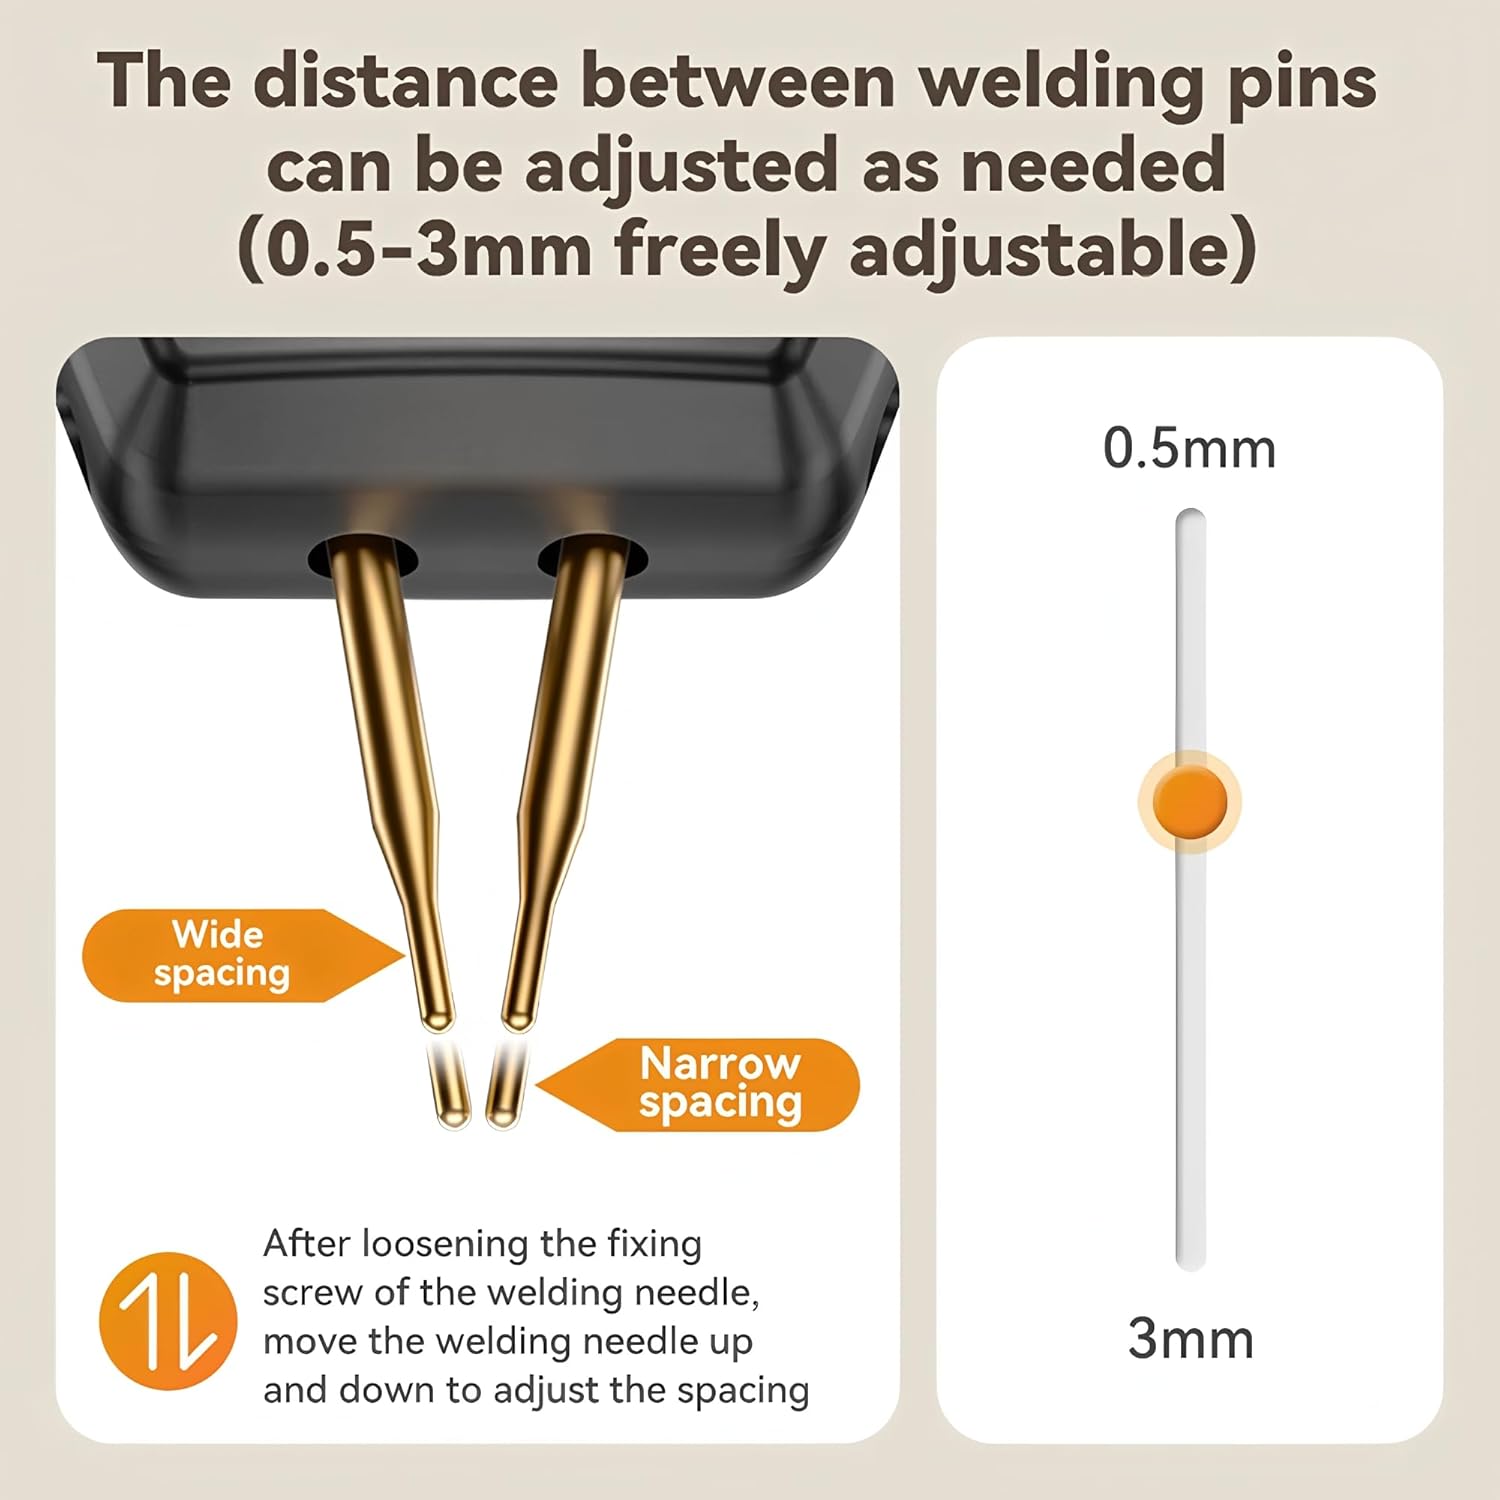
Image 5.1: Procedure for adjusting the welding pin spacing (0.5-3mm).
6. Operating Instructions
Follow these steps to operate your Awithz SH2 Mini Spot Welding Machine:
- Power On: Press and hold the power button to turn on the device. The large color screen will illuminate.
- Select Mode: The device supports both automatic and manual welding modes. Use the control buttons to select your preferred mode.
- Automatic Mode: The device will automatically detect contact and initiate the welding pulse.
- Manual Mode: You will manually trigger the welding pulse using a button or trigger mechanism.
- Adjust Welding Settings: Use the control buttons to adjust welding parameters such as power level (gear) and preheat settings, if available. Start with lower settings and gradually increase as needed for your material.
- Prepare Materials: Clean the surfaces of the battery and nickel strip to be welded. Use sandpaper if necessary to remove any oxidation.
- Position for Welding: Place the nickel strip firmly against the battery terminal. Position the welding pins squarely on the nickel strip, ensuring good contact with both the strip and the battery terminal underneath.
- Perform Weld:
- In Automatic Mode, the weld will trigger automatically once good contact is made.
- In Manual Mode, press the trigger button to initiate the weld.
- Repeat: Move to the next welding point and repeat the process.
- Power Off: After use, press and hold the power button to turn off the device.

Image 6.1: Welding pulse characteristics and maximum weldable material thicknesses.
7. Maintenance
Proper maintenance ensures the longevity and optimal performance of your spot welder.
- Cleaning: After each use, ensure the welding pins are clean. Use fine sandpaper or a wire brush to remove any residue or oxidation from the tips.
- Pin Replacement: If the welding pins become excessively worn, pitted, or damaged, they can be replaced.
- Loosen the fixing screw that holds the welding pins.
- Carefully remove the old pins.
- Insert new, compatible welding pins.
- Adjust the spacing and tighten the fixing screw securely.
- Storage: Store the device in a cool, dry place, away from direct sunlight and moisture. Ensure it is powered off before storage.
- Battery Care: For long-term storage, it is recommended to charge the internal battery to approximately 50-70% capacity. Recharge every few months to prevent deep discharge.

Image 7.1: Replaceable soldering pins for extended device lifespan.

Image 7.2: The scientific design of the welding needles allows for easy replacement and optimal alignment.
8. Troubleshooting
If you encounter issues with your Awithz SH2 spot welder, refer to the following common problems and solutions:
| Problem | Possible Cause | Solution |
|---|---|---|
| Device does not power on. | Low battery or faulty charging cable. | Charge the device fully. Check the Type-C charging cable for damage and try a different power source. |
| Weak or inconsistent welds. | Insufficient power setting, dirty welding pins, poor contact, or incorrect material. | Increase the power setting. Clean welding pin tips. Ensure firm contact between pins, nickel strip, and battery. Verify material compatibility and thickness. |
| Welding pins stick to material. | Excessive power setting or dirty pins. | Reduce the power setting. Clean welding pin tips thoroughly. |
| Device overheats. | Continuous use at high power or poor ventilation. | Allow the device to cool down. Operate in a well-ventilated area. Avoid prolonged continuous welding. |
| Display not working correctly. | Software glitch or internal issue. | Try restarting the device. If the problem persists, contact customer support. |
9. Specifications
| Feature | Detail |
|---|---|
| Model | TT-Awithz-SH2 |
| Brand | TOOLTOP |
| Welding Mode | Automatic / Manual Dual Mode, Double Pulse Millisecond Welding |
| Weldable Nickel Plating Thickness | Up to 0.25mm (MAX) |
| Weldable Steel Sheet Thickness | Up to 0.2mm (MAX) |
| Weldable Iron Sheet Thickness | Up to 0.2mm (MAX) |
| Weldable Pure Nickel Sheet Thickness | Up to 0.15mm (MAX) |
| Adjustable Welding Pin Spacing | 0.5mm - 3mm |
| Battery Compatibility | 18650, 26650, 36650 cylindrical batteries, mobile phone batteries |
| Charging Interface | Type-C |
| Certifications | CE, RoHS |
| Date First Available | October 23, 2025 |
10. Warranty and Support
The TOOLTOP Awithz SH2 Mini Spot Welding Machine comes with a standard manufacturer's warranty. Please refer to the warranty card included with your product or contact your retailer for specific warranty terms and conditions. For technical support, troubleshooting assistance, or inquiries regarding spare parts, please contact TOOLTOP customer service through their official website or the contact information provided with your purchase.
EU Spare Part Availability Duration: 1 Year


