
1. Introduction
Thank you for choosing the FAKJANK F417PRO Drone. This manual provides essential information for the safe operation, setup, and maintenance of your drone. Please read this manual thoroughly before operating the device to ensure proper function and to prevent damage or injury. Keep this manual for future reference.

Image: The FAKJANK F417PRO Drone in flight above a scenic mountain range.
2. Package Contents
Verify that all items listed below are included in your package. If any items are missing or damaged, please contact customer support.
- Drone x 1
- Remote Control with Screen x 1
- Battery x 1
- Propeller x 4 (spare)
- Protective Frame x 4
- Screwdriver x 1
- USB Cable x 1
- Carrying Case x 1
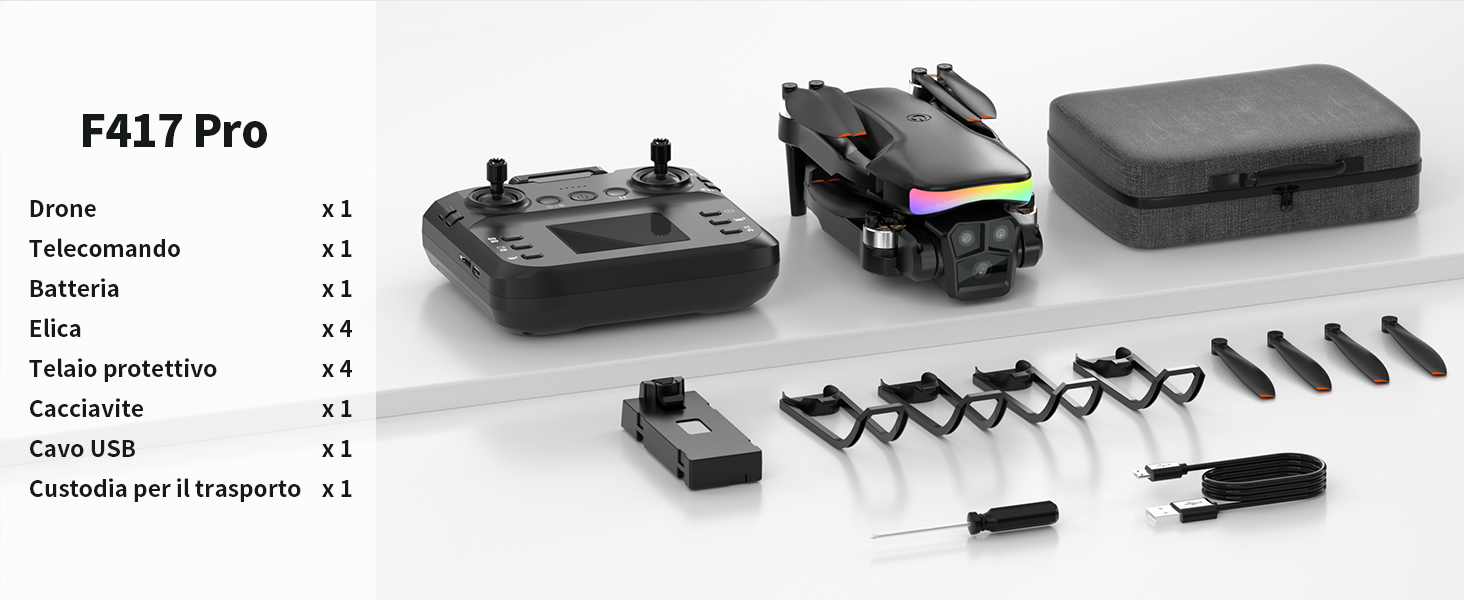
Image: All components included in the FAKJANK F417PRO drone package.
3. Product Overview
3.1 Drone Components
The F417PRO drone features a compact design with a 1080P camera, LED lights, and optical flow positioning for stable flight.

Image: Detail of the drone's 1080P camera with 90° adjustable lens and multi-color LED lights.
3.2 Remote Control
The remote control features an integrated screen for real-time FPV feed, eliminating the need for a separate smartphone. It supports Type-C charging and includes an SD card slot for storage.
Image: The remote control being charged via a Type-C cable.
Image: The remote control with an SD card inserted into its slot.
4. Setup
4.1 Battery Installation
- Ensure the drone and remote control are powered off.
- Insert the modular battery into the drone's battery compartment until it clicks into place.
- For the remote control, ensure its internal battery is charged using the provided USB Type-C cable.
4.2 Propeller and Protective Frame Installation
- Attach the protective frames to each motor arm of the drone.
- Ensure propellers are correctly installed according to their markings (A and B) on the corresponding motor shafts. Use the screwdriver if necessary.
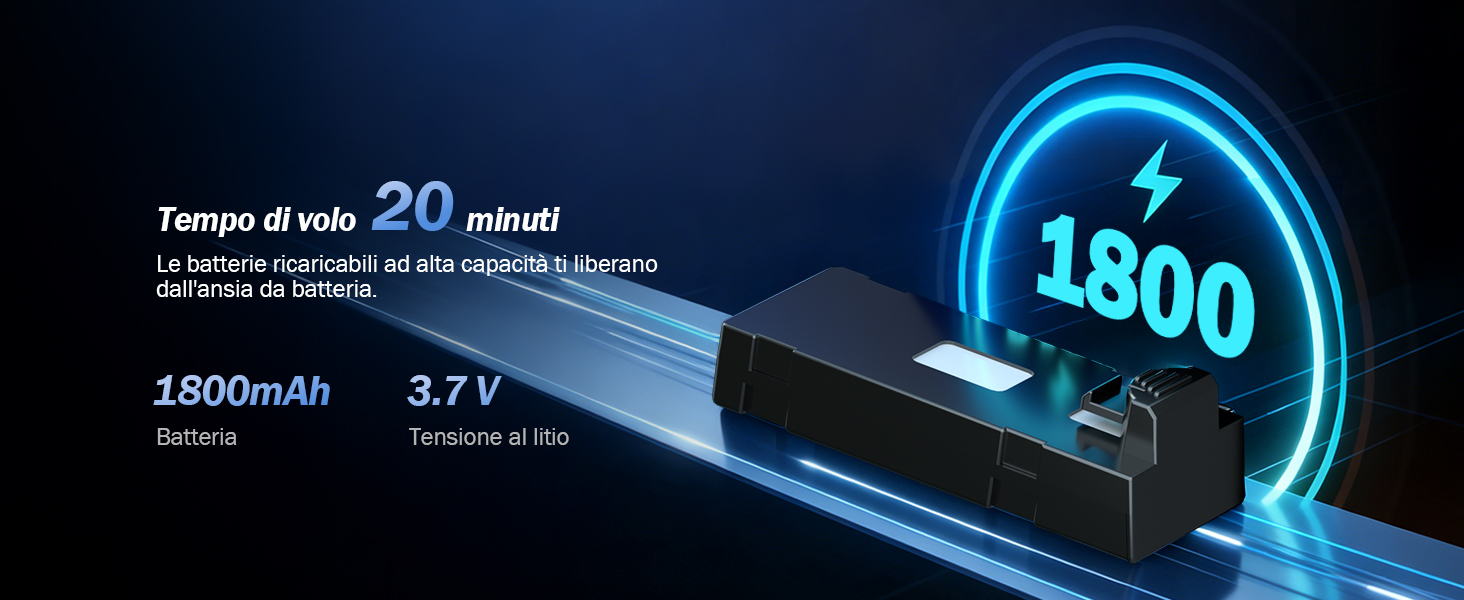
Image: The drone's 1800mAh modular battery, providing approximately 20 minutes of flight time.
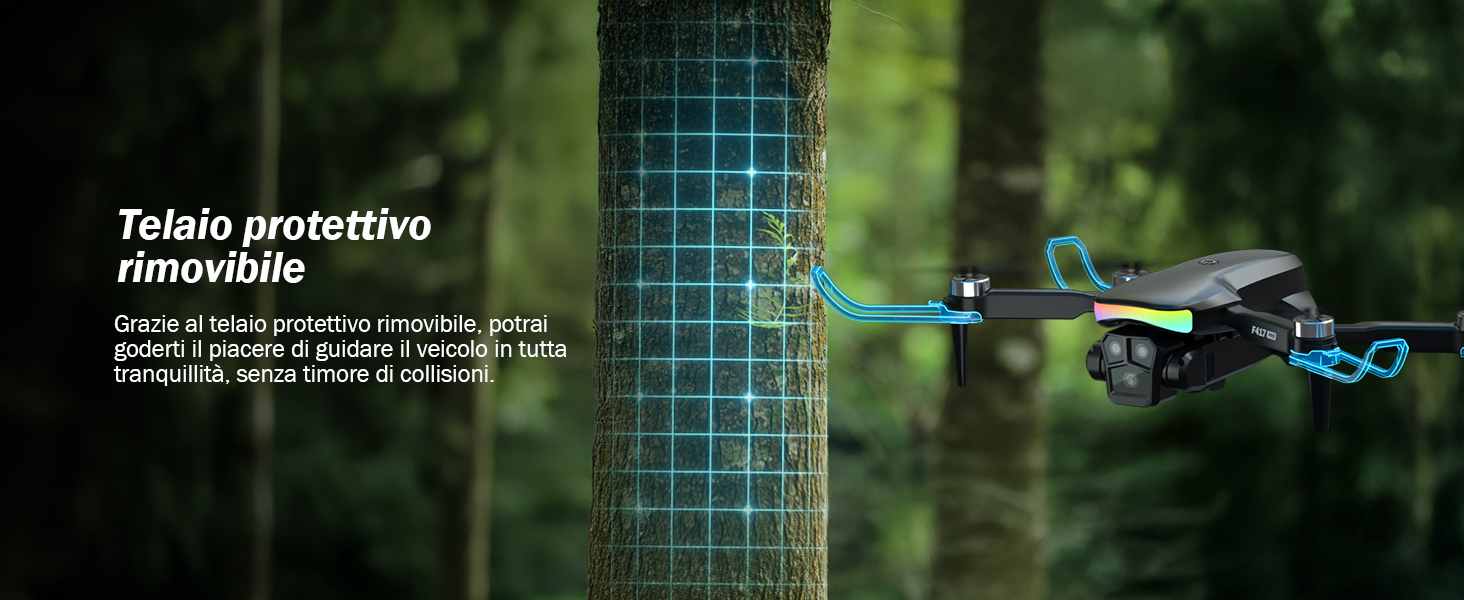
Image: The FAKJANK F417PRO drone equipped with its removable protective frames.
5. Operating Instructions
5.1 Power On/Off and Pairing
- Press and hold the power button on the drone until the indicator lights turn on.
- Press and hold the power button on the remote control.
- The drone and remote control will automatically pair. A successful pairing is indicated by a solid light on the drone.
5.2 Takeoff and Landing
The F417PRO drone features a one-key takeoff and landing function for ease of use.
- One-Key Takeoff: Press the one-key takeoff button on the remote control. The drone will automatically ascend to a safe altitude and hover.
- One-Key Landing: Press the one-key landing button. The drone will slowly descend and land automatically.
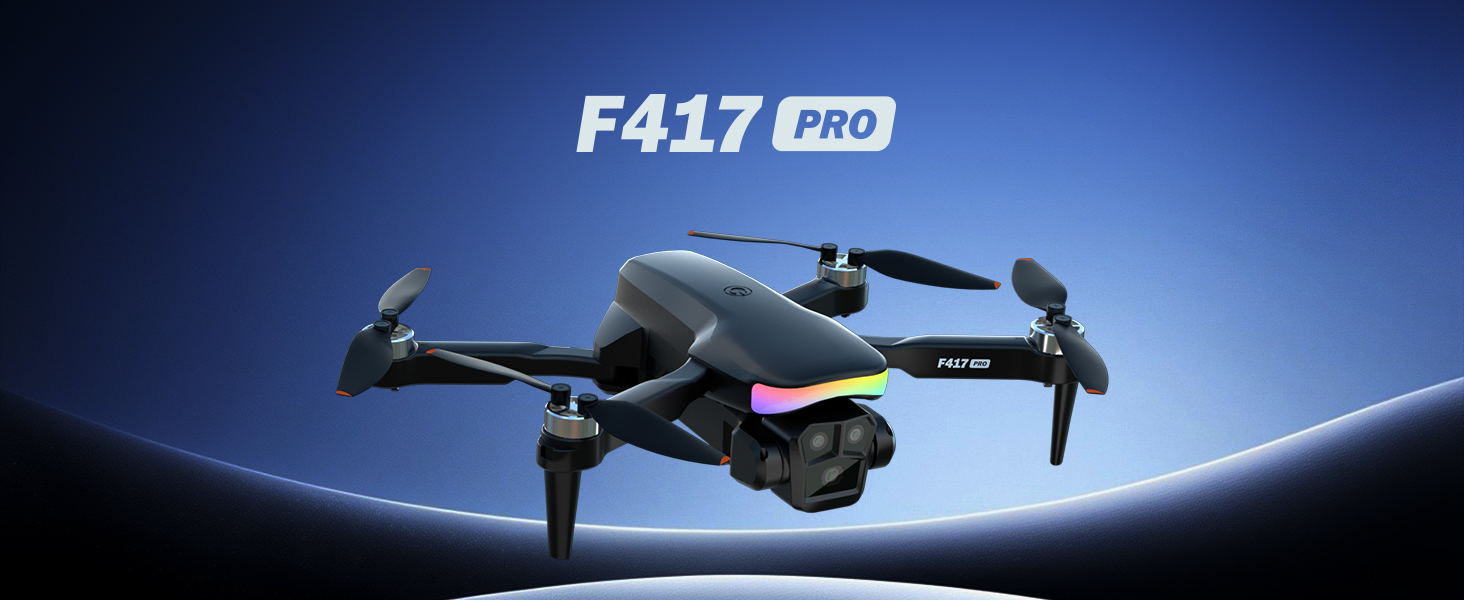
Image: Illustration of the drone's one-key takeoff and landing feature.
5.3 Flight Controls and Features
- Altitude Hold: The drone maintains a stable altitude, making it easier to control.
- Headless Mode: In headless mode, the drone's orientation is relative to the pilot, simplifying flight control regardless of the drone's front direction.
- 3D Flip: Press the 3D flip button and move the right joystick to perform aerial stunts.
- Optical Flow Positioning: This technology helps the drone maintain its position stably, reducing drift.
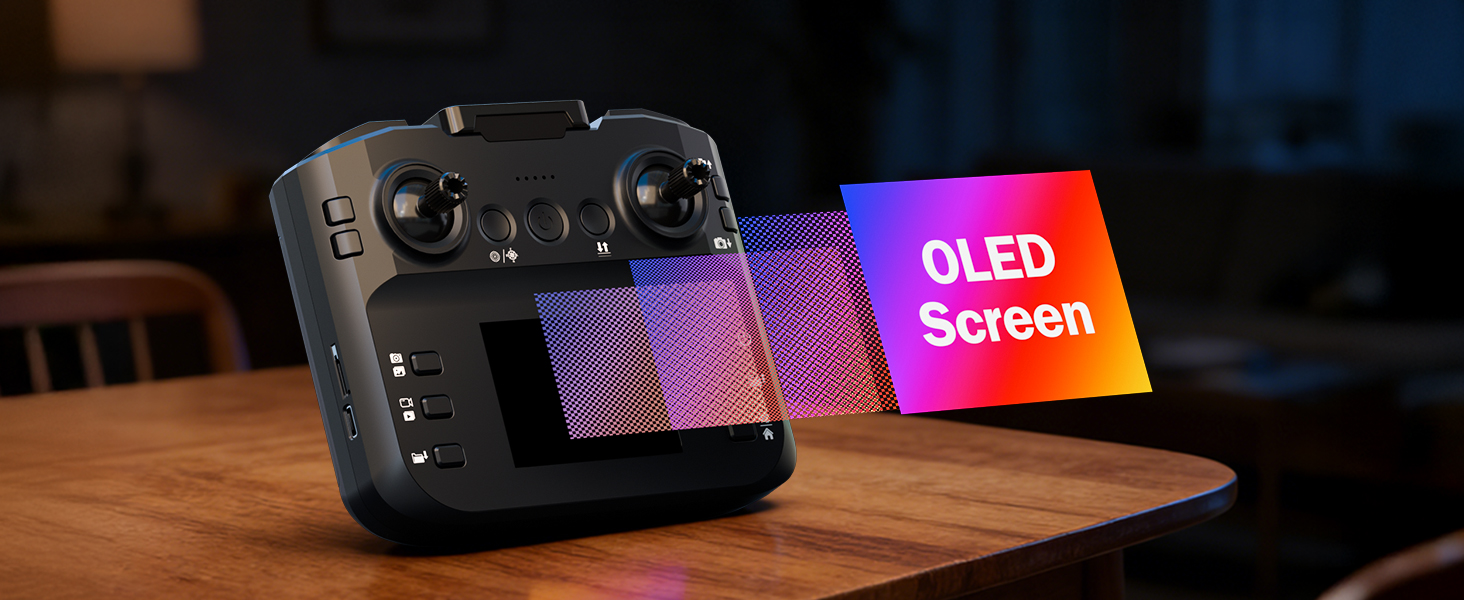
Image: Visual representation of beginner-friendly features like one-key takeoff, headless mode, altitude hold, and 3D flips.
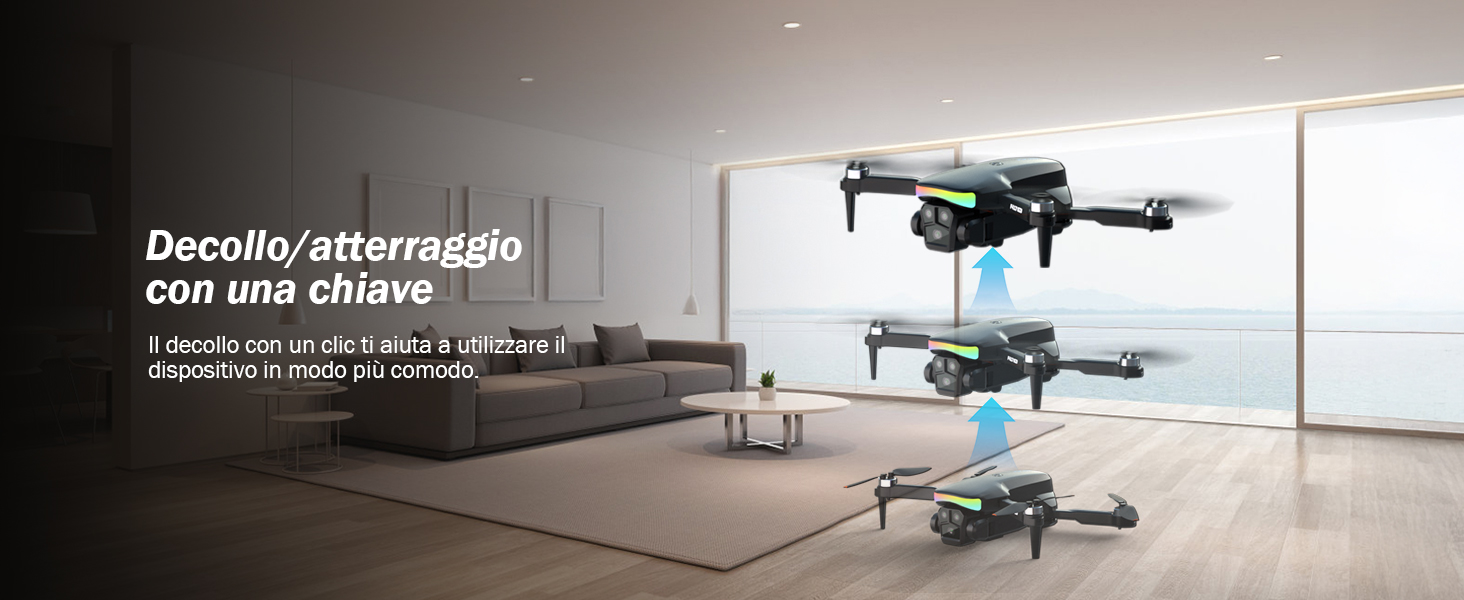
Image: The FAKJANK F417PRO drone executing a 360-degree flip.
5.4 Camera Operation
The drone is equipped with a 1080P HD camera and a 90° adjustable lens to capture high-quality photos and videos.
- Photo/Video Capture: Use the dedicated buttons on the remote control to take photos or start/stop video recording.
- Lens Adjustment: The camera lens can be adjusted by 90° via the remote control to capture different angles.
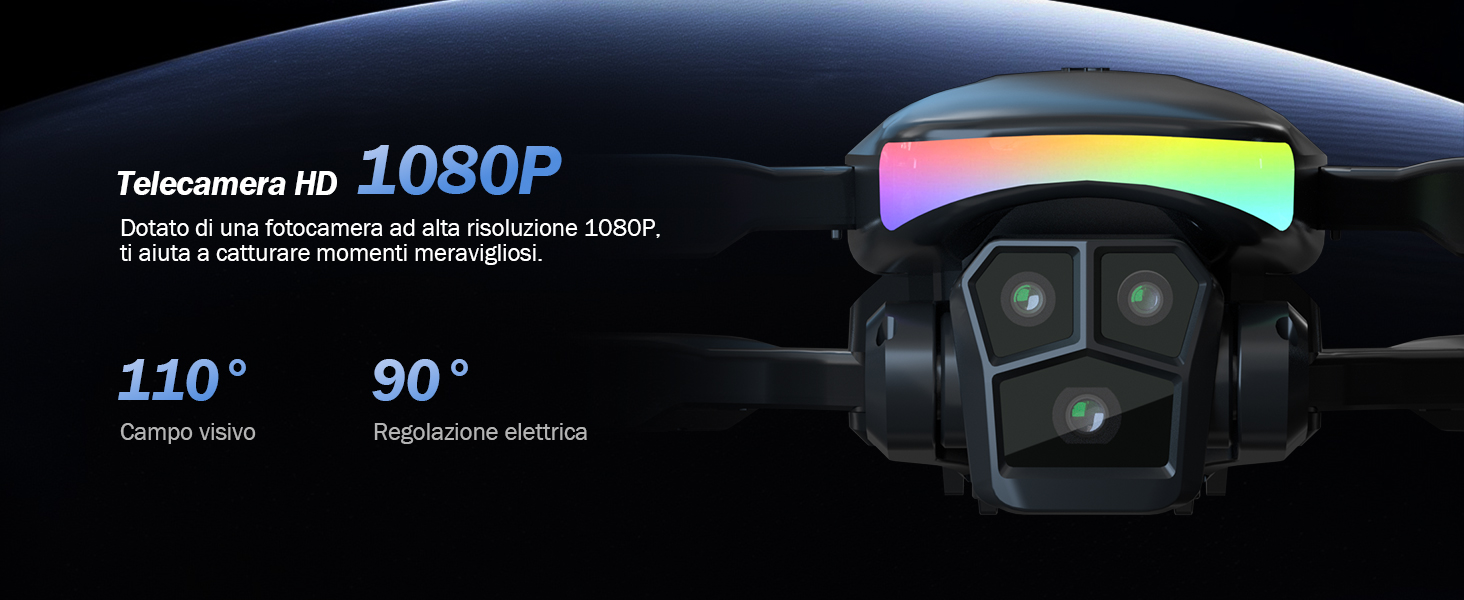
Image: Close-up of the drone's 1080P HD camera with its 90° adjustable lens.
5.5 LED Lights
The drone features multi-color LED lights for enhanced visibility, especially during night flights, and for aesthetic appeal.
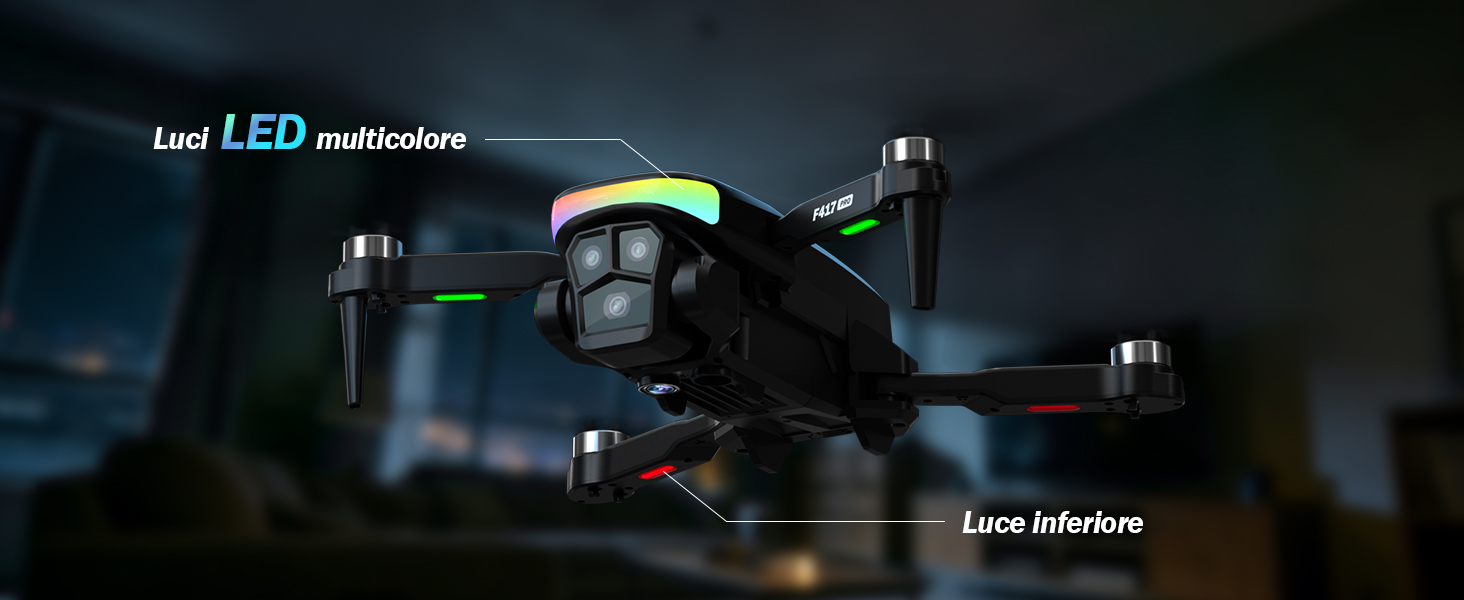
Image: The FAKJANK F417PRO drone with its vibrant multi-color LED lights active.
6. Safety Guidelines
- Always operate the drone in open areas, away from people, animals, buildings, and obstacles.
- Do not fly the drone in strong winds, rain, or other adverse weather conditions.
- Maintain a safe distance from the drone during operation.
- Ensure the battery is fully charged before each flight.
- Never attempt to modify the drone or its components.
- Supervise children when they are operating the drone.
- Be aware of local regulations regarding drone operation.
7. Maintenance
- Cleaning: Use a soft, dry cloth to clean the drone and remote control. Avoid using liquids or solvents.
- Propeller Inspection: Regularly check propellers for damage. Replace any bent or broken propellers immediately using the provided spares and screwdriver.
- Battery Care: Store batteries in a cool, dry place. Do not overcharge or over-discharge the battery.
- Storage: When not in use, store the drone and its accessories in the carrying case to protect them from dust and damage.
8. Troubleshooting
| Problem | Possible Cause | Solution |
|---|---|---|
| Drone does not power on | Low battery; Battery not properly installed | Charge the battery; Reinstall the battery securely |
| Drone does not respond to remote | Not paired; Remote battery low; Out of range | Re-pair the drone and remote; Charge remote; Fly within operational range |
| Unstable flight/Drifting | Propellers damaged; Calibration needed; Strong wind | Replace damaged propellers; Perform flight calibration; Avoid flying in strong winds |
| Camera not recording/taking photos | SD card full/missing; SD card error | Insert/replace SD card; Format SD card (backup data first) |
9. Specifications
| Feature | Detail |
|---|---|
| Brand | FAKJANK |
| Model Name | F417PRO |
| Special Features | Compact, Dual Band, Integrated Camera |
| Age Range (Description) | Child, Adult |
| Color | Black |
| Video Capture Resolution | 1080p |
| Effective Still Image Resolution | 2.07 MP |
| Connectivity Technology | USB |
| Control Type | Remote Control |
| Wireless Communication Technology | Wi-Fi |
| Battery Cell Composition | Lithium Ion |
| Batteries Included? | No (Drone battery is included, but not pre-installed or for remote) |
| Remote Control Included? | Yes |
| Optical Sensor Technology | Optical Flow |
| Item Weight | 113.9 Grams |
| Item Dimensions (L x W x H) | 20L x 15W x 5H cm |
10. Official Product Video
Video: An overview of the FAKJANK F417PRO drone's features and capabilities, demonstrating its ease of use and flight performance.
11. Warranty and Support
The FAKJANK F417PRO Drone comes with a standard manufacturer's warranty. For warranty claims, technical support, or any questions not covered in this manual, please contact FAKJANK customer service. Our support team is available to assist you.
Image: FAKJANK customer support team ready to provide assistance.