
1. Introduction
This manual provides detailed instructions for the installation, operation, and maintenance of your Noctua NH-D15 G2 chromax.Black Premium Dual Tower CPU Cooler. Please read this manual thoroughly before proceeding with installation to ensure correct setup and optimal performance. The NH-D15 G2 is designed to provide superior quiet cooling performance for high-end AMD and Intel processors.
2. Package Contents
Verify that all components are present in your package:
- NH-D15 G2 chromax.Black heatsink
- 2x NF-A14x25r G2 PWM 140mm fans
- SecuFirm2+ mounting kit for AMD AM5/AM4 and Intel LGA1851/LGA1700/LGA1200
- NT-H2 high-performance thermal compound
- NM-SD1 screwdriver
- Low-Noise Adaptors (L.N.A.)
- Fan clips for second fan
- Noctua metal case-badge

Image: The Noctua NH-D15 G2 chromax.Black CPU Cooler alongside its retail box, showcasing the included accessories and mounting hardware.
3. Setup and Installation
Before installation, ensure your system is powered off and disconnected from the mains. Refer to your motherboard manual for specific CPU socket information. The SecuFirm2+ mounting system is designed for straightforward installation.
3.1 CPU Preparation
- Clean the CPU surface: Remove any old thermal paste using an alcohol-based cleaner.
- Apply NT-H2 thermal compound: Apply a small dot (4-5mm diameter) of thermal paste to the center of the CPU's integrated heat spreader (IHS). Do not spread it manually; the pressure from the cooler will distribute it evenly.

Image: A detailed view of the cooler's base plate, which makes contact with the CPU for heat transfer.
3.2 Mounting System Installation (SecuFirm2+)
The SecuFirm2+ mounting system supports multiple sockets. Follow the specific instructions for your CPU socket type (AMD AM5/AM4 or Intel LGA1851/LGA1700/LGA1200) provided in the mounting kit manual. Generally, this involves:
- Installing the backplate behind the motherboard.
- Attaching the mounting bars to the front of the motherboard using stand-offs and screws.
- Placing the heatsink onto the CPU, aligning it with the mounting bars, and securing it with the provided screws using the NM-SD1 screwdriver. Tighten screws evenly until firm.

Image: A close-up view of the cooler's base and mounting mechanism, showing its secure attachment to the motherboard.
3.3 Fan Installation
Attach the two NF-A14x25r G2 fans to the heatsink using the provided fan clips. Ensure the fans are oriented correctly to draw air through the heatsink and exhaust it towards the rear of the case. Connect the 4-pin PWM fan cables to the CPU_FAN headers on your motherboard.
- RAM Clearance: The NH-D15 G2 offers 59mm RAM clearance in single fan mode. With both fans installed, RAM clearance is 32mm. Adjust the front fan's height if necessary to accommodate taller RAM modules.

Image: Front view of the Noctua NH-D15 G2 chromax.Black CPU Cooler, highlighting its dual-fan configuration.

Image: Side view of the Noctua NH-D15 G2 chromax.Black CPU Cooler, illustrating the dual tower heatsink and fan placement.
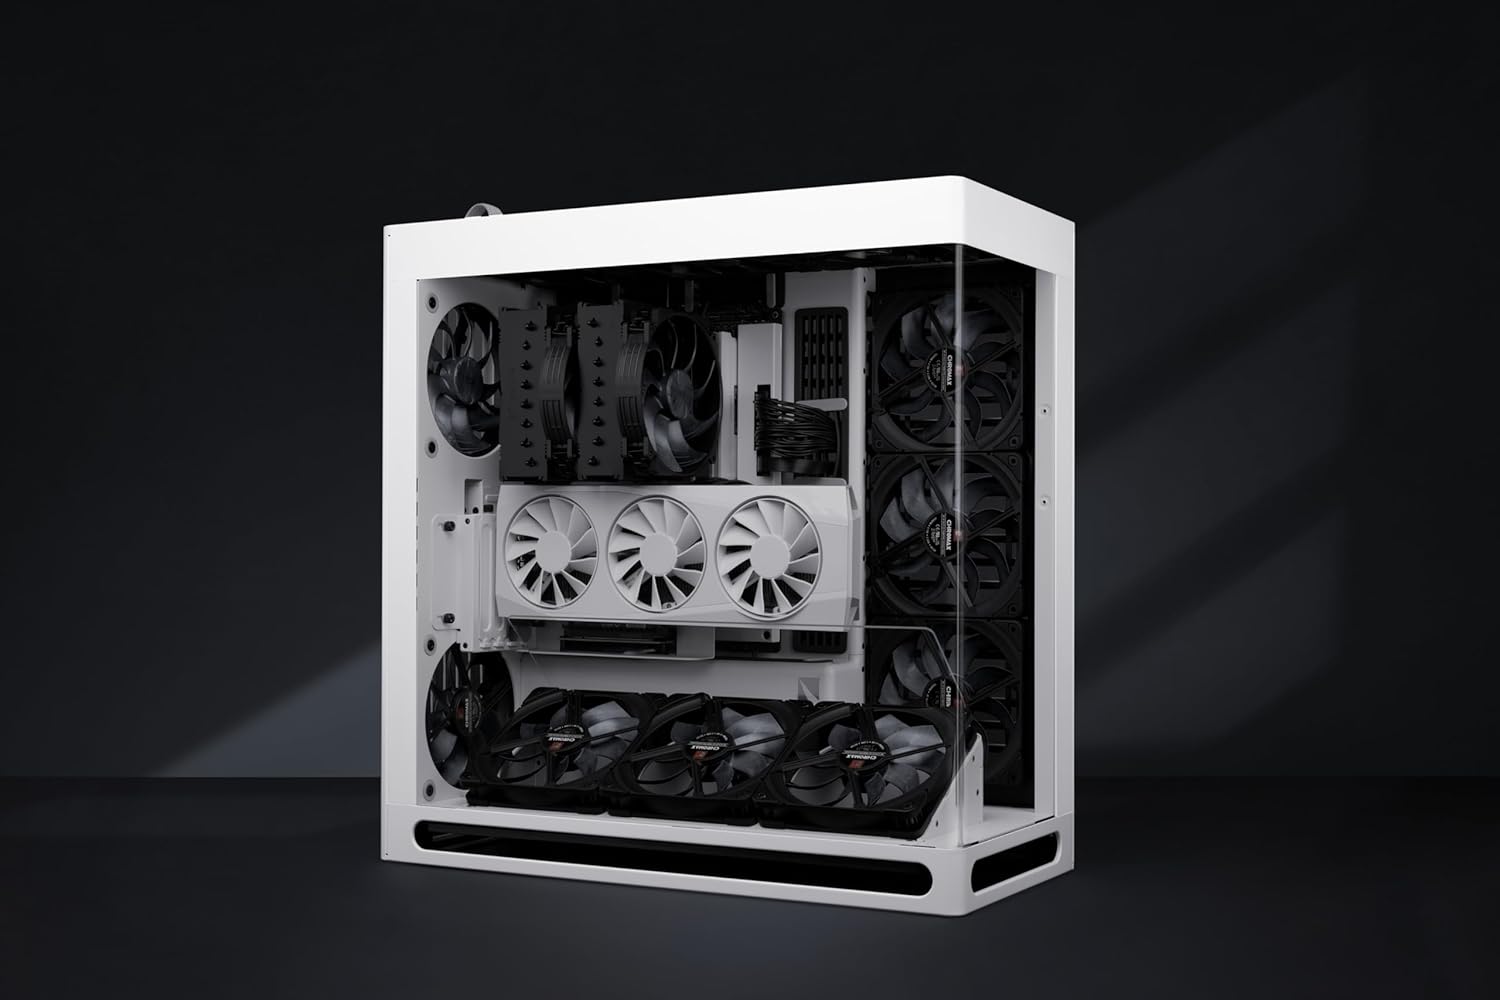
Image: The Noctua NH-D15 G2 chromax.Black CPU Cooler integrated into a PC build, demonstrating its physical presence within a system.
4. Operating Instructions
Once installed, the NH-D15 G2 operates automatically. The NF-A14x25r G2 fans utilize PWM (Pulse Width Modulation) for automatic speed control, adjusting fan speed based on CPU temperature. This ensures optimal cooling performance while minimizing noise levels.
- Low-Noise Adaptors (L.N.A.): For users desiring even quieter operation, the included Low-Noise Adaptors can be connected between the fans and the motherboard fan headers to reduce maximum fan speed.
- BIOS/UEFI Settings: Ensure your motherboard's BIOS/UEFI settings are configured for PWM fan control for the CPU_FAN headers to allow proper automatic speed adjustment.
5. Maintenance
Regular maintenance helps ensure the longevity and optimal performance of your CPU cooler.
- Dust Removal: Periodically clean dust from the heatsink fins and fan blades using compressed air or a soft brush. Ensure fans are not spinning during cleaning.
- Thermal Paste Reapplication: It is recommended to reapply thermal paste every 2-3 years, or if the cooler is removed and reinstalled.
6. Troubleshooting
If you encounter issues, consider the following common troubleshooting steps:
- High CPU Temperatures:
- Verify proper thermal paste application and cooler mounting pressure.
- Ensure fans are connected and spinning correctly.
- Check for adequate case airflow.
- Excessive Fan Noise:
- Ensure fan cables are not obstructing fan blades.
- Check BIOS/UEFI settings for fan speed control.
- Consider using the included Low-Noise Adaptors.
- Cooler Not Fitting:
- Verify case compatibility for CPU cooler height (168mm).
- Adjust front fan height for RAM clearance if necessary.
7. Specifications
| Feature | Specification |
|---|---|
| Model | NH-D15 G2 chromax.black |
| Dimensions (L x W x H) | 5.98"L x 5.91"W x 6.61"H (152mm x 150mm x 168mm) |
| Weight | 3.98 pounds (approx. 1.8 kg) |
| Cooling Method | Air Cooling |
| Compatible Sockets | AMD AM5, AM4; Intel LGA1851, LGA1700, LGA1200, LGA115x |
| Fan Model | 2x NF-A14x25r G2 PWM |
| Fan Speed (Max) | 1500 RPM |
| Air Flow Capacity (Max) | 155.6 Cubic Meters Per Hour |
| Noise Level (Max) | 24.8 Decibels |
| Power Connector | 4-Pin PWM |
| Voltage | 12 Volts |
| Wattage | 2.28 watts |
8. Warranty and Support
Noctua products are manufactured to the highest quality standards. For detailed warranty information and technical support, please visit the official Noctua website or contact your local distributor. Keep your proof of purchase for warranty claims.
For further assistance, you may visit the Noctua support page: noctua.at/en/support