
HomeTro Walking Pad with 9% Incline
Contents
HomeTro Walking Pad with 9% Incline User Manual
Model: Walking Pad with 9% Incline
Introduction
Thank you for choosing the HomeTro Walking Pad with 9% Incline. This manual provides essential information for the safe and effective use, setup, operation, and maintenance of your walking pad. Please read this manual thoroughly before first use and retain it for future reference.

Image: The HomeTro Walking Pad in a home setting, illustrating its versatility for both walking/running and under-desk use. The remote control is also visible.
Important Safety Instructions
- Always consult with a physician before starting any exercise program.
- Ensure the walking pad is placed on a flat, stable surface with adequate clear space around it.
- Keep children and pets away from the equipment during operation.
- Wear appropriate athletic footwear.
- Do not operate the walking pad if it is damaged or malfunctioning.
- Unplug the walking pad when not in use or before cleaning/maintenance.
- Maximum user weight capacity: 265 lbs (120 kg).
Setup
- Unboxing: Carefully remove the walking pad from its packaging. Inspect for any damage.

Image: The HomeTro Walking Treadmill in its original packaging box.
- Placement: Place the walking pad on a firm, level surface. Ensure there is at least 2 feet of clear space behind the unit and 1 foot on each side.
- Power Connection: Plug the power cord into a grounded electrical outlet. The display should illuminate.
- Remote Control: Ensure the remote control has working batteries. The remote is essential for operating the walking pad.
- Incline Adjustment: The walking pad features a manual incline adjustment. To set the 9% incline, lift the rear of the walking pad and secure the support legs into the higher position. Ensure both sides are evenly adjusted and locked into place before use.

Image: Illustration of the two adjustable incline levels (4% and 9%) and their corresponding estimated calorie burn rates.
Operating Instructions
Remote Control Functions:
- Power Button: Turns the walking pad on/off.
- Start/Stop Button: Initiates or pauses the walking belt.
- "M" (Mode) Button: Cycles through display modes (Time, Distance, Calories).
- "+" / "-": Adjusts speed or target values in setting mode.
- Volume/Mute: Controls sound (if applicable).
Starting a Workout:
- Step onto the walking pad.
- Press the Power button on the remote to turn on the unit.
- Use the "M" button to select your desired display mode (Time, Distance, or Calories).
- Use the "+" or "-" buttons to set a target value for your workout (e.g., 30 minutes, 1 mile, 50 calories).
- Press the Start/Stop button to begin. The walking pad will count down before starting.
- Adjust the speed using the "+" or "-" buttons. The speed range is 0.6-5 MPH.
- To stop, press the Start/Stop button. The belt will gradually slow down.

Image: Illustration of the walking pad's three primary usage modes: Walking (1.0-5.0 km/h), Working (1.0-3.0 km/h, typically under a desk), and Running (5.0-8.0 km/h).
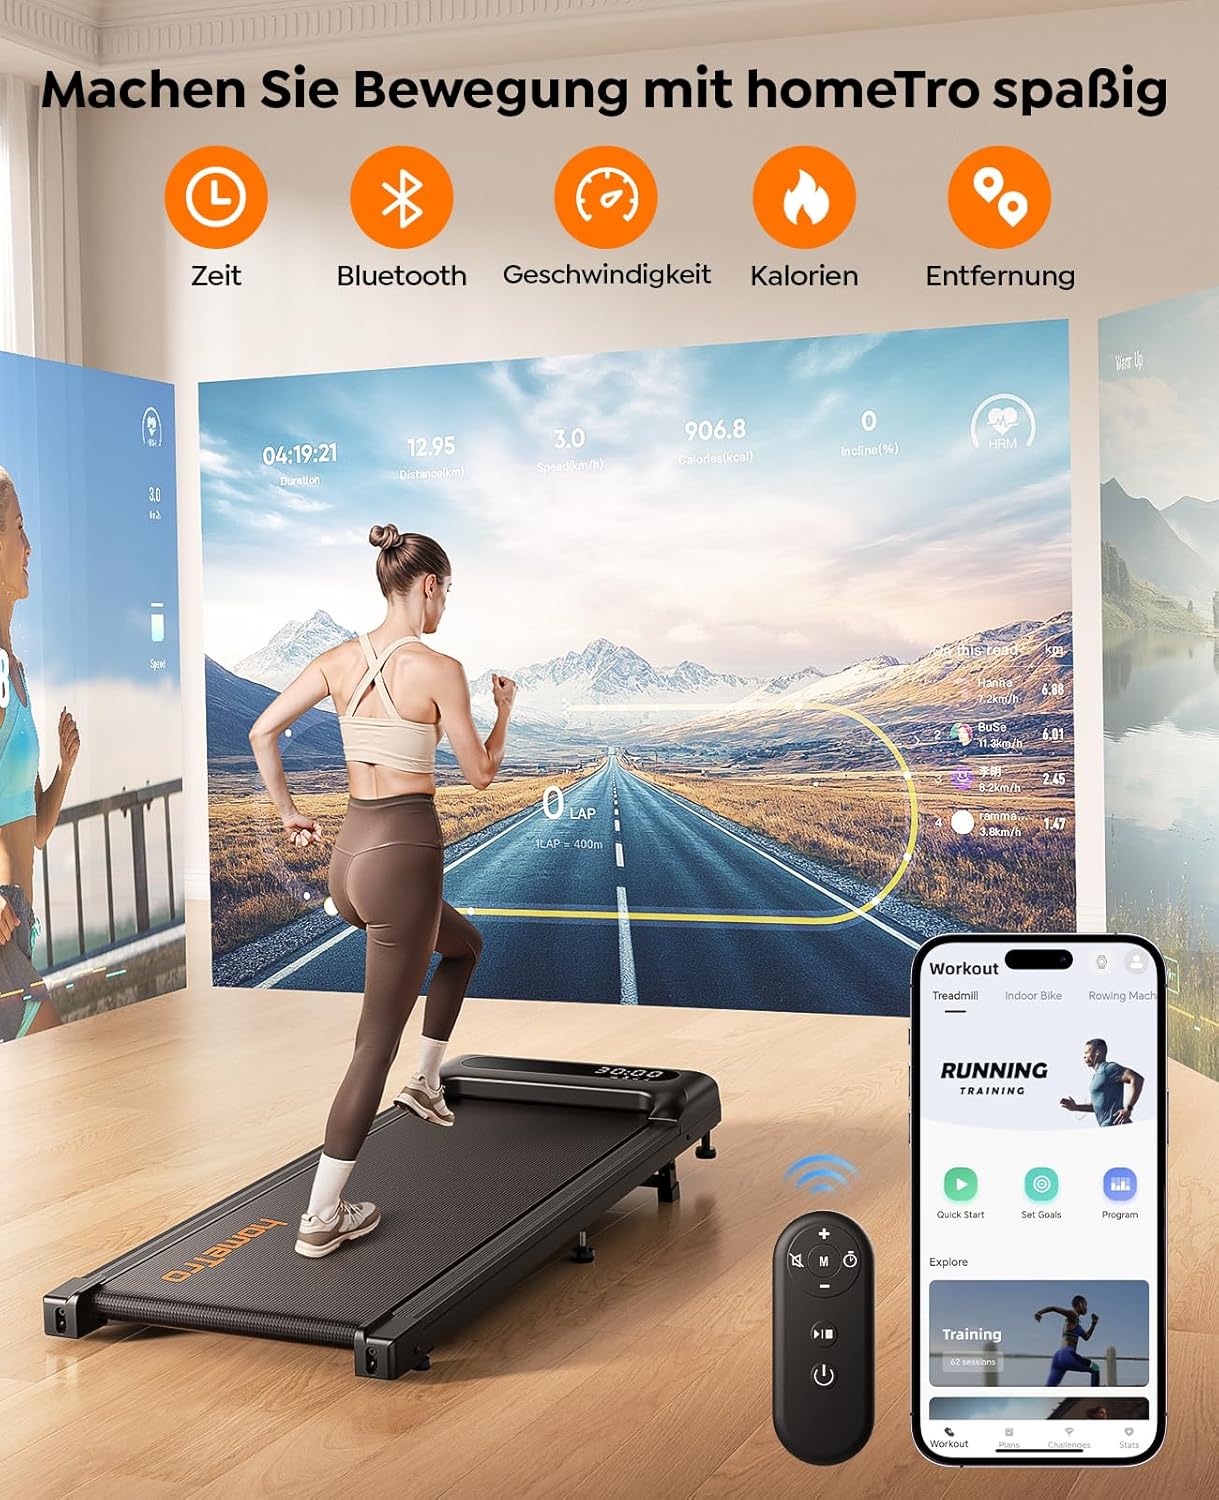
Image: The walking pad's display showing various metrics like time, speed, calories, and distance. A smartphone app interface is also depicted, indicating Bluetooth connectivity for tracking.
Maintenance
- Cleaning: Regularly wipe down the walking pad with a damp cloth. Avoid using abrasive cleaners.
- Lubrication: The walking belt requires periodic lubrication to ensure smooth operation and longevity. Use the provided silicone oil and follow the instructions for application.
- Belt Adjustment: If the walking belt starts to slip or move off-center, refer to the troubleshooting section for instructions on how to adjust it.
Troubleshooting
| Problem | Possible Cause | Solution |
|---|---|---|
| Walking pad does not power on. | Power cord not properly connected; power outlet malfunction. | Ensure power cord is securely plugged in. Test the outlet with another device. |
| Belt does not move. | Not started via remote; safety key not engaged (if applicable); motor issue. | Press the Start button on the remote. Ensure all safety mechanisms are correctly in place. Contact support if issue persists. |
| Belt slips or is off-center. | Belt tension too loose; belt alignment issue. | Refer to the manual's belt adjustment section (if provided) or contact support for guidance on tightening/aligning the belt. |
| Remote control not responding. | Low or dead batteries; remote out of range. | Replace remote batteries. Ensure you are within effective range of the walking pad. |
Specifications
- Brand: HomeTro
- Model: Walking Pad with 9% Incline
- Motor: 3.0 HP
- Speed Range: 0.6 - 5 MPH (approximately 1.0 - 8.0 km/h)
- Incline: 9% (Manual Adjustment)
- Maximum Weight Recommendation: 265 lbs (120 kg)
- Product Dimensions (LxWxH): 45.6"D x 19.1"W x 7.09"H (approximately 115.8 x 48.5 x 18 cm)
- Item Weight: 16.9 Kilograms (approximately 37.3 lbs)
- Assembly Required: No
- Color: Grey

Image: Visual representation of the walking pad's dimensions, highlighting the 98cm walking zone length and 38cm width. It also shows how the unit can be easily moved and stored, for example, under a bed with a minimum clearance of 15cm.

Image: A comparison chart detailing the HomeTro walking pad's motor power (2.5 PS), weight capacity (120 kg), maximum speed (8.0 km/h), and quiet operation, contrasted with a generic "Other" brand.

Image: A detailed view of the walking pad's 5-layer anti-slip belt, emphasizing its construction for reduced impact on knees and ankles, along with integrated shock absorption.
Warranty
The HomeTro Walking Pad comes with a 2-year warranty from the date of purchase. This warranty covers manufacturing defects and malfunctions under normal use. Please retain your proof of purchase for warranty claims. For specific terms and conditions, refer to the warranty card included with your product or contact HomeTro customer support.
Customer Support
If you have any questions, concerns, or require assistance with your HomeTro Walking Pad, please contact our customer support team.
- Website: Visit the HomeTro Store on Amazon
- Email: (Please refer to product packaging or warranty card for specific email address)
- Phone: (Please refer to product packaging or warranty card for specific phone number)
Documents and downloads
Ask a question about this manual
Ask about setup, troubleshooting, compatibility, parts, safety, or missing instructions. Manuals+ will review the question and use this page’s manual context to help answer it.