
1. Introduction
The OBDMONSTER N300 Pro Digital Timing Light is a versatile diagnostic tool designed for precise ignition timing adjustments and engine analysis. It features powerful measurement capabilities for Voltage, RPM, Advance Angle, and Dwell Angle. This device is compatible with 12V gasoline engines, including both 2-stroke and 4-stroke configurations, making it suitable for a wide range of vehicles such as cars, boats, motorcycles, and tractors. It supports various ignition systems including DIS, conventional, electronic, and computer-controlled systems.
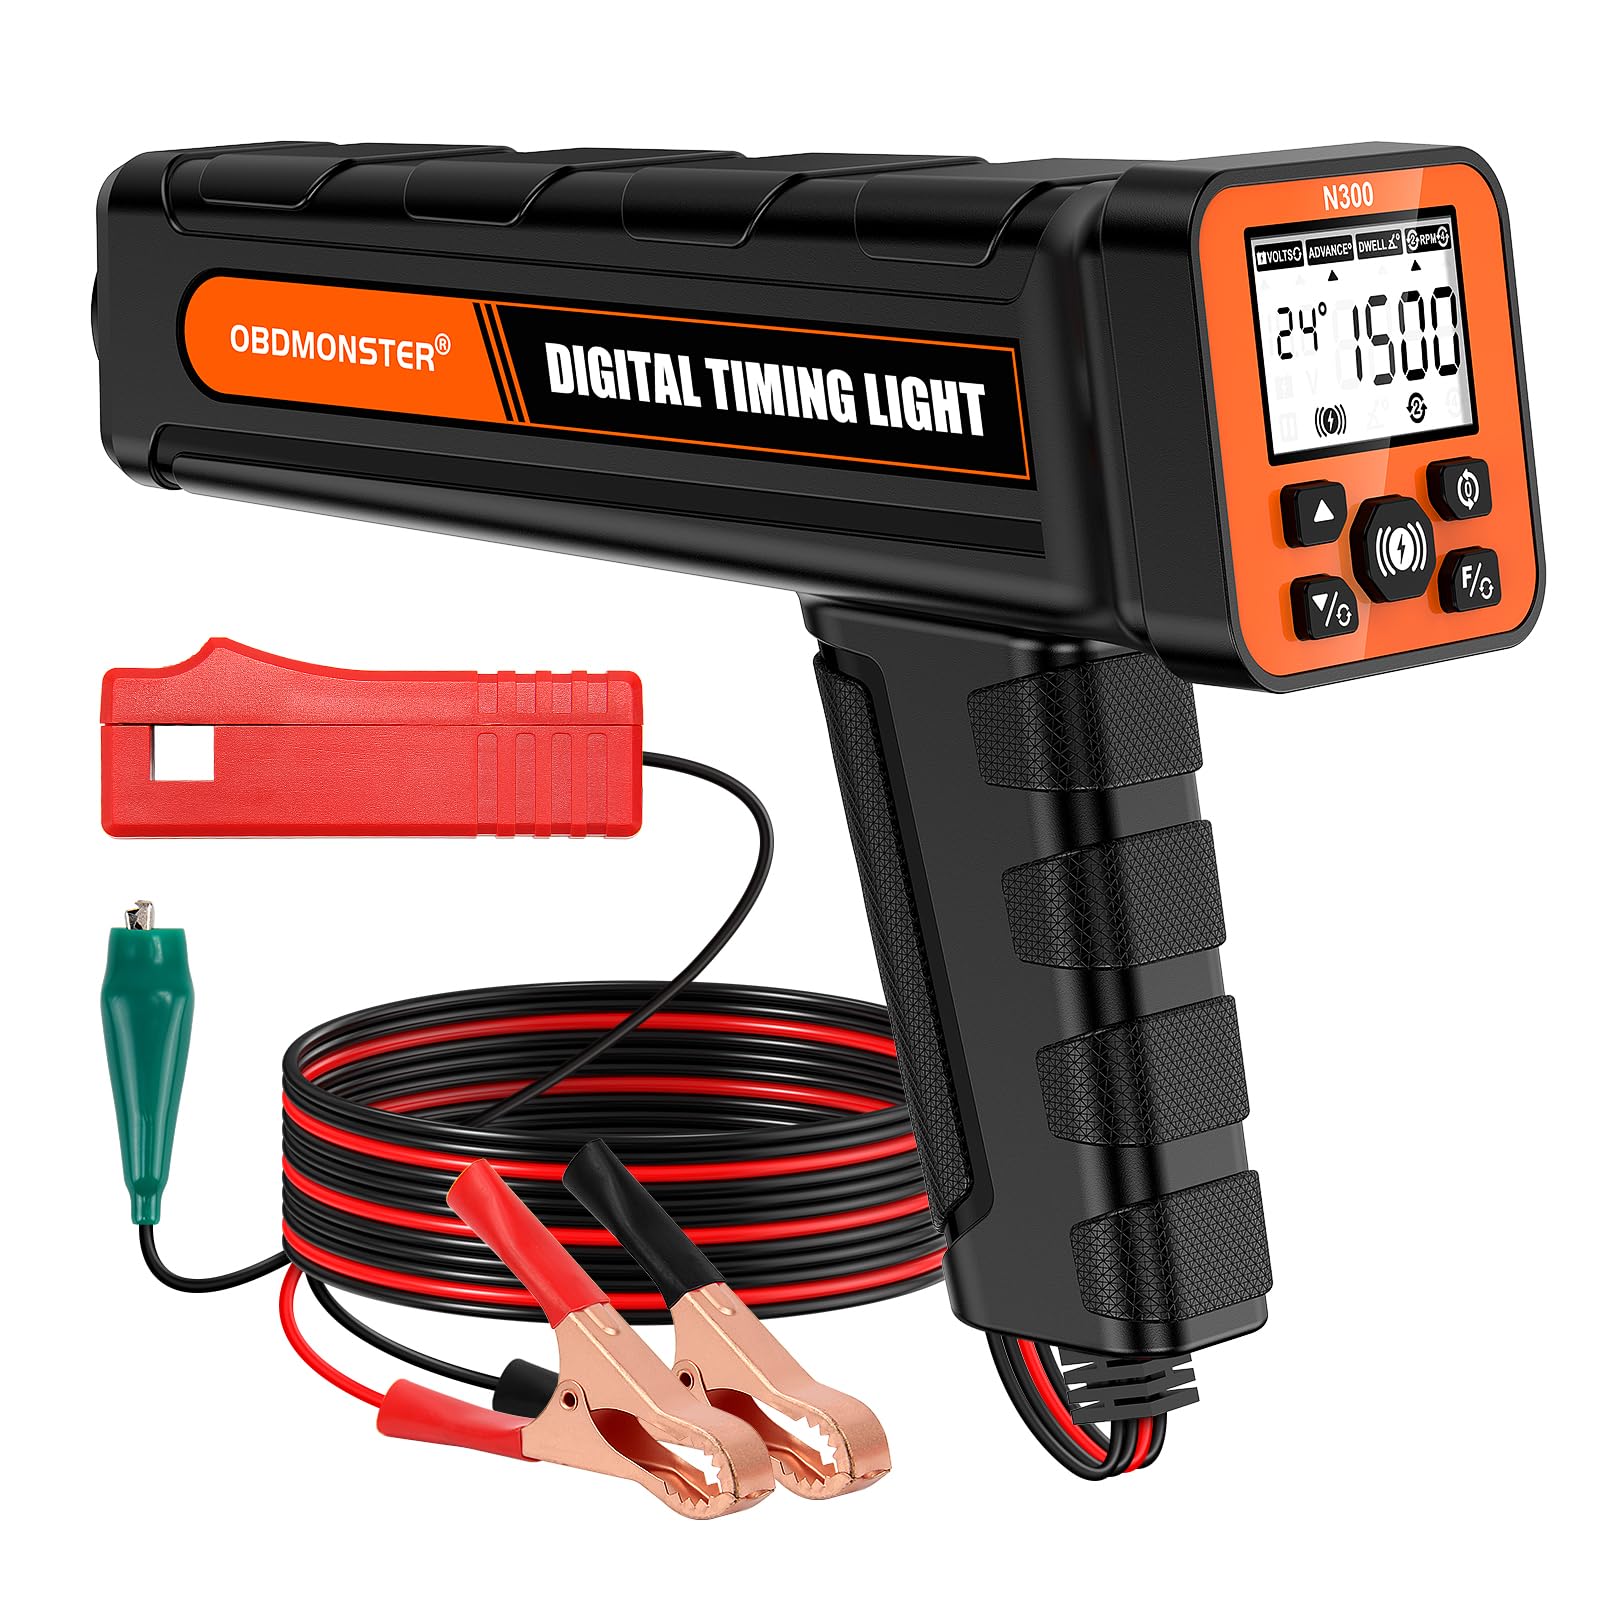
Image 1.1: The OBDMONSTER N300 Pro Digital Timing Light.
Video 1.1: An overview of the N300 Pro Digital Timing Light's features and operation.
2. Safety Information
Always observe the following safety precautions when using the timing light:
- Ensure the vehicle ignition is OFF before connecting or disconnecting the timing light.
- Keep hands, timing light wires, and clips away from moving engine parts (e.g., fan blades, belts) and hot surfaces (e.g., exhaust manifolds).
- Do not smoke while working on the engine.
- Avoid placing the timing light on extremely hot engine components or in direct sunlight for extended periods to prevent damage.
- Wear appropriate personal protective equipment, such as safety glasses and gloves.
3. What's Included
The OBDMONSTER N300 Pro Digital Timing Light package includes:
- 1 x OBDMONSTER N300 Pro Digital Timing Light
- 1 x User's Manual

Image 3.1: The timing light, power cables, inductive pickup, and user manual included in the box.
4. Product Features
The N300 Pro Digital Timing Light offers several advanced features for comprehensive engine diagnostics:
- Multi-functional Measurement: Capable of measuring Voltage, RPM, Advance Angle (0°-90°), and Dwell Angle (0°-90°).
- Wide Compatibility: Works with 12V gasoline engines (2-stroke & 4-stroke) and various ignition systems (DIS, conventional, electronic, computer-controlled). Not suitable for diesel engines.
- High-Definition LCD Display: Features a 2.6-inch LCD with white backlighting for clear data visibility in all lighting conditions and multiple viewing angles.
- Upgraded Xenon Flash: Ensures precise timing even in tight spaces, with a high-intensity flash performance designed for extended lifespan and reliable operation up to 9,999 RPM.
- Ergonomic Design: Water gun-style design with a comfortable grip for single-handed operation, reducing user fatigue.
- Durable Construction: High-quality ABS housing provides impact resistance, drop resistance, and excellent electrical insulation.
- Battery Test Function: Integrated 9-16V battery testing to verify sufficient and stable voltage operation without additional tools.

Image 4.1: Key features of the N300 Pro, including wide viewing angle LCD, RPM tachometer, adjustable advance angle, voltage test, dwell angle check, and 6 ft cable length.

Image 4.2: The N300 Pro features a 2.6-inch LCD high-definition white backlit display and an upgraded Xenon flash for clear visibility and precise timing.

Image 4.3: The ergonomic design of the timing light ensures a comfortable and secure grip during use.
5. Setup and Connection
Follow these steps to properly connect the OBDMONSTER N300 Pro Digital Timing Light to your vehicle:
- Ensure Ignition is Off: Before connecting any cables, make sure the vehicle's ignition is completely off. Do not connect the timing light with the ignition on or the engine running.
- Connect Power Clips: Connect the red clip (+) to the positive terminal of the vehicle's 12V battery. Connect the black clip (-) to the negative terminal of the battery or a suitable ground point on the engine chassis.
- Connect Dwell Angle Clip (if applicable): If you intend to measure dwell angle, connect the green dwell angle clip to the negative side of the ignition coil.
- Attach Inductive Pickup Clamp: Clip the inductive pickup clamp to the spark plug wire of cylinder #1. Ensure the clamp is securely fastened and oriented correctly (follow any arrow indicators on the clamp). Improper placement can result in incorrect readings or no signal.

Image 5.1: Step-by-step guide for connecting the timing light to a vehicle's battery and spark plug wire.

Image 5.2: The specially designed sliding inductive pickup clamp ensures a secure and reliable connection to the spark plug wire of cylinder #1.
6. Operating Modes
The N300 Pro offers several operating modes to assist with engine diagnostics:
6.1. Voltage/RPM Mode
This mode allows you to monitor the vehicle's battery voltage and engine RPM. Before starting the engine, verify adequate voltage. After starting, this mode helps verify voltage stability and identify the recommended engine speed (200-9,999 RPM), preparing you for the timing advance test.

Image 6.1: The display shows battery voltage before starting the engine and both voltage and RPM after the engine is running.
6.2. Dwell Angle Mode
Incorrect dwell angle can lead to misfires and weak sparks at low RPM, potentially damaging ignition coils. This mode allows you to set the correct dwell angle (0°-90°) and simultaneously displays cylinder values. It is compatible with 2- to 12-cylinder engines, helping to prevent breakdowns and protect ignition components.

Image 6.2: The N300 Pro displaying dwell angle, adjustable from 0° to 90°, compatible with 2-12 cylinder engines.

Image 6.3: Understanding the impact of insufficient or excessive dwell angle on engine performance and ignition coil health.
6.3. Advance Angle Mode
Rough idling and hard starting often indicate incorrect ignition timing. The Advance Angle mode allows you to quickly and accurately set the timing. This mode is more efficient than conventional timing lights, helping to reduce repair costs and improve fuel economy. The dual-screen design simultaneously displays the advance angle (0°-90°) and RPM (200-9,999) for ease of use.

Image 6.4: The N300 Pro in Advance Angle mode, showing both the advance angle and engine RPM for precise timing adjustments.

Image 6.5: Improper timing can lead to engine knock, piston damage, bent valves, and connecting rod failure. The N300 Pro helps prevent these issues.
Video 6.1: A demonstration of using the OBDMONSTER N300 Pro Digital Timing Light to check and adjust engine timing.
7. Timing Check Procedure (Using No.1 Cylinder)
After correctly connecting the timing light and checking the voltage (and Dwell Angle, if applicable), follow these steps:
- Select the appropriate engine type: 2-stroke (DIS) or 4-stroke.
- In Voltage/RPM mode, allow the engine to automatically adjust to the recommended engine speed.
- Enter the Advance Angle mode, then check and adjust the ignition timing by aiming the timing light at the crankshaft scale on the pulley.
- Press the flash switch to activate the strobe and observe the timing marks.
- Once timing is set, turn off the ignition switch and disconnect the timing light from the engine.
NOTE: For specific operations related to Centrifugal/Mechanical Advance, Vacuum Advance, Electronic Advance/Delay, etc., please refer to the detailed product manual.

Image 7.1: The N300 Pro's control buttons for selecting modes and adjusting settings.
8. Troubleshooting
If you encounter issues with your N300 Pro Digital Timing Light, refer to the following common problems and solutions:
8.1. Timing Light Reading Fails or Freezes
If the timing light display fails to show readings or freezes during use, disconnect and reconnect the positive battery clip of the timing light to reset the device.
8.2. Timing Light Fails to Operate
Before seeking service, perform the following checks:
- Ensure the battery clips are securely connected to the battery terminals and that the polarity (red to positive, black to negative) is correct.
- Ensure the inductive pickup clamp is correctly connected to the No. 1 cylinder spark plug wire.
- Verify that the No. 1 cylinder spark plug is functioning properly. If the timing light flashes when connected to another spark plug wire, inspect the No. 1 cylinder spark plug before continuing.
- Ensure the magnetic core of the inductive pickup clamp is clean and free of debris.
- If the inductive pickup lead or clamp is damaged, obtain a replacement kit from a distributor or directly from the service center.
9. Specifications
| Feature | Specification |
|---|---|
| Brand | OBDMONSTER |
| Model | N300 |
| Power Source | Battery Powered (12V) |
| Minimum Operating Voltage | 9 Volts |
| Item Dimensions (L x W x H) | 9 x 2.5 x 7.3 inches |
| Display | 2.6" LCD High-Definition Backlit Display |
| RPM Range | 200-9,999 RPM |
| Advance Angle Range | 0°-90° |
| Dwell Angle Range | 0°-90° |
| Cable Length | 6 feet |
| Weight | Approximately 1.57 pounds |
| Housing Material | High-quality ABS |
10. Warranty and Support
The OBDMONSTER N300 Pro Digital Timing Light comes with a lifetime limited warranty. For any product inquiries, technical assistance, or warranty claims, please contact OBDMONSTER customer service. Support is available 7 days a week, 24 hours a day.
To contact customer support:
- Go to your orders.
- Find the relevant order for your N300 Pro Digital Timing Light.
- Click 'Get help with order' or 'Problem with order'.
- Select the reason for contacting the seller.
- Click 'Contact seller'.
- Submit your message using the provided form.

Image 10.1: OBDMONSTER customer support is available to assist with product inquiries.