1. Introduction
This manual provides essential information for the assembly, safe operation, and maintenance of your KOTEK Wooden Play Kitchen, Model PI-TP10126. Please read these instructions carefully before assembly and use to ensure proper function and safety.
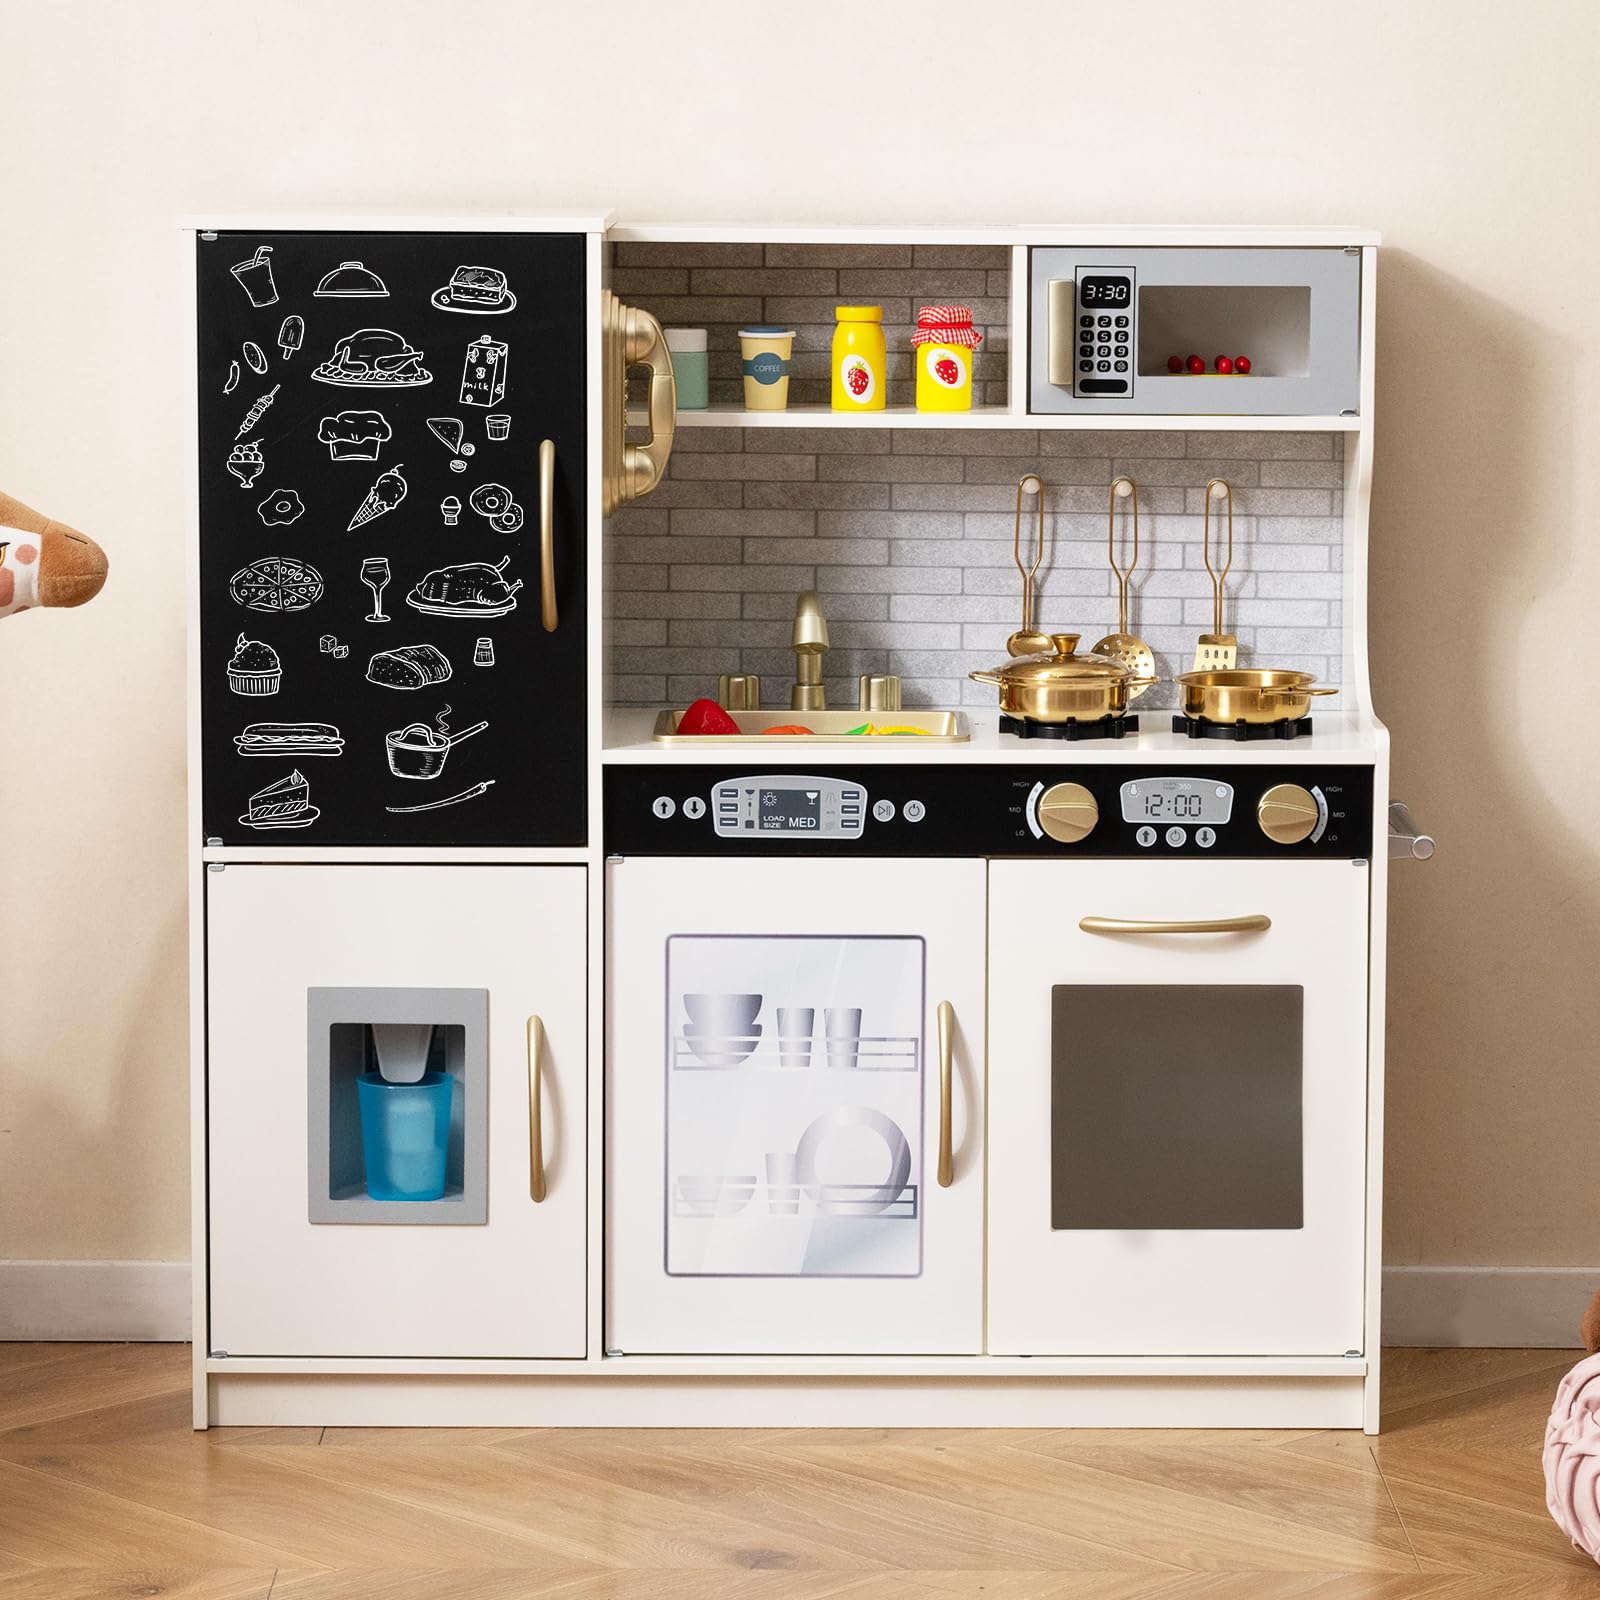
Image: The KOTEK Wooden Play Kitchen, fully assembled, showcasing its various features.
2. Safety Information
Your KOTEK Play Kitchen is designed with safety in mind. Adhere to the following guidelines to ensure a safe play environment:
- Age Recommendation: This product is recommended for children aged 3 years and up.
- Adult Supervision: Adult supervision is recommended during play, especially for younger children.
- Assembly: Ensure all parts are correctly assembled and tightened before use. Refer to the detailed assembly instructions provided in the package.
- Anti-Tip Device: Install the included anti-tip device to securely fix the kitchen to a wall, preventing accidental falling. This is a critical safety measure.
- Materials: The kitchen is constructed from high-strength MDF board and is ASTM F963 and CPSIA certified, ensuring material safety.
- Edges and Handles: The product features smooth edges and curved handles designed to be child-friendly. Regularly inspect for any damage or sharp edges.
- Small Parts: Keep small accessories away from children under 3 years old to prevent choking hazards.
- Placement: Place the play kitchen on a flat, stable surface. Avoid placing it near stairs, windows, or heat sources.
3. What's in the Box
Carefully unpack the box and verify that all components are present. If any parts are missing or damaged, please contact customer support.
- 1 x Pretend Play Kitchen
- 1 x Skillet
- 1 x Stockpot
- 2 x Spoons
- 1 x Spatula
- 1 x Cup
- 4 x Ice Cubes
- 1 x Instruction Manual (this document)

Image: A visual representation of the included kitchen accessories: a skillet, a stockpot, two spoons, a spatula, a cup, and four ice cubes.
4. Setup and Assembly
The KOTEK Wooden Play Kitchen requires assembly. A detailed, step-by-step instruction guide is included in your package to facilitate this process. Please follow these instructions carefully.
- Unpack Components: Lay out all parts and hardware on a clean, soft surface to prevent scratches. Compare with the "What's in the Box" section to ensure all pieces are present.
- Follow Included Instructions: Refer to the separate assembly instruction booklet for specific diagrams and steps. Each step is clearly illustrated.
- Secure All Fasteners: Ensure all screws, bolts, and connectors are securely tightened. Do not overtighten.
- Install Anti-Tip Device: It is crucial to install the anti-tip device as instructed. This device prevents the kitchen from tipping over, enhancing safety. Attach one end to the back of the play kitchen and the other to a wall stud using appropriate hardware.
- Final Check: Once assembled, gently shake the kitchen to confirm stability. Ensure all doors open and close smoothly and all interactive elements function correctly.

Image: A diagram illustrating the product dimensions of the KOTEK Play Kitchen, useful for planning placement and understanding scale during assembly.
5. Operating Instructions
The KOTEK Wooden Play Kitchen features several interactive elements designed to enhance imaginative play:
- Stovetop: Turn the knobs on the stovetop. They produce clicking sounds for a realistic cooking experience.
- Oven: Open the oven door to place play food inside.
- Microwave: Open the microwave door and use the pretend keypad.
- Dishwasher: Open the dishwasher door to place play dishes.
- Sink and Faucet: The sink is removable for easy cleaning. The faucet and its handles can be rotated.
- Ice Maker: Place the included ice cubes into the dispenser. Press the lever to dispense them into the cup.
- Chalkboard: Use chalk (not included) to write or draw on the integrated chalkboard.
- Telephone: Use the pretend telephone for imaginative conversations.
- Storage: Utilize the utensil hooks, towel rack, and various cabinet spaces for organizing play accessories.

Image: Close-up views of the KOTEK Play Kitchen's interactive components, including the telephone, microwave, gas stoves, dishwasher, and oven.

Image: A step-by-step guide demonstrating how to use the ice maker feature, showing how to put in ice cubes, press the dispenser, and retrieve them.
6. Maintenance
Regular maintenance will help prolong the life of your KOTEK Wooden Play Kitchen:
- Cleaning: Wipe surfaces with a soft, damp cloth. Avoid abrasive cleaners or harsh chemicals, which can damage the finish.
- Inspection: Periodically check all screws and fasteners to ensure they remain tight. Retighten if necessary.
- Damage: Inspect the wooden components for any signs of wear, splintering, or damage. Discontinue use if significant damage is found and contact customer support.
- Storage: Store the play kitchen in a dry environment, away from direct sunlight or extreme temperature changes, to prevent warping or fading.

Image: The KOTEK Play Kitchen with its doors open, highlighting the various storage compartments for accessories and toys, emphasizing organization.
7. Troubleshooting
If you encounter any issues with your KOTEK Wooden Play Kitchen, consider the following:
- Stability Issues: Ensure all assembly screws are tightened. Verify that the anti-tip device is correctly installed and secured to a wall stud.
- Parts Not Fitting: Double-check the assembly instructions to ensure you are using the correct parts for each step and that they are oriented correctly.
- Missing or Damaged Parts: If you find any parts missing or damaged upon unboxing, do not proceed with assembly. Contact KOTEK customer support immediately for assistance.
- Interactive Features Not Working: For features like clicking knobs or the ice maker, ensure no obstructions are present and that components are correctly aligned as per assembly instructions.
8. Specifications
| Model Number | PI-TP10126 |
| Product Dimensions (L x W x H) | 32" x 9.5" x 31.5" (81.3 cm x 24.1 cm x 80 cm) |
| Counter Height | 18" (45.7 cm) |
| Item Weight | 27 lbs (12.2 kg) |
| Recommended Age | 3-6 Years Old |
| Material | MDF Board |
| Certifications | ASTM F963, CPSIA |
9. Customer Support
For any questions, concerns, or assistance with assembly or product issues, please contact KOTEK customer support. We are committed to providing a satisfactory resolution.
Please refer to the contact information provided on the product packaging or the KOTEK official website for the most up-to-date support details.


