1. Introduction
This manual provides detailed instructions for the safe and efficient operation of your Lamicall Portable Car Tire Inflator, Model VHEP01-N. Please read this manual thoroughly before using the device to ensure proper function and to prevent damage or injury. Keep this manual for future reference.
2. Safety Information
- Always operate the inflator in a well-ventilated area.
- Do not leave the inflator unattended during operation.
- Keep out of reach of children.
- Avoid prolonged exposure to direct sunlight or extreme temperatures.
- Do not attempt to inflate objects beyond their recommended pressure limits.
- Ensure the air hose connection is secure before starting inflation.
- If the device becomes excessively hot, discontinue use and allow it to cool down.
- Do not disassemble or modify the device.
3. Package Contents
Verify that all items are present in the package:
- Tire Inflator (Model VHEP01-N) x1
- Connecting Air Hose (with atmospheric nozzle) x1
- Presta Valve Adapter (Brass) x1
- Ball Inflation Needle x1
- Swimming Circle Adapter x1
- Charging Cable x1
- User's Manual x1
- Storage Bag x1
4. Product Overview and Features
The Lamicall Portable Car Tire Inflator is a versatile device designed for quick and efficient inflation of various items. It features a powerful motor, a high-capacity rechargeable battery, and multiple inflation modes.
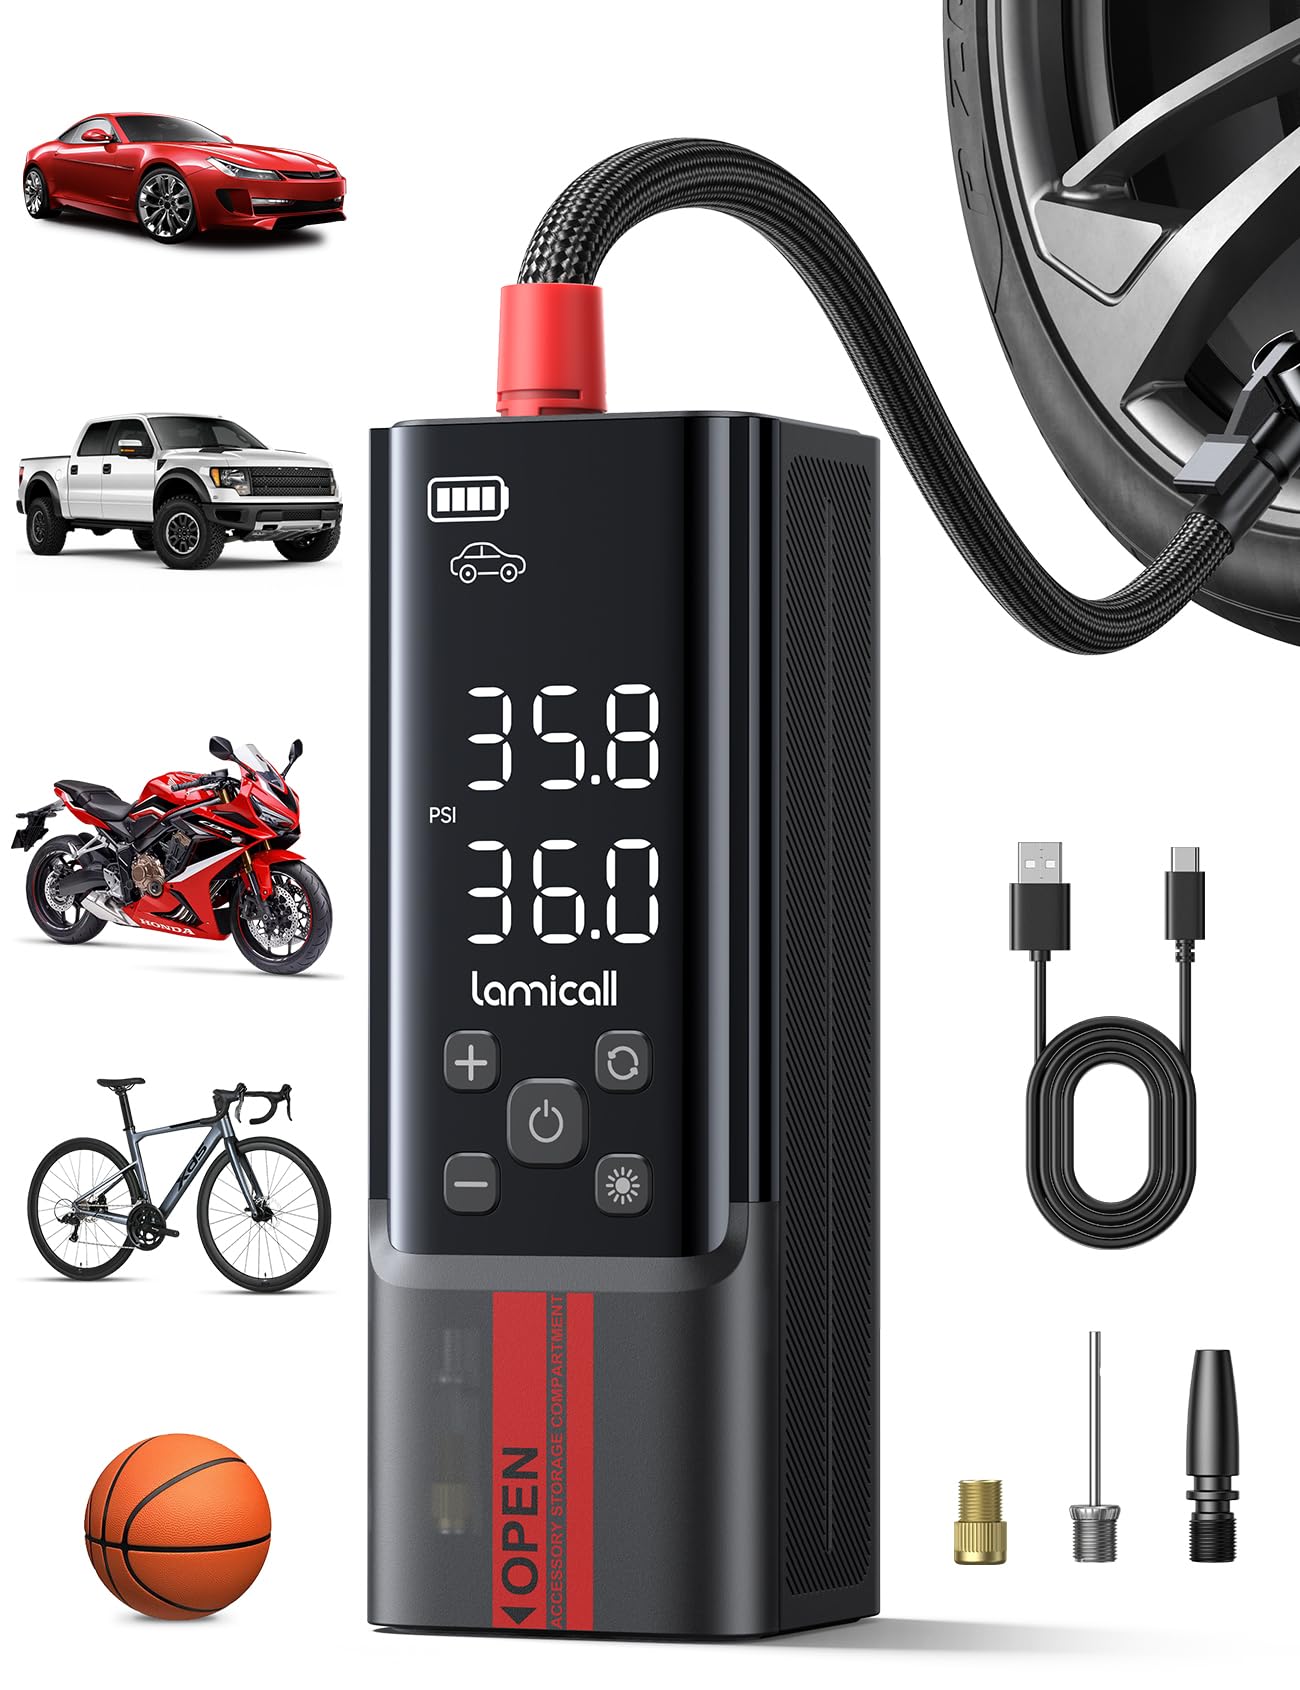
Image 4.1: Overview of the Lamicall Portable Car Tire Inflator.
Key Features:
- Fast Inflation: Achieves up to 150 PSI maximum pressure with a 35L/Min airflow rate, inflating a 195/65 R15 tire from 28 to 36 PSI in approximately 1 minute.
- Rechargeable Battery: Equipped with a high-capacity battery, allowing cordless operation. Can inflate up to 20 car tires (28-36 PSI), 19 bicycle tires (0-150 PSI), 113 motorcycle tires (28-33 PSI), or 120 basketballs (0-8 PSI) on a full charge.
- Automatic Stop: Automatically stops inflation once the preset target pressure is reached (accuracy within ±2 PSI), preventing over-inflation.
- Multiple Inflation Modes: Five preset modes for Car, Motorcycle, Bike, Ball, and a customizable pressure setting.
- Four Pressure Units: Supports PSI, KPA, BAR, and KG/CM².
- LED Display: High-definition LED screen shows inflation mode, current pressure, target pressure, and battery level.
- Integrated LED Light: Features a flashlight, SOS, and strobe light function for visibility in low-light conditions or emergencies.
- Power Bank Function: Can be used to charge other devices via its USB port.

Image 4.2: Illustration of the inflator's internal components highlighting its powerful performance.

Image 4.3: Display indicating battery capacity and approximate inflation counts for different vehicle tires and balls.
5. Setup
5.1 Charging the Inflator
Before first use, fully charge the inflator. Connect the provided charging cable to the inflator's charging port and to a suitable USB power adapter (not included). The LED display will indicate the charging status. A full charge ensures optimal performance and battery life.
5.2 Attaching the Air Hose and Adapters
The main air hose comes with an atmospheric nozzle. For specific items, attach the appropriate adapter:
- Presta Valve Adapter: For bicycles with Presta valves.
- Ball Inflation Needle: For sports balls.
- Swimming Circle Adapter: For inflatable toys and swimming rings.
To attach, screw the desired adapter onto the end of the air hose's atmospheric nozzle until secure.
6. Operating Instructions
6.1 Powering On/Off
- Power On: Press and hold the power button for a few seconds until the LED display illuminates.
- Power Off: Press and hold the power button again, or the device will automatically power off after a period of inactivity.
6.2 Selecting Inflation Mode and Pressure Unit

Image 6.1: The digital display illustrating the five preset inflation modes and four selectable pressure units.
- Change Mode: Press the 'Mode' button (often indicated by an icon representing different items like car, motorcycle, bike, ball) to cycle through the five preset inflation modes: Car, Motorcycle, Bike, Ball, and Custom.
- Change Unit: Press the 'Unit' button (often indicated by 'M' or 'UNIT') to switch between PSI, KPA, BAR, and KG/CM².
6.3 Setting Target Pressure
- Once a mode is selected, the display will show a default target pressure.
- Use the '+' and '-' buttons to adjust the target pressure to your desired value. Refer to your item's manufacturer recommendations for correct pressure.
6.4 Starting and Stopping Inflation

Image 6.2: Proper connection of the air hose to a tire valve for inflation.
- Connect the air hose securely to the valve stem of the item you wish to inflate. The display will show the current pressure.
- Press the 'Start/Stop' button (often indicated by a play/pause icon) to begin inflation.
- The inflator will automatically stop once the preset target pressure is reached.
- To manually stop inflation, press the 'Start/Stop' button again.
6.5 Using the LED Light
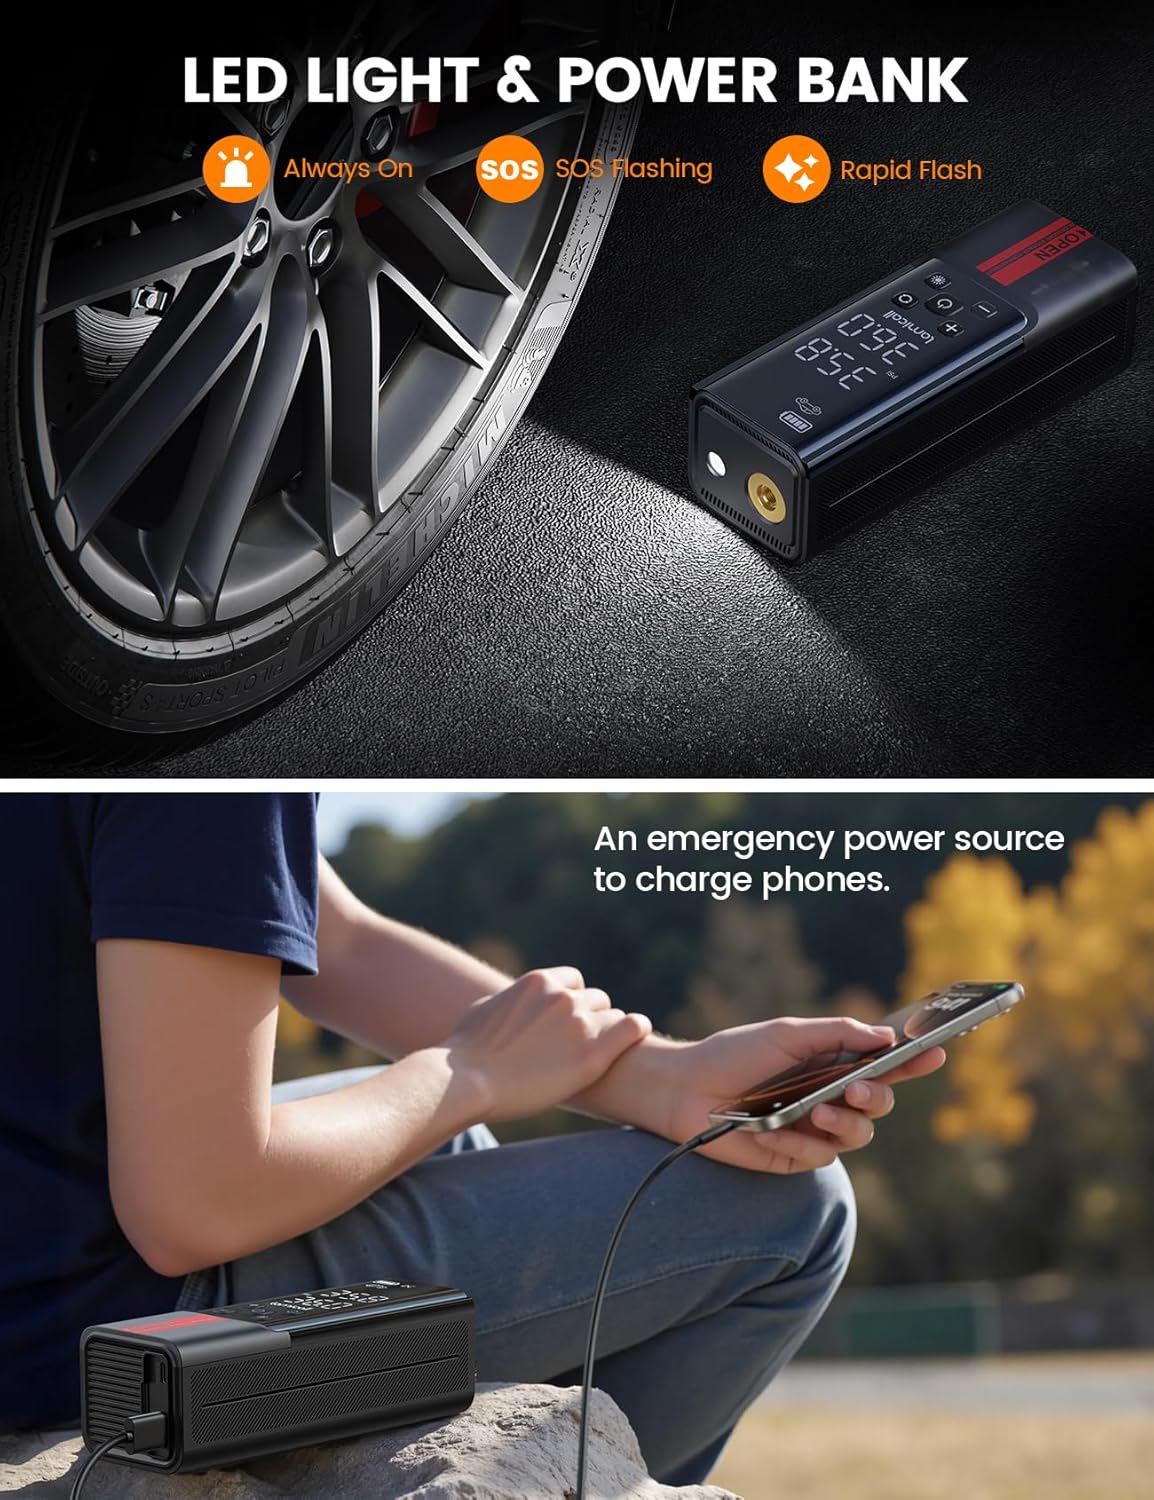
Image 6.3: The inflator's LED light illuminating a tire and its function as a power bank.
- Press the 'Light' button (often indicated by a light bulb icon) to cycle through the light modes: Flashlight (Always On), SOS Flashing, and Strobe Light.
- Press the button again to turn off the light.
6.6 Using as a Power Bank
To use the inflator as a power bank, connect your device (e.g., smartphone) to the inflator's USB output port using your device's charging cable. The inflator will begin charging your device.
7. Maintenance
7.1 Cleaning
Wipe the exterior of the inflator with a soft, damp cloth. Do not use harsh chemicals or abrasive cleaners. Ensure the device is dry before storage.
7.2 Storage
Store the inflator and its accessories in the provided storage bag in a cool, dry place, away from direct sunlight and extreme temperatures. Ensure the battery is partially charged (around 50%) if storing for extended periods to maintain battery health.
8. Troubleshooting
| Problem | Possible Cause | Solution |
|---|---|---|
| Inflator does not turn on. | Low battery. | Charge the inflator fully. |
| Inflator does not inflate. | Hose not securely connected; Target pressure not set; Device malfunction. | Ensure hose is tightly screwed onto valve. Set target pressure. If problem persists, contact support. |
| Inflation is slow. | Low battery; Air hose leak. | Charge the inflator. Check hose connections for leaks. |
| Device overheats. | Prolonged continuous use. | Allow the device to cool down for at least 10-15 minutes before resuming use. |
| Inaccurate pressure reading. | Improper connection; Sensor issue. | Ensure a tight seal with the valve. If issue persists, contact support. |
9. Specifications
| Feature | Specification |
|---|---|
| Model Name | VHEP01-N |
| Maximum Pressure | 150 PSI |
| Air Flow Capacity | 35 Liters Per Minute |
| Power Source | Battery Powered |
| Material | Metal, Plastic |
| Product Dimensions | 6.3L x 5.6W x 17.5H Centimetres |
| Item Weight | 820 g |
| Hose Length | 19.5 Inches |
| Color | Black |
10. Warranty and Support
Lamicall products are designed and manufactured to high-quality standards. For information regarding warranty coverage, please refer to the warranty card included with your product or visit the official Lamicall website. If you encounter any issues or require technical assistance, please contact Lamicall customer support through their official channels. Contact details can typically be found on the product packaging or the Lamicall website.


