
1. Product Overview
The RAPSUAR 30-inch Wall Mount Range Hood is designed to efficiently remove smoke, grease, and odors from your kitchen. It features a powerful 1200 CFM airflow, 4-speed fan control, and intuitive touch and gesture sensing for ease of use. Constructed from durable stainless steel, it includes dimmable LED lighting and dishwasher-safe baffle filters for convenient maintenance.

Image: The RAPSUAR Wall Mount Range Hood installed above a stove in a modern kitchen, showcasing its sleek design and functionality.
Video: An overview of the range hood's features, highlighting its sleek design and how it enhances the kitchen environment.
2. What's in the Box
- Range Hood
- LED Lights (pre-installed)
- Grease Filter (baffle filters, pre-installed)
- Oil Cup
- Installation Hardware (screws, wall anchors, mounting plates)
- Air Duct (flexible aluminum duct)
3. Setup and Installation
Proper installation is crucial for the optimal performance and safety of your range hood. Please follow these general steps. Refer to the detailed instruction manual included in your package for specific diagrams and safety warnings.
3.1 Pre-Installation Considerations
- Location: Ensure the installation area is suitable for a wall-mount range hood, with adequate clearance above the cooking surface.
- Ducting: This model requires ducted ventilation. Ensure you have a suitable ducting system in place or plan for its installation.
- Power Supply: Verify that a 110V power outlet is available within reach of the range hood's power cord.
- Dimensions: Confirm the product dimensions (19.1"D x 30"W x 38.5"H) fit your kitchen space.

Image: A detailed diagram illustrating the product dimensions, including width, depth, and adjustable chimney height (18" to 37.5").
3.2 Installation Steps (General Guide)
- Marking: Use a level and pencil to mark the horizontal line for the mounting plate according to the recommended installation height.
- Drilling: Drill holes at the marked positions and insert the expansion rubber plugs flush with the wall surface.
- Mounting Plate: Secure the hanging plate to the wall using screws.
- Hang the Hood: Carefully lift the range hood and hang it onto the secured hanging plate.
- Secure Internally: Fix the machine to the wall from the inside with additional screws.
- Air Duct Connection: Insert the air duct into the air outlet of the range hood and secure it.
- Chimney Installation: Place the chimney sections on top of the hood, ensuring they align with the support brackets. Lift the air duct and upper chimney, then lock both sides of the upper chimney with screws.
- Filter Reinstallation: Reinstall the baffle filters.
- Power Connection: Connect the power cord to a suitable electrical outlet.
Video: A general guide demonstrating the installation process for a wall-mounted range hood. Please note that this video is a general guide and specific steps may vary for your RAPSUAR Model GRT96.
4. Operating Instructions
Your RAPSUAR range hood offers advanced controls for a seamless cooking experience.
4.1 Control Panel Overview
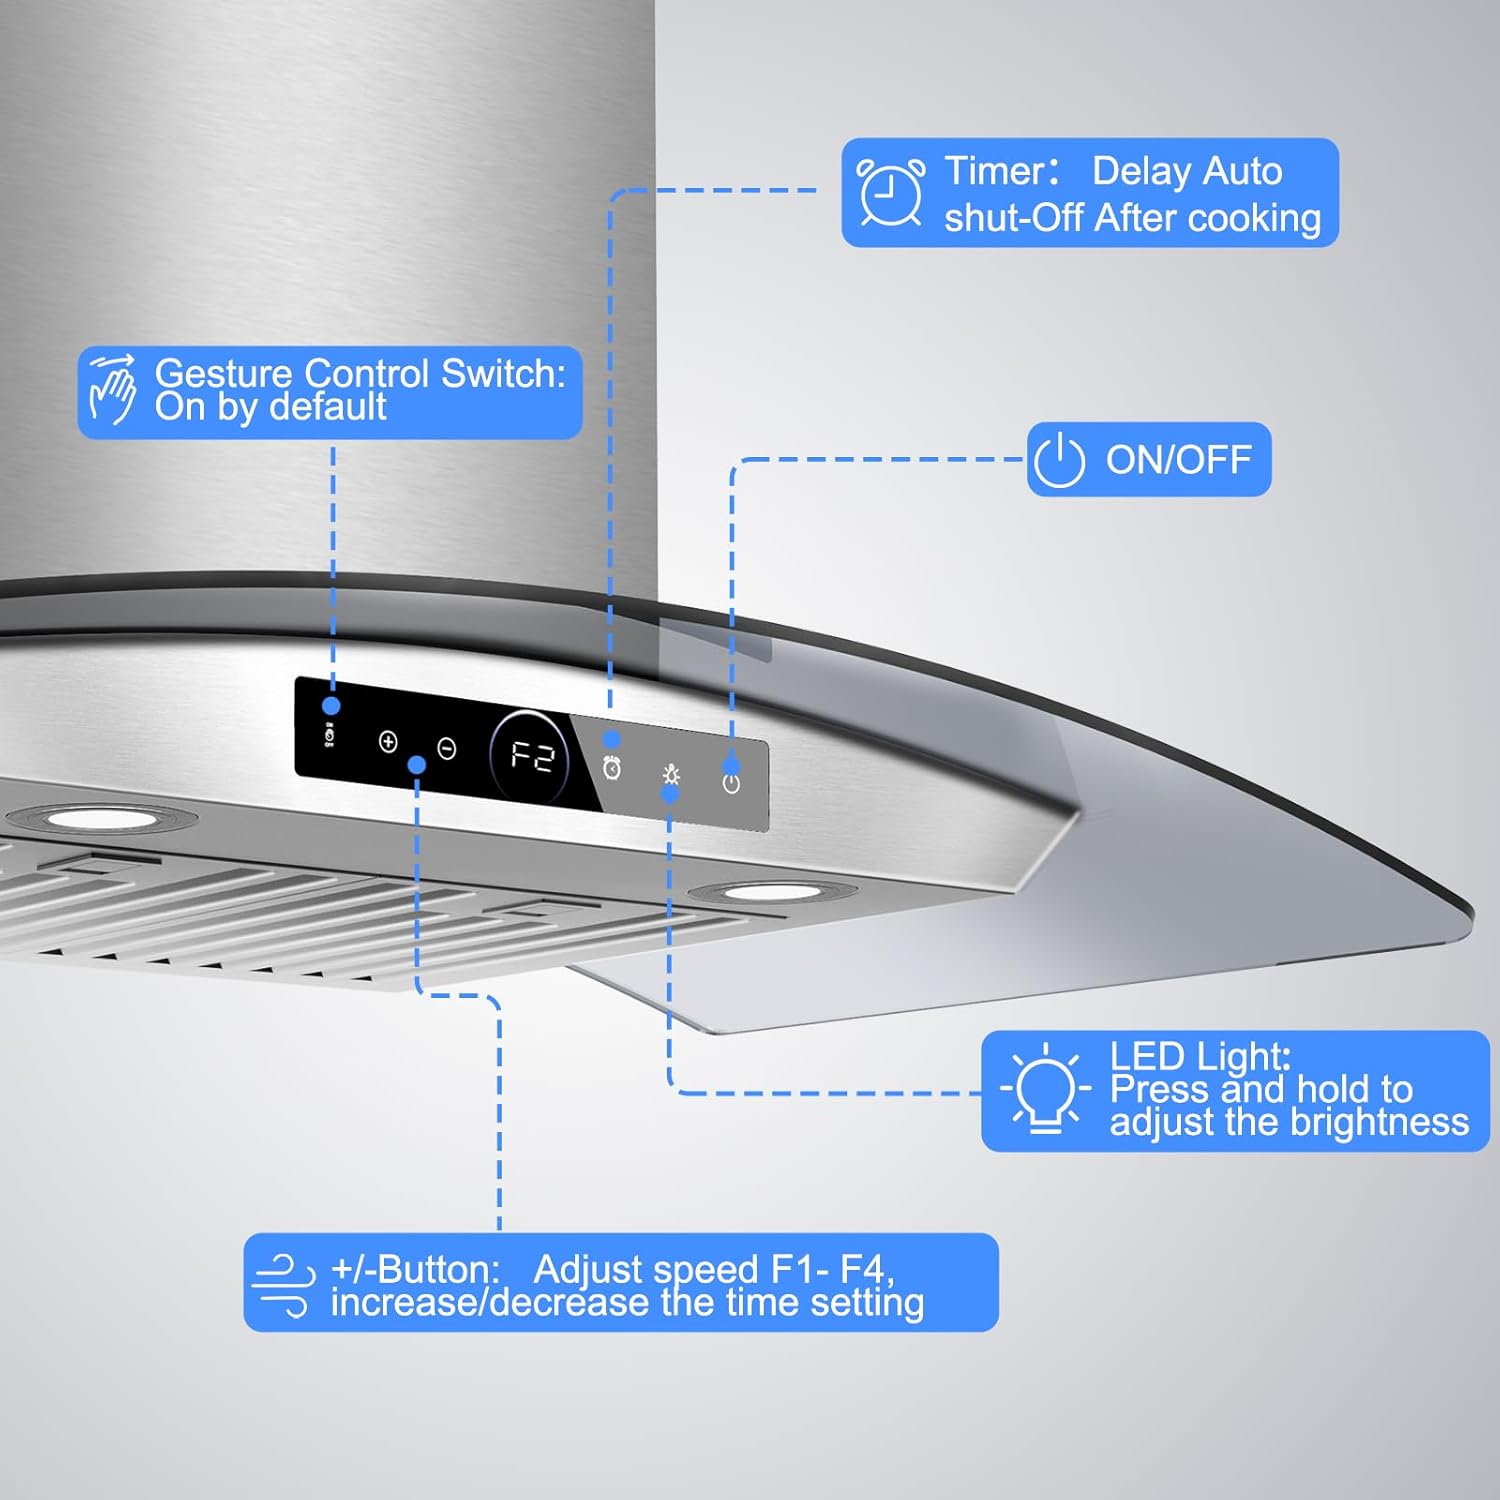
Image: A close-up view of the control panel, indicating buttons for Gesture Control Switch, ON/OFF, +/- (fan speed/time setting), Timer, and LED Light adjustment.
4.2 Touch & Gesture Control
The range hood features both intuitive digital touchscreen controls and advanced gesture sensing. Use the touchscreen for precise adjustments or simply wave your hand to change fan speeds.
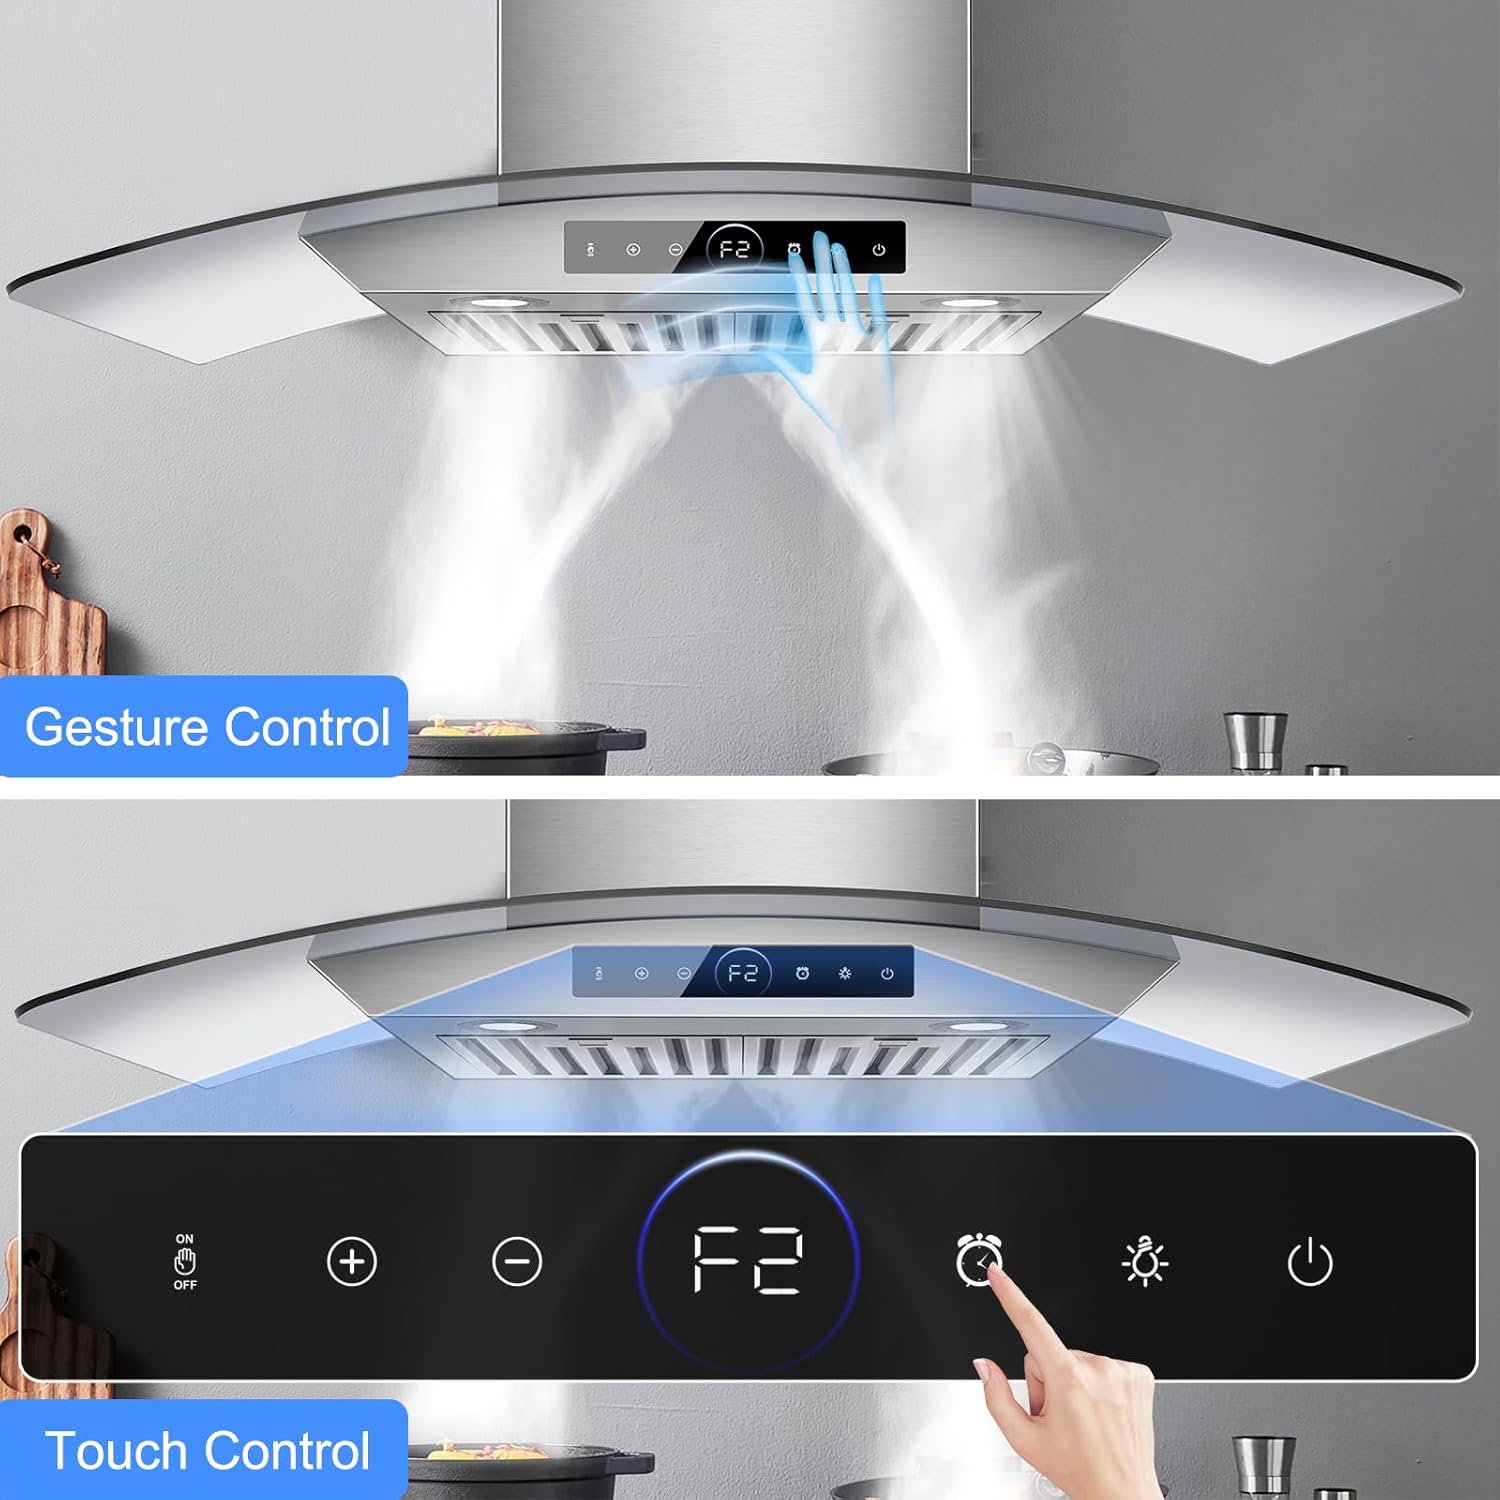
Image: Illustration of the gesture control feature, where a hand wave can adjust fan speed.
4.3 Fan Speed Adjustment
Equipped with four customizable fan speeds (F1-F4), you can easily adjust the ventilation power to match your cooking needs, from slow simmering to deep frying. Use the '+' and '-' buttons on the touch panel or the gesture control feature.
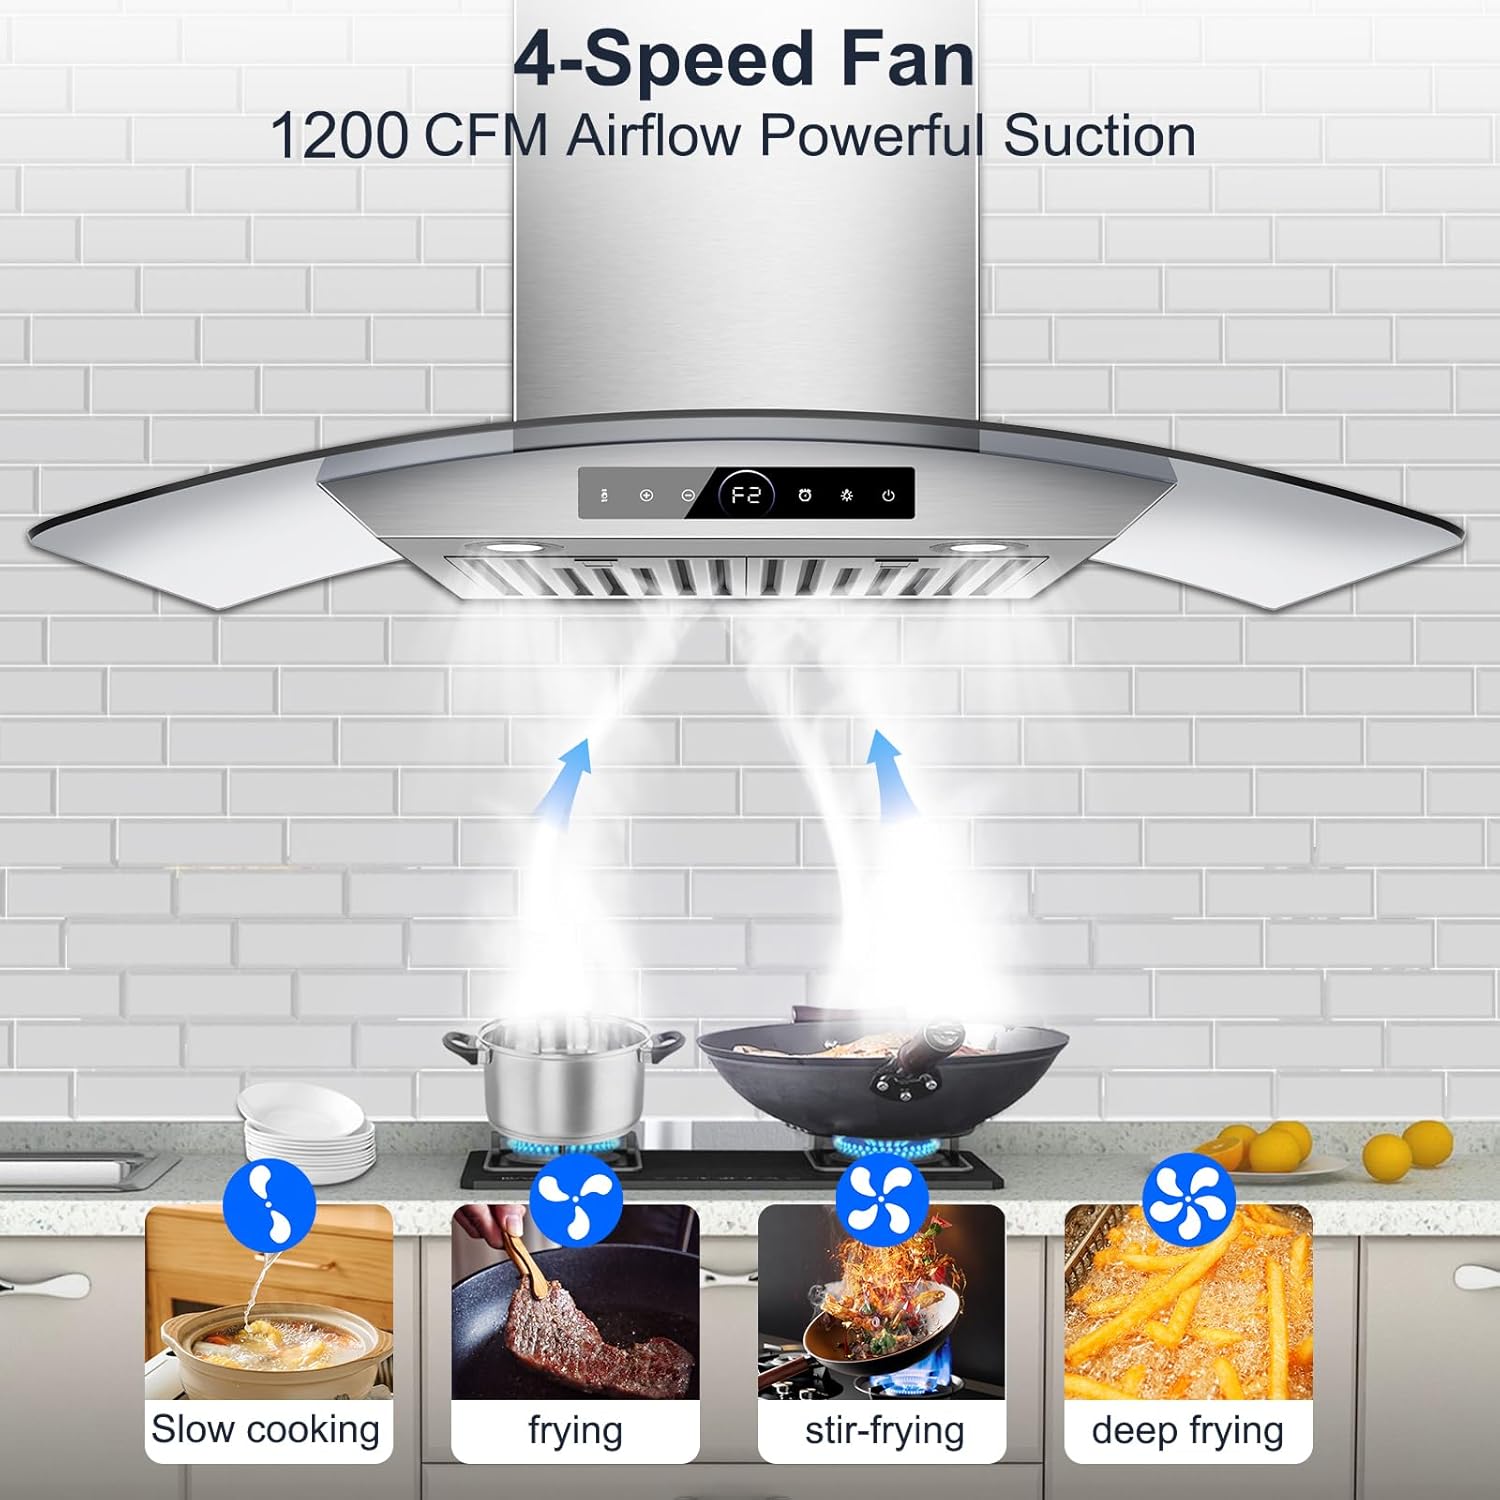
Image: Visual representation of the 4-speed fan, showing its effectiveness for slow cooking, frying, stir-frying, and deep frying.
Video: Demonstrates the powerful suction capabilities of the range hood, effectively clearing smoke and odors during cooking.
4.4 LED Lighting
The range hood features two warm LED lights (3W 4000K) to illuminate your cooking area. Press and hold the light button on the touch panel to adjust the brightness to your preference.
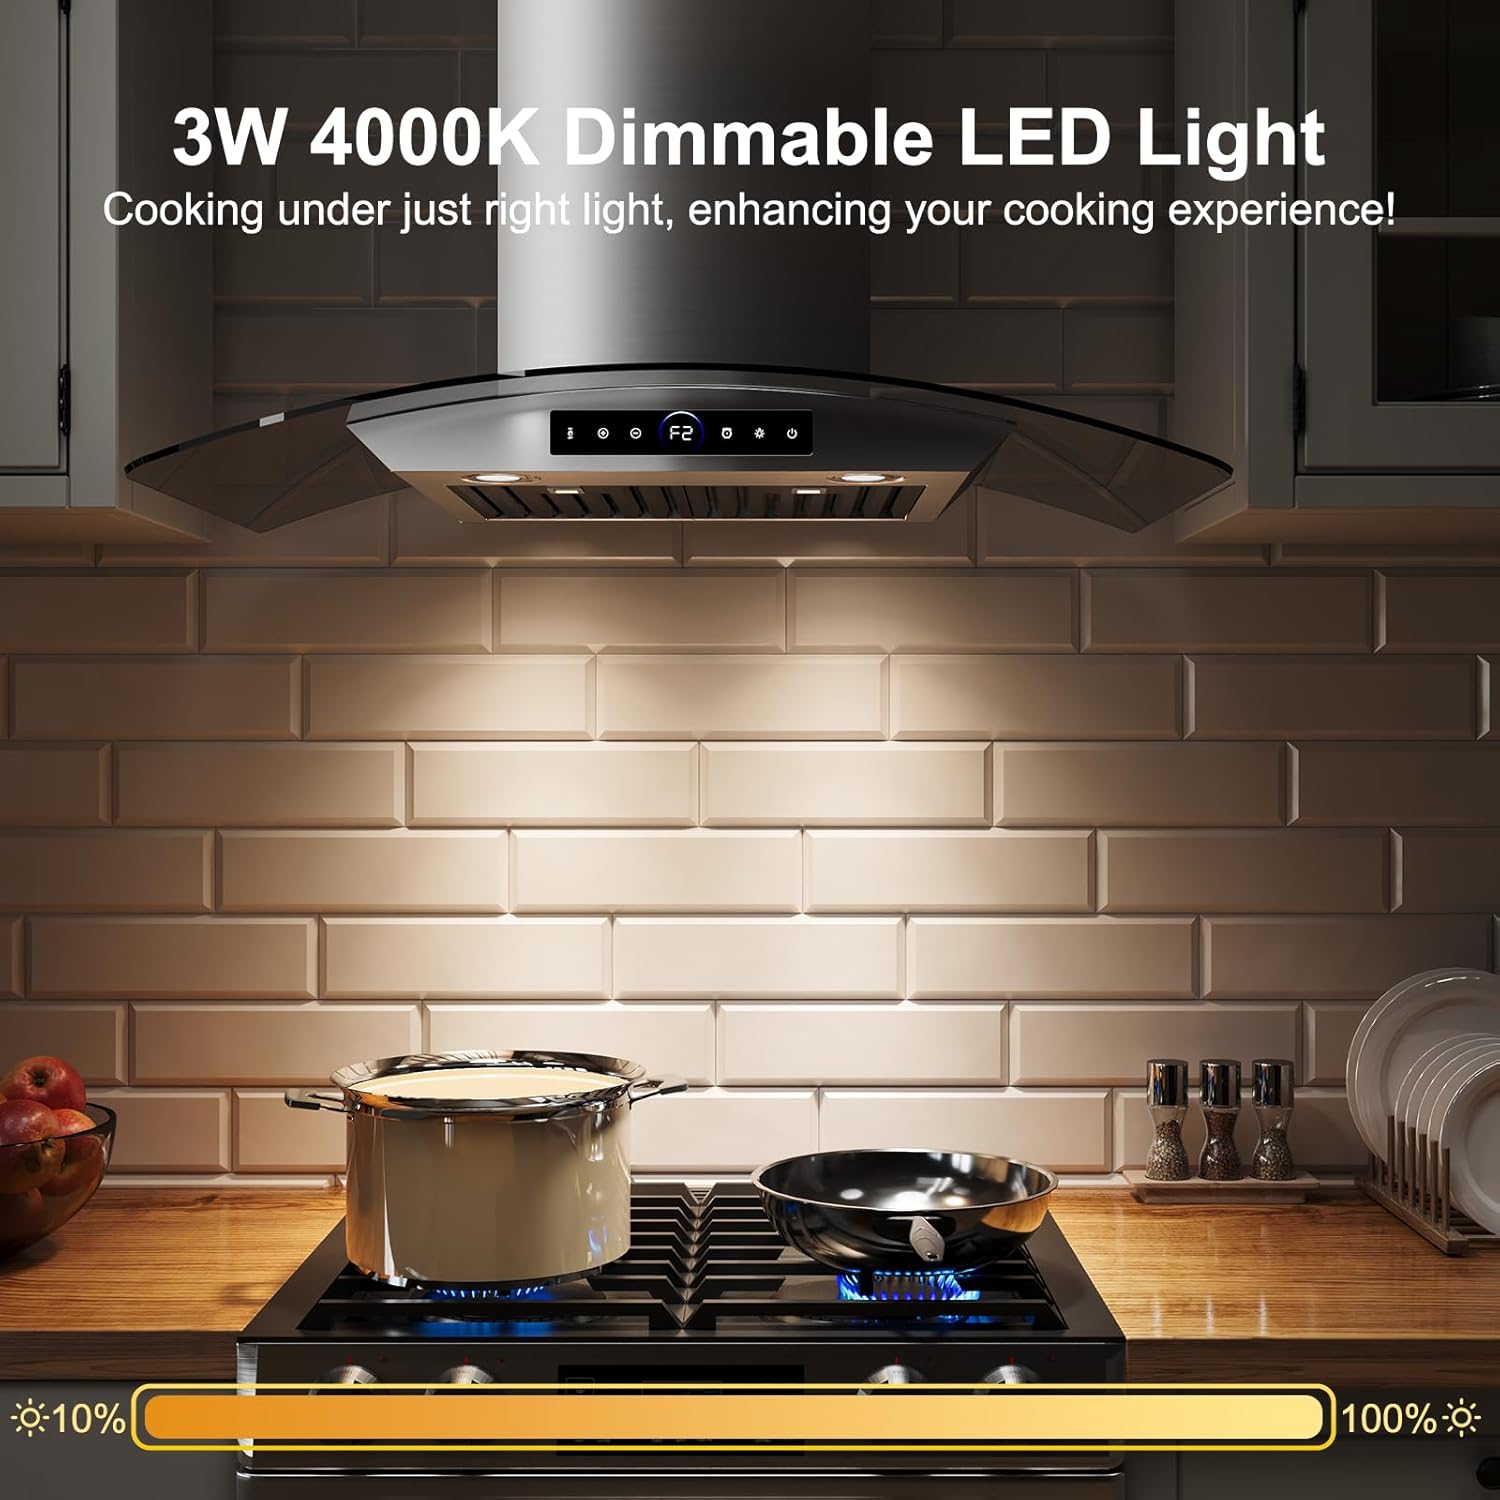
Image: The range hood's dimmable LED lights providing adjustable illumination over a stove.
Video: Instructions on how to adjust the light brightness and utilize the memory function for preferred settings.
4.5 Timer & Delay Shut-Off
Utilize the convenient timer function to set a desired shut-off time (up to 15 minutes) by pressing and holding the timer button. Alternatively, tap the timer button to activate the 180-second delay shut-off mode, which clears residual smoke and odors after cooking.
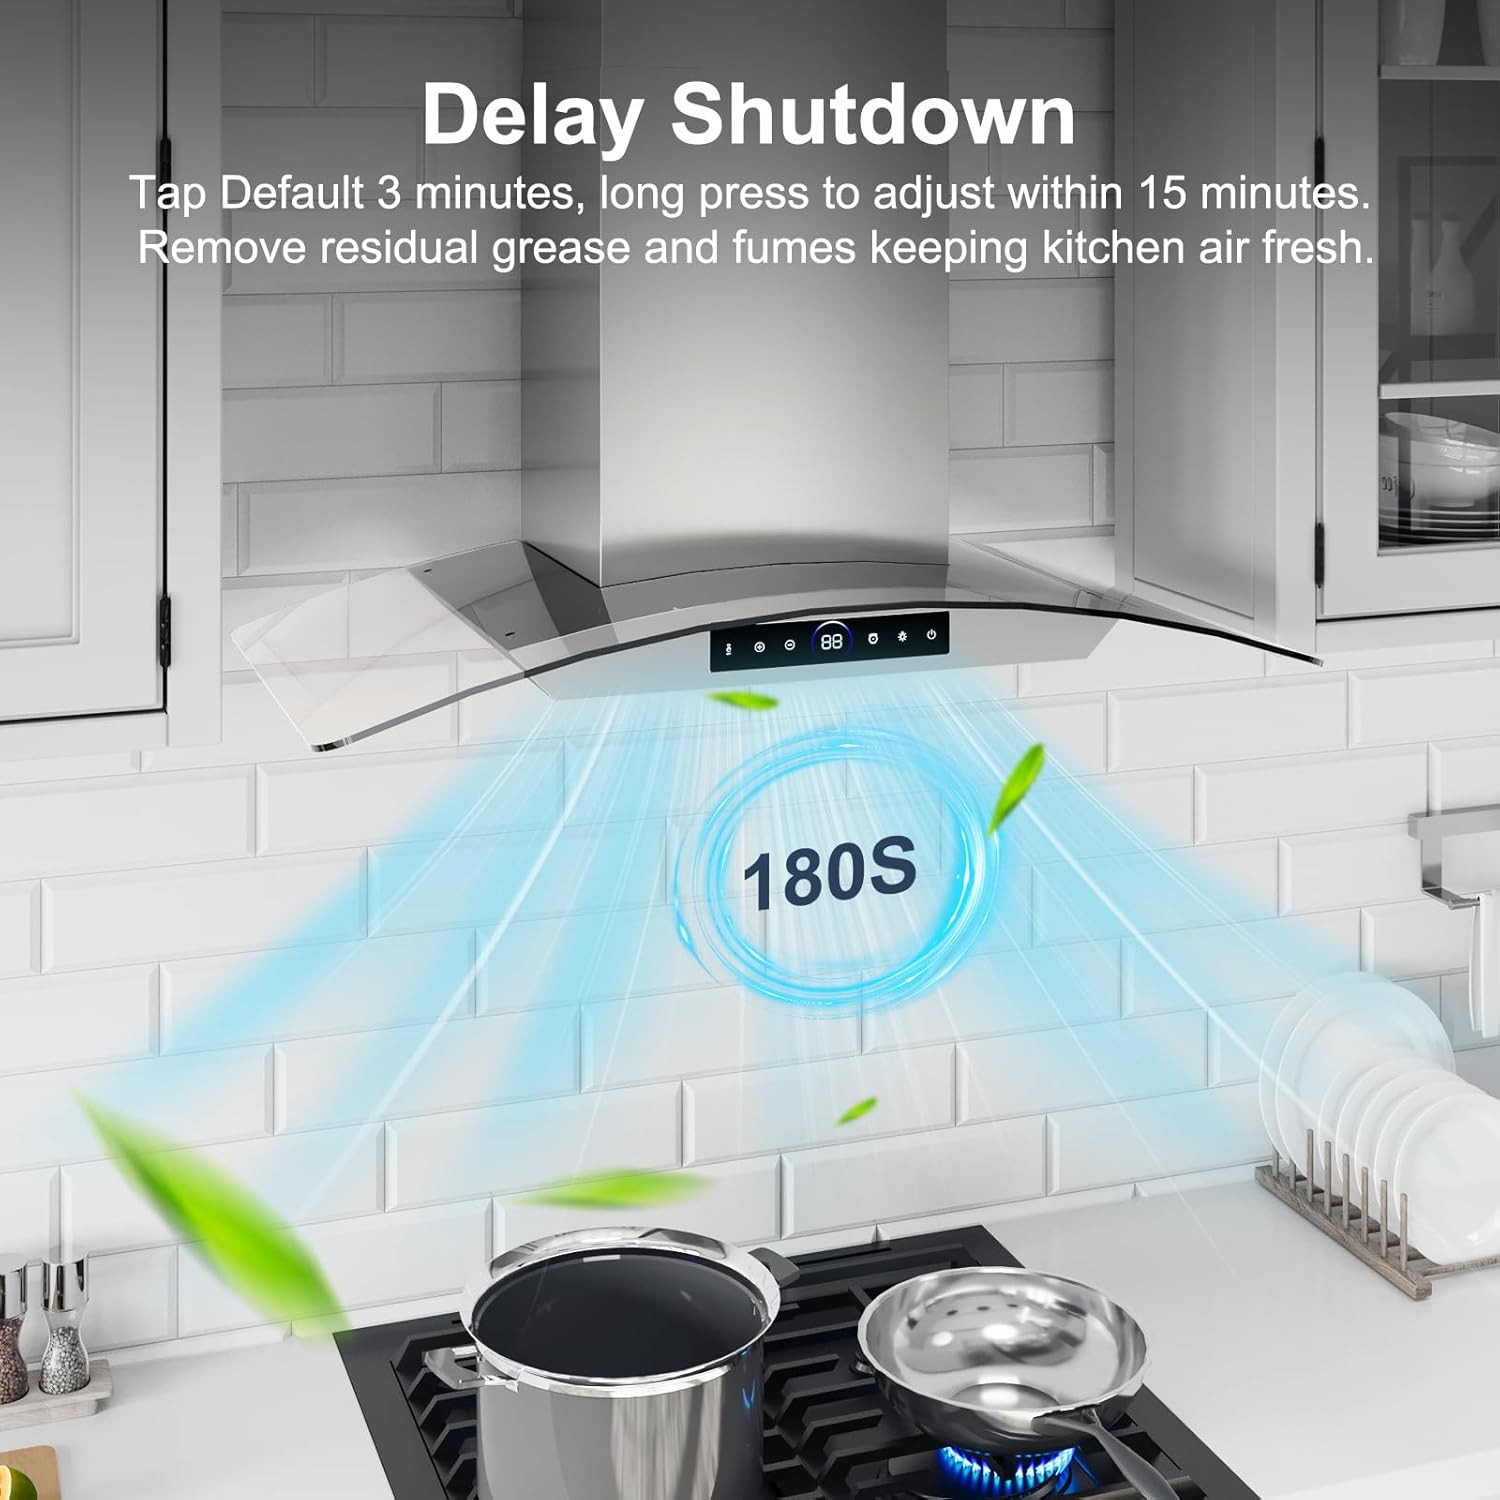
Image: The range hood's delay shutdown feature in action, showing it clearing fumes for 180 seconds after cooking.
Video: A guide on how to use the delayed shutdown and timed shutdown functions of the range hood.
5. Maintenance
Regular maintenance ensures the longevity and optimal performance of your range hood.
5.1 Baffle Filter Cleaning
The range hood is equipped with heavy-duty stainless steel baffle filters that are heat-resistant and rustproof. These filters effectively trap grease and grime.
- Removal: The filters are easy to remove and reassemble. Locate the release tabs or handles on each filter and gently pull them down or slide them out.
- Cleaning: The baffle filters are dishwasher-safe for effortless cleaning. Alternatively, they can be hand-washed with warm, soapy water.
- Reinstallation: Once clean and dry, slide or clip the filters back into their positions.

Image: A visual representation of the baffle filters being removed for cleaning, highlighting their dishwasher-safe nature.
5.2 Oil Cup Emptying
The included oil cup collects grease buildup. Regularly check and empty the oil cup to prevent overflow and maintain hygiene.
5.3 Exterior Cleaning
Wipe the stainless steel exterior with a soft cloth and a non-abrasive cleaner to maintain its appearance. Avoid harsh chemicals or abrasive pads that could scratch the surface.
6. Troubleshooting
If you encounter any issues with your RAPSUAR range hood, please refer to the following common troubleshooting tips. For more complex problems, contact customer support.
- No Power: Check if the power cord is securely plugged into the outlet and if the circuit breaker has tripped.
- Weak Suction: Ensure the baffle filters are clean and not clogged. Verify that the air duct is properly installed and free of obstructions.
- Excessive Noise: Check for loose parts or obstructions in the fan. Ensure the range hood is securely mounted.
- Lights Not Working: Check if the LED lights are properly seated. If individual lights are out, they may need replacement.
7. Specifications
| Feature | Specification |
|---|---|
| Brand | RAPSUAR |
| Model Number | GRT96 |
| Product Dimensions | 19.1"D x 30"W x 38.5"H |
| Color | Wall-mounted-GSS |
| Material Type | Stainless Steel |
| Mounting Type | Wall Mount |
| Air Flow Capacity | 1200 Cubic Feet Per Minute (CFM) |
| Number of Speeds | 4 |
| Noise Level | 50 Decibels (dB) |
| Light Source | LED |
| Wattage | 235 watts |
| Filter Type | Baffle (Dishwasher-Safe) |
| Special Feature | Delayed Closing, Gesture Sensing, Touch Control |
| Voltage | 110 Volts |
| Item Weight | 50 Pounds |
8. Warranty & Support
8.1 Warranty Information
This RAPSUAR range hood comes with a 1-Year Warranty from the date of purchase. Please retain your proof of purchase for warranty claims.
8.2 Customer Support
For any questions, technical assistance, or warranty claims, please contact RAPSUAR customer support through the retailer's platform or visit the official RAPSUAR website for contact details.