
Introduction
This manual provides detailed instructions for the assembly, installation, and proper use of your SeseYii 4-Layer Power Tool Organizer Wall Mount. Designed to centralize and organize your power tools and accessories, this rack helps maintain a tidy and efficient workspace in your garage, workshop, or shed. Please read all instructions carefully before beginning installation.
Product Features
- 4-Tier Design: Features a 4-layer layout with 1.7-inch wide slots and 2.2-inch spacing, accommodating most cordless drills, power tools, and accessories.
- Heavy-Duty Construction: Constructed from industrial-grade alloy steel with a rust-resistant powder coating for durability.
- High Weight Capacity: Supported by quality mounting hardware, capable of holding up to 300 lbs (136 kg).
- Easy Installation: Designed for quick and secure mounting on walls, pegboards, or shed surfaces.
- Space-Saving: Wall-mounted design helps reduce clutter and free up workbench or floor space.
Package Contents
Verify that all components are present before beginning assembly.
- Power Tool Organizer Rack Components (shelves, side frames, drill holders)
- Mounting Hardware (screws, wall anchors)
- Instruction Manual

Image: Exploded view of the organizer components, including shelves, drill slots, and accessory hooks.
Safety Information
Please observe the following safety precautions:
- Always wear appropriate safety gear, such as safety glasses, during installation.
- Ensure the mounting surface (wall studs, concrete, pegboard) is strong enough to support the rack's weight and the weight of all tools stored on it. The rack has a maximum capacity of 300 lbs (136 kg).
- Use appropriate mounting hardware for your specific wall type. The included hardware is suitable for standard wall studs. For other surfaces, consult a hardware professional.
- Do not overload the rack. Distribute weight evenly across the shelves.
- Keep children and pets away from the installation area.
- Periodically check all mounting screws and connections to ensure they remain tight and secure.
Setup and Installation
Follow these steps for secure installation of your power tool organizer.
Tools Required:
- Drill
- Phillips Head Screwdriver
- Level
- Measuring Tape
- Stud Finder (for drywall installation)
Assembly Steps:
- Unpack all components and verify against the package contents list.
- Attach the side frames to the shelves using the provided screws. Ensure all connections are snug but do not overtighten.
- Secure the drill holders to the bottom section of the rack.
- Confirm the rack is stable and all parts are correctly aligned.

Image: Overall dimensions of the assembled power tool rack.
Mounting Instructions:
- Select Location: Choose a suitable wall location, ensuring it is free from electrical wires or plumbing. The rack is designed to fit standard 16-inch wall studs.
- Mark Drilling Points: Hold the assembled rack against the wall at the desired height. Use a level to ensure it is straight. Mark the positions for the mounting holes.
- Drill Pilot Holes: Using an appropriate drill bit for your wall type (e.g., 1/8-inch for wood studs, larger for wall anchors), drill pilot holes at the marked locations.
- Insert Anchors (if needed): If mounting into drywall without studs, insert the appropriate wall anchors into the pilot holes.
- Mount the Rack: Align the rack with the drilled holes. Insert the mounting screws through the rack's mounting points and into the wall/anchors. Tighten securely until the rack is firmly attached to the wall. Do not overtighten.
- Verify Stability: Gently pull on the rack to ensure it is securely mounted and does not wobble.

Image: Close-up of mounting points and recommended hardware for installation.
Operating Instructions
Once installed, your SeseYii Power Tool Organizer is ready for use.
- Tool Placement: Place cordless drills and similar power tools into the designated slots on the bottom tier. The 1.7-inch wide slots are designed to accommodate most standard drill sizes.
- Shelf Storage: Utilize the upper shelves for storing batteries, chargers, hand tools, accessories, and other workshop items. Distribute weight evenly.
- Accessory Hooks: Use the integrated hooks on the sides for hanging cables, wrenches, pliers, or other small tools.
- Weight Capacity: Do not exceed the maximum weight capacity of 300 lbs (136 kg). Overloading can compromise the rack's stability and safety.
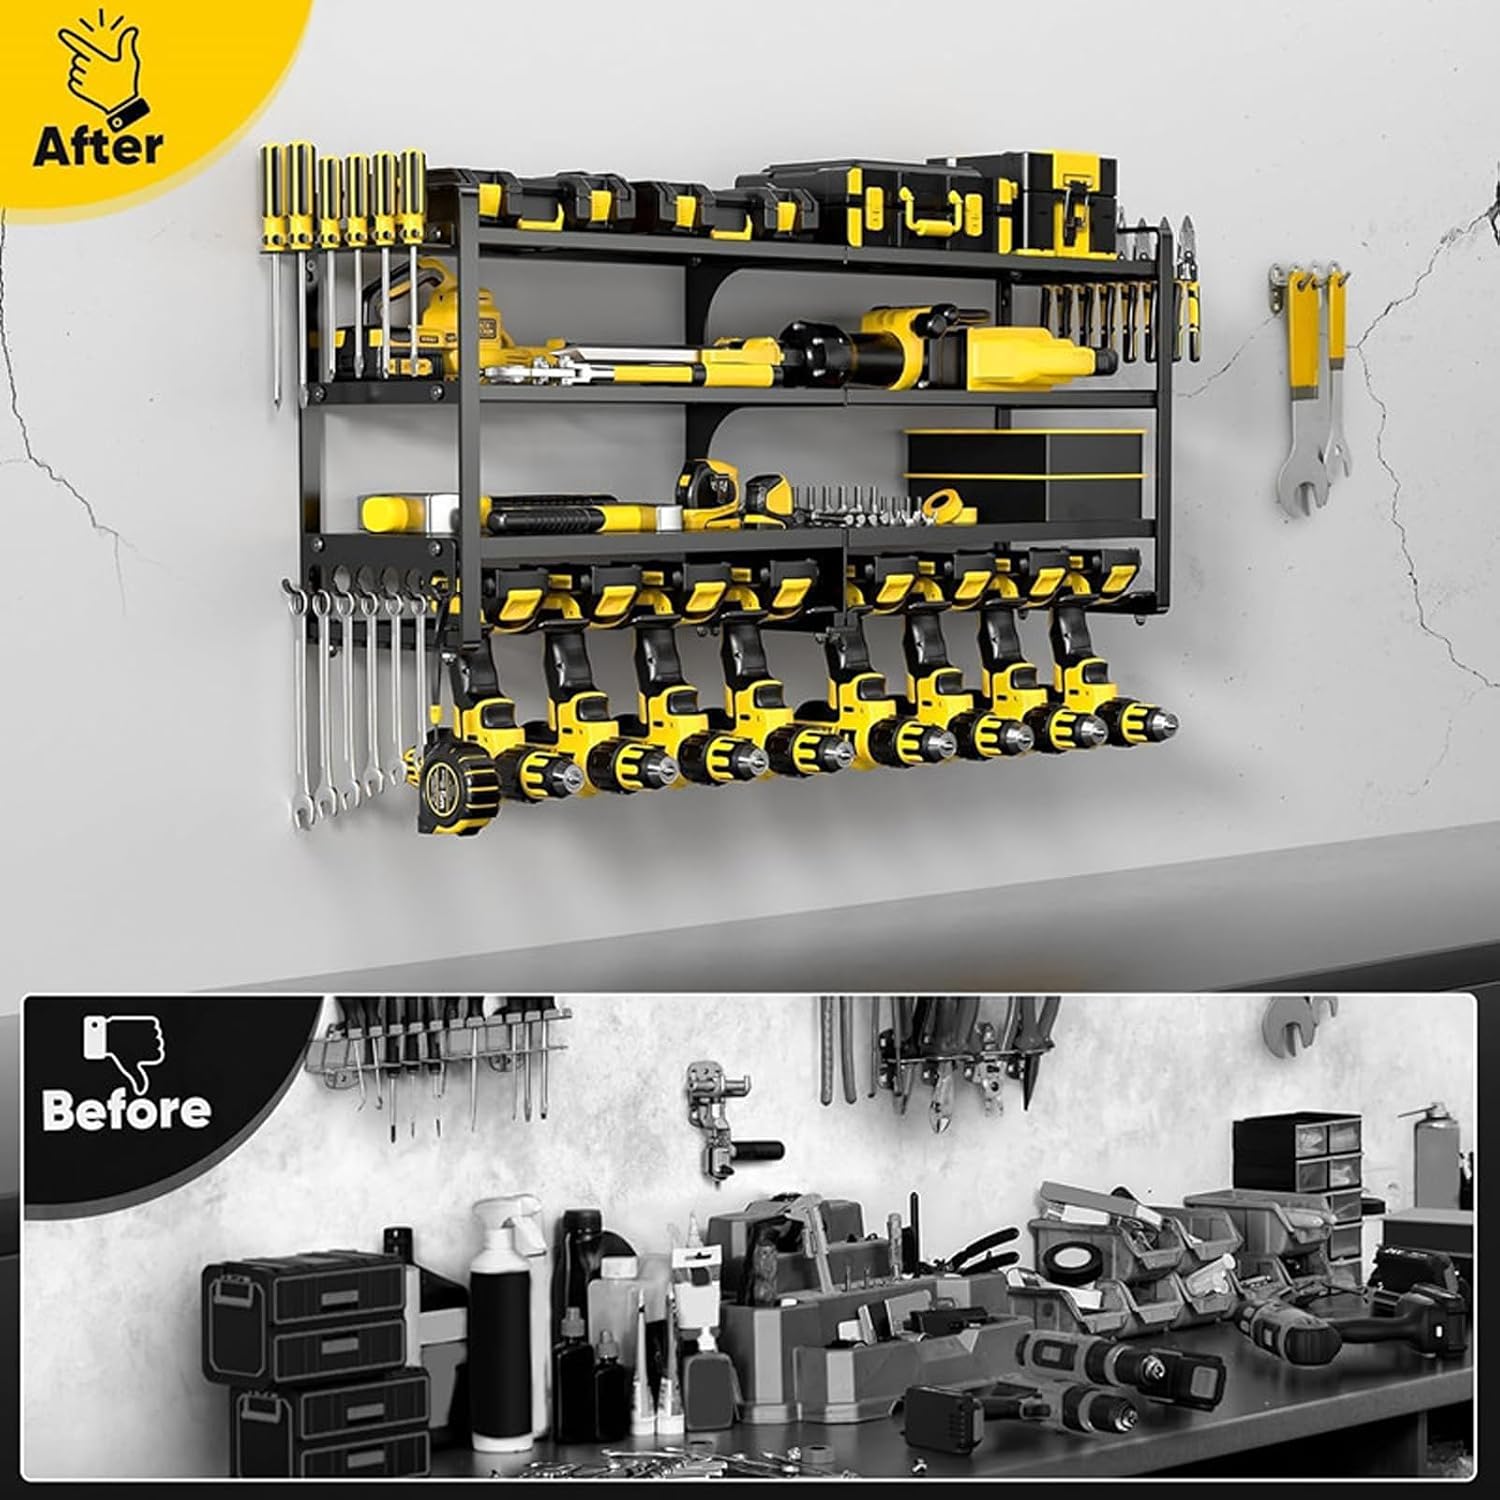
Image: Example of organized tools on the rack, demonstrating effective use of space.
Maintenance
To ensure the longevity and safe operation of your tool organizer:
- Cleaning: Wipe down the rack periodically with a damp cloth to remove dust and debris. Avoid abrasive cleaners that could damage the powder coating.
- Inspection: Regularly inspect all mounting points and screws for tightness. Retighten any loose fasteners.
- Damage Check: Check for any signs of damage, rust, or structural fatigue. If significant damage is found, discontinue use and consider replacement.
Troubleshooting
| Problem | Possible Cause | Solution |
|---|---|---|
| Rack feels unstable or wobbly after installation. | Mounting screws are not fully tightened or not secured into studs/proper anchors. | Ensure all mounting screws are tightened. Verify that the rack is mounted into wall studs or appropriate heavy-duty anchors for your wall type. Do not exceed weight capacity. |
| Tools do not fit into drill slots. | Tool handle or battery pack is too large for the 1.7-inch slot width. | Confirm your tool dimensions. The slots are 1.7 inches wide. Consider placing larger tools on the shelves or using alternative storage methods. |
| Rack appears to be bending or sagging. | Overloaded beyond the 300 lbs (136 kg) weight capacity. Weight is not evenly distributed. | Remove some weight from the rack. Redistribute tools to ensure even weight distribution. Verify mounting integrity. |
Specifications
| Model Number | PTO-48 |
| Material | Alloy Steel |
| Color | Black |
| Product Dimensions (D x W x H) | 21D x 82.6W x 39H Centimetres (approximately 8.3D x 32.5W x 15.4H inches) |
| Number of Shelves | 4 |
| Shelf Weight Capacity | 150 Pounds (68 kg) per shelf (Total capacity 300 lbs / 136 kg) |
| Mounting Type | Wall Mount |
| Finish Type | Powder Coated |
| Assembly Required | Yes |
| Item Weight | 13 Pounds (5.9 kg) |

Image: Visual representation of the rack's robust construction and weight capacity.
Warranty and Support
Specific warranty details are not provided in this manual. For warranty information, product support, or to report any issues, please contact SeseYii customer service through your purchase platform or the manufacturer's official website.
Please have your model number (PTO-48) and purchase date available when contacting support.