Product Overview
The LEICKE DAB+ Radio Tube (Model EP19035) is a versatile portable audio device combining a DAB+/FM radio with a powerful Bluetooth speaker. It features a robust 4500 mAh battery for extended playtime, dynamic RGB LED lighting, and multiple connectivity options including Micro SD and AUX-In. This manual provides essential information for setup, operation, and maintenance.
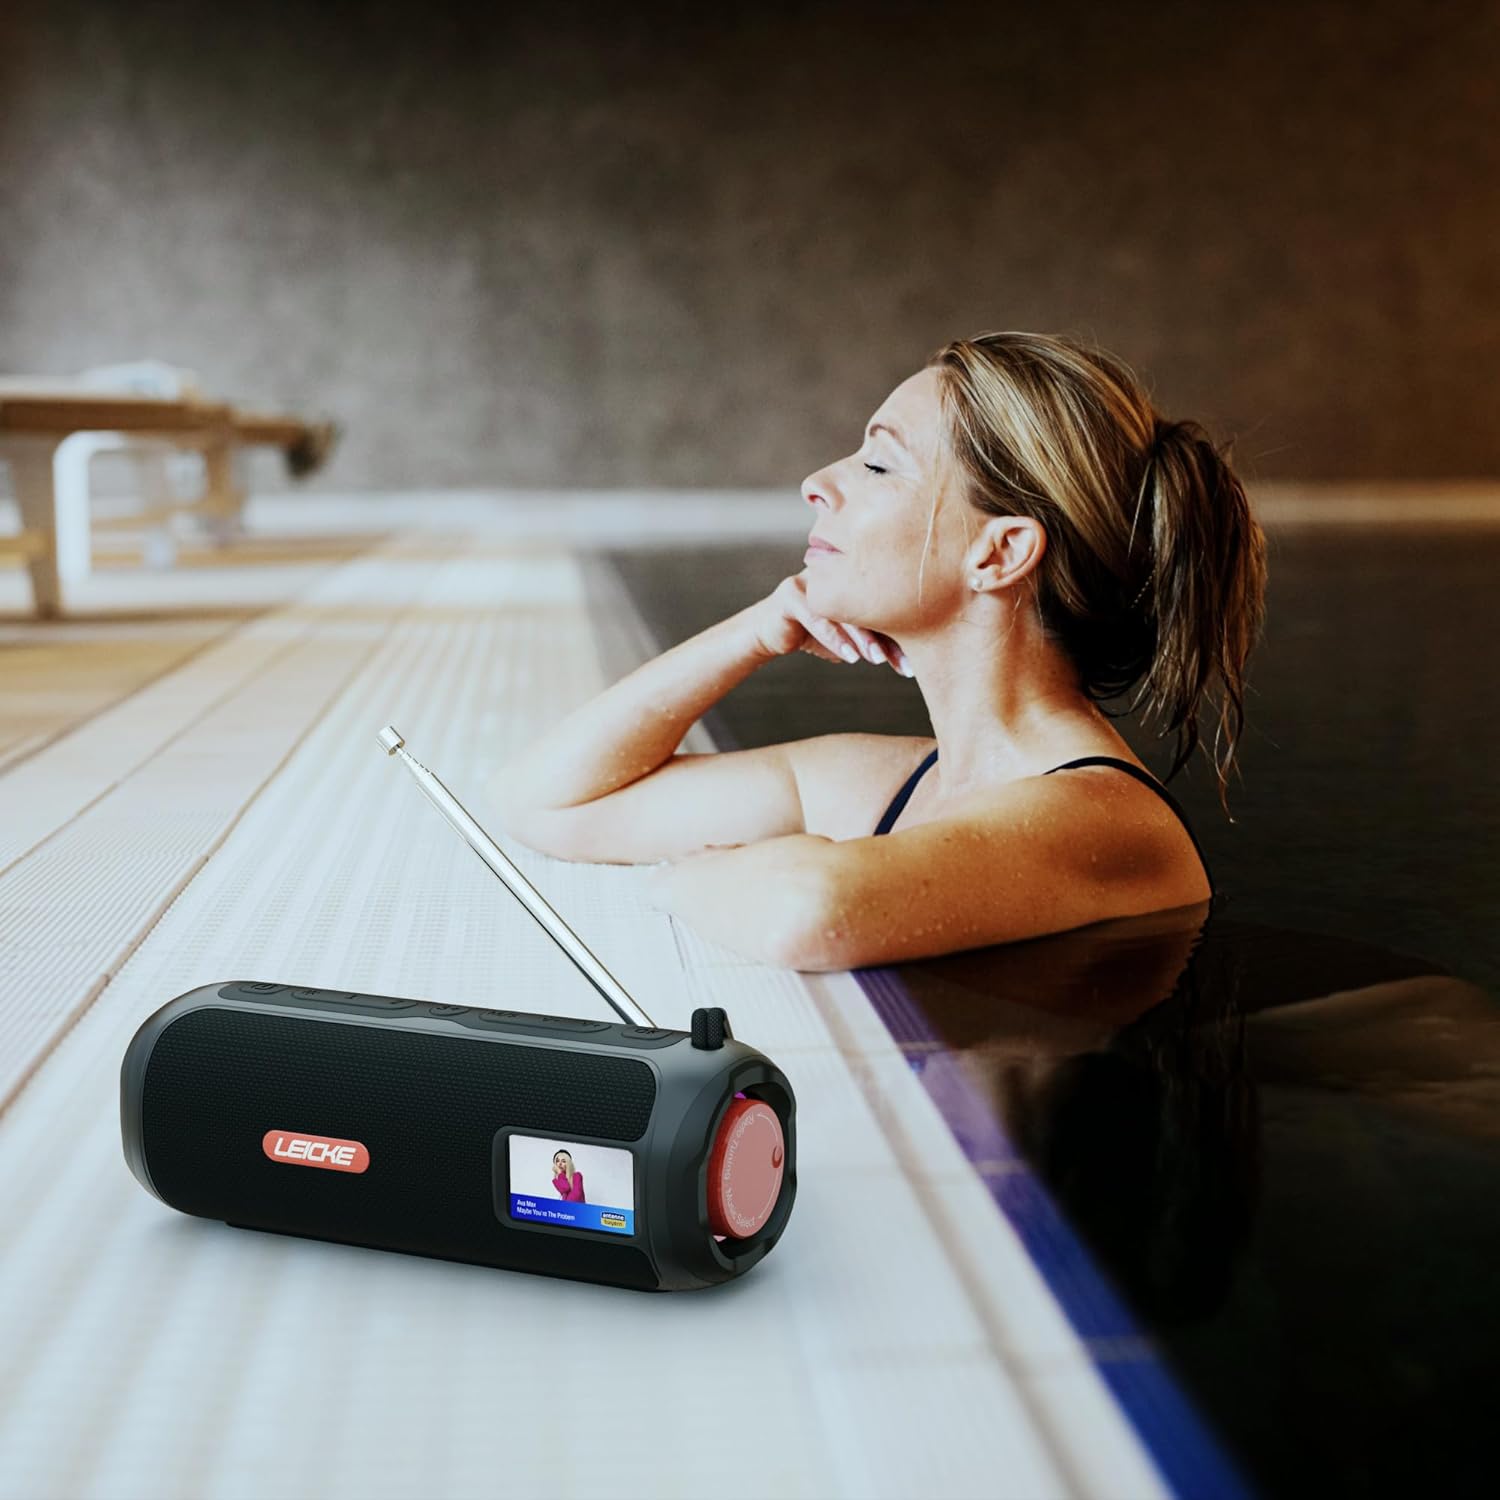
Image: The LEICKE DAB+ Radio Tube, showcasing its portable design, suitable for various environments like a poolside.
Key Features:
- Powerful Stereo Sound: Two 5W speakers deliver rich, clear audio with dynamic effects and powerful bass.
- Extended Battery Life: Integrated 4500 mAh rechargeable battery provides up to 12 hours of playtime.
- DAB+ & FM Radio: Enjoy noise-free digital DAB+ and traditional FM radio with 30 station presets.
- Atmospheric RGB Lighting: Features cool color-changing LED lights for enhanced ambiance.
- Versatile Connectivity: Bluetooth 5.3 for wireless streaming, Micro SD card slot, and 3.5 mm AUX-In.
- Convenient Charging: USB-C port for quick and easy charging.
- Additional Functions: Includes an integrated alarm clock, sleep timer, and equalizer settings.
Package Contents
Please check the package for the following items:
- LEICKE DAB+ Radio Tube (Model EP19035)
- USB-C Charging Cable
- Owner's Manual
- (Note: Specific accessories like AUX cable may vary by region or package. Please refer to your product packaging.)
Controls and Connections
Familiarize yourself with the various buttons, ports, and indicators on your LEICKE DAB+ Radio Tube.

Image: Front view of the LEICKE DAB+ Radio Tube, highlighting the display, SD card slot, AUX input, and USB-C port.

Image: Rear view of the LEICKE DAB+ Radio Tube, showing the extendable antenna, AUX port, USB-C port, and Micro SD slot.
Port Descriptions:
- Micro SD Slot: Insert a Micro SD card for playing stored audio files.
- AUX-In (3.5mm): Connect external audio devices using a 3.5mm audio cable.
- USB-C Port: Used for charging the device.
- Antenna: Extend for optimal DAB+ and FM radio reception.
(Note: Specific button functions will be detailed in the 'Operating' section.)
Setup
1. Initial Charging
- Before first use, fully charge the device.
- Connect the provided USB-C cable to the USB-C port on the speaker and the other end to a compatible USB power adapter (not included) or a computer's USB port.
- The charging indicator on the display will show the charging status. Once fully charged, the indicator will change.
2. Powering On/Off
- To Power On: Press and hold the Power button (usually marked with ⏻ or POWER) for a few seconds until the display lights up.
- To Power Off: Press and hold the Power button again for a few seconds until the display turns off.
Operating Instructions
Mode Selection
Press the MODE button to cycle through available modes: DAB+ Radio, FM Radio, Bluetooth, Micro SD, and AUX-In.
1. DAB+ Radio Operation
- Extend the antenna fully for best reception.
- Select DAB+ mode using the MODE button.
- The radio will automatically scan for available DAB+ stations on first use or if no stations are found.
- Use the PREV/NEXT buttons to navigate through the list of available stations.
- Press the ENTER/PLAY button to select a station.
- Saving Presets: While listening to a station, press and hold the PRESET button. Use PREV/NEXT to select a preset number (1-30), then press ENTER/PLAY to save.
- Recalling Presets: Briefly press the PRESET button, then use PREV/NEXT to select a saved station and press ENTER/PLAY.
2. FM Radio Operation
- Extend the antenna fully for best reception.
- Select FM mode using the MODE button.
- Auto Scan: Press and hold the PLAY/PAUSE button to automatically scan and save available FM stations.
- Manual Tuning: Briefly press PREV/NEXT to fine-tune the frequency.
- Saving Presets: Similar to DAB+ mode, press and hold PRESET to save, and briefly press to recall.
3. Bluetooth Pairing
- Select Bluetooth mode using the MODE button. The display will show "Bluetooth" and an icon will flash, indicating it's in pairing mode.
- On your smartphone, tablet, or laptop, enable Bluetooth and search for new devices.
- Select "LEICKE DAB+ Tube" from the list of available devices.
- Once paired, the speaker will emit a confirmation sound, and the Bluetooth icon on the display will stop flashing.
- You can now play audio from your connected device through the speaker.
4. Micro SD Playback
- Insert a Micro SD card (with supported audio files) into the Micro SD slot.
- Select Micro SD mode using the MODE button. The device will automatically start playing music from the card.
- Use PLAY/PAUSE to control playback, and PREV/NEXT to skip tracks.
5. AUX-In Connection
- Connect one end of a 3.5mm audio cable (not included) to the AUX-In port on the speaker.
- Connect the other end to the headphone jack or audio output of your external device.
- Select AUX-In mode using the MODE button.
- Control playback and volume from your external device.
6. Volume Control
Use the dedicated Volume Up (+) and Volume Down (-) buttons to adjust the audio level.
7. Equalizer Settings
Press the EQ button (if available) to cycle through preset equalizer modes such as Pop, Rock, Classic, Jazz, etc. There is no manual equalizer adjustment.
8. RGB LED Lights
The RGB LED lights will automatically activate when the device is powered on. There may be a dedicated button to change light modes or turn them off (refer to device specific button layout if available).
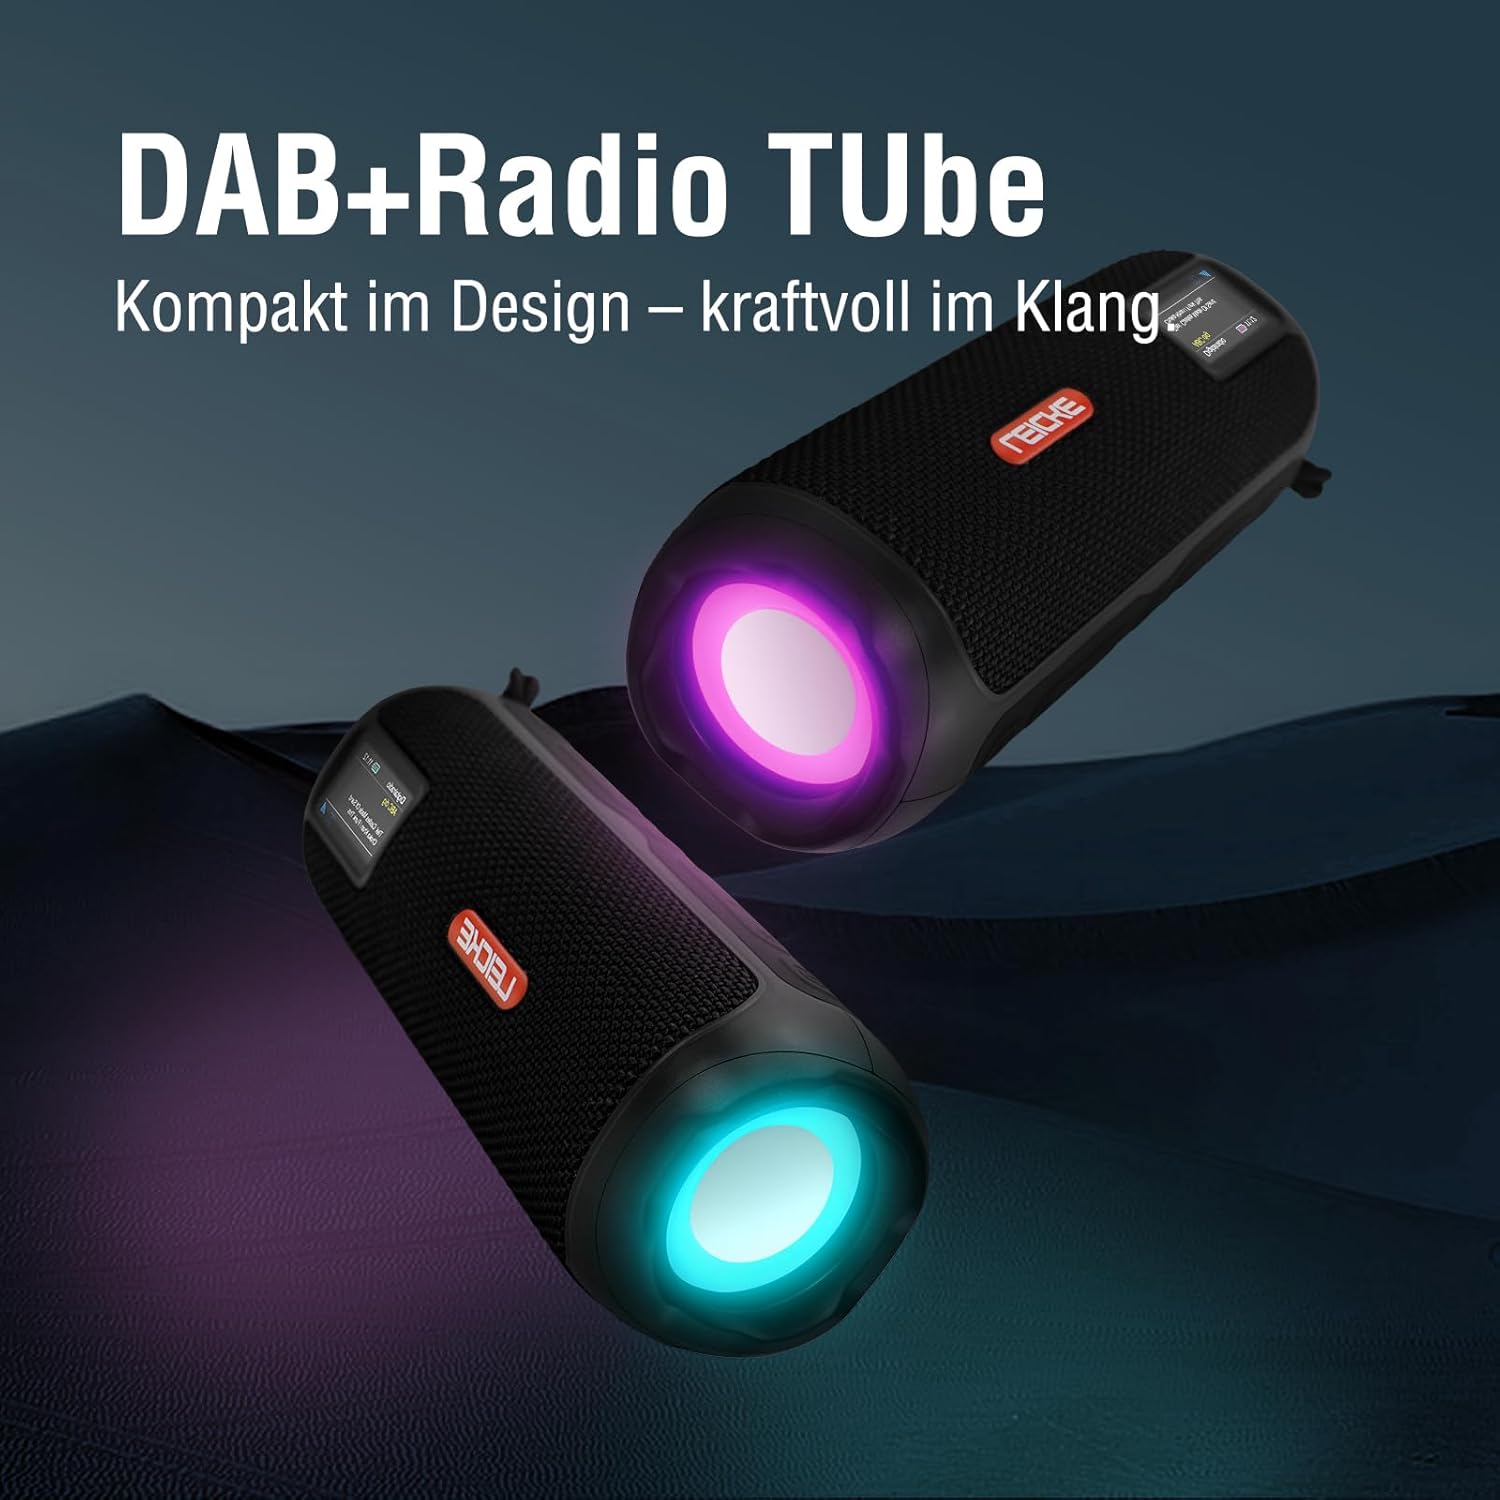
Image: Two LEICKE DAB+ Radio Tubes displaying their vibrant RGB LED lighting feature.
9. Alarm Clock and Sleep Timer
Access the menu settings (usually by pressing a MENU or SET button) to configure the alarm clock and sleep timer functions. Follow the on-screen prompts to set times and preferences.
Maintenance
Cleaning
- Ensure the device is powered off and disconnected from any power source before cleaning.
- Use a soft, dry, lint-free cloth to wipe the exterior surfaces.
- Do not use abrasive cleaners, waxes, or solvents as they may damage the finish.
- Avoid getting moisture into any openings.
Battery Care
- To prolong battery life, avoid fully discharging the battery frequently.
- Charge the device regularly, even if not in use, to maintain battery health.
- Store the device in a cool, dry place when not in use for extended periods.
Storage
- When storing the device for a long time, ensure it is charged to about 50-70% to prevent deep discharge.
- Keep the device away from extreme temperatures, direct sunlight, and high humidity.
Troubleshooting
| Problem | Possible Cause | Solution |
|---|---|---|
| Device does not power on. | Low battery; Power button not pressed correctly. | Charge the device fully. Press and hold the Power button for a few seconds. |
| No sound. | Volume too low; Incorrect mode selected; Device not paired (Bluetooth). | Increase volume. Ensure correct mode (DAB+, FM, BT, SD, AUX) is selected. Re-pair Bluetooth device. |
| Poor radio reception. | Antenna not extended; Weak signal area. | Fully extend the antenna. Try moving the device to a different location. |
| Bluetooth device won't pair. | Speaker not in pairing mode; Device too far; Already connected to another device. | Ensure speaker is in Bluetooth pairing mode. Move devices closer. Disconnect from other devices. |
| Micro SD card not recognized. | Card inserted incorrectly; Unsupported file format; Corrupted card. | Reinsert the card correctly. Ensure files are in a supported format. Try a different Micro SD card. |
Specifications
| Feature | Detail |
|---|---|
| Brand | LEICKE |
| Model Number | EP19035 |
| Tuner Technology | DAB Plus, FM |
| Connectivity | Bluetooth 5.3, Micro SD, 3.5mm AUX-In, USB-C (charging) |
| Audio Output | 10W Stereo Sound (2 x 5W speakers) |
| Battery Capacity | 4500 mAh Lithium Ion |
| Playtime | Up to 12 hours (varies with usage) |
| Special Features | RGB LED Lights, Equalizer, Alarm Clock, Sleep Timer, 30 DAB+/FM Presets |
| Power Source | Battery Operated, Wired (USB-C) |
| Product Dimensions | 3.2 x 3.2 x 12 cm; 660 g |
Warranty Information
LEICKE products are designed and manufactured to the highest quality standards. This product is covered by a standard manufacturer's warranty. Please refer to the warranty card included in your package or visit the official LEICKE website for detailed warranty terms and conditions specific to your region.
Keep your purchase receipt as proof of purchase for any warranty claims.
Customer Support
If you encounter any issues or have questions regarding your LEICKE DAB+ Radio Tube that are not covered in this manual, please contact LEICKE customer support.
- Online Support: Visit the official LEICKE website for FAQs, support resources, and contact forms.
- Email Support: Refer to your product packaging or the LEICKE website for the appropriate support email address.
Please have your product model number (EP19035) and purchase details ready when contacting support.


