
1. Introduction
Thank you for purchasing the HOMCOM Bamboo Shoe Cabinet. This manual provides essential information for the safe assembly, operation, and maintenance of your new furniture. Please read it thoroughly before use and retain it for future reference.
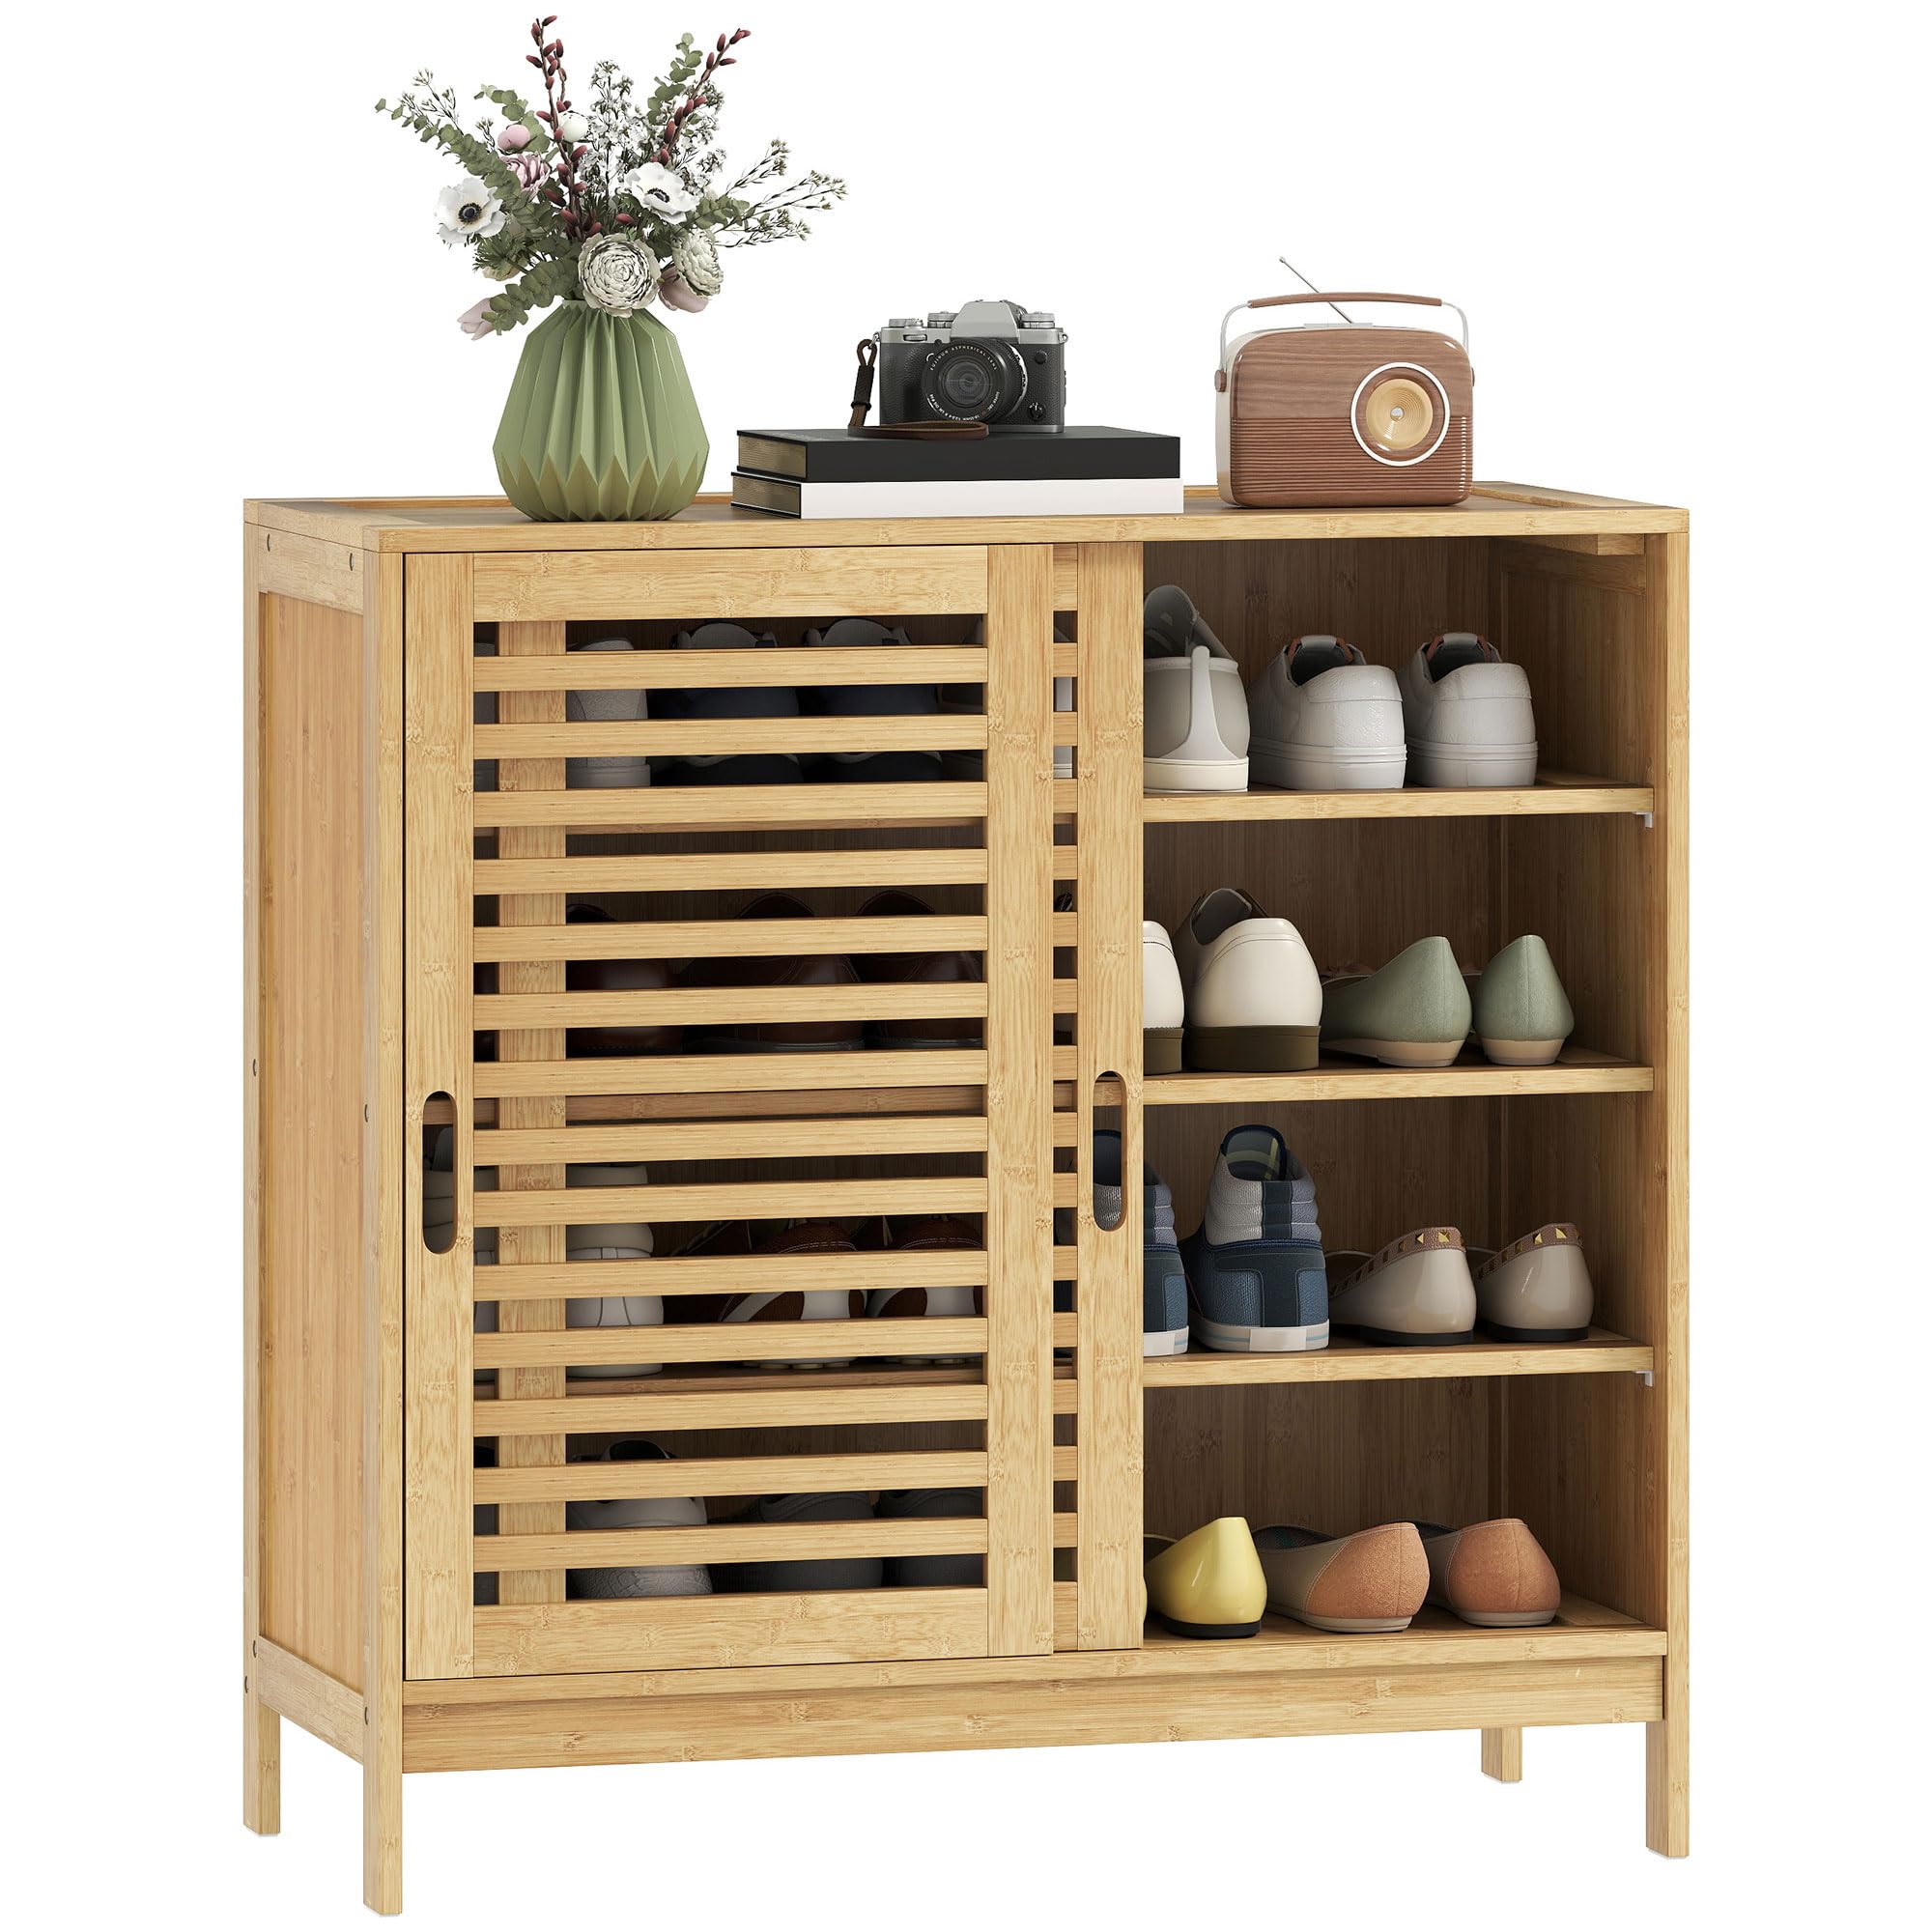
Figure 1: Fully assembled HOMCOM Bamboo Shoe Cabinet.
2. Safety Information
For your safety and to prevent damage to the product, please observe the following:
- Anti-tip Device: Always install the provided anti-tip hardware to secure the cabinet to the wall. This prevents accidental tipping, especially in households with children or pets.
- Weight Capacity: Do not exceed the maximum weight capacity of 50 kg (110 lbs) for the entire unit. Distribute weight evenly across shelves.
- Assembly: Follow all assembly instructions carefully. Ensure all screws and fasteners are securely tightened before use.
- Placement: Place the cabinet on a flat, stable surface. Avoid placing it in areas with high humidity or direct sunlight to prevent material degradation.

Figure 2: Proper installation of anti-tip hardware for stability.
3. Package Contents
Before assembly, verify that all components are present and undamaged. Refer to the included assembly diagram for a complete list of parts.
- Bamboo frame components
- 2 Slatted sliding doors
- 4 Adjustable shelves
- Assembly hardware (screws, dowels, etc.)
- Anti-tip hardware
- Instruction manual
4. Specifications
| Feature | Detail |
|---|---|
| Brand | HOMCOM |
| Model Number | 837-656V00ND |
| Material | Bamboo, Engineered Wood (MDF) |
| Color | Natural Wood |
| Overall Dimensions (W x D x H) | 80 x 35 x 80 cm (31.5 x 13.8 x 31.5 inches) |
| Number of Shelves | 4 (2 adjustable) |
| Number of Doors | 2 (Sliding) |
| Max. Shoe Capacity | Up to 16 pairs (max. EU size 42-43) |
| Max. Load Capacity | 50 kg (110 lbs) |
| Special Features | Anti-tip, Adjustable Shelves, Moisture Resistant, Ventilated Doors |

Figure 3: Product dimensions and weight capacity.
5. Setup and Assembly
Assembly is required for this product. Please follow the step-by-step instructions provided in the separate assembly diagram included in your package. Ensure you have all necessary tools (typically a screwdriver) before you begin.
- Unpack: Carefully unpack all components and lay them out on a clean, soft surface to prevent scratches.
- Identify Parts: Match each part to the corresponding labels in the assembly diagram.
- Assemble Frame: Begin by assembling the main frame of the cabinet according to the diagram. Do not overtighten screws initially.
- Install Shelves: Insert the shelves into the designated slots. The two central shelves are adjustable; choose your desired height before securing them.
- Attach Doors: Install the sliding doors into their tracks. Ensure they slide smoothly.
- Final Tightening: Once all parts are in place and aligned, gently tighten all screws.
- Install Anti-tip Device: Secure the anti-tip hardware to the back of the cabinet and to a wall stud using appropriate wall anchors (not always included, depending on wall type).

Figure 4: Adjustable shelves for varied shoe sizes.
6. Operating Instructions
This shoe cabinet is designed for convenient and organized shoe storage.
- Sliding Doors: The cabinet features two slatted sliding doors. Gently push or pull the doors along their tracks to open and close. The slatted design promotes air circulation, helping to prevent odors.
- Adjustable Shelves: The two middle shelves can be adjusted to accommodate different shoe heights, from slippers to boots. To adjust, remove the shelf, reposition the support pins to the desired height, and reinsert the shelf.
- Capacity: The cabinet can store up to 16 pairs of shoes, depending on their size and style. Utilize the adjustable shelves to maximize space for various footwear.

Figure 5: Easy access with sliding doors.

Figure 6: Ventilated design for odor prevention.

Figure 7: Four levels for diverse shoe storage.
7. Maintenance
Proper care will extend the life and appearance of your shoe cabinet.
- Cleaning: Wipe the surfaces with a soft, damp cloth. Avoid abrasive cleaners or harsh chemicals, which can damage the bamboo and MDF finish.
- Dusting: Regularly dust the cabinet to prevent buildup.
- Moisture: While the product is moisture-resistant, avoid prolonged exposure to excessive moisture or spills. Wipe up any liquids immediately.
- Inspection: Periodically check all screws and fasteners to ensure they remain tight. Retighten if necessary.
8. Troubleshooting
If you encounter any issues with your shoe cabinet, refer to the following common solutions:
- Cabinet feels wobbly: Ensure all assembly screws are fully tightened. Verify that the cabinet is placed on a level surface. Re-check the anti-tip device installation.
- Doors do not slide smoothly: Check the door tracks for any obstructions or debris. Ensure the doors are correctly seated in their tracks. If recently assembled, verify that the frame is square and not twisted.
- Shelves are not level: Ensure the shelf support pins are fully inserted into the corresponding holes on both sides.
- Unpleasant odor: The slatted design helps with ventilation. Ensure the cabinet is not overfilled, allowing air to circulate. Occasionally air out the cabinet by leaving the doors open.
9. Warranty and Support
For any questions, missing parts, or concerns regarding your HOMCOM Bamboo Shoe Cabinet, please contact the retailer or HOMCOM customer service directly. Please have your model number (837-656V00ND) and purchase information ready when contacting support.


