
1. Setup
This section guides you through the initial setup of your ZZA 32-inch Curved Gaming Monitor.
1.1 Unboxing and Component Check
Carefully remove all components from the packaging. Ensure all items listed in the packing list are present. Keep the packaging for future transport or service needs.
1.2 Stand Assembly
To assemble the monitor stand:
- Place the monitor face down on a soft, clean surface to prevent scratches.
- Attach the stand neck to the monitor's rear panel.
- Secure the stand base to the stand neck using the provided screws.
- Ensure all connections are firm before placing the monitor upright.
Video: This video demonstrates the assembly process for the ZZA 32-inch Gaming Monitor stand. It shows how to attach the stand components to the monitor and secure them with screws.
1.3 VESA Mounting (Optional)
The monitor supports VESA mounts (100mm x 100mm). If you are using a VESA mount, remove the pre-attached stand (if any) and follow the instructions provided with your VESA mounting kit.
1.4 Connecting Cables
Connect the necessary cables to your monitor and computer/device. The monitor features DisplayPort 1.4 and HDMI 2.0 ports.
- Power Cable: Connect the power adapter to the DC IN 12V port on the monitor and then to a power outlet.
- DisplayPort (DP): For optimal performance, connect a DisplayPort cable from your computer's graphics card to one of the DP ports on the monitor. This supports up to 240Hz refresh rate.
- HDMI: Connect an HDMI cable from your computer or other devices to one of the HDMI ports on the monitor. HDMI 2.0 supports up to 120Hz refresh rate.
- Audio Out: Connect external speakers or headphones to the Audio Out port if desired.

Image: Rear view of the ZZA monitor displaying its various input ports, including DC IN 12V for power, two HDMI ports (up to 120Hz), two DisplayPort ports (up to 240Hz), and an Audio Out port.
2. Operating Instructions
This section provides instructions for operating your ZZA monitor.
2.1 Power On/Off
Press the power button, usually located on the back or bottom right of the monitor, to turn the monitor on or off. The power indicator light will illuminate when the monitor is on.
2.2 Adjusting Display Settings
Use the OSD (On-Screen Display) menu to adjust various settings. The OSD menu is typically navigated using buttons or a joystick on the back or bottom of the monitor.
- Refresh Rate: The monitor supports up to 240Hz. Ensure your graphics card and connection type (DisplayPort recommended) support this refresh rate. Adjust in your operating system's display settings.
- Resolution: The native resolution is FHD (1920x1080P). Set your computer's display resolution to match for the best image quality.
- HDR: Enable High Dynamic Range (HDR) in the OSD menu and your operating system for enhanced contrast and color.
- FreeSync: This monitor features AMD FreeSync technology to eliminate screen tearing and stuttering. Enable FreeSync in the OSD menu and in your AMD graphics card settings.
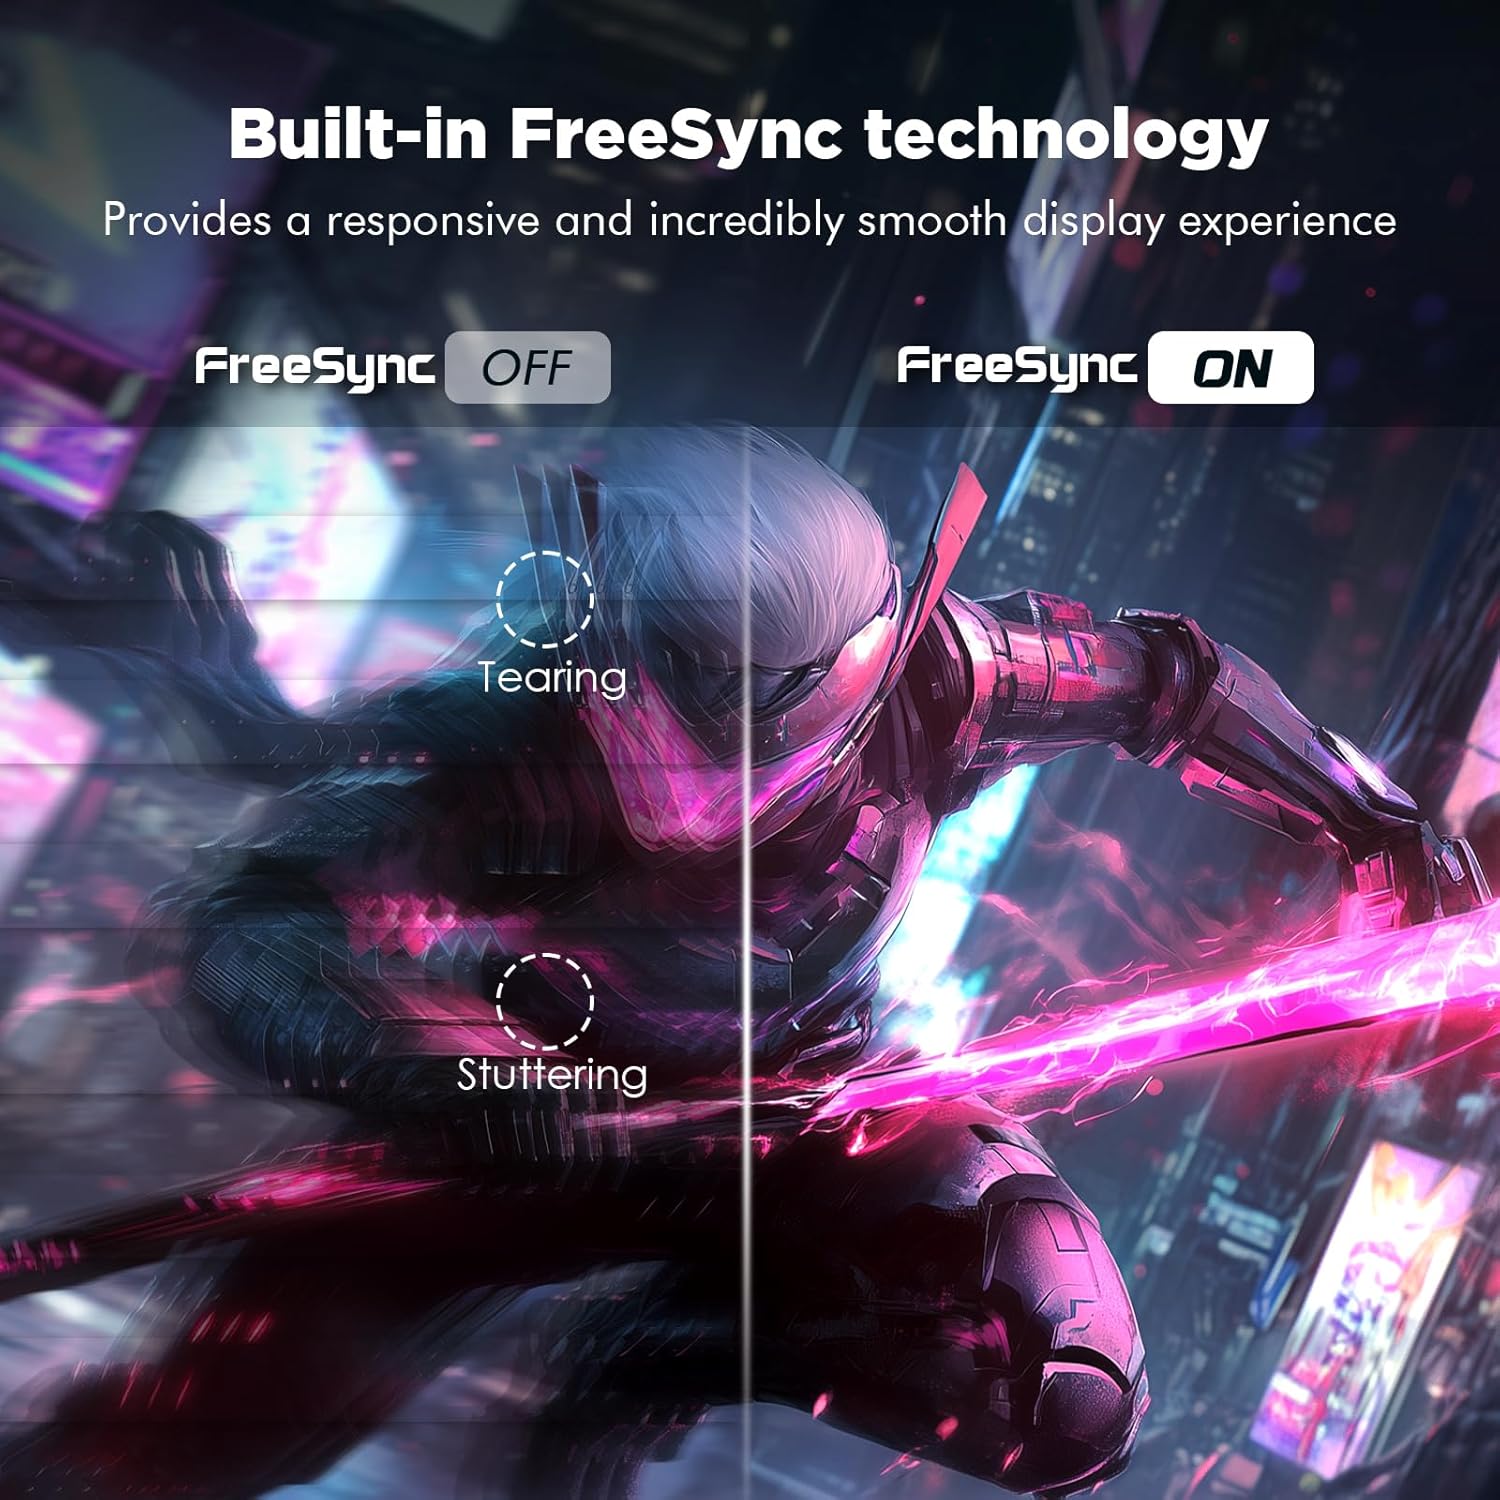
Image: A visual comparison illustrating the effect of AMD FreeSync technology. The left side shows screen tearing and stuttering when FreeSync is off, while the right side displays a smooth image with FreeSync enabled.
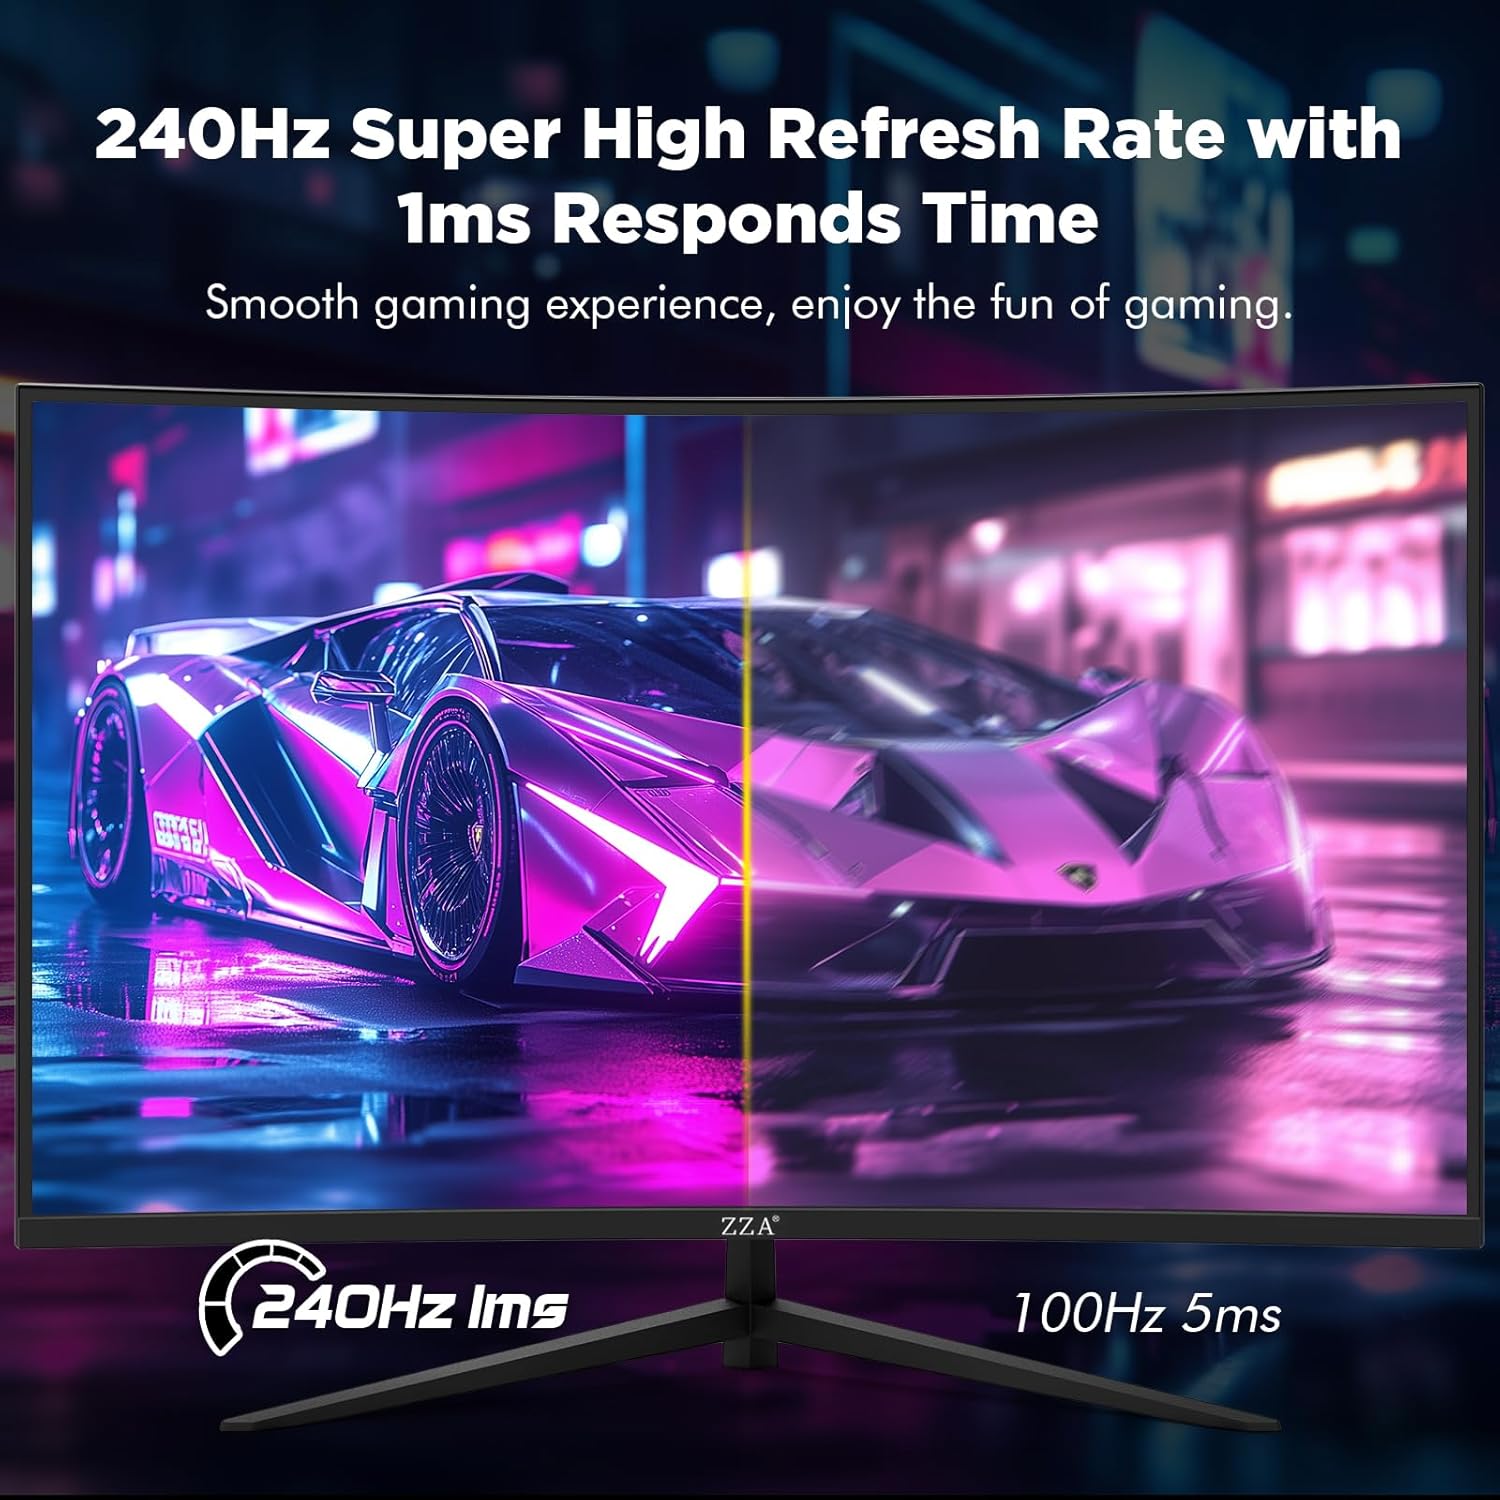
Image: A split image on the ZZA monitor demonstrating the difference between 240Hz refresh rate with 1ms response time (left) and 100Hz with 5ms (right), emphasizing the smoother gaming experience provided by higher refresh rates and lower response times.
2.3 Tilt Adjustment
The monitor supports a screen angle adjustment from -5° to 15°. Gently tilt the monitor panel to achieve your desired viewing angle for optimal comfort and reduced eye strain.
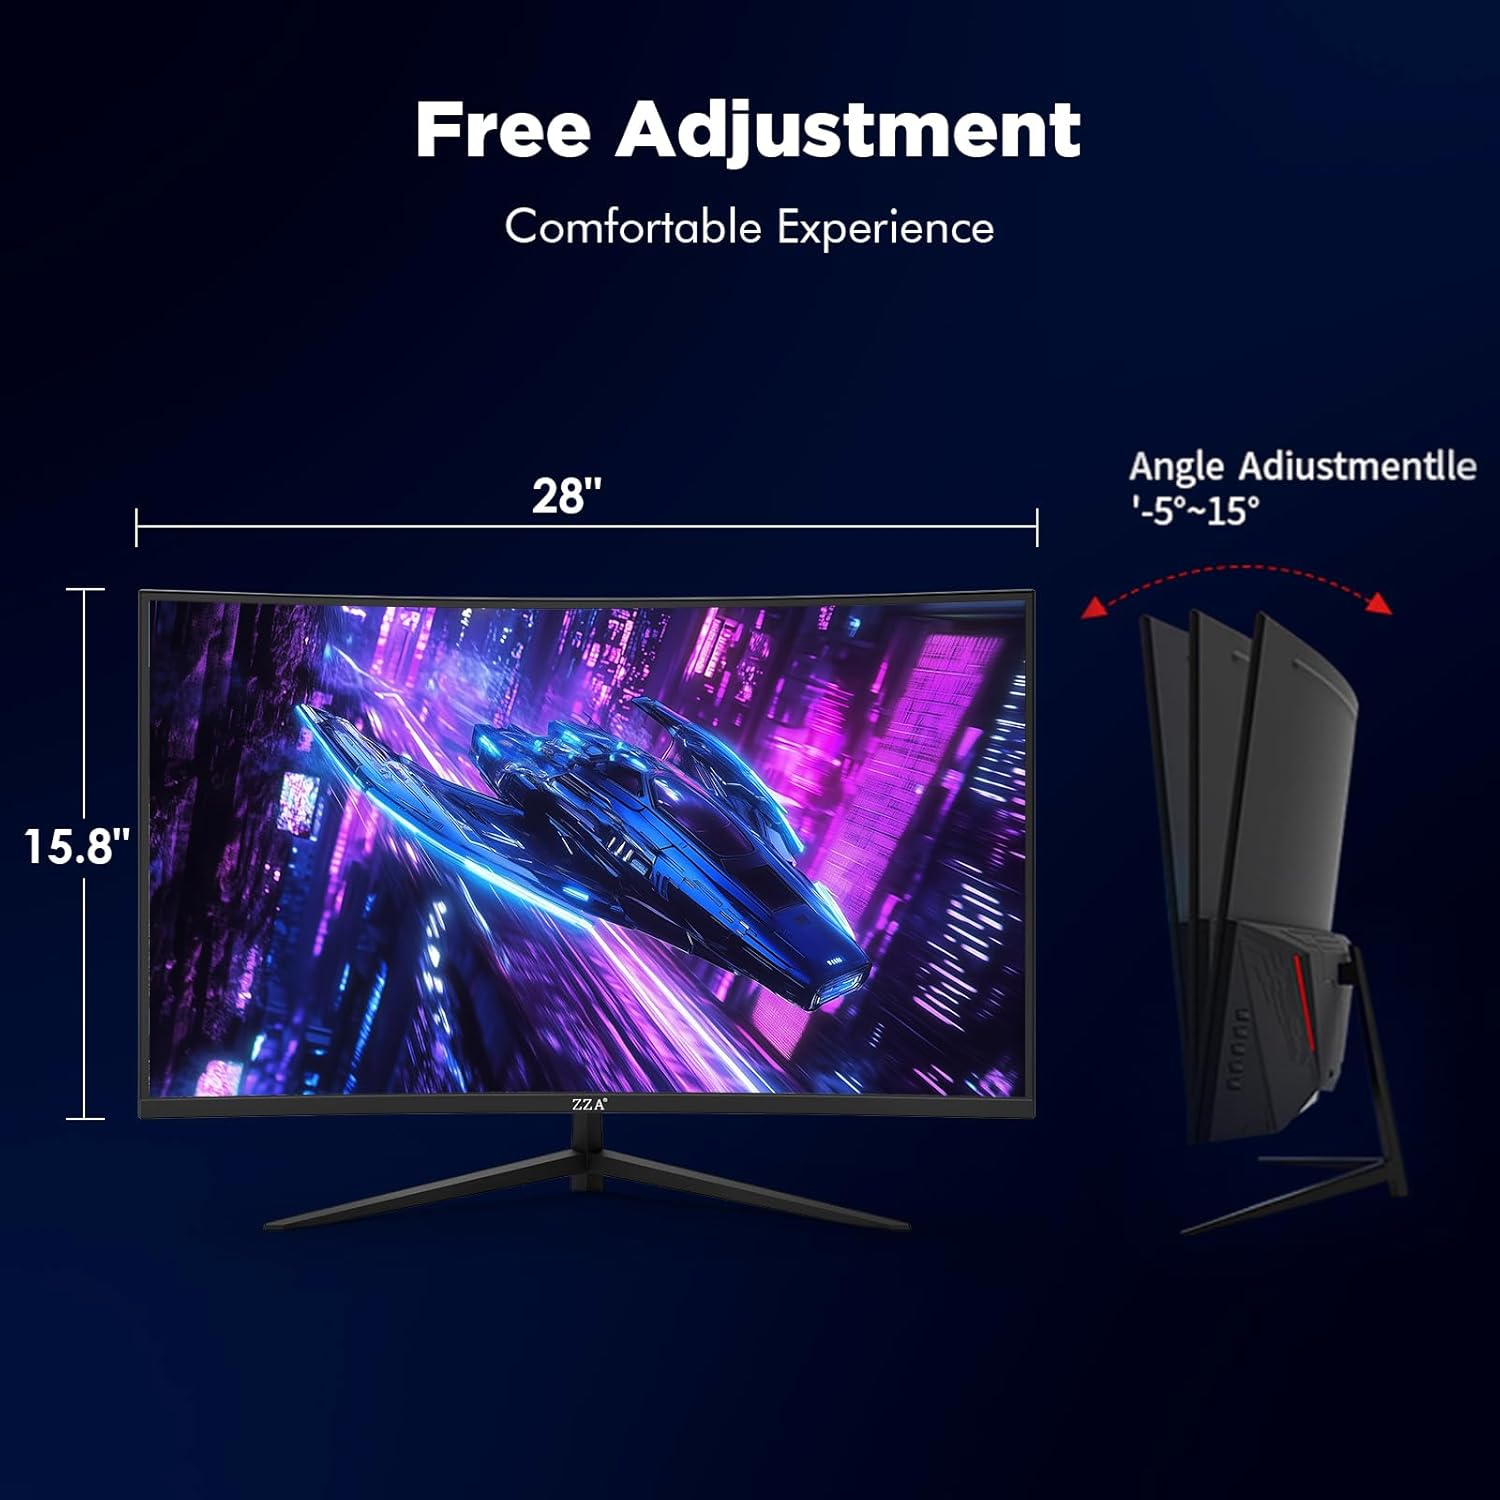
Image: A diagram illustrating the tilt adjustment capability of the ZZA monitor, showing its ability to tilt from -5 degrees forward to 15 degrees backward for ergonomic viewing.
3. Maintenance
Proper maintenance ensures the longevity and optimal performance of your monitor.
3.1 Cleaning the Screen
- Always turn off the monitor and unplug the power cord before cleaning.
- Use a soft, lint-free cloth slightly dampened with water or a specialized screen cleaner.
- Do not spray cleaner directly onto the screen.
- Avoid using abrasive cleaners, alcohol, or ammonia-based solutions, as these can damage the screen surface.
3.2 Cleaning the Monitor Casing
Wipe the monitor casing with a soft, dry cloth. For stubborn marks, use a slightly damp cloth and then dry thoroughly.
3.3 Storage
If storing the monitor for an extended period, use the original packaging to protect it from dust and physical damage. Store in a cool, dry place.
4. Troubleshooting
Refer to this section for solutions to common issues you might encounter with your ZZA monitor.
4.1 No Power
- Ensure the power cable is securely connected to both the monitor and the power outlet.
- Verify the power outlet is functioning by plugging in another device.
- Check if the power adapter is correctly connected to the monitor's DC IN 12V port.
4.2 No Signal / Blank Screen
- Confirm that the video cable (DisplayPort or HDMI) is securely connected to both the monitor and your computer's graphics card.
- Ensure the correct input source is selected on the monitor's OSD menu.
- Try connecting the monitor to a different video output port on your computer or a different device to rule out a source issue.
- Restart your computer.
4.3 Flickering or Distorted Image
- Check the video cable for damage or loose connections. Try a different cable if available.
- Adjust the refresh rate in your computer's display settings to a lower value to see if the issue persists.
- Ensure your graphics card drivers are up to date.
- Disable FreeSync in the OSD menu and graphics card settings to see if it resolves the issue.
4.4 Image Too Dark or Bright
- Adjust the brightness and contrast settings through the monitor's OSD menu.
- Check if HDR is enabled or disabled, and adjust accordingly based on your content.
5. Specifications
Detailed technical specifications for the ZZA 32-inch Curved Gaming Monitor (Model Z32D).
| Feature | Detail |
|---|---|
| Brand | ZZA |
| Model Number | Z32D |
| Screen Size | 32 Inches |
| Resolution | FHD 1920x1080P |
| Curvature | 1500R |
| Refresh Rate | 240 Hz |
| Response Time | 1 Millisecond (MPRT) |
| Display Technology | LED, VA Panel |
| Aspect Ratio | 16:9 |
| Contrast Ratio | 4000:1 |
| Viewing Angle | 178 Degrees |
| Color Gamut | 100% sRGB |
| Connectivity | 2x HDMI 2.0, 2x DisplayPort 1.4, Audio Out |
| Adaptive Sync | AMD FreeSync Premium |
| HDR Support | Yes |
| VESA Compatibility | 100mm x 100mm |
| Tilt Adjustment | -5° to 15° |
| Additional Features | Eye Care, Frameless Design |
| Item Dimensions (D x W x H) | 28"D x 7"W x 19.6"H |
6. Warranty & Support
Information regarding your product's warranty and how to obtain technical support.
6.1 Product Warranty
The ZZA 32-inch Curved Gaming Monitor (Model Z32D) comes with a 1-year manufacturer warranty from the date of purchase. This warranty covers defects in materials and workmanship under normal use. Please retain your proof of purchase for warranty claims.
6.2 Technical Support
For technical assistance, troubleshooting, or warranty inquiries, please contact ZZA customer support:
- Email: zza-direct@outlook.com
- Please provide your monitor model number (Z32D) and a detailed description of the issue when contacting support.