1. Product Overview
This manual provides essential instructions for the installation, operation, maintenance, and troubleshooting of your new Generic Carburetor Assembly, designed for use with Homelite Powerstroke PS3000 Generators. This carburetor (Part# 309369001) is a direct replacement part intended to restore optimal fuel delivery and engine performance.
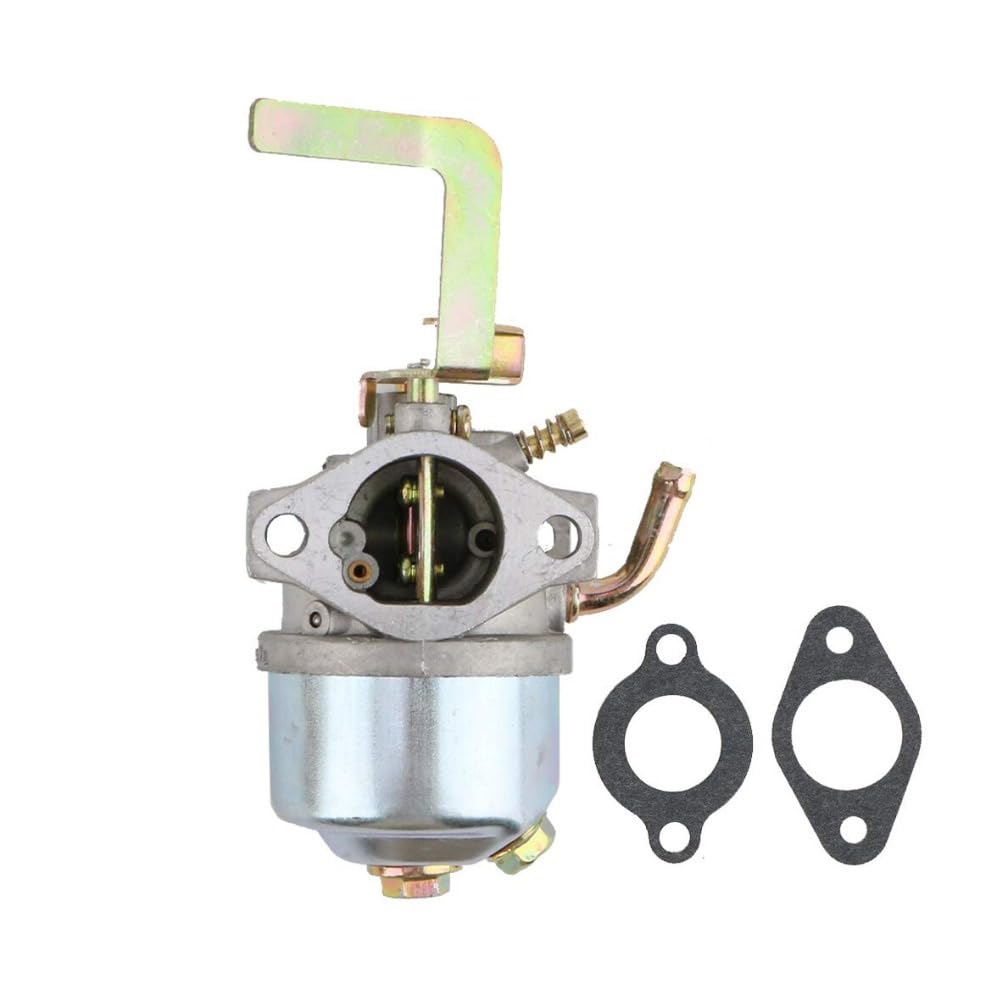
Image 1.1: Generic Carburetor Assembly. This image displays the complete carburetor unit, including the main body, fuel inlet, and various adjustment screws.
2. Safety Information
Always prioritize safety when working with fuel systems and power equipment. Failure to follow these safety guidelines may result in serious injury or property damage.
- Read the Generator Manual: Always consult your Homelite Powerstroke PS3000 Generator's original instruction manual for specific safety procedures and warnings.
- Fuel Handling: Gasoline is highly flammable. Work in a well-ventilated area, away from open flames, sparks, or heat sources. Do not smoke.
- Engine Off and Cool: Ensure the generator engine is completely off and cool before attempting any installation or maintenance. Disconnect the spark plug wire to prevent accidental starting.
- Eye Protection: Always wear appropriate eye protection (safety glasses or goggles) to shield against fuel splashes or debris.
- Gloves: Wear fuel-resistant gloves to protect your hands from gasoline and other chemicals.
- Ventilation: Ensure adequate ventilation to prevent the buildup of fuel vapors.
- Spill Containment: Have rags and a suitable container ready to catch any spilled fuel. Dispose of fuel and contaminated materials properly.
- Professional Assistance: If you are unsure about any step, consult a qualified service technician.
3. Package Contents
Carefully unpack the box and verify that all items are present and undamaged. If any parts are missing or damaged, contact your retailer immediately.
- 1 x Carburetor Assembly (Part# 309369001)
- (Additional gaskets or accessories may be included as shown in product pictures)
Note: The package contains everything shown in the product pictures. Please refer to the product listing for a visual representation of all included components.
4. Installation (Setup)
This section outlines the general steps for replacing the carburetor on a Homelite Powerstroke PS3000 Generator. Specific steps may vary slightly depending on your generator's configuration. Always refer to your generator's service manual for detailed instructions.
- Prepare the Generator:
- Ensure the generator is turned off and the engine is cool.
- Disconnect the spark plug wire to prevent accidental starting.
- Turn off the fuel supply valve (if equipped) and drain the fuel tank into an approved container.
- Place absorbent rags around the carburetor area to catch any residual fuel.
- Remove Air Filter Assembly:
- Locate and remove the air filter cover and air filter element.
- Unbolt and remove the air filter housing from the carburetor.
- Disconnect Fuel Line and Linkages:
- Carefully disconnect the fuel line from the carburetor. Be prepared for some fuel spillage.
- Note the routing and connection points of all throttle and choke linkages. Disconnect them from the old carburetor. Taking pictures can be helpful.
- Remove Old Carburetor:
- Unbolt the carburetor from the engine intake manifold. There may be one or two mounting bolts.
- Carefully remove the old carburetor, ensuring any gaskets are also removed.
- Install New Carburetor:
- Ensure the mating surfaces on the engine and air filter housing are clean and free of old gasket material.
- Install new gaskets (if provided) on both sides of the carburetor.
- Position the new carburetor assembly onto the engine intake manifold.
- Secure the carburetor with the mounting bolts, tightening them evenly to the manufacturer's specifications (refer to generator manual).
- Reconnect Fuel Line and Linkages:
- Reconnect the fuel line securely to the new carburetor.
- Reattach all throttle and choke linkages to their correct positions. Double-check for free movement.
- Reinstall Air Filter Assembly:
- Reattach the air filter housing, ensuring a tight seal.
- Install a clean air filter element and replace the air filter cover.
- Final Checks:
- Refill the fuel tank with fresh, appropriate fuel.
- Open the fuel supply valve.
- Check for any fuel leaks around the carburetor and fuel lines.
- Reconnect the spark plug wire.
5. Operating Instructions (After Installation)
After successful installation of the new carburetor, follow these general steps to start and operate your generator. Always refer to your Homelite Powerstroke PS3000 Generator's owner's manual for specific starting procedures.
- Prime the Carburetor (if applicable): Some carburetors have a primer bulb. If yours does, press it several times until fuel is visible in the fuel line or bulb.
- Set Choke: Move the choke lever to the "CHOKE" or "START" position, especially if the engine is cold.
- Set Throttle: Set the throttle to the "FAST" or "RUN" position.
- Start Engine: Pull the recoil starter handle firmly and smoothly until the engine starts. Do not let the rope snap back.
- Adjust Choke: Once the engine starts and runs smoothly, gradually move the choke lever to the "RUN" or "OPEN" position. If the engine falters, move the choke back slightly until it runs smoothly, then slowly open it again.
- Warm-up: Allow the engine to warm up for a few minutes before applying a load.
- Shut Down: To stop the engine, turn off the ignition switch and close the fuel valve.
6. Maintenance
Proper maintenance ensures the longevity and reliable performance of your carburetor. Regular checks and cleaning are recommended.
- Fuel Quality: Always use fresh, clean, unleaded gasoline. Stale fuel can cause deposits and clog carburetor passages. Consider using a fuel stabilizer if the generator will be stored for extended periods.
- Fuel Filter: Regularly inspect and replace the fuel filter (if equipped) to prevent contaminants from reaching the carburetor.
- Air Filter: Keep the air filter clean. A dirty air filter restricts airflow, leading to a rich fuel mixture and poor engine performance. Clean or replace as recommended by your generator's manual.
- Storage: Before long-term storage, run the engine until it runs out of fuel, or drain the fuel system completely to prevent gum and varnish buildup in the carburetor.
- Cleaning: If the carburetor becomes clogged, it may require disassembly and cleaning with a carburetor cleaner. This should only be performed by individuals with appropriate mechanical knowledge.
7. Troubleshooting
This section provides solutions to common issues you might encounter after installing your new carburetor. For more complex problems, consult a qualified technician.
| Problem | Possible Cause | Solution |
|---|---|---|
| Engine will not start | No fuel, clogged fuel line/filter, incorrect choke setting, spark plug issue, air leak. | Check fuel level, inspect fuel line/filter, adjust choke, check spark plug, ensure carburetor is seated correctly with new gaskets. |
| Engine starts then dies | Fuel starvation, improper idle mixture, air leak, clogged jet. | Ensure fuel flow, check for air leaks around carburetor, clean carburetor jets if necessary. |
| Engine runs rough/surges | Dirty air filter, clogged fuel filter, incorrect fuel mixture, vacuum leak. | Clean/replace air filter, replace fuel filter, check for vacuum leaks, adjust idle mixture screw (if adjustable). |
| Fuel leaks from carburetor | Loose connections, damaged gaskets, stuck float, faulty fuel line. | Tighten connections, replace gaskets, inspect float and needle valve, replace damaged fuel lines. |
8. Specifications
The following specifications pertain to the Generic Carburetor Assembly (Part# 309369001).
- Brand: Generic
- Model Compatibility: Homelite Powerstroke PS3000 Generator
- Part Number: 309369001
- Material: Aluminum (Exterior)
- Item Weight: Approximately 1 pound
- Package Dimensions: Approximately 1 x 1 x 1 inches
9. Warranty and Support
For information regarding warranty coverage, returns, or technical support, please refer to the retailer or seller from whom you purchased this product. Keep your purchase receipt as proof of purchase.
Note: This product is a replacement part. Any warranty claims or support requests should be directed to the seller.


