
Introduction
The Insignia USB Dual Hard Drive Docking Station provides a convenient and efficient solution for connecting 2.5-inch and 3.5-inch SATA hard drives (HDDs) and solid-state drives (SSDs) to your computer. This docking station supports high-speed data transfer and offers plug-and-play functionality, making it ideal for data recovery, backups, and expanding storage capacity.
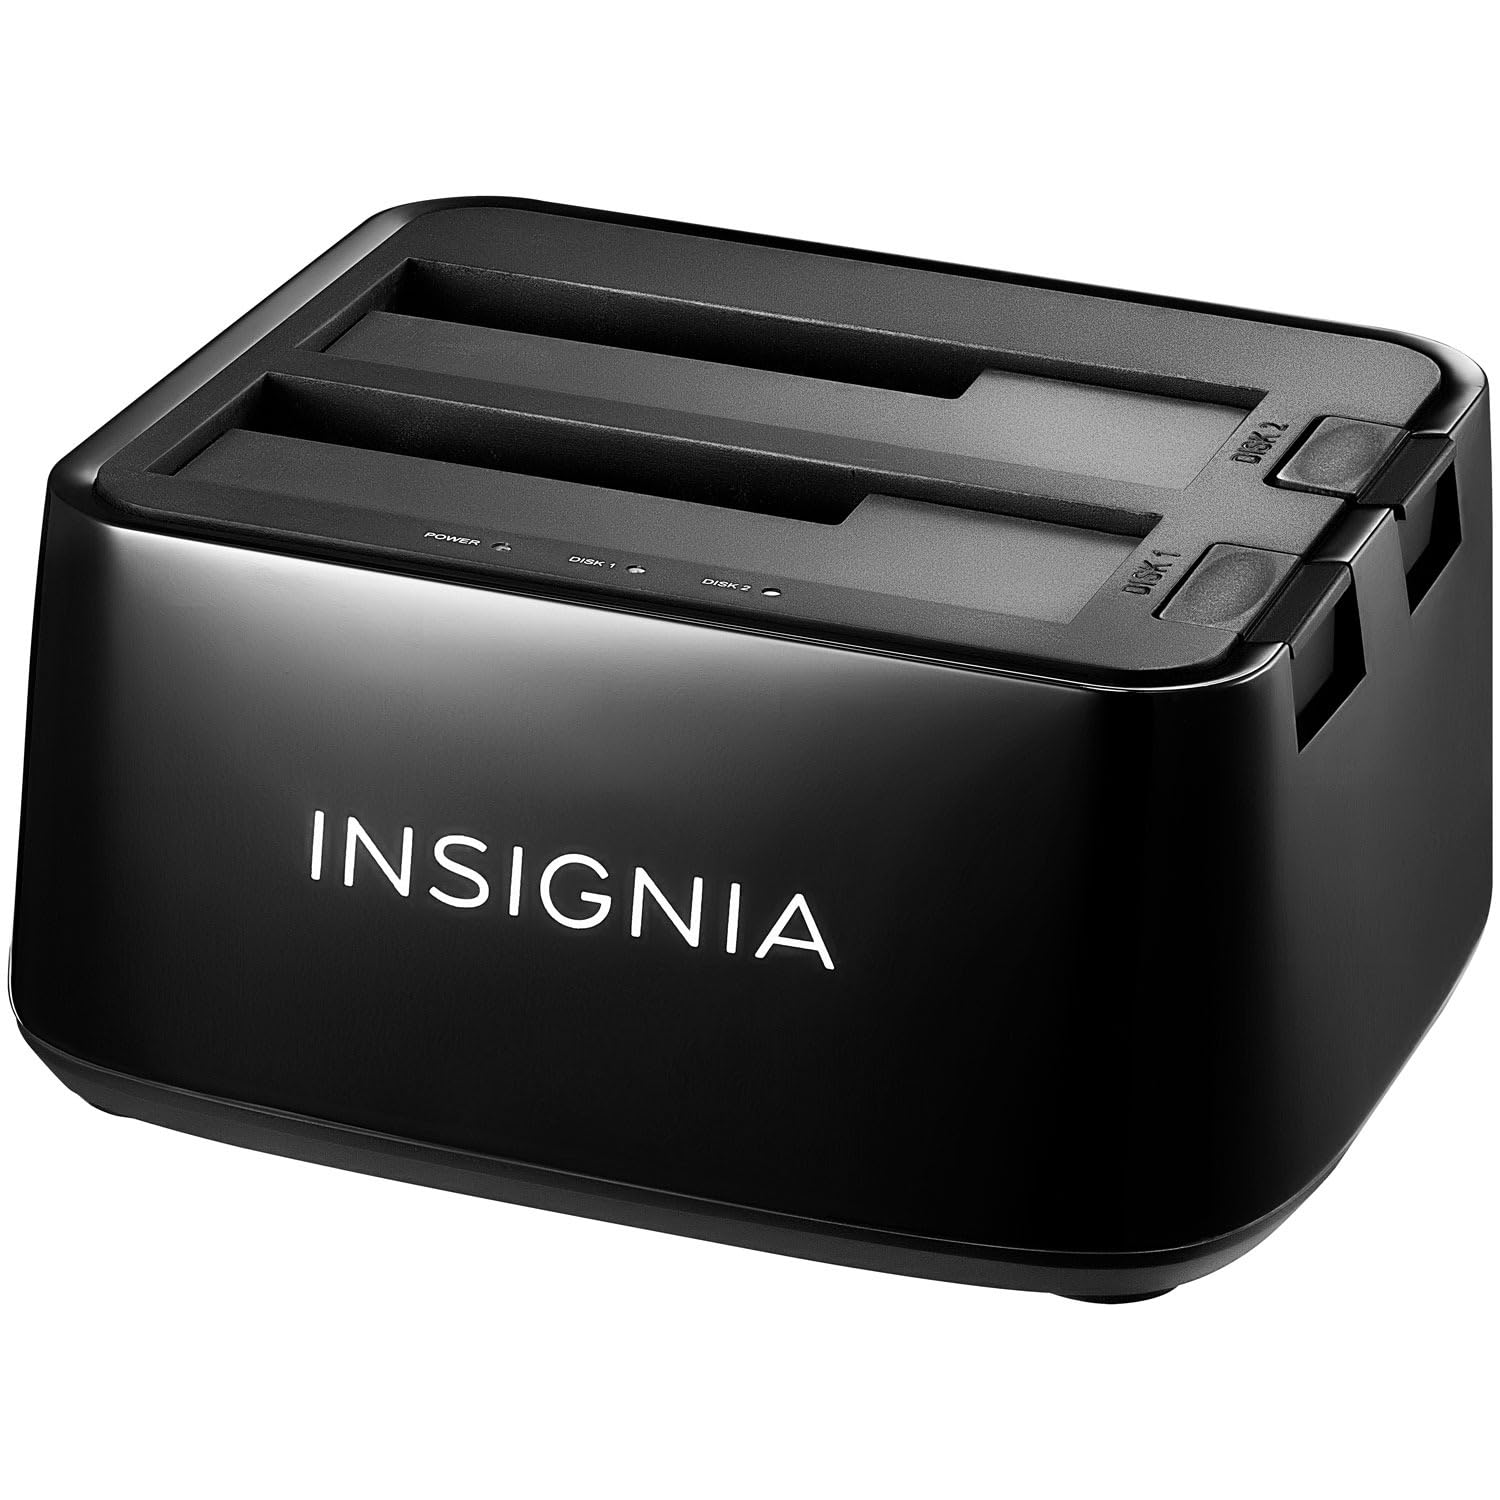
Image: Front view of the Insignia USB Dual Hard Drive Docking Station packaging, showing the product and its compatibility with 2.5" and 3.5" SATA drives.
Package Contents
Please verify that all items are present in your package:
- Insignia USB Dual Hard Drive Docking Station
- Power Adapter (12V/3A)
- USB 3.0 Cable
- Quick Setup Guide
Product Features
- Versatile Compatibility: Supports both 2.5-inch and 3.5-inch SATA I/II/III HDDs and SSDs. Compatible with Windows 11, 10, macOS, ChromeOS, iPadOS, and Android systems.
- High-Speed Performance: Utilizes USB 3.0 technology for data transfer speeds up to 5 Gbps.
- Dual Bay Design: Allows simultaneous access to two hard drives.
- Plug & Play Simplicity: No drivers required for installation.
- Hot-Swappable: Drives can be inserted and removed without restarting the computer.
- LED Indicators: Provides visual feedback for power and data activity.
- Durable Construction: Crafted with robust plastic materials for long-lasting use.
Setup
Follow these steps to set up your Insignia USB Dual Hard Drive Docking Station:
- Connect Power: Plug the included 12V/3A power adapter into the DC IN port on the back of the docking station, then plug the adapter into a power outlet.
- Insert Hard Drives: Gently slide your 2.5-inch or 3.5-inch SATA HDD/SSD into an available drive bay (Disk 1 or Disk 2) until it is firmly seated. Ensure the SATA connector on the drive aligns with the connector in the bay.
- Connect to Computer: Connect one end of the USB 3.0 cable to the USB 3.0 IN port on the docking station and the other end to an available USB port on your computer.
- Power On: Flip the power switch on the back of the docking station to the ON position. The power LED indicator will illuminate.
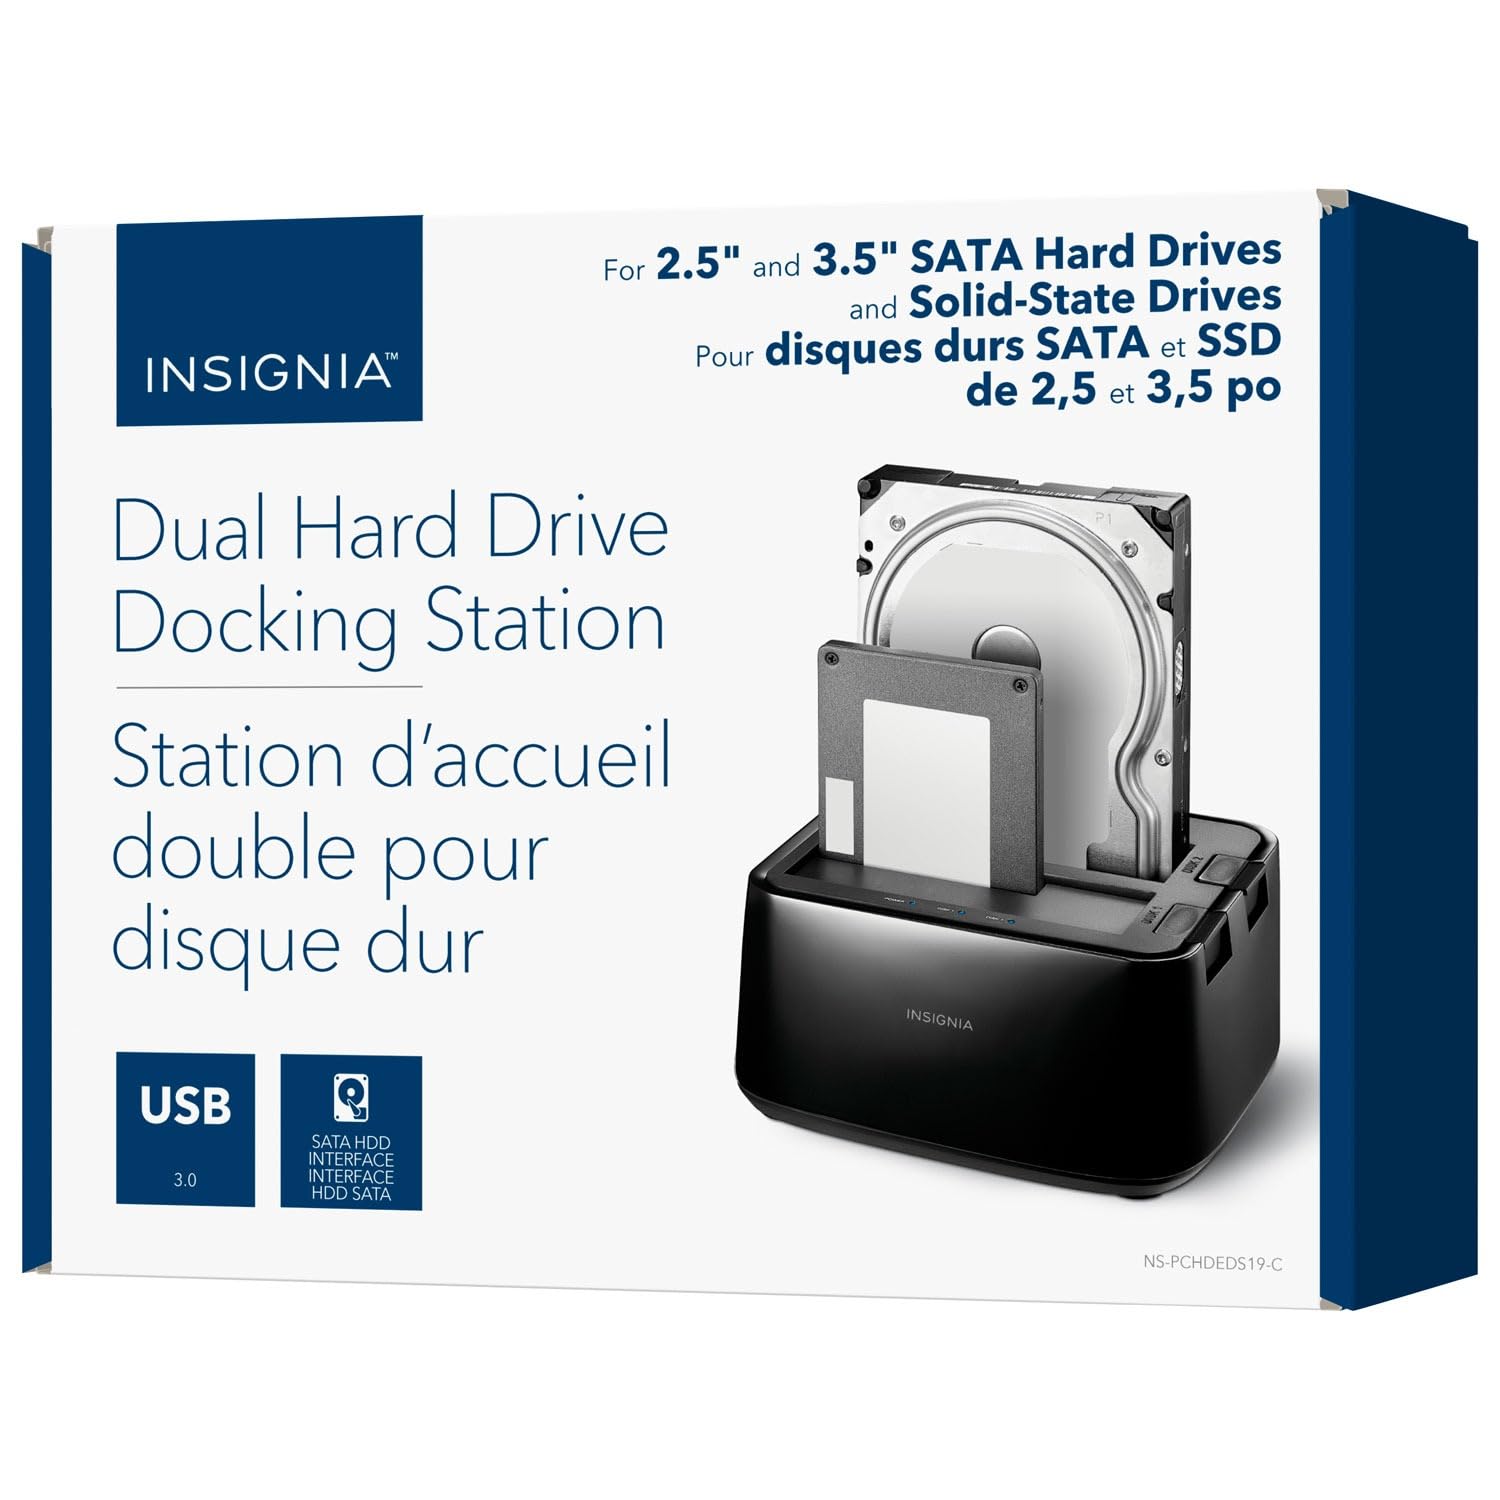
Image: Rear view of the docking station, highlighting the USB 3.0 IN/OUT ports, DC IN power port, and power switch.
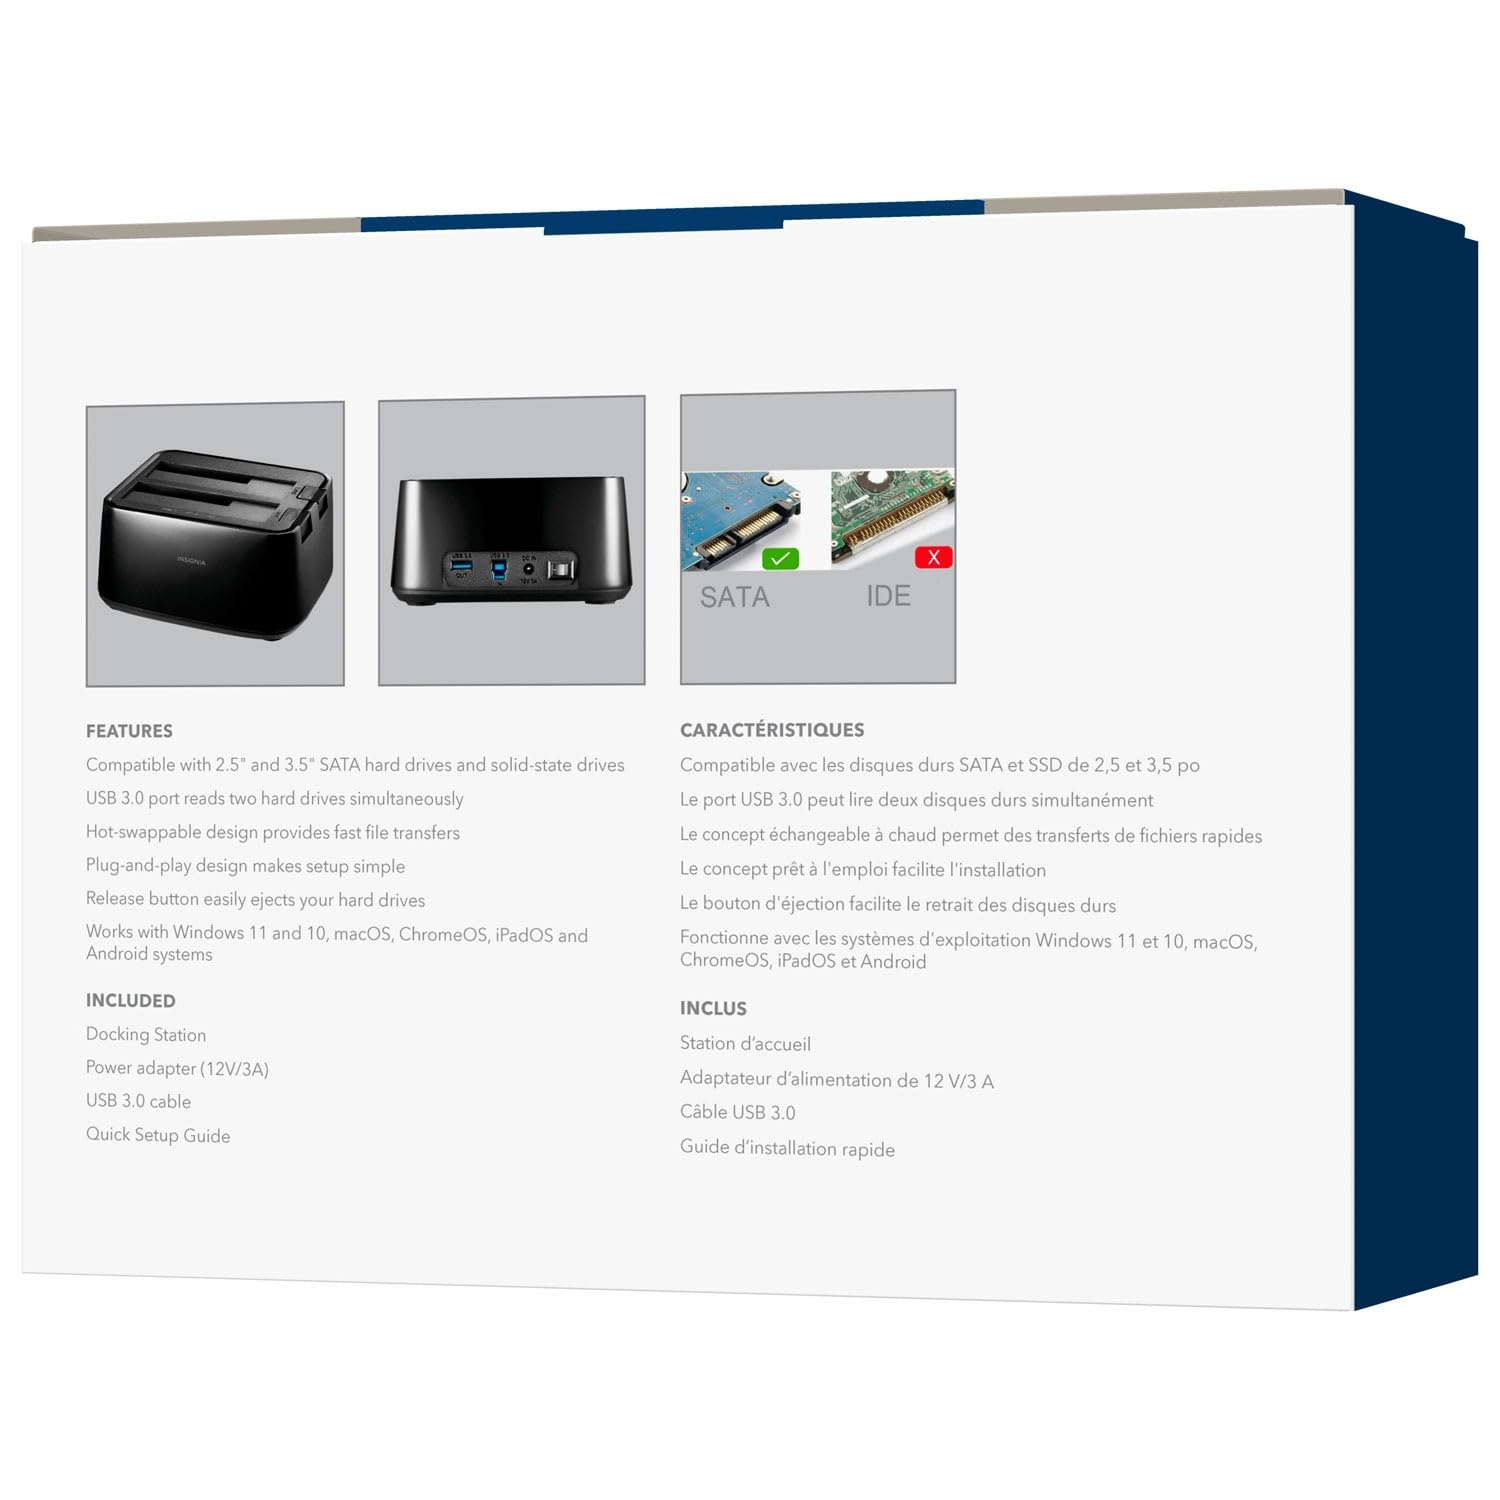
Image: Top-front view of the docking station with a 2.5-inch SSD and a 3.5-inch HDD correctly inserted into their respective bays.
Operating Instructions
Inserting and Removing Drives
- To Insert: Align the SATA connector of your HDD/SSD with the slot in the docking station bay and gently push down until the drive is securely seated.
- To Remove: Ensure no data transfer is active. Safely eject the drive from your operating system (e.g., "Safely Remove Hardware" on Windows, "Eject" on macOS). Then, press the release button next to the drive bay and carefully pull the drive upwards to remove it.
Data Transfer
Once connected and powered on, your operating system should automatically detect the inserted drives. They will appear as removable storage devices. You can then drag and drop files, copy, paste, or use backup software as you would with any other external storage device.
LED Indicators
- Power LED: Illuminates when the docking station is powered on.
- Activity LEDs (Disk 1, Disk 2): Blink when data is being accessed or transferred to/from the corresponding drive.
Maintenance
- Cleaning: Use a soft, dry cloth to clean the exterior of the docking station. Do not use liquid cleaners or solvents.
- Storage: When not in use, store the docking station in a cool, dry place away from direct sunlight and extreme temperatures.
- Handling: Avoid dropping or subjecting the device to strong impacts, as this can damage internal components.
Troubleshooting
Drive Not Detected
- Ensure the power adapter is securely connected and the docking station is powered on.
- Verify that the USB cable is firmly connected to both the docking station and your computer.
- Try connecting the USB cable to a different USB port on your computer.
- Ensure the hard drive is properly seated in the docking station bay.
- Check Disk Management (Windows) or Disk Utility (macOS) to see if the drive is recognized but unformatted or unallocated.
- Test with a different known-good hard drive to rule out a drive issue.
Slow Data Transfer Speeds
- Ensure you are connected to a USB 3.0 port on your computer for optimal speeds. Connecting to a USB 2.0 port will result in slower transfer rates.
- Verify the hard drive itself is capable of high speeds. Older HDDs may have slower performance.
- Avoid transferring many small files simultaneously, as this can reduce overall transfer speed.
Docking Station Not Powering On
- Check that the power adapter is correctly plugged into both the docking station and a working power outlet.
- Ensure the power switch on the back of the docking station is in the ON position.
- Try a different power outlet.
Specifications
| Brand | INSIGNIA |
| Model | B0FWFVTZ9W |
| Hardware Interface | USB 3.0 |
| Compatible Drive Types | 2.5" and 3.5" SATA I/II/III HDD/SSD |
| Data Transfer Speed | Up to 5 Gbps (USB 3.0) |
| Hardware Platform | Universal |
| Material | Plastic |
| Power Adapter | 12V/3A |
Warranty and Support
For warranty information and technical support, please refer to the documentation included with your product or visit the official INSIGNIA website. You may also contact INSIGNIA customer service directly for assistance.