Introduction
The Pawfly 5-in-1 Aquarium Water Master Test Kit is designed to help you monitor five critical water parameters in your aquarium: pH, Nitrite, Nitrate, Ammonia, and Phosphate. Regular testing is essential for maintaining a healthy and stable environment for both freshwater and saltwater aquatic life. This kit provides accurate, laboratory-quality results using liquid reagents, surpassing the precision of traditional test strips.
This manual provides detailed instructions for the proper use, maintenance, and troubleshooting of your test kit to ensure optimal performance and reliable readings.
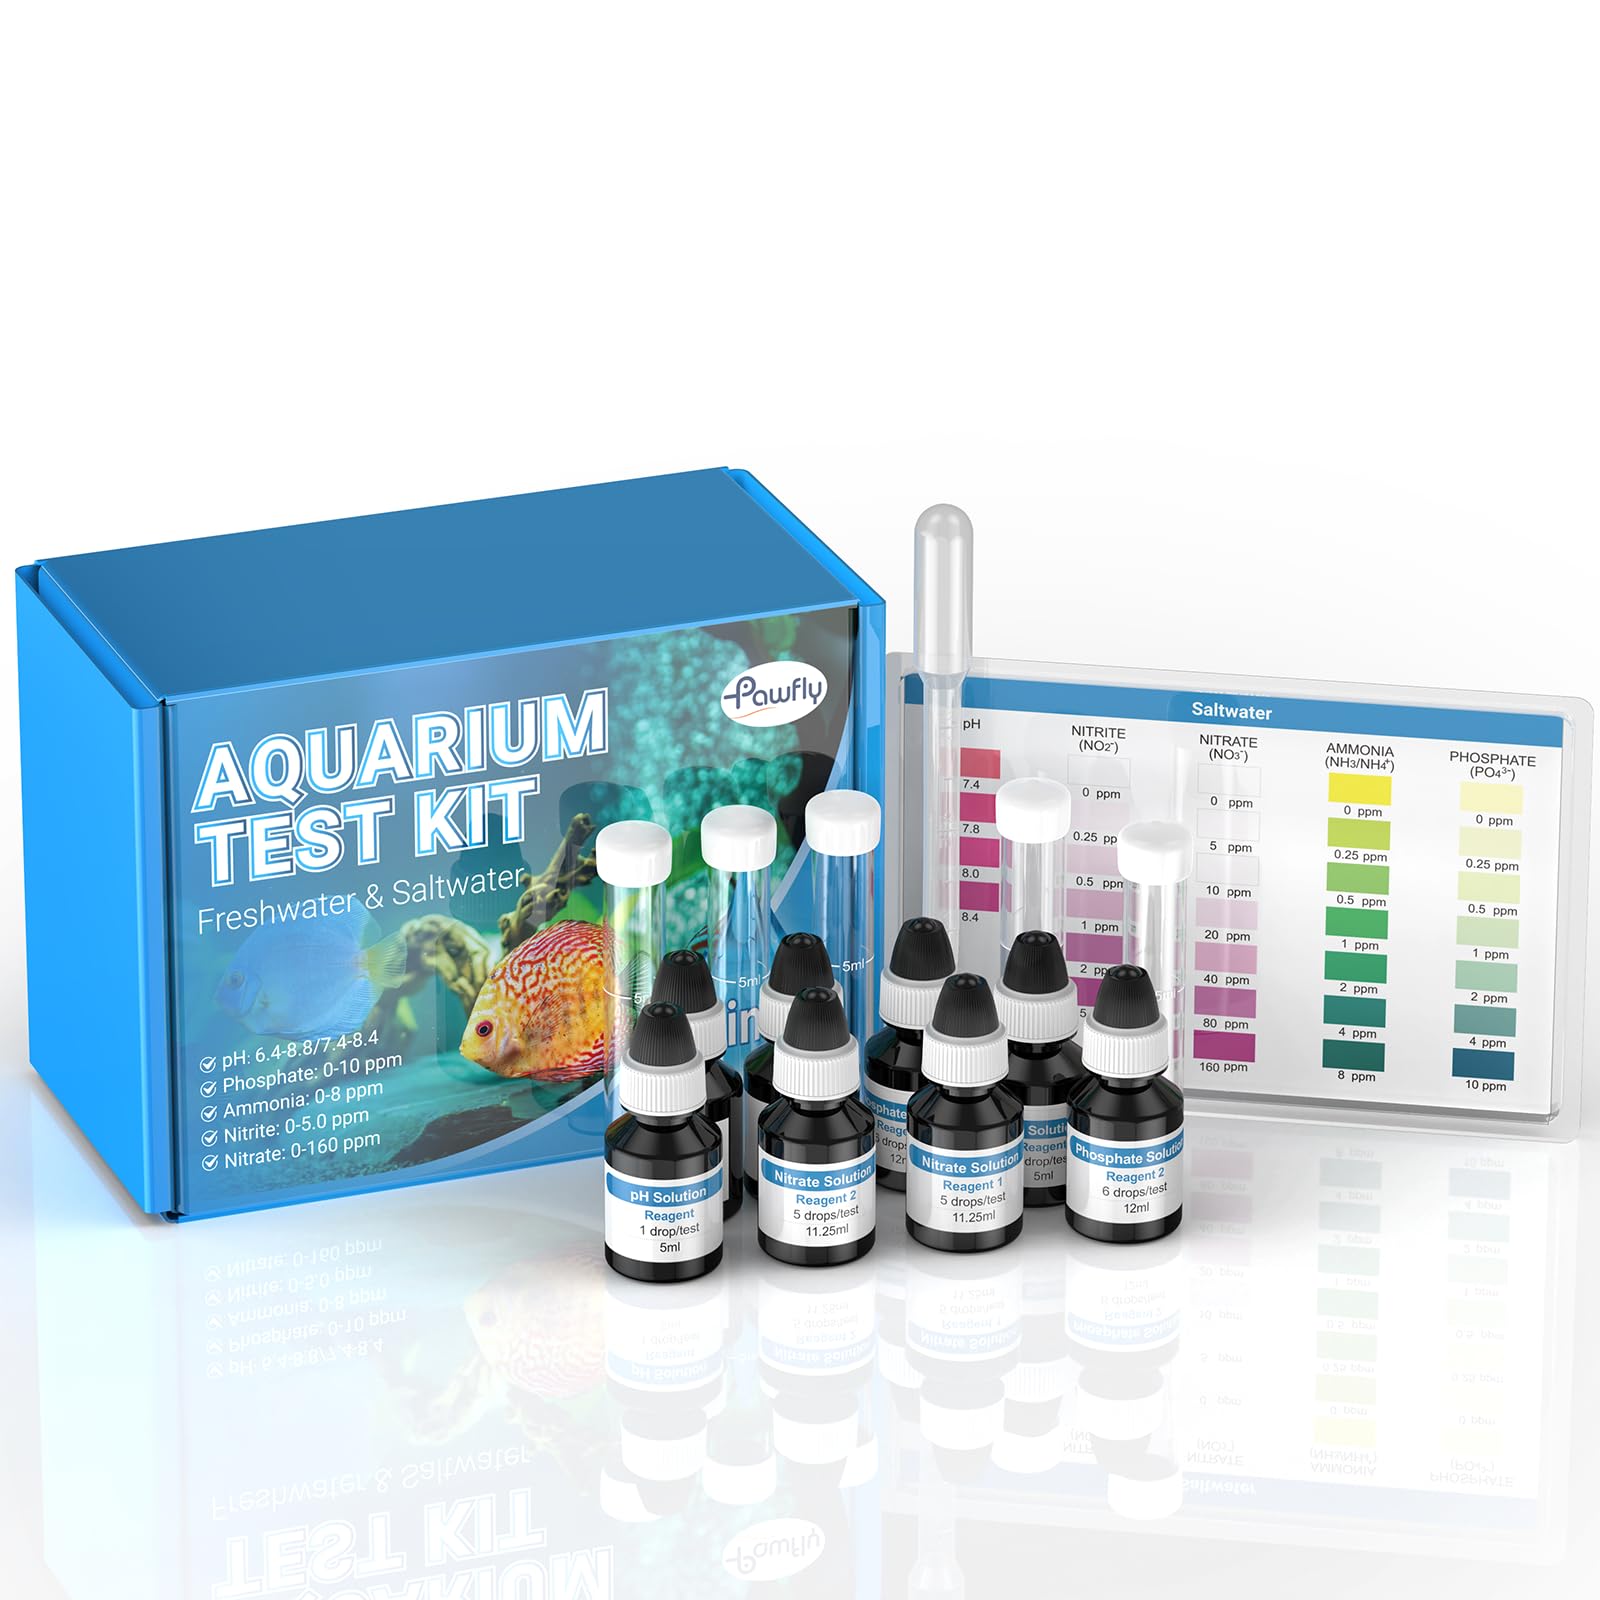
Image: The Pawfly 5-in-1 Aquarium Water Master Test Kit, showing the packaging, reagents, test tubes, and color charts, set against an aquarium background with fish.
What's in the Box
Your Pawfly 5-in-1 Aquarium Water Master Test Kit includes the following components:

Image: A detailed view of the kit's contents, including the packaging box, two color-matching charts, various reagent bottles (pH, Nitrite, Nitrate, Ammonia, Phosphate), a dropper, and five test tubes.
- 1 x Packaging Box
- 2 x Color-Matching Charts (for Freshwater & Saltwater)
- 1 x pH Reagent (5ml)
- 1 x Nitrite Reagent (11.25ml)
- 2 x Nitrate Reagents (11.25ml each)
- 2 x Ammonia Reagents (12ml each)
- 2 x Phosphate Reagents (12ml each)
- 1 x Dropper
- 5 x Test Tubes
Safety Information
WARNING: This product contains chemical reagents. Always handle with care and keep out of reach of children and pets. For use by adults 18 years and older only. Avoid contact with skin and eyes. In case of contact, rinse immediately with plenty of water and seek medical advice. Do not ingest. Always follow the instructions carefully and dispose of used reagents and samples responsibly according to local regulations.
Ensure adequate ventilation when performing tests. Wash hands thoroughly after use.
Setup
- Unpack Components: Carefully remove all items from the packaging.
- Inspect for Damage: Check all bottles, test tubes, and charts for any signs of damage or leakage. If any component is damaged, do not use the kit and contact customer support.
- Organize Reagents: Familiarize yourself with the different reagent bottles and their labels (pH, Nitrite, Nitrate, Ammonia, Phosphate).
- Prepare Workspace: Choose a clean, well-lit, and stable surface for testing. Ensure you have access to a water source for rinsing and a waste container for disposal.
- Read Instructions: Before performing any test, read the specific instructions for that parameter thoroughly.
Operating Instructions
Always use a clean test tube for each test. Rinse test tubes thoroughly with aquarium water before and after each use. Use the provided dropper for accurate measurement of water samples.
1. pH Test

Image: Visual guide for the pH test, illustrating the four steps: adding 5 mL of tank water, adding 1 drop of pH reagent, capping and shaking the tube, and comparing the color to the chart.
- Add 5 mL of tank water to a clean test tube using the dropper.
- Add 1 drop of pH reagent to the test tube.
- Cap the test tube and shake gently to mix the solution.
- Compare the color of the solution to the appropriate pH color chart (freshwater or saltwater) to determine the pH level.
2. Nitrite (NO₂⁻) Test

Image: Visual guide for the Nitrite test, illustrating the four steps: adding 5 mL of tank water, adding 5 drops of nitrite reagent, waiting 3 minutes, and comparing the color to the chart.
- Add 5 mL of tank water to a clean test tube.
- Add 5 drops of Nitrite reagent to the test tube. Cap and shake gently.
- Let the test tube stand for 3 minutes.
- Compare the color of the solution to the appropriate Nitrite color chart (freshwater or saltwater).
3. Nitrate (NO₃⁻) Test

Image: Visual guide for the Nitrate test, illustrating the six steps: adding 5 mL of tank water, adding 5 drops of reagent 1, shaking reagent 2 bottle 60 times, adding 2 drops of reagent 2, waiting 3 minutes, and comparing the color to the chart.
- Add 5 mL of tank water to a clean test tube.
- Add 5 drops of Nitrate Reagent 1. Cap and shake gently.
- Invert and shake the Nitrate Reagent 2 bottle vigorously for 60 seconds.
- Add 2 drops of Nitrate Reagent 2 to the test tube. Cap and shake gently.
- Let the test tube stand for 3 minutes.
- Compare the color of the solution to the appropriate Nitrate color chart (freshwater or saltwater).
4. Ammonia (NH₃) Test

Image: Visual guide for the Ammonia test, illustrating the five steps: adding 5 mL of tank water, adding 8 drops of reagent 1 and 8 drops of reagent 2, capping and shaking the tube, waiting 5 minutes, and comparing the color to the chart.
- Add 5 mL of tank water to a clean test tube.
- Add 8 drops of Ammonia Reagent 1, then add 8 drops of Ammonia Reagent 2 to the test tube.
- Cap the test tube and shake gently to mix the solution.
- Let the test tube stand for 5 minutes.
- Compare the color of the solution to the appropriate Ammonia color chart (freshwater or saltwater).
5. Phosphate (PO₄³⁻) Test

Image: Visual guide for the Phosphate test, illustrating the five steps: adding 5 mL of tank water, adding 6 drops of reagent 1, capping and shaking, adding 6 drops of reagent 2, capping and shaking, waiting 3 minutes, and comparing the color to the chart.
- Add 5 mL of tank water to a clean test tube.
- Add 6 drops of Phosphate Reagent 1. Cap and shake gently.
- Add 6 drops of Phosphate Reagent 2. Cap and shake gently.
- Let the test tube stand for 3 minutes.
- Compare the color of the solution to the appropriate Phosphate color chart (freshwater or saltwater).
Maintenance
- Cleaning Test Tubes: After each test, thoroughly rinse the test tubes with clean tap water, then with distilled water if available, to prevent contamination. Air dry them completely before storing.
- Reagent Storage: Store all reagent bottles upright in a cool, dark place, away from direct sunlight and extreme temperatures. Ensure bottle caps are tightly sealed after each use to prevent evaporation or contamination.
- Expiration Dates: Check the expiration dates on the reagent bottles. Expired reagents can lead to inaccurate results. Replace reagents as needed.
- Kit Storage: Keep the entire kit in its original packaging or a designated storage box to protect components from damage and light.
Troubleshooting
| Problem | Possible Cause | Solution |
|---|---|---|
| Inaccurate or inconsistent results |
|
|
| Difficulty distinguishing colors on chart |
|
|
| Reagent bottle caps loose or leaking |
|
|
Specifications
- Model Number: Pawfly-CW4952
- Item Weight: 10.8 ounces (approx. 306 grams)
- Item Package Dimensions (L x W x H): 7.32 x 4.92 x 3.66 inches
- Parameters Tested: pH, Nitrite (NO₂⁻), Nitrate (NO₃⁻), Ammonia (NH₃), Phosphate (PO₄³⁻)
- Application: Freshwater and Saltwater Aquariums
- Total Measurements: Approximately 265 tests (pH: 100, Nitrite: 45, Nitrate: 50, Ammonia: 30, Phosphate: 40)
- Manufacturer: Pawfly
- Date First Available: October 15, 2025
Warranty and Support
For any questions, concerns, or issues regarding your Pawfly 5-in-1 Aquarium Water Master Test Kit, please contact Pawfly customer support. Refer to the product packaging or the official Pawfly website for the most current contact information.
Please retain your proof of purchase for any warranty claims.
