
1. Introduction
Welcome to the world of miniature crafting with the Rolife A-Frame Cabin DIY Miniature House Kit. This kit allows you to construct a detailed, cozy forest cabin model, featuring an enclosed A-frame design and intricate miniature elements. Designed for adults and teens, this kit provides a rewarding hands-on crafting experience.
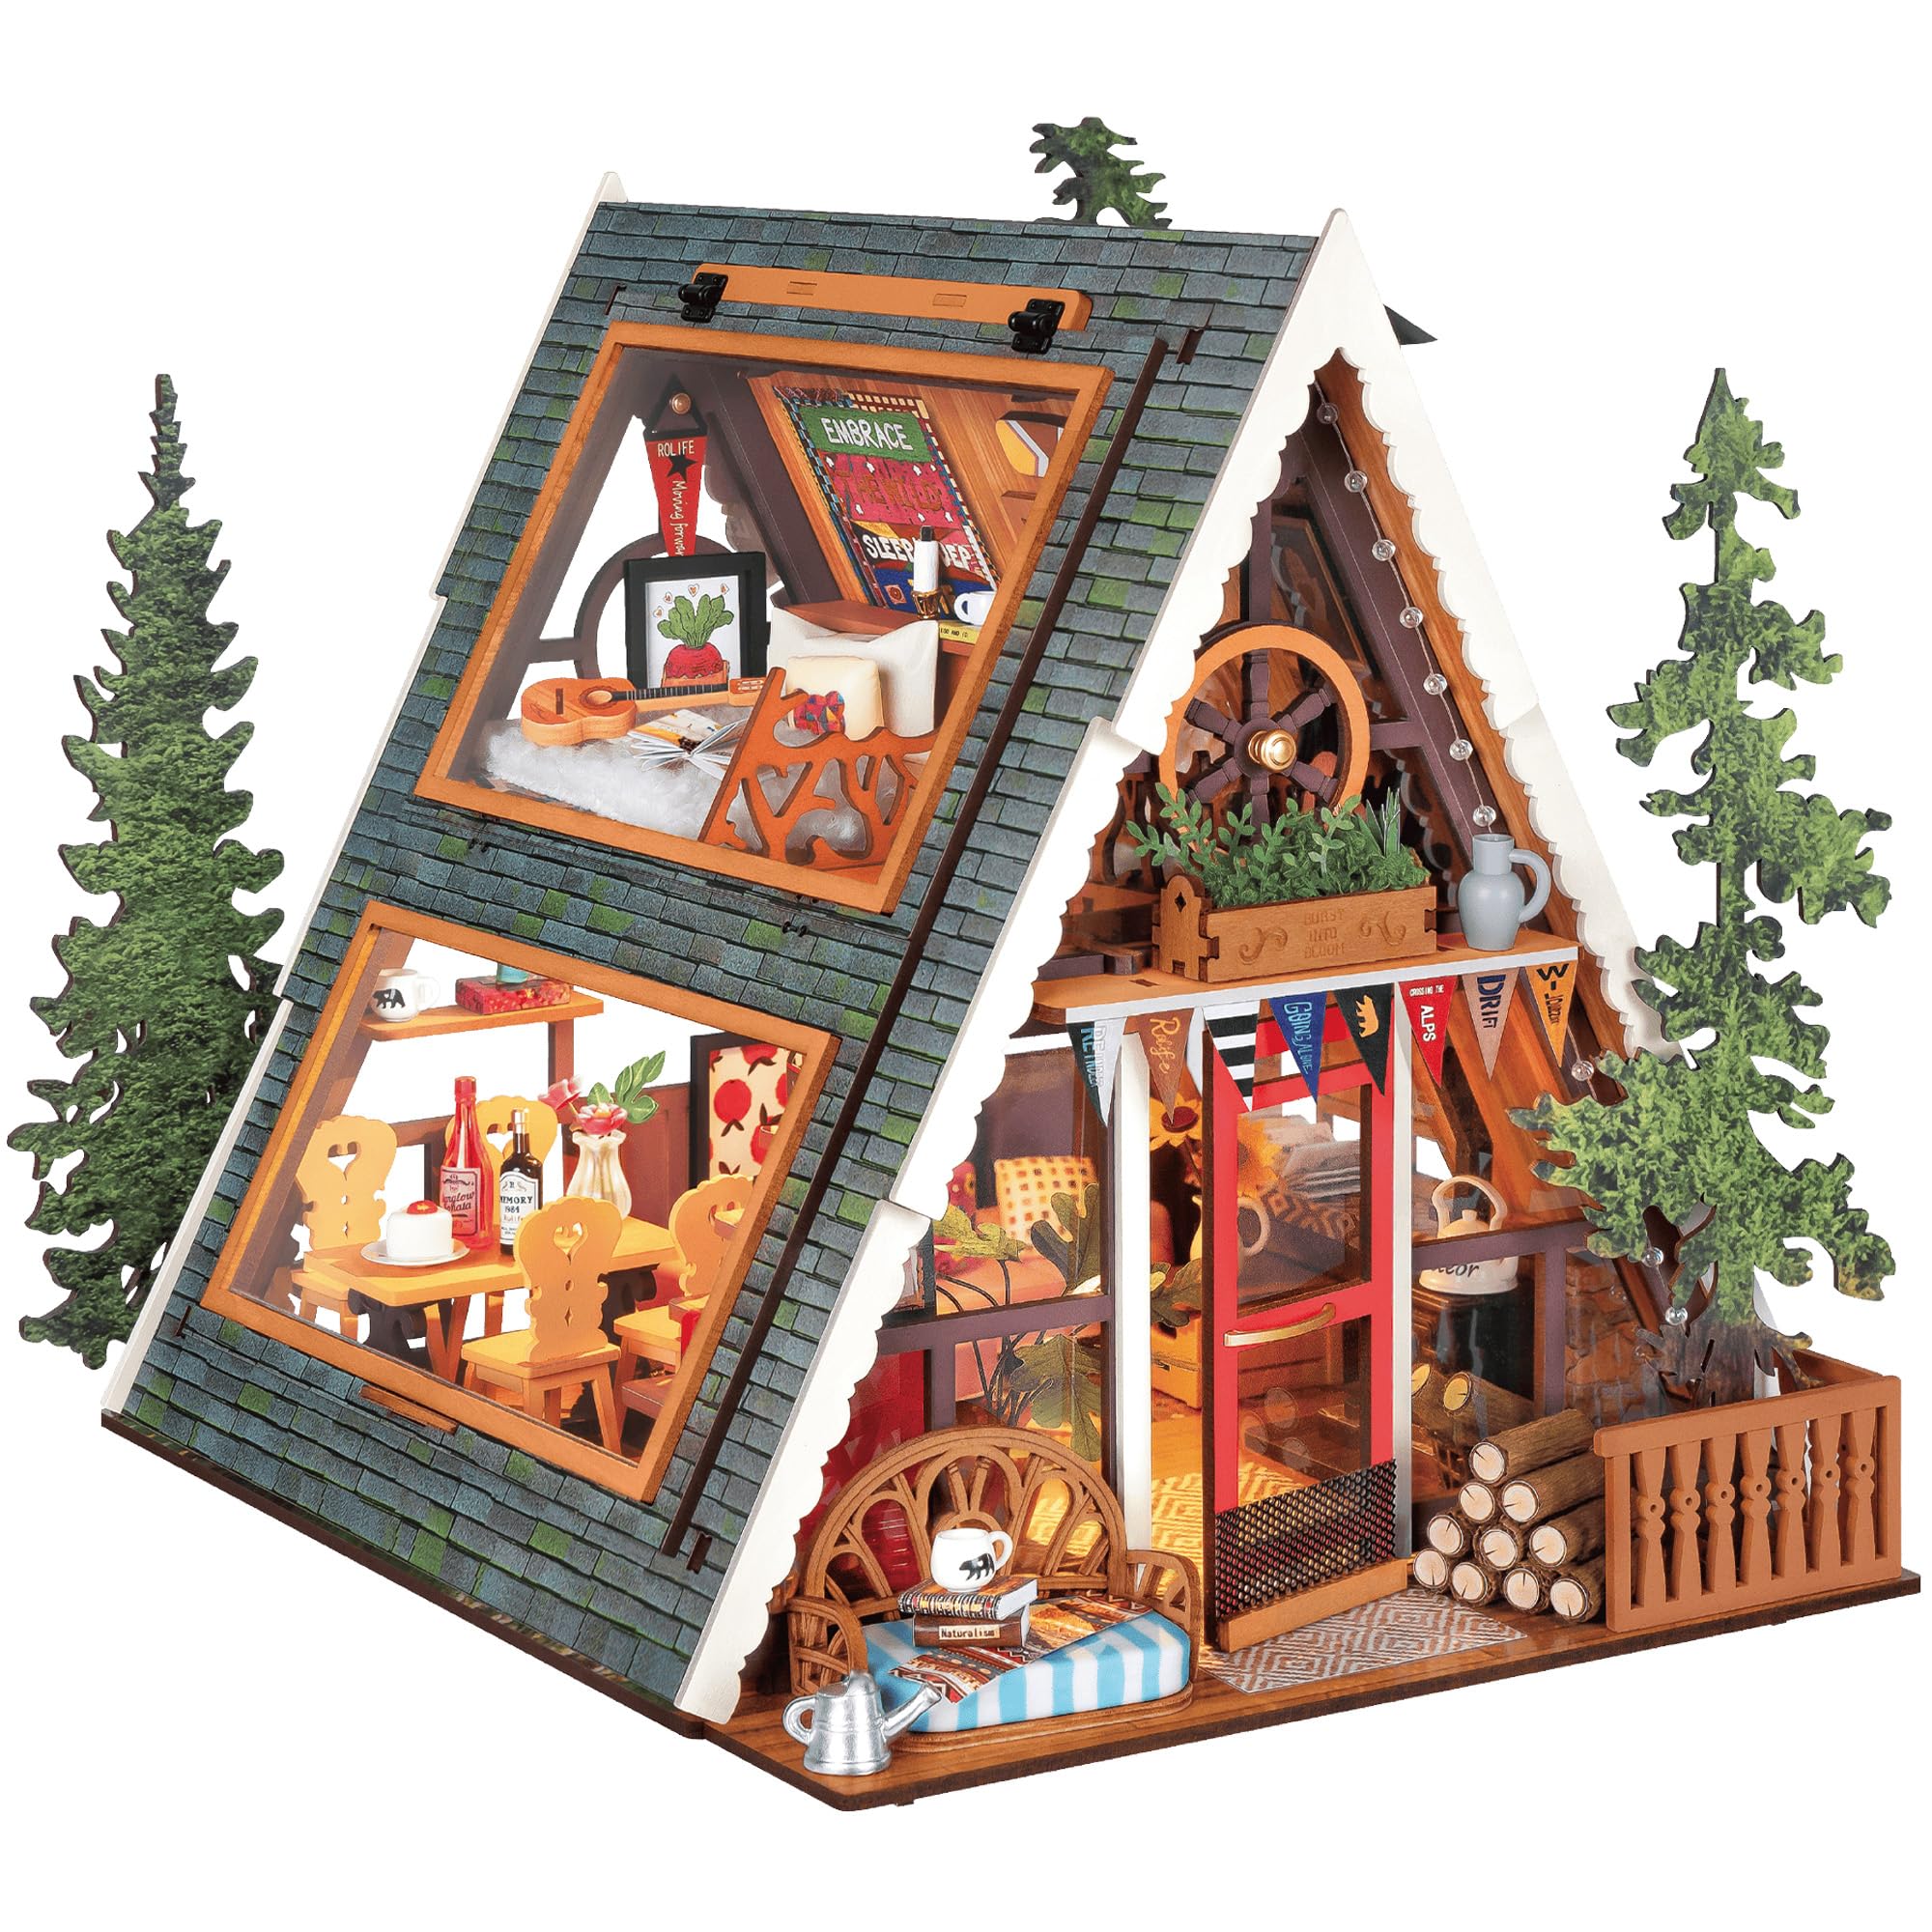
Image 1.1: The completed Rolife A-Frame Cabin, highlighting its features and dimensions.
2. Safety Information
- Do not expose to open flames.
- Do not swallow small components. This kit contains small parts and is not suitable for young children.
3. Package Contents
Your Rolife A-Frame Cabin kit includes all necessary components for assembly. Please verify that all parts are present before beginning construction.
- Approximately 336 finely crafted pieces made from wood.
- Miniature furniture and decor elements.
- Realistic forest-themed elements.
- Detailed instruction manual.
- LED lighting components (batteries not included; requires 2pcs of "AA" / LR03 / AM4 1.5V batteries).

Image 3.1: Overview of kit components and assembly process.
4. Setup & Assembly
This kit features an upgraded snap-fit assembly system, eliminating the need for glue. Follow the detailed instructions provided in the manual for a smooth building experience.
4.1 Preparation
- Unpack all components and organize them according to the instruction manual.
- Ensure you have a clean, well-lit workspace.
- Prepare 2pcs of "AA" / LR03 / AM4 1.5V batteries for the LED lights (not included).
4.2 Assembly Steps
- Refer to the included instruction booklet for step-by-step guidance. Each piece is designed to fit securely into place.
- Carefully detach pieces from their frames. Use a craft knife or sandpaper if necessary to smooth edges.
- Assemble the main structure of the A-frame cabin first, ensuring all connections are firm.
- Proceed with assembling the interior elements, such as furniture and decor, as indicated in the manual.
- Install the LED lighting system according to the wiring diagrams. Ensure all connections are correct before securing them.
- Add the final decorative touches and exterior elements.

Image 4.1: Detailed view of a component being assembled.

Image 4.2: Various intricate details of the assembled interior.
5. Operation
5.1 LED Lighting
Once assembled and batteries are installed, the LED lights can be switched on to illuminate the interior of your A-Frame Cabin, enhancing its charm as a display piece.
5.2 Display
The completed miniature house is designed as a decorative artwork. Its sturdy structure and semi-sealed cabin layout make it suitable for display on desks, bookshelves, or in craft rooms.

Image 5.1: The A-Frame Cabin as a decorative home accent.
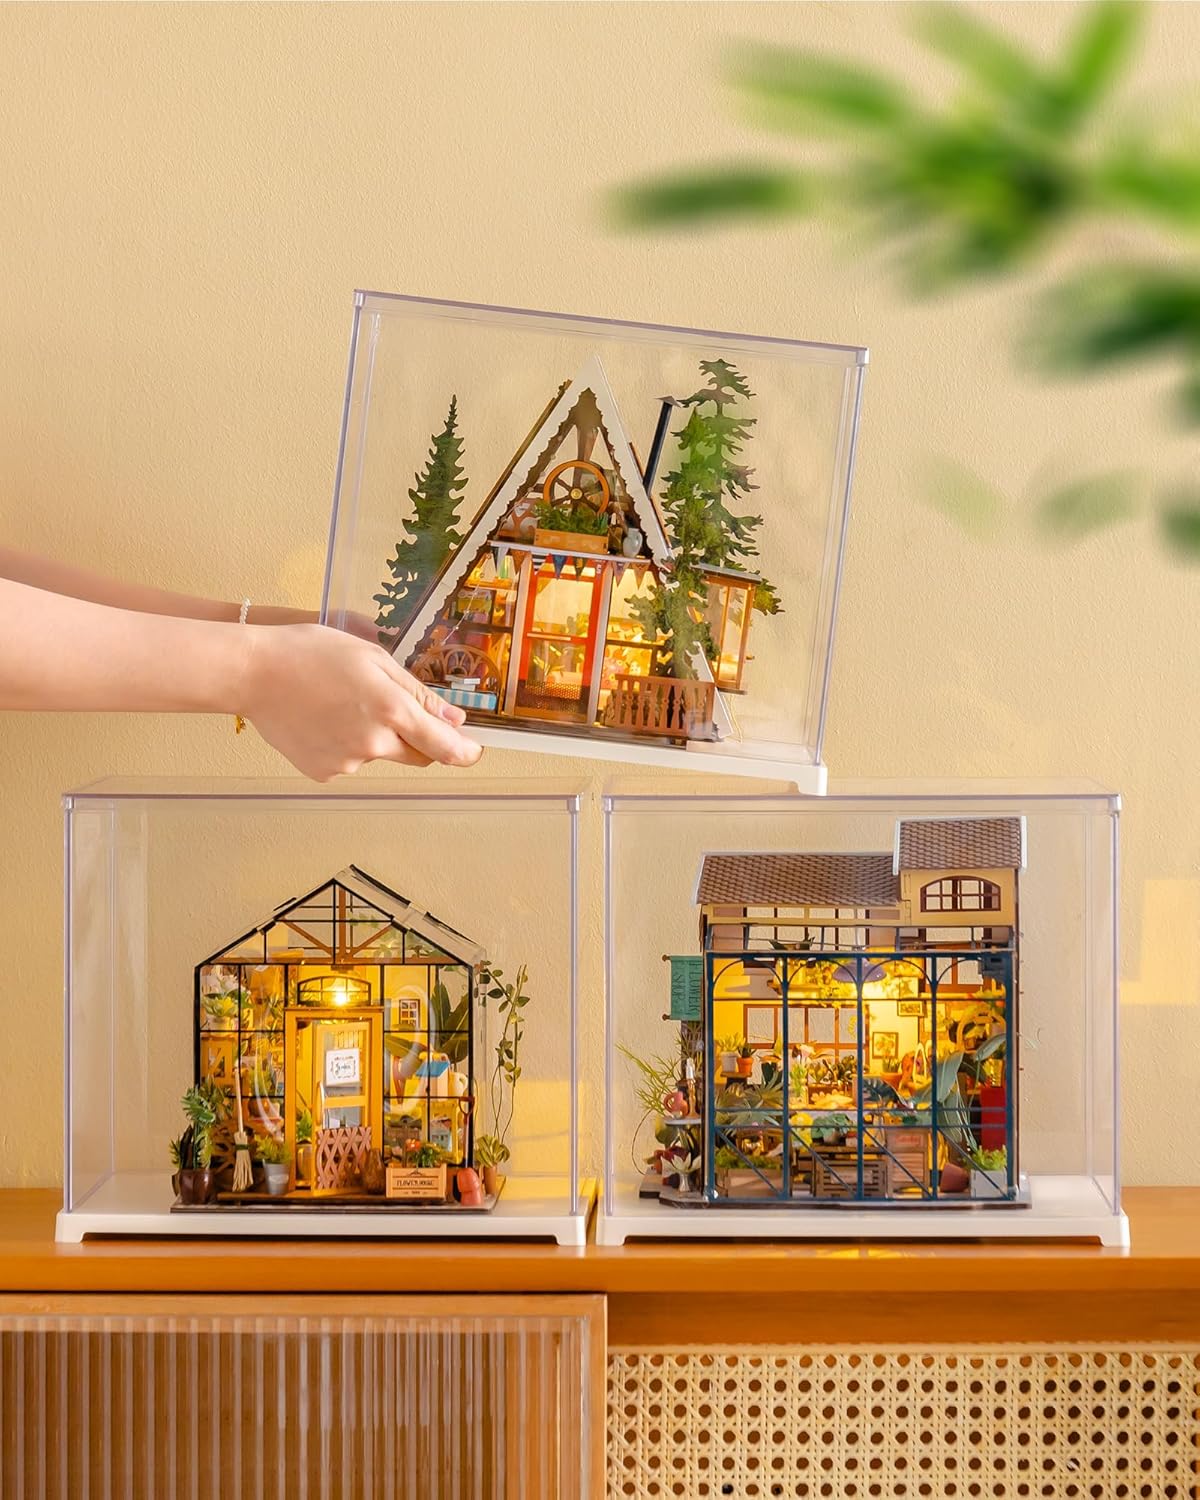
Image 5.2: Displaying the miniature house in a protective case.
6. Maintenance
- Cleaning: Gently dust the model with a soft, dry cloth or a soft brush. Avoid using liquid cleaners, which may damage the wood or painted surfaces.
- Storage: Store the model in a dry environment, away from direct sunlight and extreme temperatures, to prevent warping or fading. Consider a dust cover for long-term display or storage.
- Battery Replacement: If the LED lights dim or stop working, replace the "AA" batteries. Ensure correct polarity when inserting new batteries.
7. Troubleshooting
| Problem | Possible Cause | Solution |
|---|---|---|
| Pieces do not fit together. | Incorrect orientation or rough edges. | Refer to the instruction manual for correct orientation. Gently sand any rough edges if necessary. Do not force pieces. |
| LED lights do not turn on. | Incorrect battery installation, dead batteries, or loose wiring connection. | Check battery polarity and ensure batteries are fresh. Verify all wiring connections are secure as per the manual. |
| Missing or damaged parts. | Manufacturing defect or shipping damage. | Contact Rolife customer support with your purchase details for assistance. |
8. Specifications
| Feature | Detail |
|---|---|
| Brand | Rolife |
| Model Name | RL-DG181 |
| Product Dimensions (L x W x H) | 9.69 x 8.74 x 8.58 inches |
| Material | Wood |
| Number of Pieces | 336 |
| Assembly Time (Approx.) | 7 hours |
| Recommended Age | Adult (14+ years) |
| Power Source for LED | 2pcs "AA" / LR03 / AM4 1.5V batteries (not included) |
| Assembly Type | Snap-fit (No glue needed) |
9. Warranty & Support
For any questions, missing parts, or support regarding your Rolife A-Frame Cabin DIY Miniature House Kit, please contact Rolife customer service. Refer to your purchase documentation for specific warranty details and contact information.
Note: Keep your proof of purchase for warranty claims.