
1. Introduction
This manual provides essential information for the safe and efficient operation, assembly, and maintenance of your Qlife Electric Bike Spark Classic-48v13ah. Please read this manual thoroughly before your first ride and keep it for future reference.
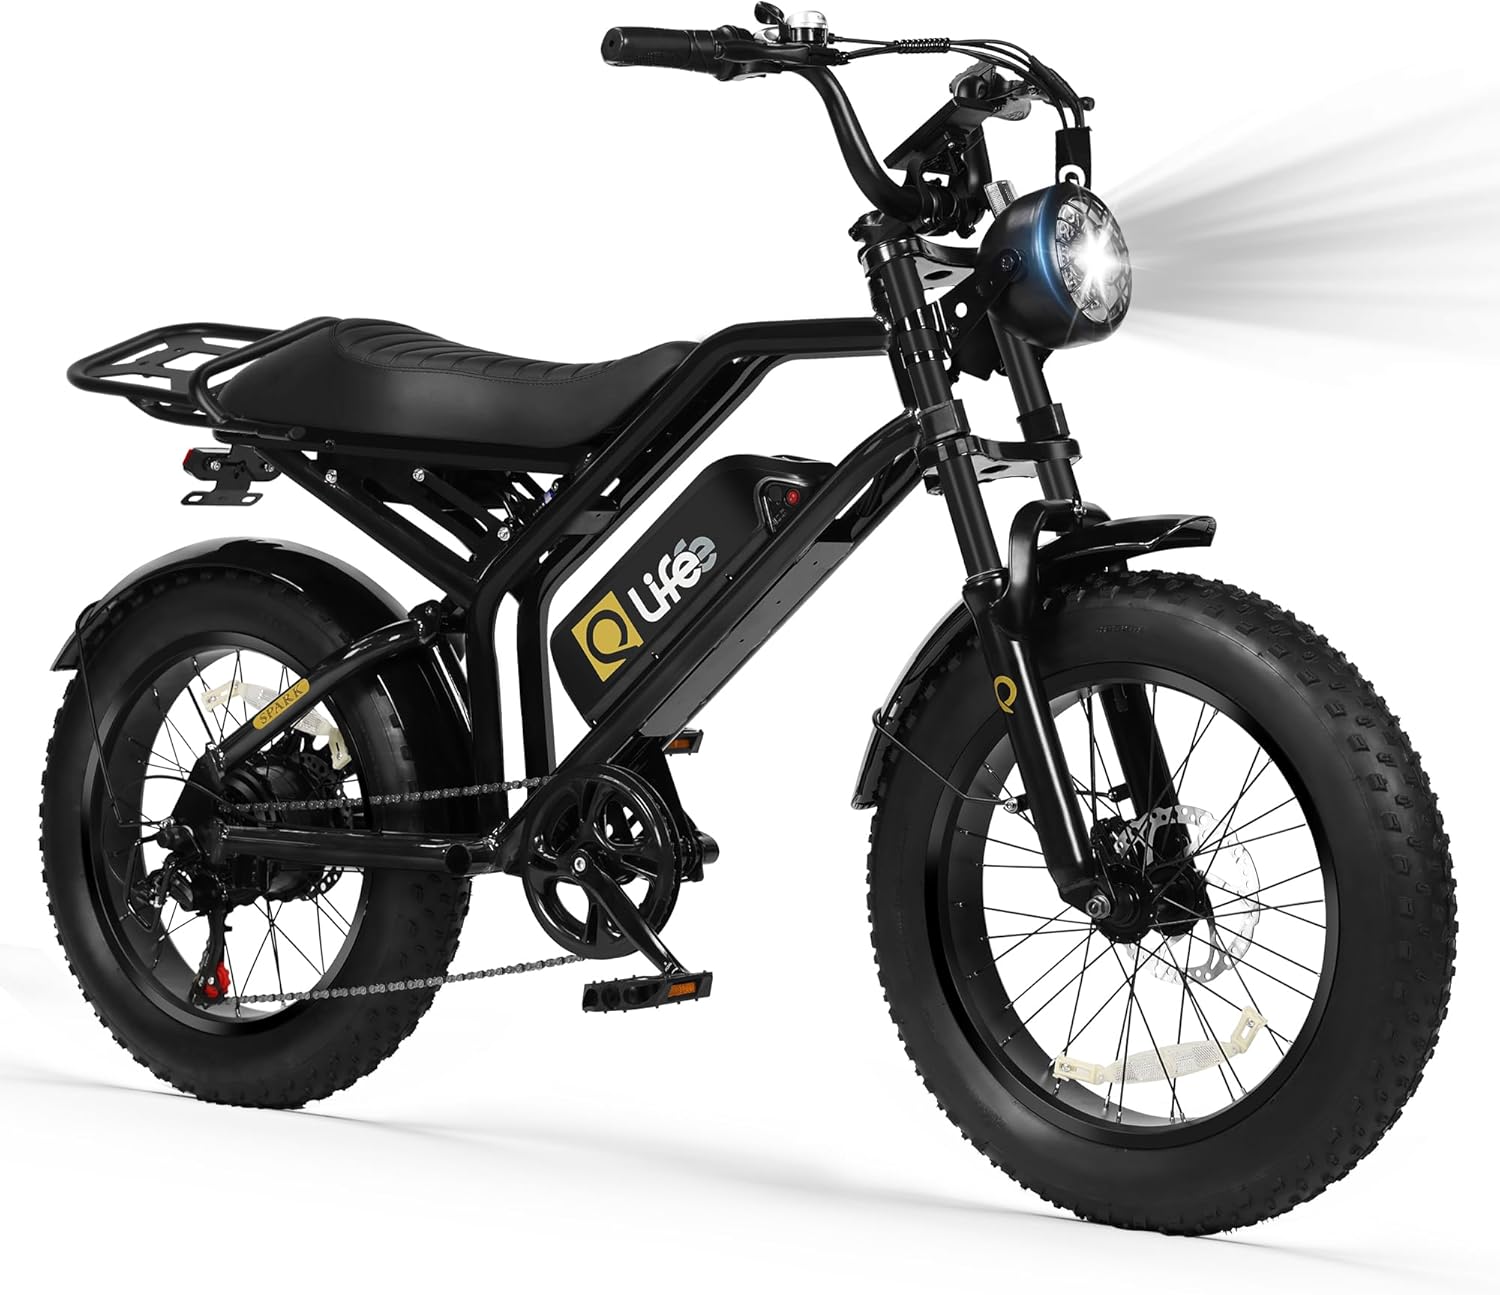
Image 1: Qlife Electric Bike Spark Classic-48v13ah
2. Safety Information
Always prioritize safety when operating your electric bike. Failure to follow safety guidelines can result in serious injury or damage to the bike.
- Always wear a helmet that meets safety standards.
- Perform a pre-ride inspection: check tire pressure, brake function, and battery charge.
- Familiarize yourself with local traffic laws and regulations regarding electric bikes.
- Ride defensively and be aware of your surroundings.
- Avoid riding in adverse weather conditions or on slippery surfaces.
- Do not exceed the maximum weight capacity of the bike.
3. Package Contents
Upon unboxing, verify that all components are present:
- Electric Bike (main frame with rear wheel and battery installed)
- Front Wheel
- Handlebar Assembly
- Front Fender
- Headlight
- Pedals (Left and Right)
- Charger
- Battery Keys (2)
- Tool Kit
- User Manual (this document)
4. Assembly Instructions
Your Qlife Electric Bike comes 90% pre-assembled. Follow these steps to complete the assembly:
- Unboxing: Carefully remove the bike and all components from the packaging. Retain the packaging for at least 7 days in case of returns.
- Handlebar Installation: Attach the handlebar to the stem using the provided tools. Ensure it is centered and securely tightened.
- Front Fender Installation: Secure the front fender to the front fork using the screws.
- Front Wheel Installation: Mount the front wheel onto the front fork, ensuring the brake rotor aligns correctly with the caliper. Secure the wheel with the provided nuts and washers.
- Headlight Installation: Attach the headlight bracket to the front fork, then secure the headlight to the bracket. Connect the headlight cable.
- LCD Display Installation: Mount the LCD display to the handlebar and connect its cables.
- Pedal Installation: Identify the left (L) and right (R) pedals. The left pedal tightens counter-clockwise, and the right pedal tightens clockwise. Ensure they are fully tightened.
- Battery Installation: Insert the removable battery into its compartment on the frame and lock it with the key. Ensure it is securely seated.
- Cable Connections: Connect all remaining cables, ensuring they are securely fastened.
For a visual guide, please refer to the official assembly video:
Video 1: Assembly instructions for Qlife Spark Electric Bike (Source: EbikePlus)
This video demonstrates the step-by-step process of assembling the Qlife Spark electric bike, including attaching the handlebars, front wheel, fenders, and connecting electrical components.
5. Components Overview
5.1 Motor
The bike is equipped with a powerful 1500W peak brushless motor, providing strong acceleration and efficient performance across various terrains.

Image 2: Close-up of the 1500W Peak Brushless Motor
5.2 Battery
Features a 2849-certified 48V 13Ah removable lithium battery, offering a range of 30-40 miles on throttle mode and 45-65 miles with pedal assist. The removable design allows for convenient off-bike charging.

Image 3: Removable 48V 13Ah Battery
5.3 Tires and Suspension
Equipped with 20" x 4.0" all-terrain fat tires and a dual suspension system (front and rear) to absorb shocks, ensuring a smooth and stable ride on uneven surfaces.

Image 4: Qlife Electric Bike highlighting dual suspension and fat tires
5.4 Display and Controls
A center-mounted color LCD display shows real-time metrics such as speed, battery level, and pedal assist level. The handlebar includes controls for lights, horn, and pedal assist levels.
5.5 Braking System
Features motorcycle-grade dual disc brakes for reliable stopping power, complemented by a safety lighting system including a high-beam headlight, rear brake lights, and signal lights.

Image 5: Highlighting the comfortable seat and integrated lighting system
6. Operating Instructions
6.1 Powering On/Off
To power on the bike, ensure the battery is installed and locked, then press and hold the power button on the LCD display. Repeat to power off.
6.2 Riding Modes
The Qlife Electric Bike offers 4 riding modes:
- Manual Mode: Ride like a traditional bicycle without motor assistance.
- Pedal-Assist Mode (PAS): The motor provides assistance as you pedal. Adjust the assist level (1-5) via the display controls. Higher levels provide more assistance.
- Pure Electric Mode (Throttle): Use the throttle to engage the motor without pedaling.
- Cruising Mode: (Implied from product description, often a form of sustained throttle or PAS)
6.3 7-Speed Transmission
Utilize the 7-speed Shimano transmission for optimal pedaling efficiency across different terrains and inclines. Shift gears as needed to maintain a comfortable cadence.
6.4 Speed Unlock Procedure (Up to 35 MPH)
The bike's default top speed is 28 MPH. To unlock the full potential up to 35 MPH:
- Hold the right brake lever and the throttle fully.
- While holding, press the power button to turn on the display.
- Wait for 5 seconds.
- Release both the brake and throttle. The higher speed mode should now be active.
Warning: Operating at higher speeds may be subject to local regulations. Always ride responsibly.
7. Battery Charging
To charge the battery:
- Ensure the bike is powered off.
- You can charge the battery while it's on the bike or remove it for charging indoors.
- Connect the charger to the battery's charging port.
- Plug the charger into a standard wall outlet.
- The charger indicator light will typically show red during charging and turn green when fully charged.
- Disconnect the charger once charging is complete.
Caution: Use only the provided Qlife charger. Do not expose the battery to extreme temperatures or puncture it.
8. Maintenance
Regular maintenance ensures the longevity and safe operation of your electric bike.
- Tires: Check tire pressure before each ride. Recommended pressure is usually indicated on the tire sidewall.
- Brakes: Regularly inspect brake pads and rotors for wear. Ensure brake levers engage smoothly and provide adequate stopping power. Adjust or replace as needed.
- Chain: Keep the chain clean and lubricated to prevent rust and ensure smooth shifting.
- Fasteners: Periodically check all bolts, nuts, and quick releases for tightness.
- Battery: Store the battery in a cool, dry place. If storing for extended periods, charge it to 50-70% and recharge every 1-2 months.
- Cleaning: Clean the bike with a damp cloth. Avoid high-pressure washing directly on electrical components.
9. Troubleshooting
| Problem | Possible Cause | Solution |
|---|---|---|
| Bike does not power on | Battery not charged or not properly installed; power button not pressed correctly. | Charge battery, ensure it's locked in place, press power button firmly. |
| Motor not assisting | PAS level set to 0; loose motor cable; battery low. | Increase PAS level, check motor connections, charge battery. |
| Brakes feel weak | Worn brake pads; loose brake cable; air in hydraulic system (if applicable). | Inspect and replace brake pads, adjust cable tension, consult a professional for hydraulic brakes. |
| Unusual noises | Loose components; dry chain; brake rub. | Inspect all fasteners, lubricate chain, adjust brake caliper. |
If you encounter issues not listed here or cannot resolve a problem, please contact Qlife customer support.
10. Specifications
| Feature | Detail |
|---|---|
| Bike Type | Electric Bike |
| Age Range | Adult |
| Brand | Qlife |
| Model Name | Spark |
| Number of Speeds | 7 |
| Color | Black |
| Wheel Size | 20 Inches |
| Frame Material | Carbon Steel |
| Suspension Type | Dual |
| Special Features | Disc Brakes, LCD-Display |
| Brake Style | Disc |
| Power Source | Electric motor |
| Lithium Battery Energy Content | 624 Watt Hours (48V 13Ah) |
| Electric Assist Type | Pedal assist, Throttle assist |
| Max Speed | 28 MPH (Unlockable to 35 MPH) |
| Range (Throttle) | 30-40 miles |
| Range (Pedal Assist) | 45-65 miles |
11. Warranty and Support
Qlife offers a 12-month official warranty ensuring quality and reliability.
Customer Support:
- Call Center: +1-833-475-1642 (M-F 8:00 AM - 5:00 PM PST)
- Email Support: service@qlifebike.com