1. Introduction
This manual provides essential information for the safe and effective use of your VEVOR Squat and Rowing Machine. Please read and understand all instructions before assembly and operation. Keep this manual for future reference.
2. Safety Information
- Consult a physician before starting any exercise program.
- Ensure all parts are securely assembled and tightened before each use.
- Do not exceed the maximum weight capacity of 300 lbs (136 kg).
- Keep children and pets away from the machine during operation.
- Use the machine on a flat, stable surface.
- Wear appropriate athletic footwear and clothing.
- Stop exercising immediately if you feel pain, dizziness, or discomfort.
- Inspect the machine for any damage or wear before each use. Do not use if damaged.
3. What's in the Box
Carefully unpack all components and ensure you have received the following items:
- 1 x Squat Machine (main frame components)
- 1 x Counter (without battery, without wire)
- 1 x User Manual (this document)
- 2 x Open-End Wrenches
- 3 x Pull Pins
- 1 x Buffer Pad
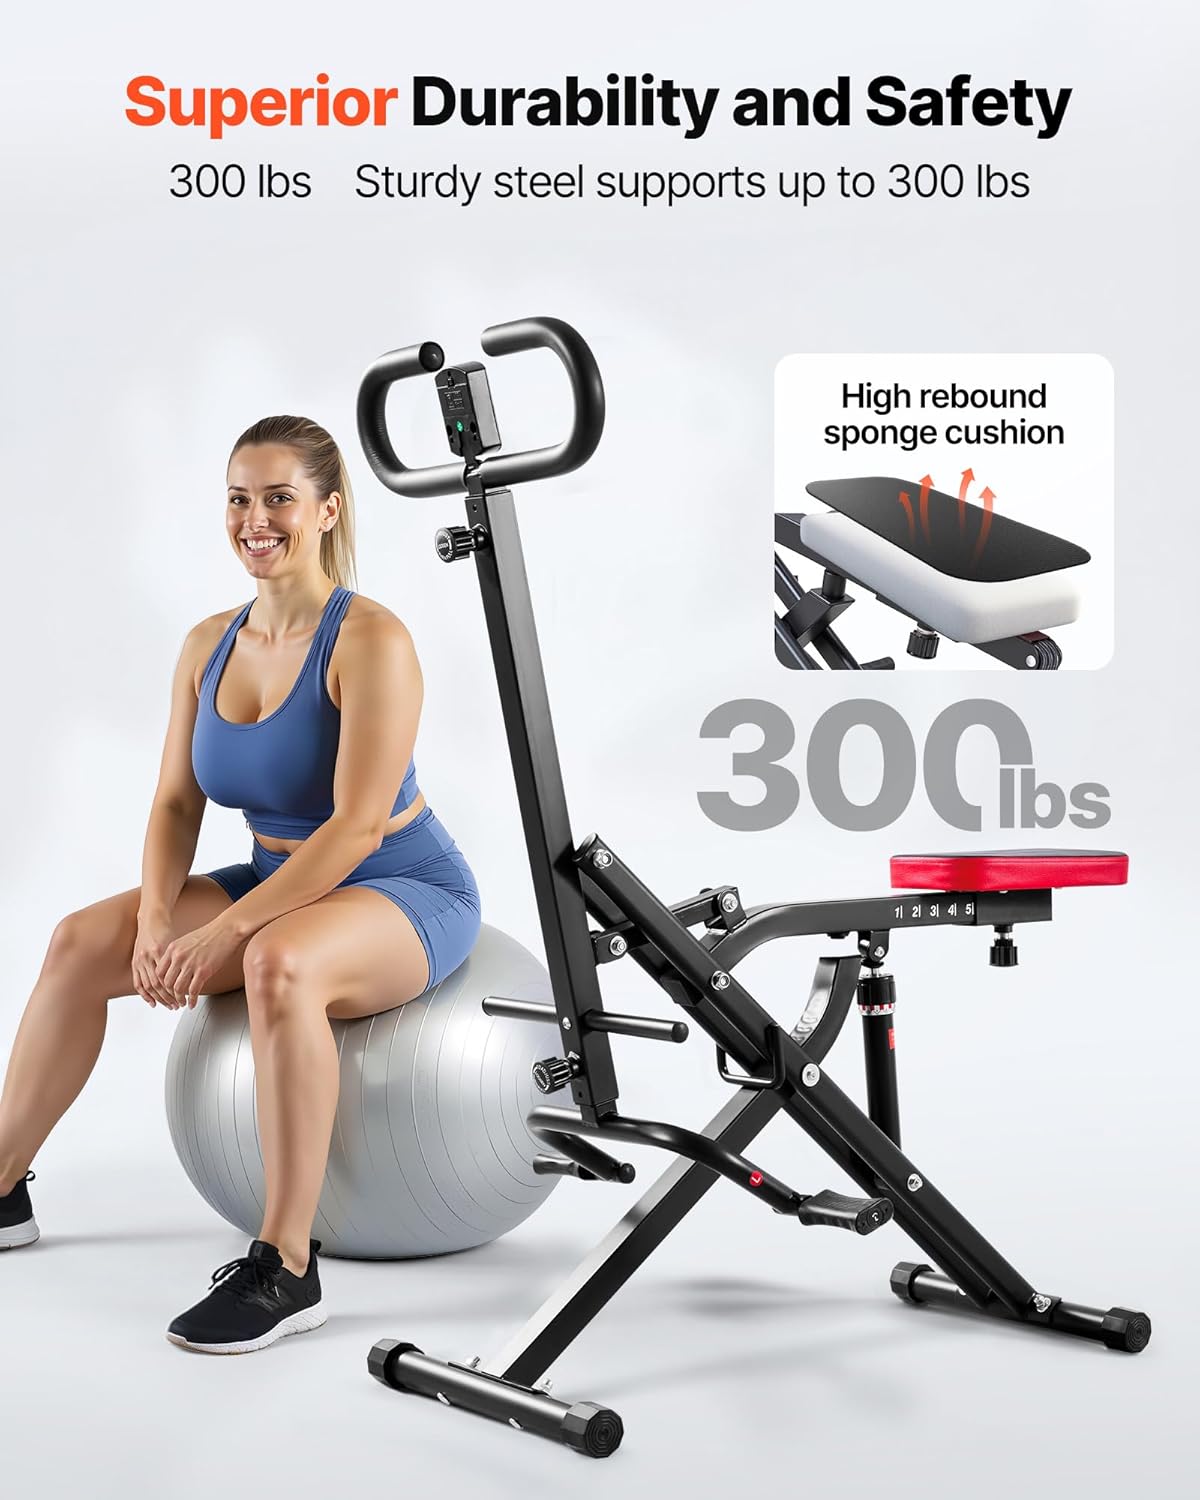
Figure 1: All components included in the package.
4. Assembly Instructions
Follow these steps to assemble your VEVOR Squat and Rowing Machine. For a visual guide, please refer to the installation video below.
Video 1: Step-by-step installation guide for the VEVOR Squat Machine.
- Attach the Main Frame: Connect the two main frame sections using the provided bolts and wrenches. Ensure they are securely fastened.
- Install the Hydraulic Cylinder: Secure the hydraulic resistance cylinder to the designated points on the main frame.
- Assemble the Seat Mechanism: Attach the seat support arm to the main frame, ensuring the adjustment mechanism is correctly aligned.
- Mount the Seat: Place the padded seat onto the seat support arm and secure it with the appropriate fasteners.
- Attach the Handlebars: Insert the handlebar assembly into the top of the main frame and secure it with the provided pin and knob.
- Install Footrests: Attach the footrests to the lower part of the frame.
- Connect the Counter: Mount the LCD counter onto the handlebar assembly.

Figure 2: Assembling the main frame components.
5. Operating Instructions
5.1 Adjusting the Seat Length
The seat length can be adjusted across 5 levels to accommodate users of various heights and to target different muscle groups. To adjust, locate the spring turnbuckle beneath the seat, pull it out, slide the seat to your desired position (1-5), and release the turnbuckle to lock it in place.

Figure 3: Seat length adjustment mechanism.
5.2 Adjusting Resistance
The machine is equipped with a 12-level adjustable hydraulic cylinder to customize your workout intensity. Rotate the knob on the hydraulic cylinder to increase or decrease resistance. Higher numbers indicate greater resistance.

Figure 4: Hydraulic resistance adjustment.
5.3 Using the LCD Counter
The built-in LCD counter tracks your workout progress in real-time. It displays metrics such as time, count (reps), and estimated calories burned. Use the button on the counter to cycle through display modes or reset values.

Figure 5: LCD counter display.
5.4 Performing Exercises
The VEVOR Squat and Rowing Machine is designed to facilitate deep squats and rowing movements, engaging glutes, legs, core, and upper body muscles. Maintain proper form throughout your workout. Keep your back straight, engage your core, and control the movement both on the way down and up.
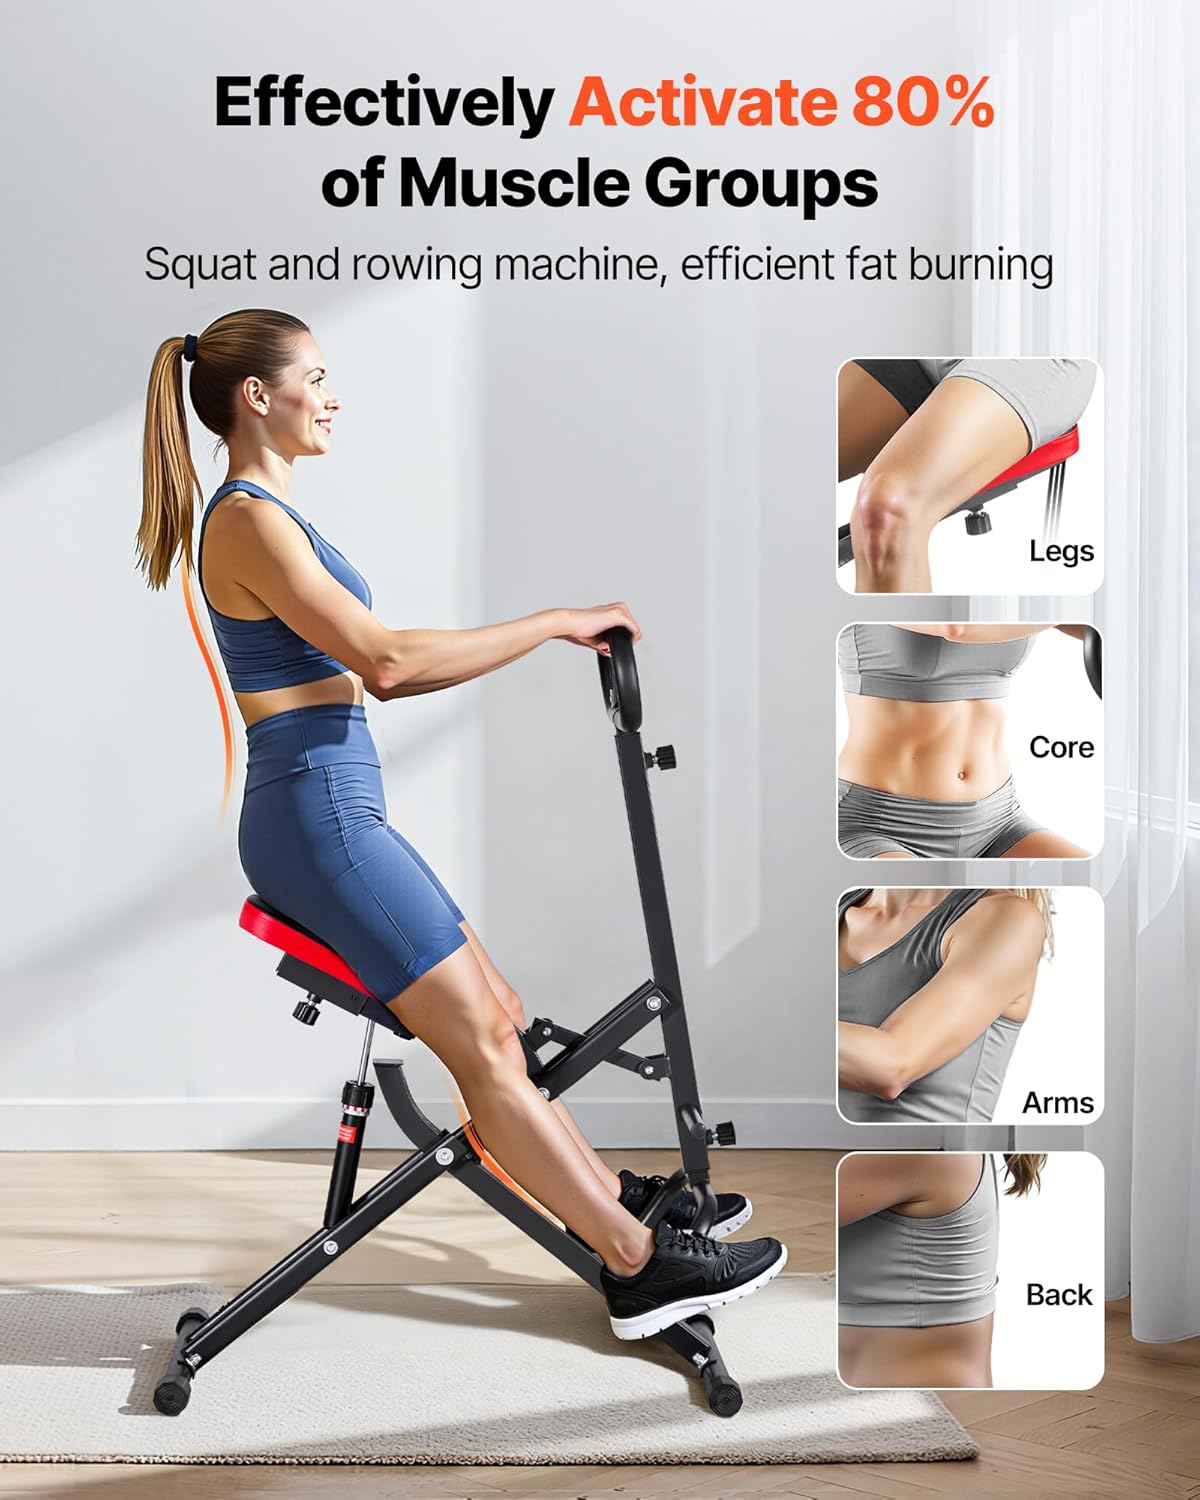
Figure 6: Proper exercise form on the machine.
6. Maintenance
- Cleaning: Wipe down the machine with a damp cloth after each use to remove sweat and dust. Avoid abrasive cleaners.
- Inspection: Regularly check all bolts, nuts, and moving parts for tightness and wear. Tighten any loose fasteners.
- Lubrication: The hydraulic cylinder is maintenance-free. No additional lubrication is required for the main moving parts.
7. Storage
The VEVOR Squat and Rowing Machine features a foldable design for convenient storage. To fold, lift the handle grip up and rotate the machine to collapse the frame. This compact footprint allows for easy storage in closets, corners, or under beds, making it ideal for small spaces.

Figure 7: Foldable design for space-saving storage.
8. Troubleshooting
- Machine feels unstable: Ensure the machine is on a flat surface. Check all bolts and nuts for tightness.
- Resistance not changing: Verify that the hydraulic cylinder adjustment knob is correctly engaged and rotated to the desired level.
- LCD Counter not working: Check if the counter requires batteries (though typically battery-free for this model, verify connections). Ensure it is properly mounted.
9. Specifications
| Feature | Specification |
|---|---|
| Model Name | Squat Machine |
| Brand | VEVOR |
| Color | Black |
| Material | Alloy Steel |
| Resistance Mechanism | Hydraulic |
| Maximum Weight Recommendation | 300 Pounds |
| Item Weight | 25.8 Pounds |
| Number of Resistance Levels | 12 |
| Item Package Dimensions L x W x H | 36.61 x 11.02 x 8.27 inches |
| Item Dimensions LxWxH (Unfolded) | 22.83 x 35.43 x 44.09 inches |

Figure 8: Product dimensions and specifications.
10. Warranty and Support
For warranty information or technical support, please refer to the contact details provided with your purchase or visit the official VEVOR website. Keep your purchase receipt as proof of purchase.