1. Introduction
Thank you for purchasing the AGLUCKY Countertop Portable Ice Maker. This appliance is designed to provide convenient and efficient ice production for various settings, including your home, kitchen, office, bar, or party. Please read this manual thoroughly before operating the ice maker to ensure safe and optimal performance. Keep this manual for future reference.
2. Important Safety Instructions
- Read all instructions before use.
- Do not operate any appliance with a damaged cord or plug, or after the appliance malfunctions or has been damaged in any manner.
- Do not immerse the power cord, plug, or any part of the appliance in water or other liquids.
- Ensure the appliance is placed on a stable, level surface away from heat sources and direct sunlight.
- Use only potable water in the ice maker.
- Unplug the appliance before cleaning or when not in use.
- Keep children away from the ice maker during operation.
- DANGER – Risk of Fire or Explosion: Flammable Refrigerant Used. Do Not Use Mechanical Devices To Defrost Ice Maker. Do Not Puncture Refrigerant Tubing.
3. Product Overview
The AGLUCKY Ice Maker is a compact and efficient unit designed for ease of use. It features a transparent lid, allowing you to monitor the ice-making process.

Figure 1: AGLUCKY Countertop Portable Ice Maker. This image shows the overall design of the ice maker, including its transparent lid, control panel, and the ice basket filled with bullet-shaped ice cubes, alongside an ice scoop.
Components:
- Main Unit: The primary body of the ice maker.
- Transparent Lid: Allows visibility of the ice-making process.
- Control Panel: Features buttons for power, ice size selection, and indicator lights.
- Ice Basket: Removable basket for collecting ice cubes.
- Ice Scoop: For easily serving ice.
- Water Reservoir: Internal tank for water supply.
- Drain Plug: Located at the bottom for water drainage.
4. Setup
- Unpack: Carefully remove the ice maker and all accessories from its packaging.
- Clean: Before first use, clean the interior of the ice maker, including the water reservoir, ice basket, and ice scoop, with a mild detergent and warm water. Rinse thoroughly and dry.
- Placement: Place the ice maker on a flat, stable surface, ensuring adequate ventilation around the unit. Avoid placing it near heat sources or in direct sunlight.
- Power Connection: Plug the power cord into a grounded electrical outlet.
- Fill Water Reservoir: Open the transparent lid and fill the water reservoir with potable water up to the "MAX" fill line. Do not overfill.
5. Operating Instructions
Initial Operation:
- Ensure the water reservoir is filled.
- Press the ON/OFF button to start the ice-making cycle. The "POWER" indicator light will illuminate.
- Select Ice Size: Press the SELECT button to choose between small (S) or large (L) bullet-shaped ice cubes. The corresponding indicator light will illuminate.
- The ice maker will begin producing ice. The first batch of ice may take slightly longer (approximately 6-12 minutes) and may be smaller or irregular. Discard the first few batches of ice.
- The "ICE FULL" indicator will light up when the ice basket is full, and the machine will pause operation.
- The "ADD WATER" indicator will light up when the water level is low, and the machine will pause operation. Add more water to resume.
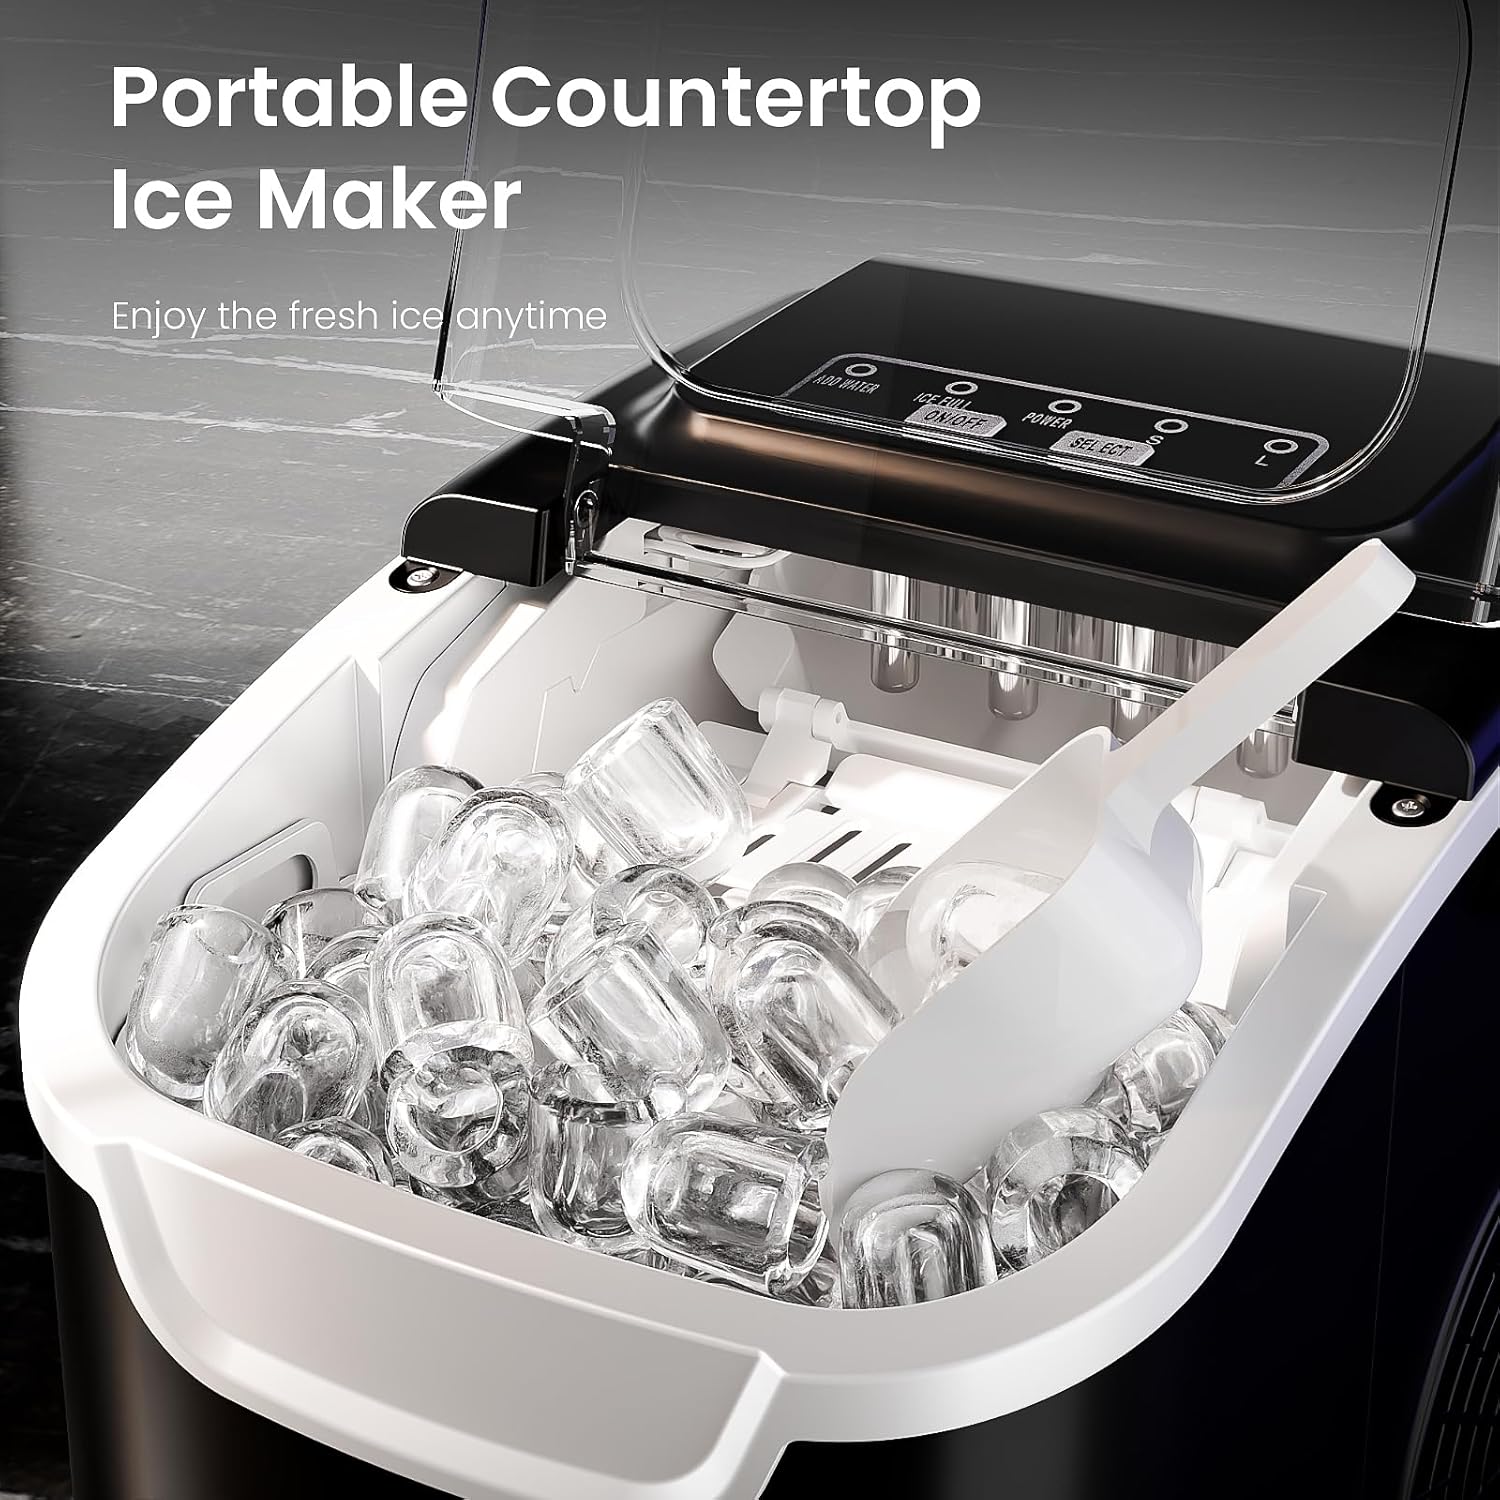
Figure 2: Two Ice Cube Sizes. This image illustrates the two available ice cube sizes: small, suitable for frozen sashimi, and large, ideal for cocktail drinks.
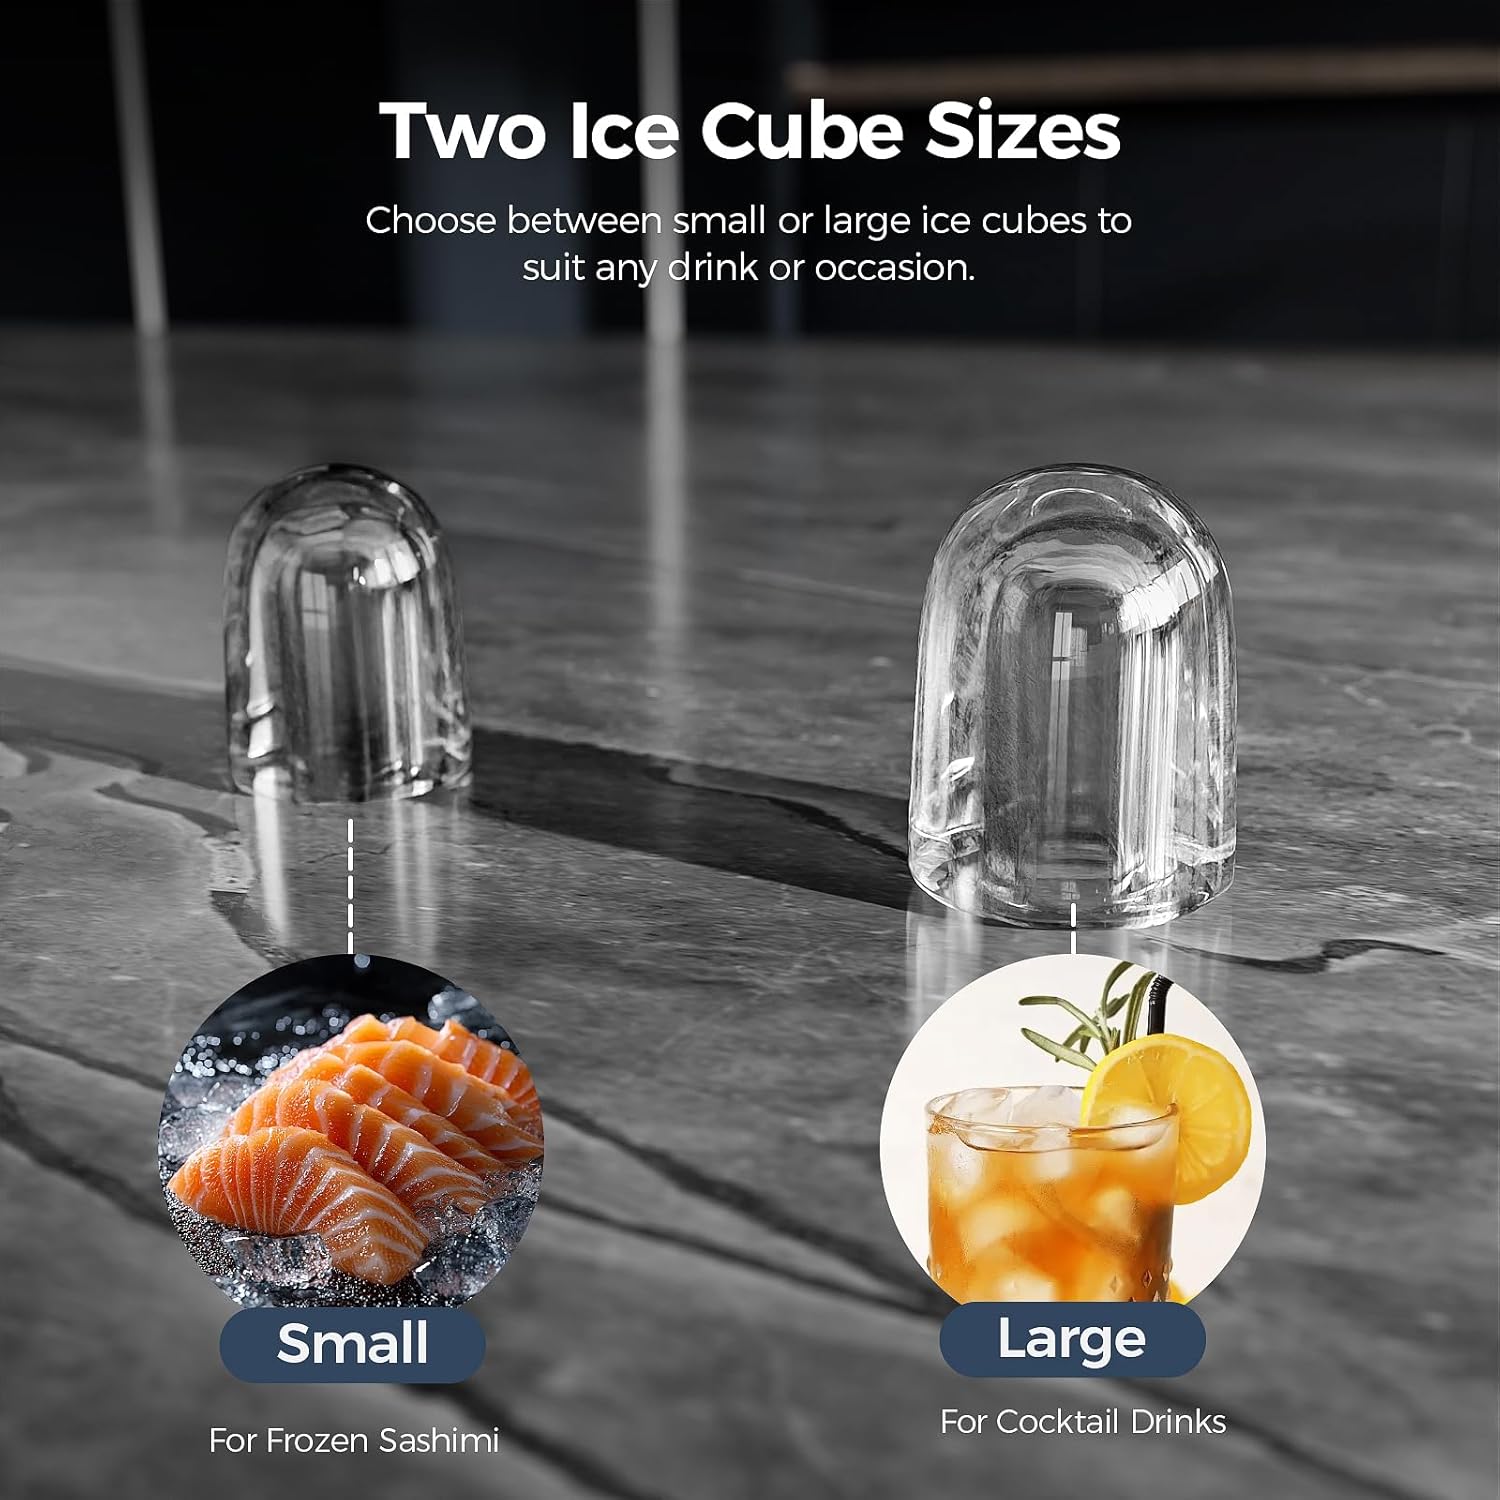
Figure 3: Fast Ice Making. This image highlights the ice maker's efficiency, producing ice in 6 minutes and up to 26.5 pounds per day.
Important Notes:
- The ice maker is not a freezer. Ice will slowly melt if left in the basket. For long-term storage, transfer ice to a freezer.
- The melted water will return to the reservoir and be re-used for ice production.
- The unit operates quietly, ensuring a peaceful environment.

Figure 4: Low Noise Operation. This image indicates the ice maker's quiet operation, with a noise level of 35dB.
6. Maintenance and Cleaning
Self-Cleaning Function:
The AGLUCKY Ice Maker includes a convenient self-cleaning function:
- Ensure the water reservoir is filled with clean water.
- Press and hold the ON/OFF button for 5 seconds to activate the self-cleaning cycle.
- The machine will run a cleaning cycle, circulating water through its internal components.
- Once the cycle is complete, drain the water from the reservoir using the drain plug.

Figure 5: Self-Cleaning Function. This diagram illustrates the process of activating the self-cleaning feature by holding the ON/OFF button for 5 seconds.
General Cleaning:
- Regularly clean the ice basket and ice scoop with warm, soapy water.
- Wipe the exterior of the unit with a soft, damp cloth.
- For thorough cleaning, drain all water from the reservoir and wipe the interior with a clean cloth.
- Ensure all parts are dry before reassembling and storing the unit.
7. Troubleshooting
| Problem | Possible Cause | Solution |
|---|---|---|
| Ice maker not producing ice. | No water in the reservoir. | Fill the water reservoir to the MAX line. |
| "ADD WATER" indicator is on. | Water level is too low. | Add water to the reservoir. |
| "ICE FULL" indicator is on. | Ice basket is full. | Remove ice from the basket. |
| Ice cubes are too small or irregular. | First cycle, or water temperature is too high. | Discard first few batches. Use colder water for faster and firmer ice. |
| Machine is noisy. | Normal operation sounds (compressor, water pump). | Ensure the unit is on a stable, level surface. If noise is excessive or unusual, contact support. |
8. Specifications
- Brand: AGLUCKY
- Model Name: Countertop Ice Maker
- Product Dimensions: 10.39"D x 8.66"W x 11.22"H
- Capacity: 26 Pounds (ice production per day)
- Wattage: 150 watts
- Voltage: 120 Volts
- Refrigerant: R600a
- Ice Production Time: 6-12 minutes per batch (8 cubes)
- Ice Cube Sizes: Small (S) and Large (L) bullet-shaped ice
9. Warranty and Support
For warranty information or technical support, please refer to the warranty card included with your product or contact AGLUCKY customer service directly. Keep your purchase receipt as proof of purchase.
Online Support: Visit the AGLUCKY Store on Amazon for product information and support resources.


