1. Introduction
Thank you for choosing the Hoover HL EH8N1DE-S Heat Pump Tumble Dryer. This appliance is designed to provide efficient and gentle drying for your laundry. This manual provides essential information for the safe installation, operation, and maintenance of your new tumble dryer. Please read these instructions carefully before using the appliance and keep them for future reference.
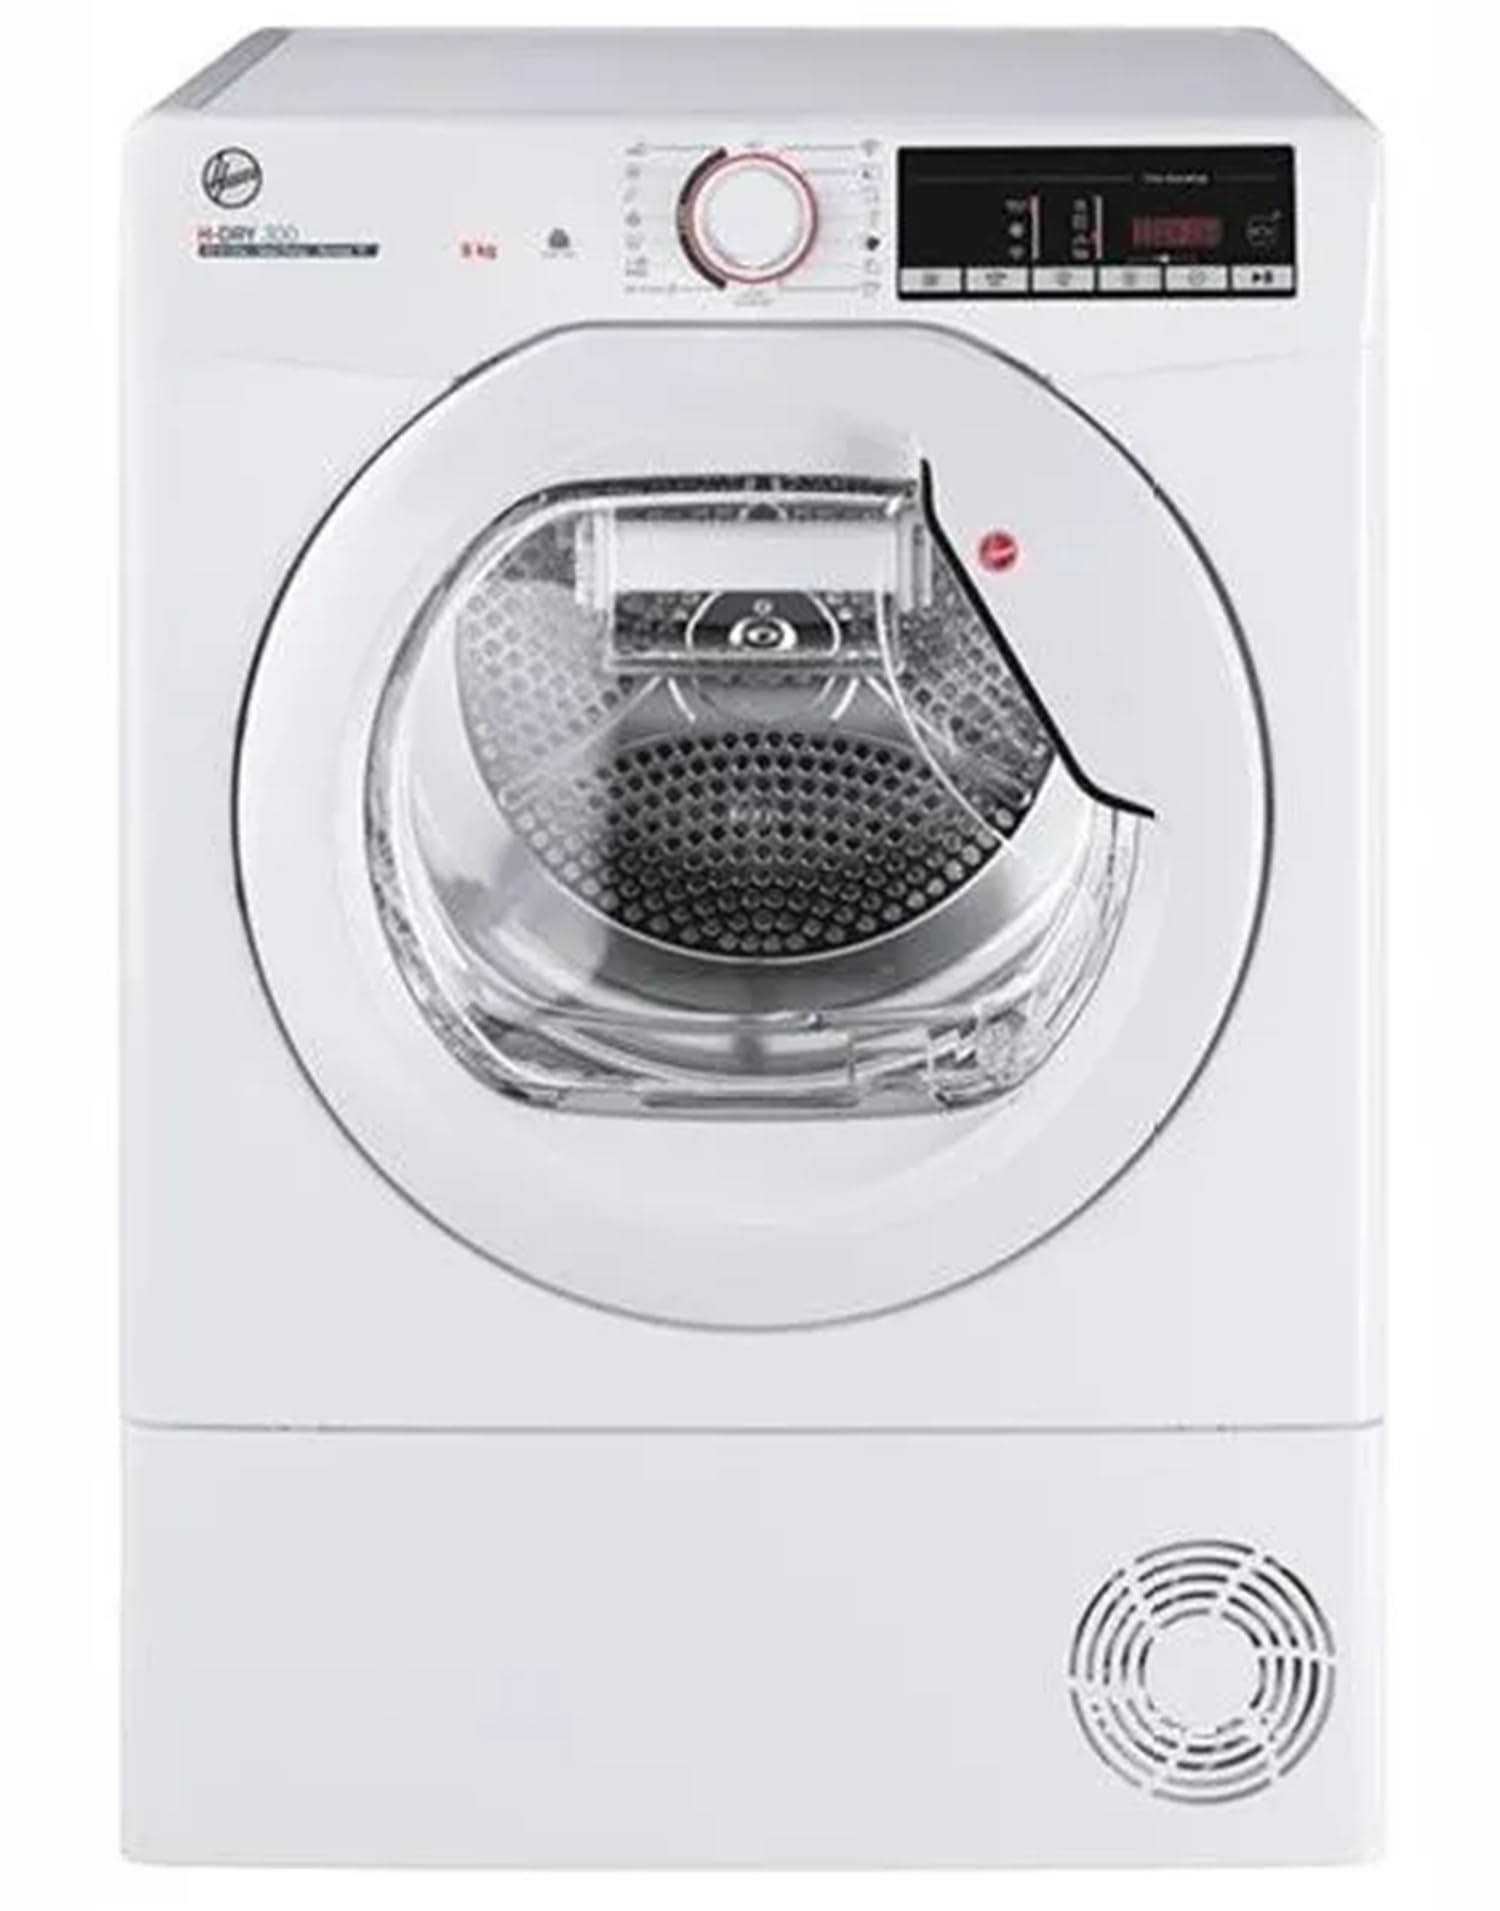
Image 1: Front view of the Hoover HL EH8N1DE-S Heat Pump Tumble Dryer.
2. Safety Information
Always follow basic safety precautions when using electrical appliances to reduce the risk of fire, electric shock, and injury to persons.
- This appliance is intended for household use only.
- Do not allow children to play with the appliance. Supervise children when the appliance is in use.
- Ensure the appliance is properly earthed and connected to a suitable power supply.
- Do not install the appliance in an environment where there is a risk of frost.
- Never block the ventilation openings of the dryer.
- Do not dry unwashed items in the tumble dryer.
- Items that have been soiled with substances such as cooking oil, acetone, alcohol, petrol, kerosene, spot removers, turpentine, waxes, and wax removers should be washed in hot water with an extra amount of detergent before being dried in the tumble dryer.
- Remove all objects from pockets such as lighters and matches.
- Do not attempt to repair the appliance yourself. Contact qualified service personnel.
- Always unplug the appliance before cleaning or performing maintenance.
3. Installation and Setup
3.1 Unpacking
- Carefully remove all packaging materials from the appliance.
- Check for any transport damage. If damaged, do not install or use the appliance. Contact your retailer.
3.2 Positioning
The Hoover HL EH8N1DE-S is a freestanding tumble dryer. Ensure the installation location meets the following requirements:
- Place the dryer on a firm, level floor. Adjust the feet to ensure stability.
- Allow adequate space around the dryer for ventilation. Do not obstruct the air inlets or outlets.
- Do not install the appliance behind a lockable door, a sliding door, or a door with a hinge on the opposite side to that of the tumble dryer, in such a way that a full opening of the tumble dryer door is restricted.
- Dimensions: Height 85 cm, Width 59 cm, Depth 60.7 cm. Ensure sufficient space for opening the door and accessing the water tank.
3.3 Electrical Connection
- Connect the appliance to a properly earthed electrical socket.
- Ensure the voltage and frequency match the specifications on the rating plate of the appliance.
- Do not use extension cords or multiple adapters.
3.4 Water Drainage
This heat pump tumble dryer collects condensed water in a container located in the door. This container must be emptied after each drying cycle. Alternatively, the dryer can be connected to a permanent drain using the supplied drain hose (if applicable) to automatically discharge the water.
4. Operating Instructions
4.1 Control Panel Overview
The control panel features a 3-digit display, program selector dial, and various function buttons. Refer to the markings on your appliance for specific button functions.
4.2 Loading Laundry
- Open the dryer door and load laundry into the drum. Do not overload the dryer; the maximum capacity is 8 kg.
- Ensure items are suitable for tumble drying. Check care labels.
- Close the door firmly.
4.3 Selecting a Program
Turn the program selector dial to choose one of the 15 available drying programs:
- Standard Cottons: For cotton items.
- Whites: For white cottons.
- Jeans: Specific program for denim.
- Darks & Colors: For dark and colored garments.
- Synthetics: For synthetic and mixed fabrics.
- Shirts: For shirts, reducing creases.
- One Touch: Quick program.
- Pre-Iron: Prepares laundry for easier ironing.
- Anti-Odour: Refreshes items and removes odors.
- Certified Wool: Gentle drying for wool items (check garment label).
- Sport Plus: For sportswear.
- Mixed: For mixed loads of cottons and synthetics.
- Anti-Allergy: Helps remove allergens.
- XXL: For large items like duvets or blankets.
- Small Load: For smaller quantities of laundry.
4.4 Adjusting Options
After selecting a program, you can customize it using the function buttons:
- Drying Level: Adjust the desired dryness level (e.g., Iron Dry, Hanger Dry, Cupboard Dry).
- Anti-Crease: Activates an anti-crease phase at the end of the cycle.
- Temperature: Adjusts the drying temperature (if available for the selected program).
- Time: For timed drying programs.
- Delayed Start: Postpone the start of the cycle for up to 24 hours.
- Rapid: Reduces the drying time for certain programs.
- Child Lock: Press and hold the designated button to activate/deactivate the child lock.
4.5 Starting and Ending a Cycle
- Press the Start/Pause button to begin the drying cycle.
- The display will show the remaining time.
- At the end of the cycle, an audible signal may sound, and the display will indicate completion.
- Open the door and remove the laundry.
4.6 NFC Connectivity and Simply-Fi App
Your Hoover HL EH8N1DE-S is equipped with NFC connectivity, allowing you to interact with the appliance via the Hoover Simply-Fi app on your smartphone.
- Download the Hoover Simply-Fi app from your app store.
- Follow the in-app instructions to pair your smartphone with the dryer using NFC.
- The app provides access to over 40 additional programs, remote diagnosis, and usage statistics.
5. Maintenance and Cleaning
Regular maintenance ensures optimal performance and extends the lifespan of your tumble dryer. Always unplug the appliance before cleaning.
5.1 Emptying the Water Container
- The water container is located in the door.
- Empty the container after every drying cycle to prevent the appliance from stopping.
- Pull out the container, empty the water, and reinsert it firmly.
5.2 Cleaning the Lint Filter
- The lint filter is located inside the door opening.
- Clean the filter after every cycle by removing lint and debris.
- Rinse the filter under running water if necessary and ensure it is completely dry before reinserting.
5.3 Cleaning the Condenser Filter
- The condenser filter should be cleaned periodically, typically every few cycles or as indicated by the appliance.
- Refer to your appliance's specific instructions for accessing and cleaning the condenser filter.
5.4 Cleaning the Drum and Exterior
- Wipe the drum interior with a damp cloth if needed.
- Clean the exterior surfaces with a soft, damp cloth. Do not use abrasive cleaners or solvents.
6. Troubleshooting
If you encounter problems with your tumble dryer, consult the following table before contacting service.
| Problem | Possible Cause | Solution |
|---|---|---|
| Dryer does not start | No power supply; Door not closed; Delayed start active; Child lock active. | Check power plug and fuse; Close the door firmly; Deactivate delayed start; Deactivate child lock. |
| Laundry not drying properly | Filter clogged; Water container full; Overloaded dryer; Incorrect program selected. | Clean lint filter; Empty water container; Reduce load size; Select appropriate program. |
| Water leaking | Water container not inserted correctly; Drain hose (if used) not properly connected. | Ensure water container is fully pushed in; Check drain hose connection. |
| Unusual noise | Foreign objects in drum; Appliance not level. | Check drum for foreign objects; Adjust appliance feet to ensure it is level. |
For issues not listed here or if problems persist, utilize the Remote Diagnosis feature via the Simply-Fi app or contact Hoover customer support.
7. Technical Specifications
| Feature | Specification |
|---|---|
| Model Name | HL EH8N1DE-S |
| Brand | Hoover |
| Type | Heat Pump Tumble Dryer |
| Installation Type | Freestanding, Front Load |
| Maximum Load Capacity | 8 kg |
| Energy Class | E |
| Energy Consumption (100 cycles) | 144 kWh |
| Noise Level | 67 dB |
| Condensation Efficiency Class | C |
| Number of Programs | 15 (plus 40+ via app) |
| Connectivity | NFC, Simply-Fi App |
| Display Type | 3 Digit Display |
| Delayed Start | Yes (up to 24h) |
| Water Collection Type | Tank in the Door |
| Drum Volume | 125 L |
| Drum Material | Galvanite |
| Color | White |
| Dimensions (H x W x D) | 85 cm x 59 cm x 60.7 cm |
| Net Weight | 37.9 kg |
8. Warranty and Support
For warranty information, please refer to the warranty card provided with your appliance or visit the official Hoover website for details specific to your region. The product warranty details are subject to local regulations and manufacturer terms.
For technical assistance, spare parts, or customer service, please contact your local Hoover service center or authorized dealer. You can find contact information on the Hoover website or in the documentation supplied with your appliance.
Hoover Official Website: www.hoover.com


