
Introduction
The RANSANX FAN-K11 PWM Fan Controller Hub is designed to provide precise control over your PC's cooling fans. This 6-port hub supports up to six 4-pin PWM fans, offering flexible power input options and manual speed adjustment. It helps optimize airflow, reduce noise, and extend the lifespan of your computer components by maintaining ideal operating temperatures.

This image demonstrates the thermal improvement achieved with optimized cooling, showing a CPU temperature reduction from 90°C to 60°C, preventing overheating and extending component lifespan.
Product Overview
Key Features:
- Precision PWM Speed Control: Adjust fan speeds from 1% to 99% for optimal cooling and quiet operation.
- High-Power 6-Fan Hub: Centralize control for up to six 4-pin fans with a maximum output of 60W (5A at 12V).
- Dual Power Input: Supports both SATA and DC 5.5*2.1mm power inputs for broad compatibility and stable power delivery.
- Manual Knob Adjustment: Intuitive rotary knob for easy speed regulation without complex software.
- Enhanced System Longevity: Helps prevent overheating, reduces dust accumulation, and extends the lifespan of computer components.
Components:

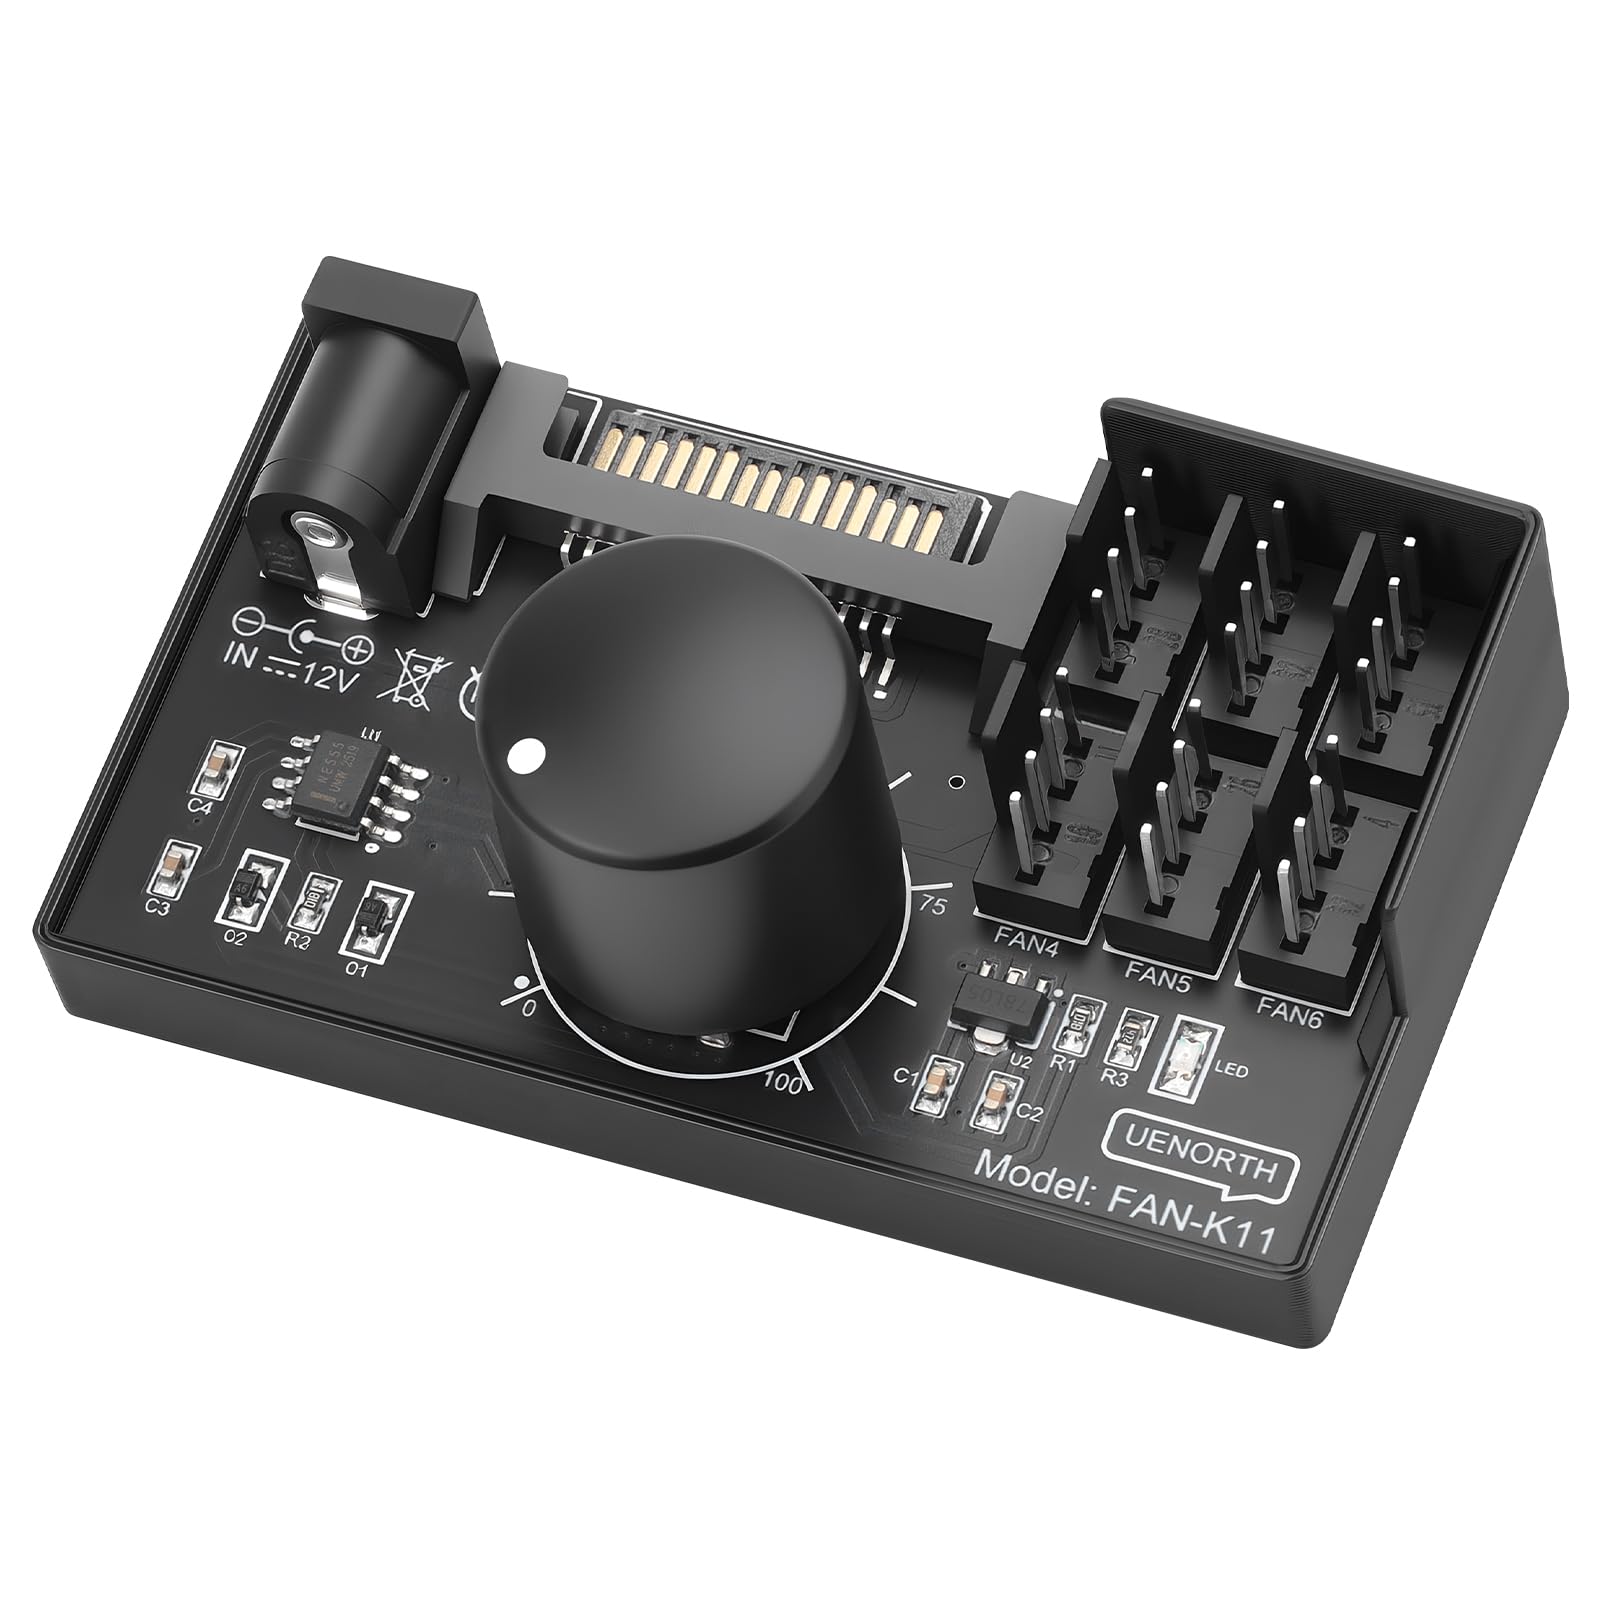
This image displays the RANSANX FAN-K11 hub, showing its six 4-pin fan connectors, designed for centralized fan control.
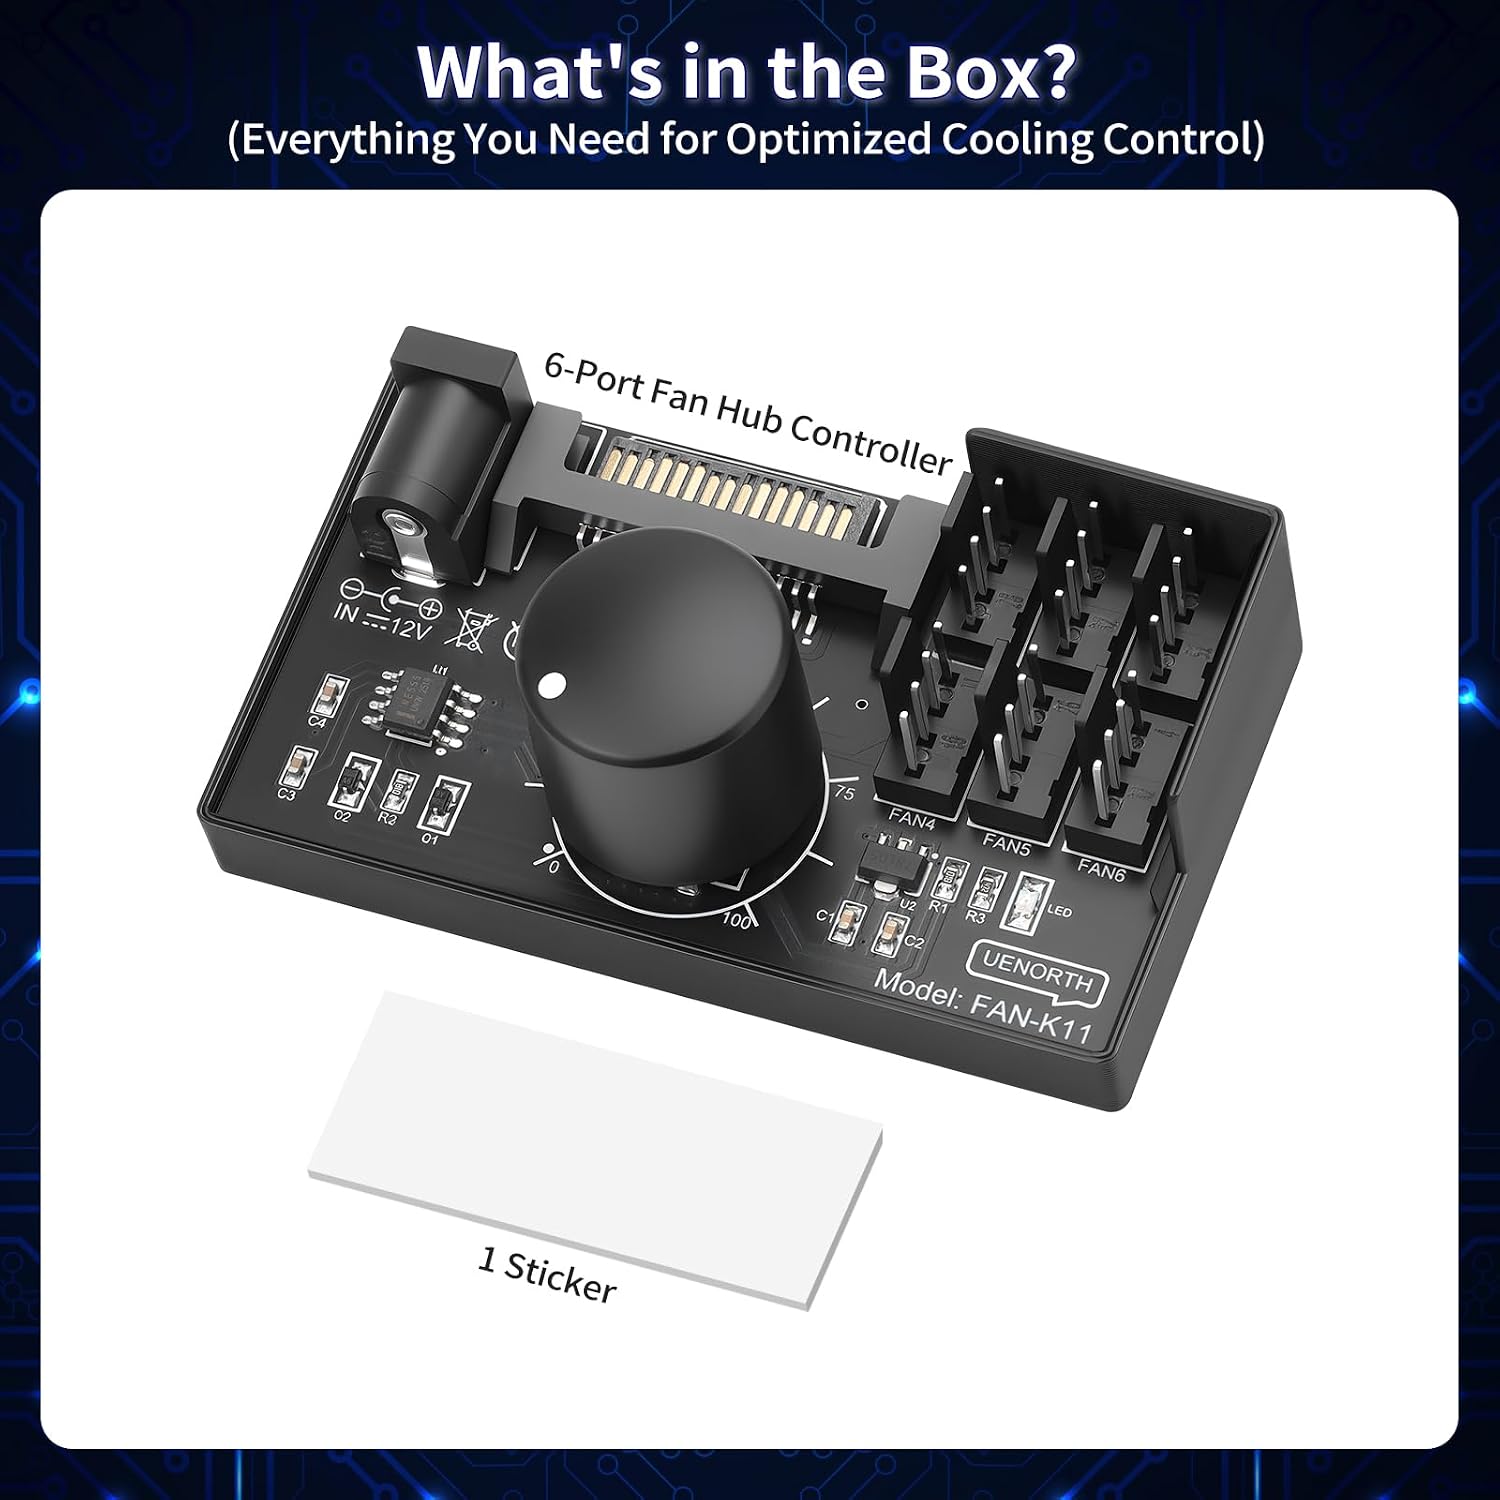
This image illustrates the typical contents of the product packaging, which includes the 6-Port Fan Hub Controller and a sticker.
Dimensions:

This image highlights the compact size of the FAN-K11 controller, with dimensions of 2.76 x 1.57 x 1.1 inches (L*W*H), demonstrating its suitability for installation in various PC cases.
Setup Instructions
- Prepare your system: Ensure your computer is powered off and unplugged from the wall outlet before installation.
- Mount the controller: Find a suitable location within your PC case for the FAN-K11 hub. Its compact size allows for flexible placement.
- Connect power:

This image shows the two power input options: a standard SATA 12V connector for internal PC power supplies and a DC 5.5*2.1mm 12V input for external power sources.
- SATA Power: Connect a SATA power cable from your PC's power supply unit (PSU) to the SATA input port on the FAN-K11 hub. This is the most common method for internal PC use.
- DC 5.5*2.1mm Power: Alternatively, connect a 12V DC power adapter (not included) to the DC 5.5*2.1mm input port. This option is suitable for external setups or specific server configurations. Do not connect both power sources simultaneously.
- Connect fans: Plug your 4-pin PWM fans into the available FAN1-FAN6 ports on the controller hub. Ensure the fan connectors are properly seated. The hub supports up to six fans.
- Cable Management: Route cables neatly to ensure proper airflow and prevent interference with other components.
Operating Instructions
- Power On: After connecting all components, power on your computer.
- Adjust Fan Speed: Use the rotary knob on the FAN-K11 hub to manually adjust the speed of all connected 4-pin PWM fans.
This image highlights the precise PWM fan speed control feature, allowing adjustment from 1% to 99% using the rotary knob.
- Rotate the knob clockwise to increase fan speed (up to 99%).
- Rotate the knob counter-clockwise to decrease fan speed (down to 1%).
- Monitor Performance: Observe your system's temperatures and fan noise levels to find the optimal balance for your needs.
Maintenance
- Dust Removal: Periodically inspect the fan controller and connected fans for dust buildup. Use compressed air or a soft brush to gently clean components. Ensure the system is powered off and unplugged before cleaning.
- Cable Check: Regularly check all cable connections to ensure they are secure and free from damage.
- Environmental Conditions: Operate the controller in a well-ventilated area, away from excessive heat, humidity, and direct sunlight.
Troubleshooting
| Problem | Possible Cause | Solution |
|---|---|---|
| Fans are not spinning. |
|
|
| Fans are spinning at full speed and cannot be adjusted. |
|
|
| Intermittent fan operation. |
|
|
Specifications
| Feature | Detail |
|---|---|
| Model | FAN-K11 |
| Dimensions (L x W x H) | 7L x 4W x 2.8H centimeters (2.76 x 1.57 x 1.1 inches) |
| Fan Interface | 6 x 4-Pin PWM ports |
| Power Input | SATA / DC 5.5*2.1mm (12V) |
| Max Output Power | 60W (5A @ 12V) |
| Adjustment Range | 1-99% PWM Duty Cycle |
| Control Method | Manual Rotary Knob |
| Cable Length | 1.45m |
| Color | Black |
Warranty and Support
No specific warranty or support information is provided in the product details. For assistance, please refer to the retailer or manufacturer's website.