
Bettdow AC1053
Bettdow AC1053 Smart Projector User Manual
Model: AC1053
1. Introduction
Thank you for purchasing the Bettdow AC1053 Smart Projector. This device is designed to deliver a superior viewing experience with its native 1080P resolution, 4K support, and Android 12 operating system. Featuring automatic focus, keystone correction, dual-band WiFi 6, and Bluetooth 5.0, it is suitable for home cinema, outdoor entertainment, and business presentations. Please read this manual carefully before use to ensure proper operation and to maximize the lifespan of your projector.
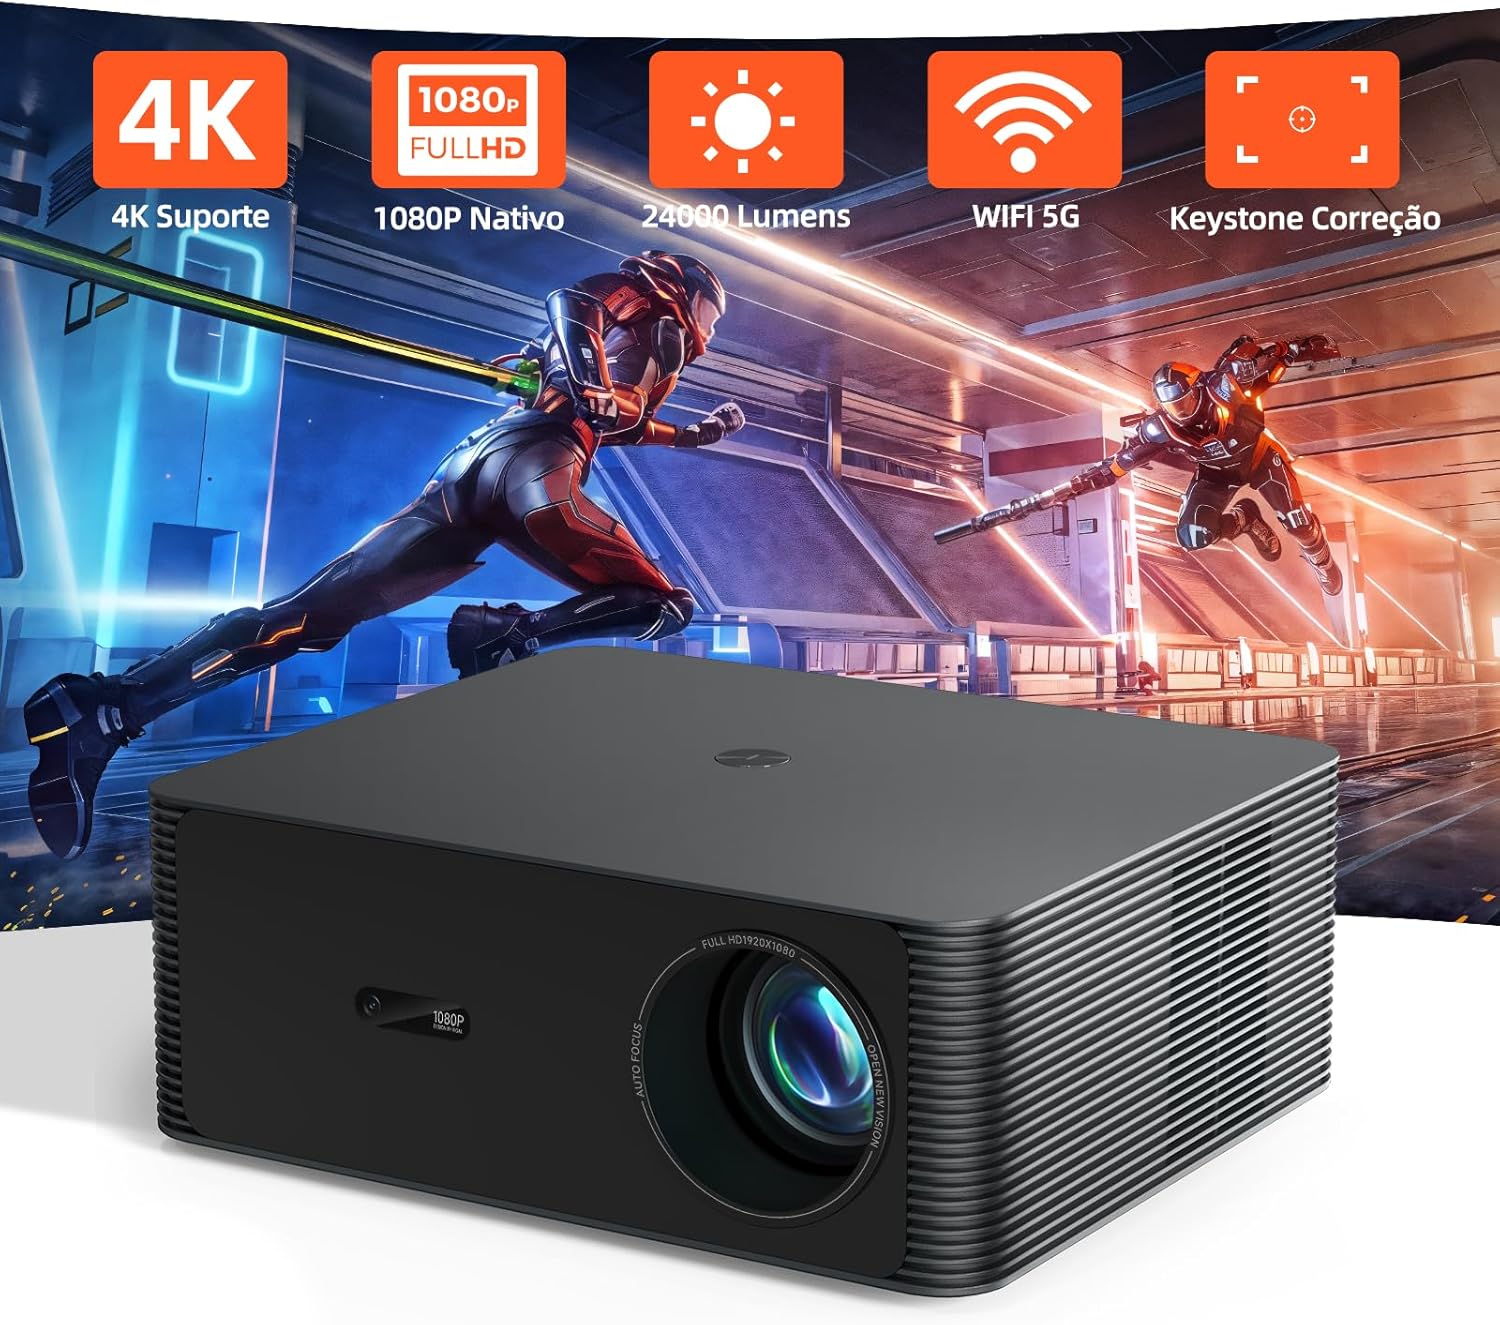
Image 1: Bettdow AC1053 Projector highlighting key features like 4K support, 1080P native resolution, 24000 lumens brightness, 5G WiFi, and keystone correction.
2. Important Safety Instructions
To prevent fire or electric shock, do not expose this appliance to rain or moisture. Do not open the casing to avoid electric shock. Refer all servicing to qualified personnel. Always follow these basic safety precautions:
- Do not block ventilation openings.
- Use only attachments/accessories specified by the manufacturer.
- Unplug the projector during lightning storms or when unused for long periods.
- Protect the power cord from being walked on or pinched.
- Do not look directly into the projector lens when the lamp is on.
- Keep the projector away from water, moisture, and heat sources.
3. Package Contents
Please check that all items are present:
- Bettdow AC1053 Smart Projector
- Remote Control
- Power Cable
- HDMI Cable
- User Manual
4. Product Overview
4.1 Projector Layout
Familiarize yourself with the projector's various ports and controls.
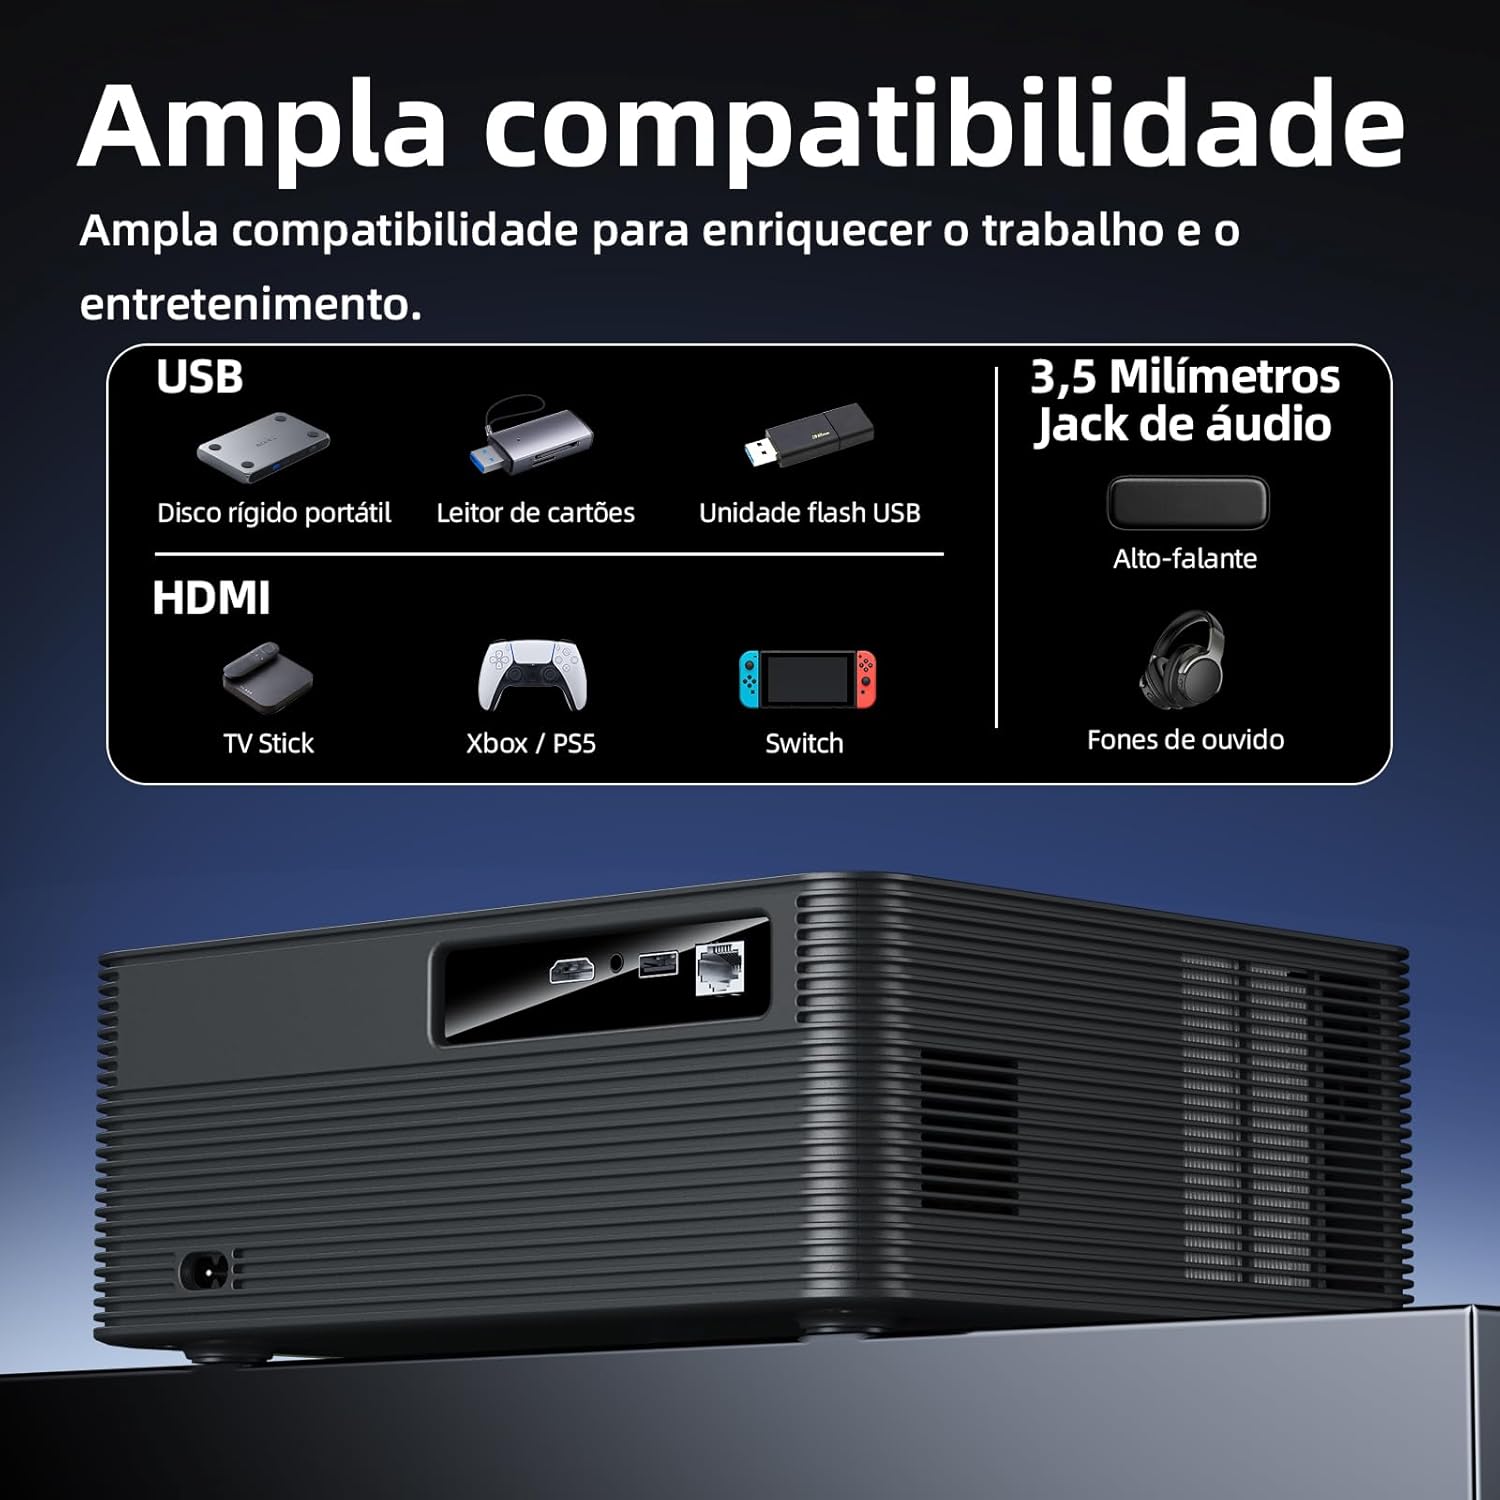
Image 2: Rear panel of the projector displaying various input and output ports including HDMI, USB, AV, and a 3.5mm audio jack for wide compatibility.
4.2 Remote Control
The remote control allows you to navigate the projector's interface and adjust settings from a distance.
5. Setup
5.1 Placement and Projection Distance
The projector offers flexible placement options and can project screen sizes from 40 to 200 inches. The optimal projection distance ranges from 1.1 meters for a 40-inch screen to 5.5 meters for a 200-inch screen.
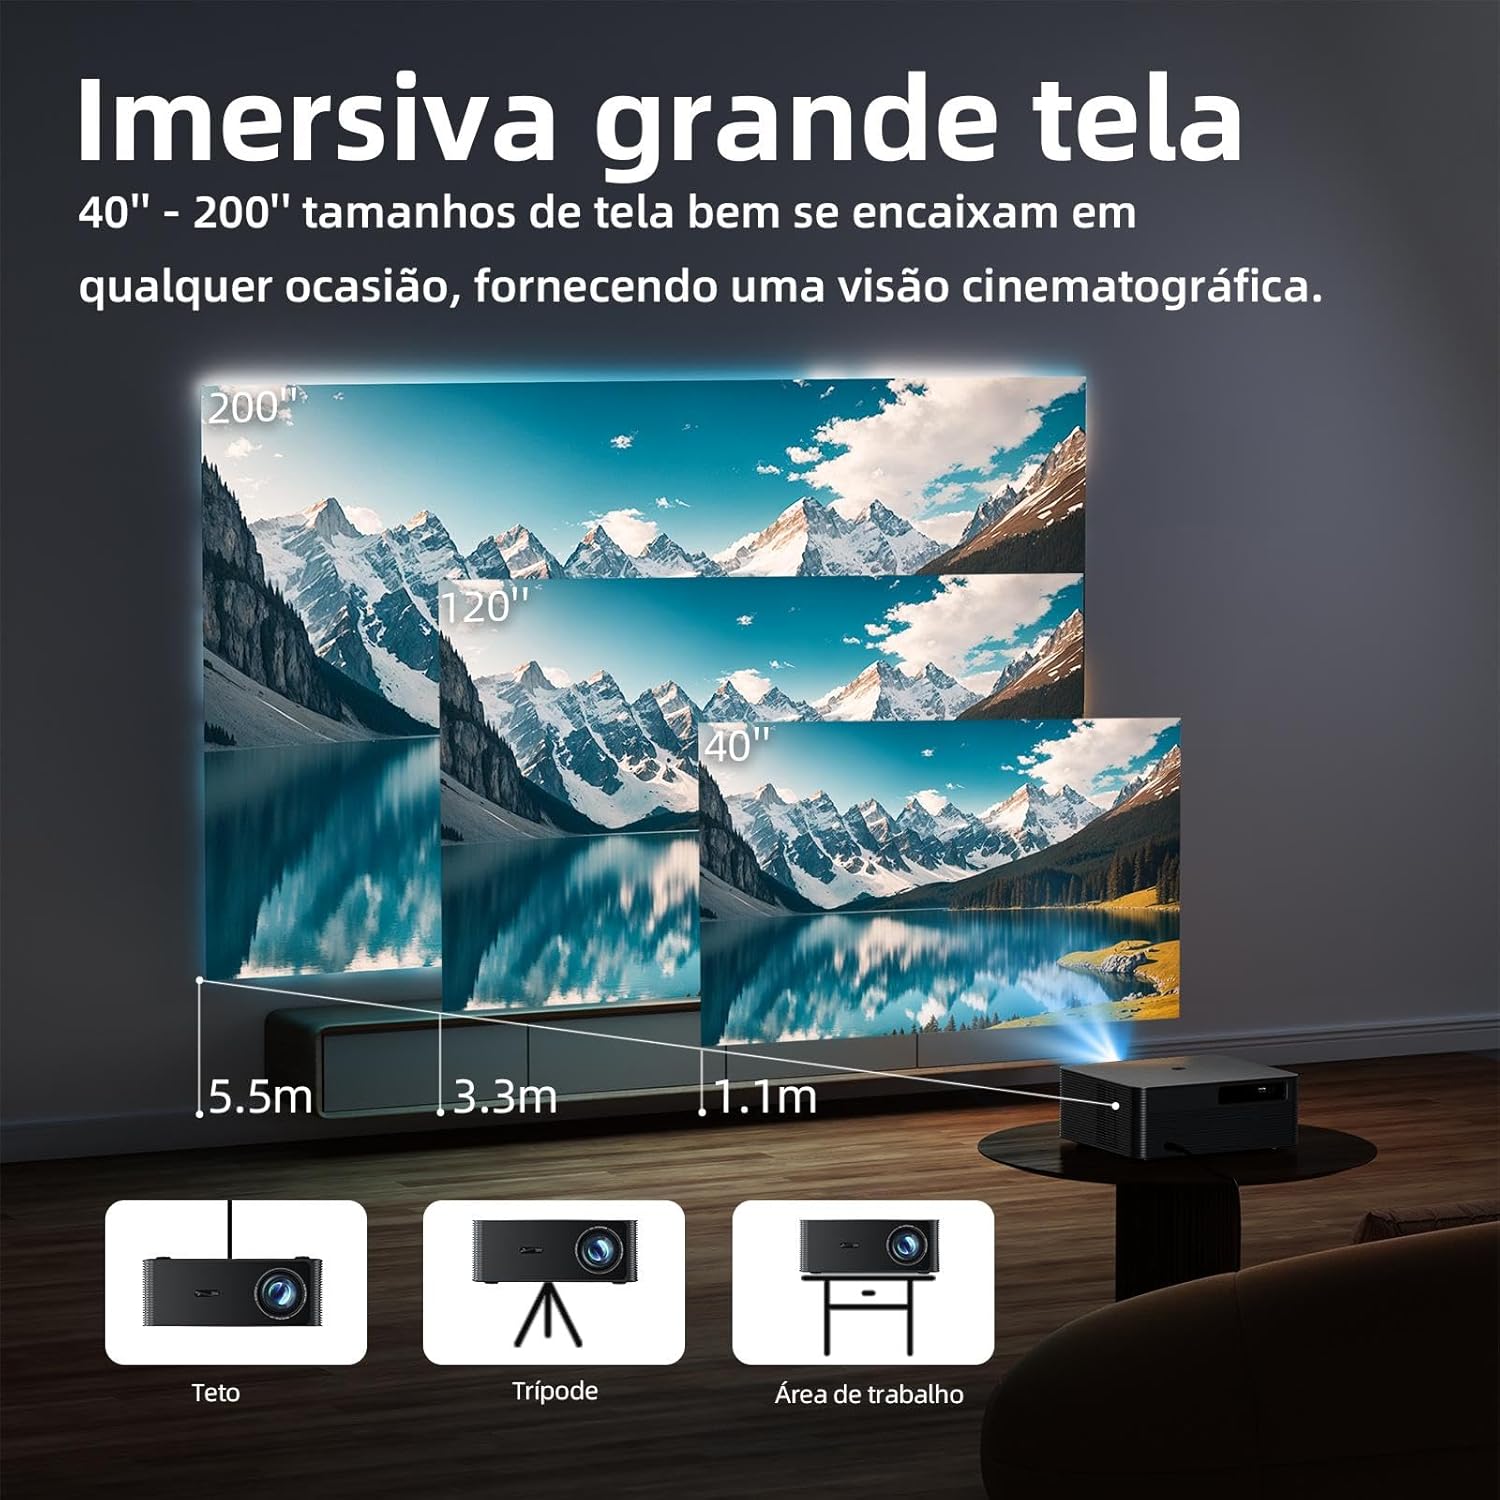
Image 3: Illustration of recommended projection distances for various screen sizes, from 1.1m for 40 inches to 5.5m for 200 inches.
5.2 Power Connection
- Connect the power cable to the projector's power input.
- Plug the other end of the power cable into a power outlet.
- Press the power button on the projector or remote control to turn it on.
5.3 Focus and Keystone Correction
The projector features automatic focus and a ±30-degree keystone correction for a clear, rectangular image from various angles.
- Automatic Focus: The projector will automatically adjust the focus upon startup or movement.
- Manual Focus Adjustment: If needed, use the remote control to fine-tune the focus by rotating the focus button left or right.
- Keystone Correction: The projector automatically corrects trapezoidal distortion. Manual adjustment for ±30 degrees is also available via the remote control for optimal image alignment.

Image 4: Visual representation of the automatic focus and ±30-degree keystone correction capabilities, ensuring a sharp and properly aligned image.
6. Operating Instructions
6.1 Android 12 Smart System
The projector runs on Android 12, providing access to a wide range of applications and streaming services. Navigate the interface using the remote control.

Image 5: The projector's screen showing the Android 12 smart interface, featuring popular streaming applications and a user-friendly layout.
6.2 Connecting External Devices
The projector supports various connectivity options:
- HDMI: Connect TV boxes, DVD players, gaming consoles (Xbox, PS5, Switch), or laptops using an HDMI cable.
- USB: Plug in USB flash drives or portable hard drives to play media files directly.
- AV: Use the AV port for older devices.
- 3.5mm Audio Jack: Connect wired headphones or external speakers.
6.3 Wireless Connectivity (WiFi & Bluetooth)
- WiFi 6 (2.4G+5G): Connect to your home network for online streaming and screen mirroring. Go to Settings > Network > Wi-Fi to connect.
- Bluetooth 5.0: Pair with Bluetooth headphones or speakers for enhanced audio. Go to Settings > Bluetooth to pair devices.
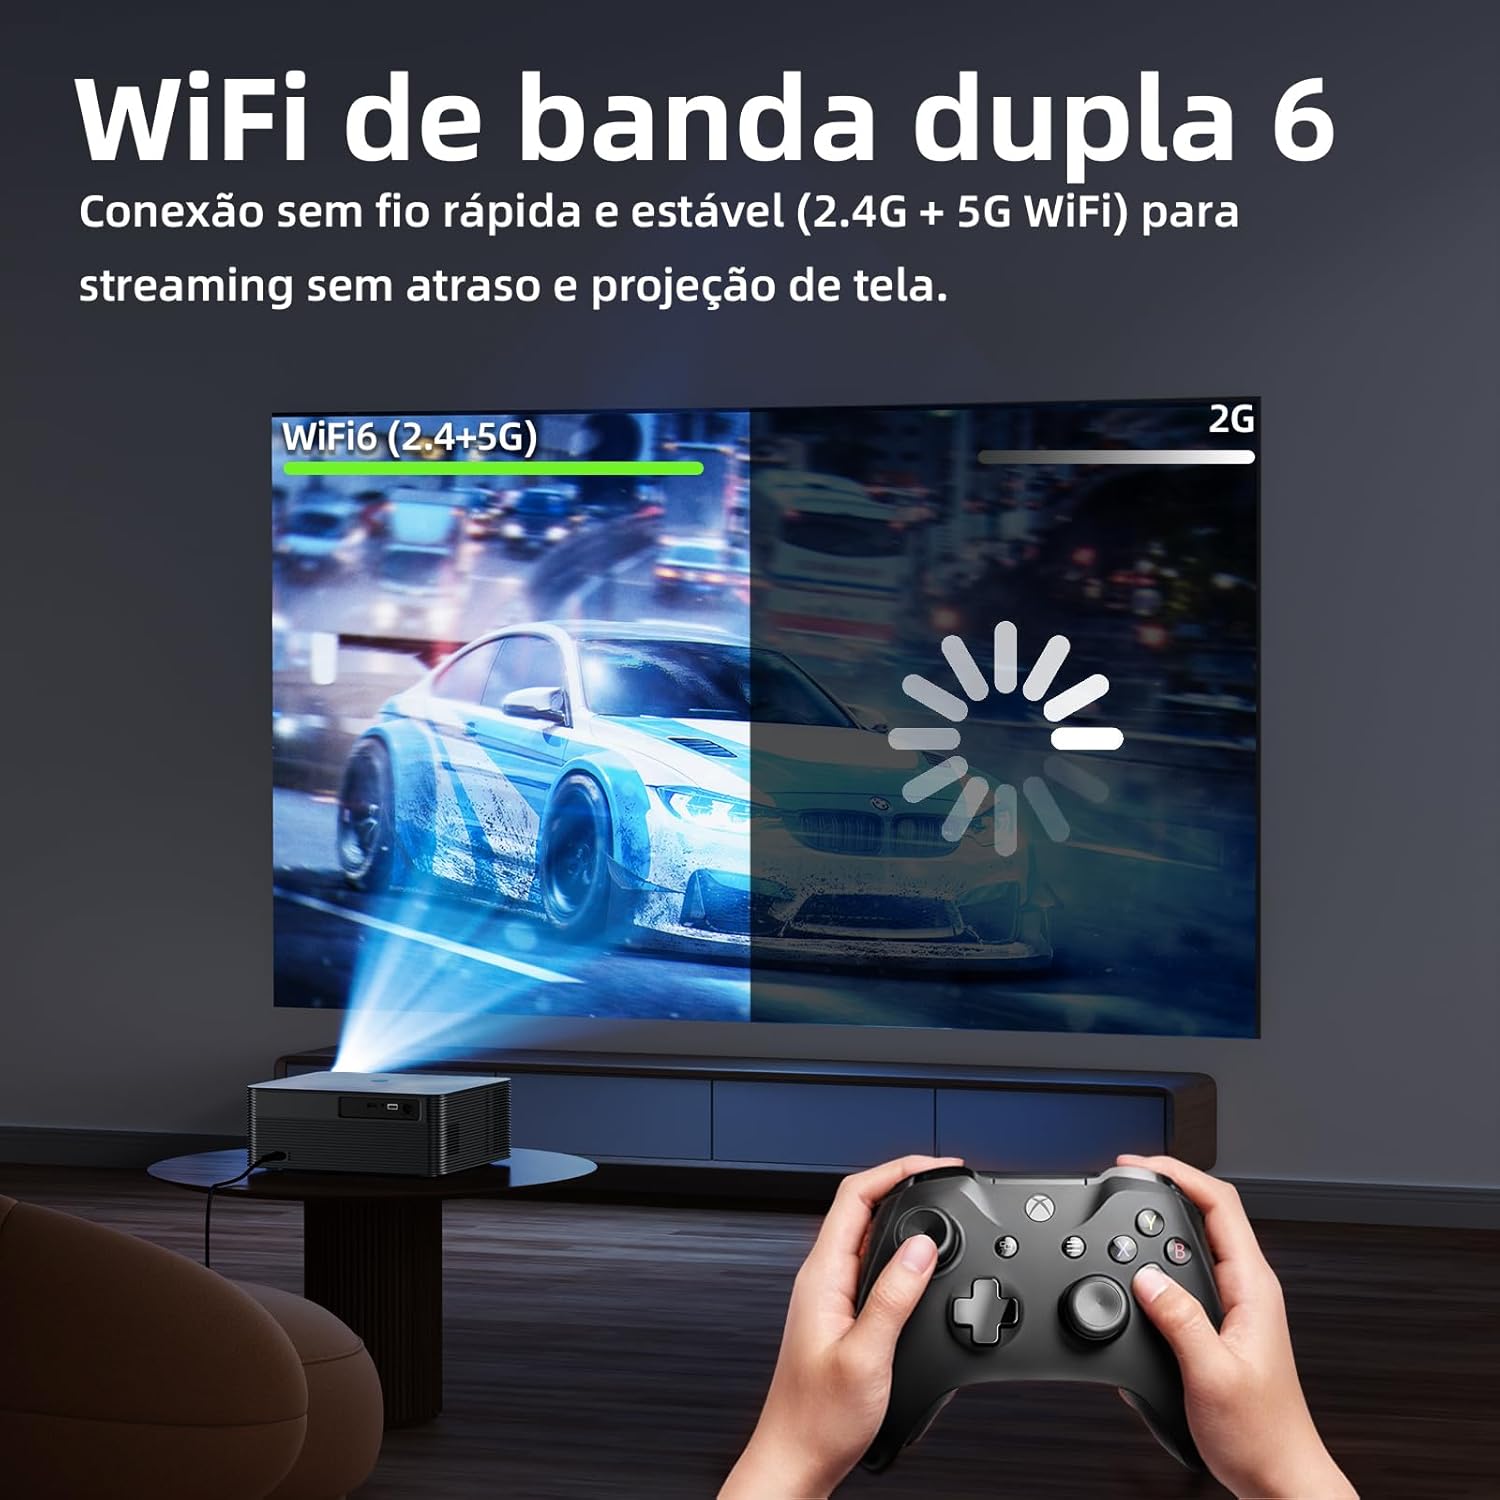
Image 6: Demonstrates the projector's dual-band WiFi 6 capability, ensuring fast and stable wireless streaming and screen projection without lag.
6.4 Audio Output
The projector features two built-in 10W HiFi speakers for powerful and immersive sound. You can also connect external audio devices via the 3.5mm audio jack or Bluetooth.

Image 7: A visual representation of the powerful stereo sound produced by the projector's integrated 8W speakers, designed to fill any room.
7. Maintenance
7.1 Cleaning the Lens
Use a soft, lint-free cloth specifically designed for optical lenses. Do not use abrasive cleaners or solvents.
7.2 Cleaning the Projector Body and Vents
Wipe the projector body with a soft, dry cloth. Use a small brush or compressed air to clean the ventilation openings to prevent dust buildup, which can affect performance and lamp life.

Image 8: Illustration of the projector's efficient heat dissipation system, which contributes to a prolonged lamp life of 20,000 hours and reduces maintenance frequency.
7.3 Storage
When not in use, store the projector in a cool, dry place, away from direct sunlight and extreme temperatures. Cover the lens to protect it from dust.
8. Troubleshooting
| Problem | Possible Cause | Solution |
|---|---|---|
| No image on screen | Power cable not connected; Input source incorrect; Device not powered on. | Check power connection; Select correct input source (HDMI, USB, etc.); Ensure connected device is on. |
| Image is blurry | Focus not adjusted; Projector or screen moved. | Use remote to adjust focus; Ensure projector and screen are stable. |
| Image is distorted (trapezoid) | Projector not perpendicular to screen. | Adjust keystone correction via remote or reposition projector. |
| No sound | Volume too low; Muted; External audio device not connected properly. | Increase volume; Unmute; Check audio cable connections or Bluetooth pairing. |
| Remote control not working | Batteries low/dead; Obstruction between remote and projector. | Replace batteries; Remove obstructions; Point remote directly at the projector's IR receiver. |
9. Specifications
- Brand: Bettdow
- Model Number: AC1053
- Native Resolution: 1920 x 1080 (Full HD)
- Display Resolution Support: Up to 4K
- Brightness: 24000 Lumens (700 ANSI)
- Contrast Ratio: 1500:1
- Operating System: Android 12
- Connectivity Technology: Wi-Fi (2.4G+5G), HDMI, USB, AV, 3.5mm Audio Jack, Bluetooth 5.0
- Special Features: Built-in Wi-Fi, Integrated HiFi Speakers, Automatic Focus, ±30° Keystone Correction
- Projection Distance: 1.1 - 5.5 meters
- Maximum Image Size: 200 inches
- Lamp Life: 20,000 hours
- Compatible Devices: Laptop, Smartphone, Tablet, Speakers, TV Stick, Gaming Consoles
- Mounting Type: Tabletop, Floor, Ceiling, Tripod
- Color: Gray
10. Warranty and Support
10.1 Warranty Information
This Bettdow AC1053 Projector comes with a 1-year warranty from the date of purchase, covering manufacturing defects. Please retain your proof of purchase for warranty claims.
10.2 Customer Support
For technical assistance, troubleshooting, or warranty inquiries, please contact your retailer or the Bettdow customer service. Refer to the contact information provided with your purchase or on the official Bettdow website.
Related documentsAC1053

Ask a question about this manual
Ask about setup, troubleshooting, compatibility, parts, safety, or missing instructions. Manuals+ will review the question and use this page’s manual context to help answer it.