
1. Introduction
Thank you for choosing the realhide 2026 Upgraded 2K Wireless Outdoor Security Camera with Solar Panel. This manual provides essential information for the proper installation, operation, and maintenance of your security camera. Please read it thoroughly before use and retain it for future reference.
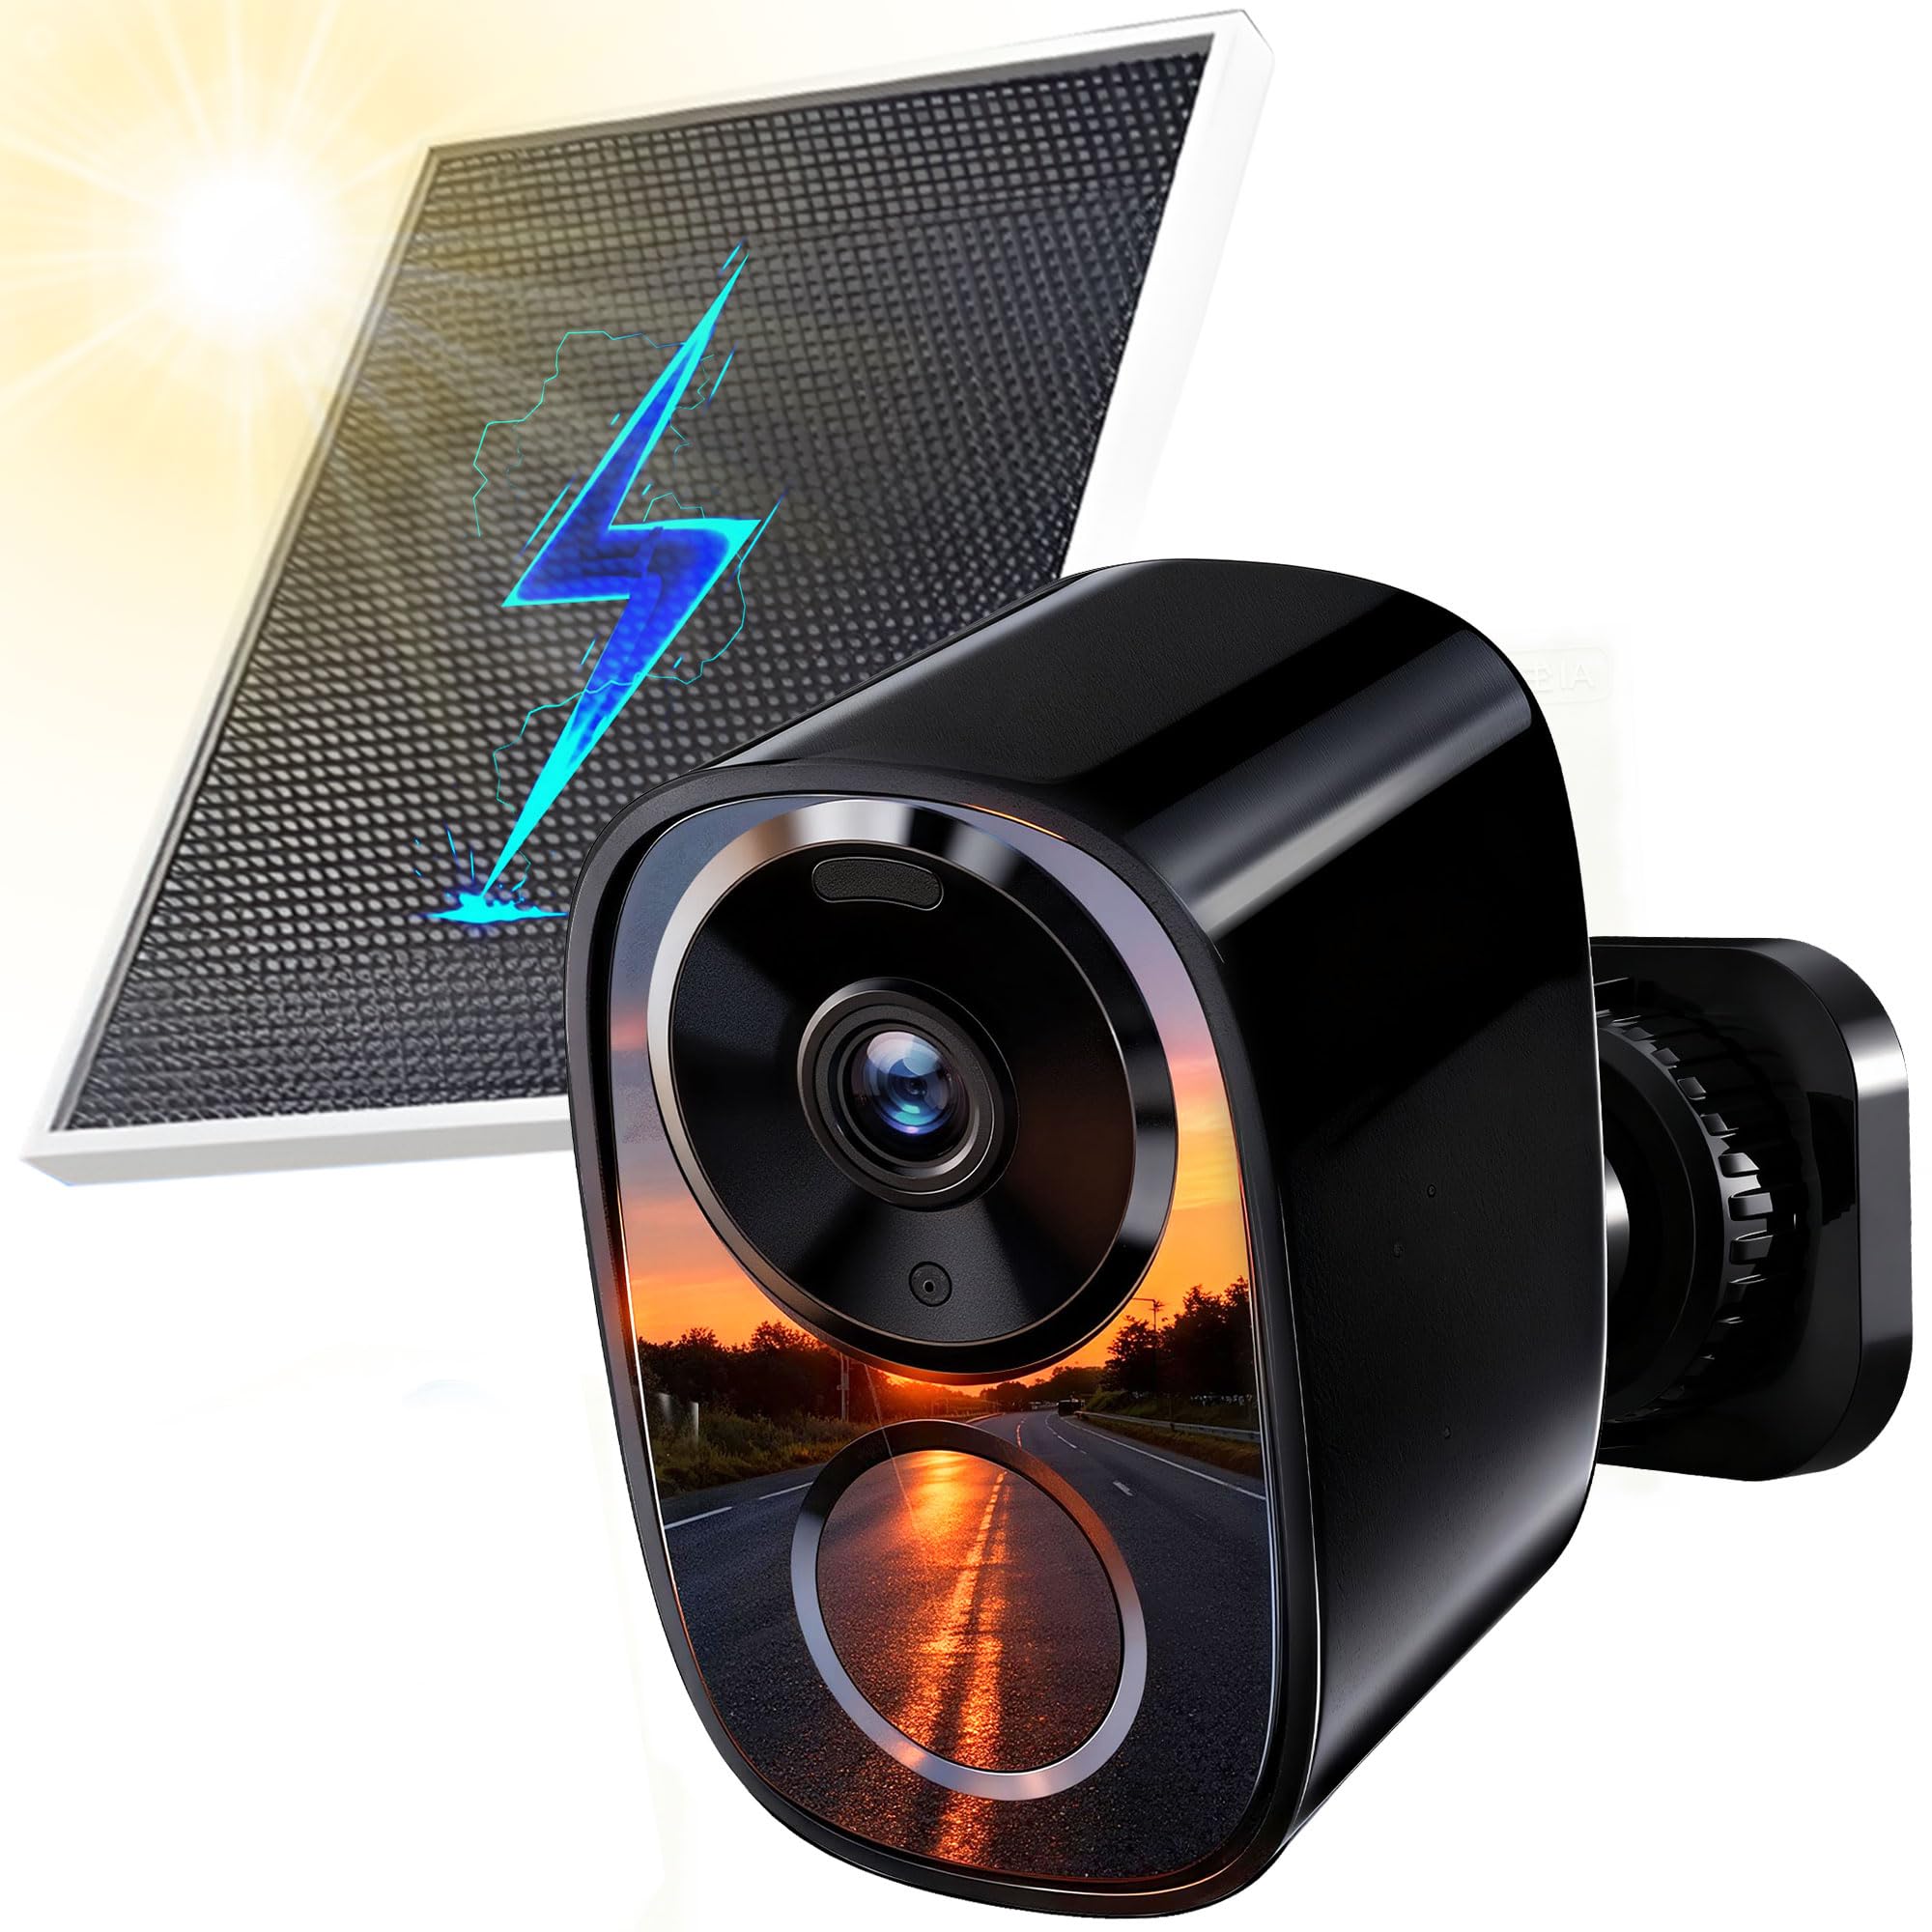
Figure 1.1: realhide 2K Wireless Outdoor Security Camera with Solar Panel. This image displays the main components of the security camera system, including the camera unit and the accompanying solar panel, designed for outdoor surveillance.
2. What's in the Box
Please check the contents of your package. If any items are missing or damaged, contact customer support.
- realhide 2K Wireless Security Camera
- Solar Panel
- Mounting Bracket
- Mounting Screws and Wall Anchors
- USB Charging Cable
- User Manual (this document)
3. Product Overview
Familiarize yourself with the camera's components.
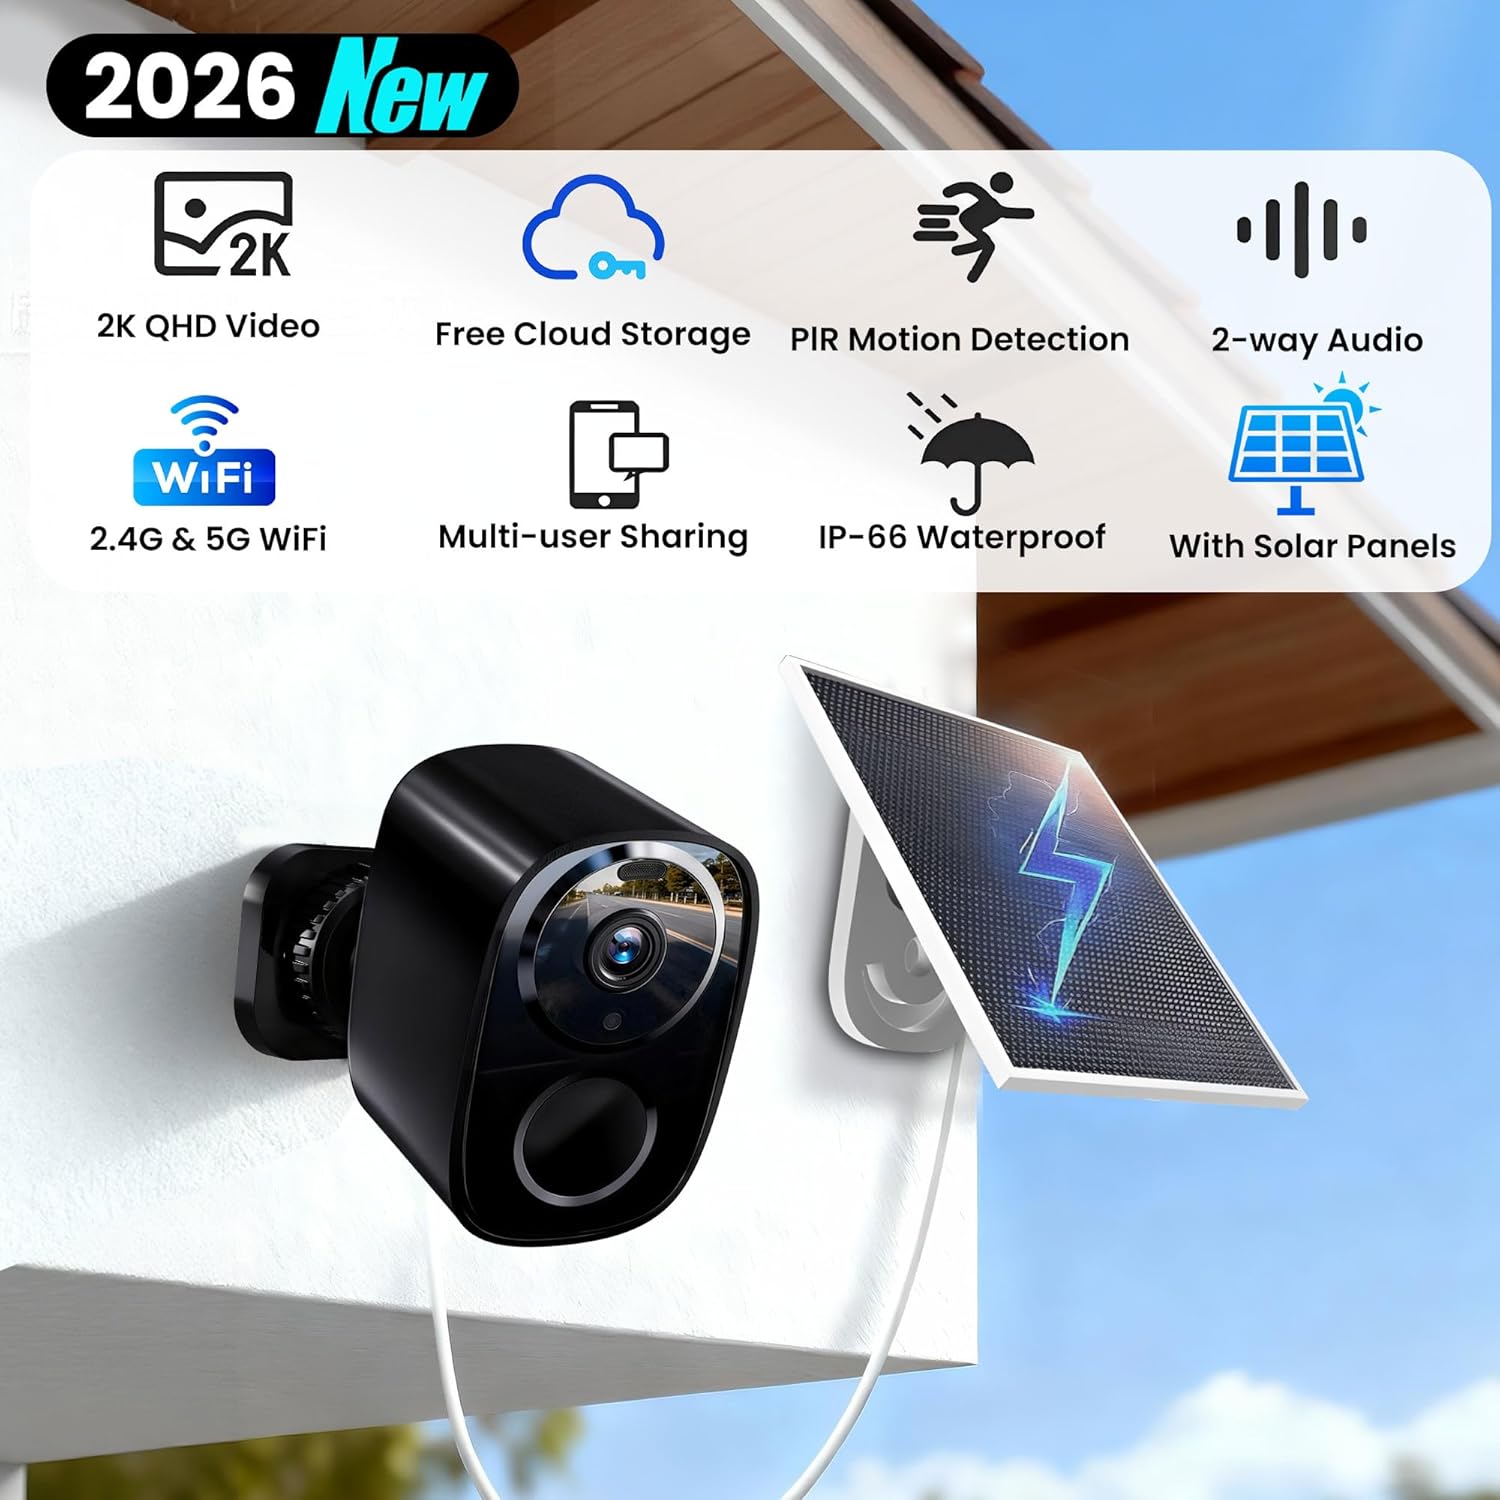
Figure 3.1: Overview of Camera Features. This image highlights key features such as 2K QHD Video, Free Cloud Storage, PIR Motion Detection, 2-way Audio, 2.4G & 5G WiFi support, Multi-user Sharing, IP-66 Waterproof rating, and integration with Solar Panels.
Key Features:
- 2K HD Video & Wide-Angle Night Vision: Captures clear video day and night with a 120° field of view.
- Free Cloud Storage & TF Card Support: Offers complimentary cloud storage and supports up to 256GB TF card (not included).
- Continuous Solar Charging: Solar panel recharges the camera battery for uninterrupted operation.
- Dual-Band WiFi (2.4GHz & 5GHz): Provides a stable and fast wireless connection.
- AI Motion Detection & Instant Alerts: Intelligent motion sensing reduces false alarms and sends real-time notifications.
- Two-Way Talk: Built-in microphone and speaker for remote communication.
- IP66 Waterproof: Designed for outdoor use in various weather conditions.
4. Setup Guide
4.1 Initial Charging
Before first use, fully charge the camera's internal battery using the provided USB cable and a 5V/2A power adapter (not included). The charging indicator light will show the charging status.
4.2 App Installation
- Scan the QR code provided in the quick start guide or search for the designated app (e.g., 'CloudEdge' or similar, refer to packaging) in your smartphone's app store (App Store for iOS, Google Play for Android).
- Download and install the app.
- Register a new account or log in if you already have one.
4.3 Camera Pairing
- Ensure your smartphone is connected to a 2.4GHz or 5GHz Wi-Fi network.
- Open the app and tap 'Add Device' or the '+' icon.
- Follow the on-screen instructions to select your camera model.
- Power on the camera. If prompted, press and hold the reset button for 5 seconds until you hear a prompt or see an indicator light change.
- The app will guide you through connecting the camera to your Wi-Fi network, typically by scanning a QR code displayed on your phone with the camera lens.
- Once connected, name your camera and complete the setup.
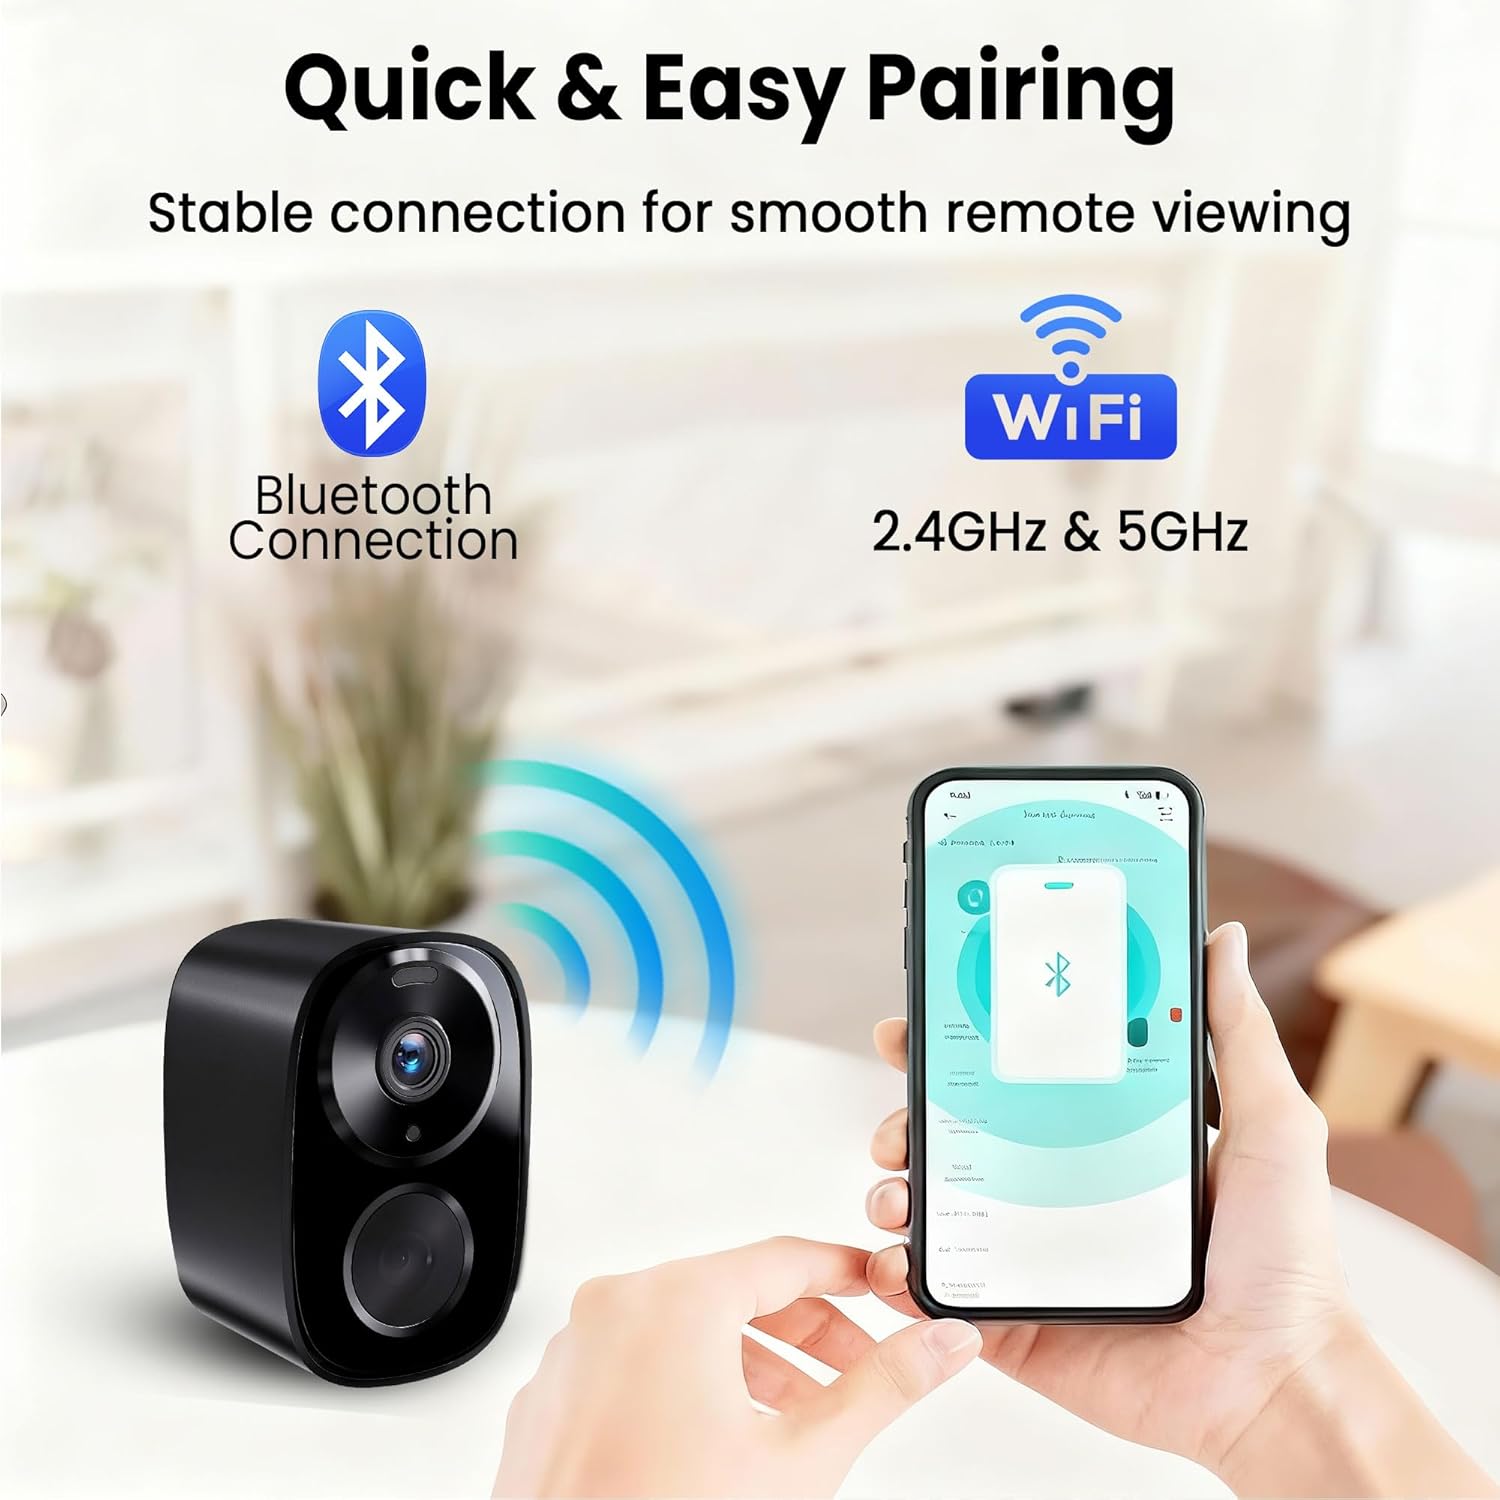
Figure 4.1: Quick and Easy Pairing Process. This image illustrates the camera pairing process using Bluetooth and Wi-Fi (2.4GHz & 5GHz) for a stable connection and smooth remote viewing via a smartphone app.
4.4 Mounting the Camera and Solar Panel
Choose a location with good Wi-Fi signal and direct sunlight exposure for the solar panel.
- Camera Placement: Mount the camera 7-10 feet (2-3 meters) above the ground for optimal motion detection range and coverage.
- Solar Panel Placement: Position the solar panel in an area that receives maximum direct sunlight throughout the day. Adjust the angle for optimal charging.
- Installation: Use the provided mounting bracket, screws, and wall anchors to securely attach the camera and solar panel to a wall or other stable surface. Ensure the solar panel cable is securely connected to the camera's charging port.

Figure 4.2: Camera Installation. This image shows a person installing the security camera on an exterior wall, demonstrating the ease of mounting.

Figure 4.3: IP66 Waterproof Design. This image illustrates the camera and solar panel installed outdoors, showcasing its IP66 waterproof rating and ability to withstand various temperatures from -4°F to 122°F.
5. Operating Instructions
5.1 Live View
Open the app and select your camera from the device list to access the live video feed. You can view real-time footage, take screenshots, or manually record video.
5.2 Recording & Playback
The camera automatically records when motion is detected. Access recorded events through the 'Playback' or 'Event' section in the app. You can filter by date and time to review specific incidents.
5.3 Motion Detection Settings
Navigate to the camera settings in the app to customize motion detection:
- Sensitivity: Adjust the detection sensitivity to reduce false alarms.
- Detection Zone: Set specific areas within the camera's view for motion detection.
- Alert Schedule: Configure specific times when you want to receive motion alerts.

Figure 5.1: AI Motion Detection. This image demonstrates the camera's PIR motion detection capabilities, showing an alert message being sent to a phone when a person is detected, along with options for built-in siren, two-way talk, and motion spotlights.
5.4 Two-Way Audio
While in live view, tap the microphone icon to speak through the camera's speaker. Tap it again to end communication. This allows you to interact with visitors or deter unwanted guests.

Figure 5.2: Two-Way Talk. This image shows a delivery person interacting with the camera, illustrating the two-way audio feature for communication.
5.5 Cloud Storage & TF Card
Your camera supports two storage methods:
- Free Cloud Storage: Enjoy complimentary cloud storage for a limited duration (e.g., 3-day auto loop recording). Access recordings directly from the app.
- TF Card Storage: Insert a TF card (up to 256GB, not included) into the camera's designated slot for local storage. Recordings will be saved to the card and can be accessed via the app.
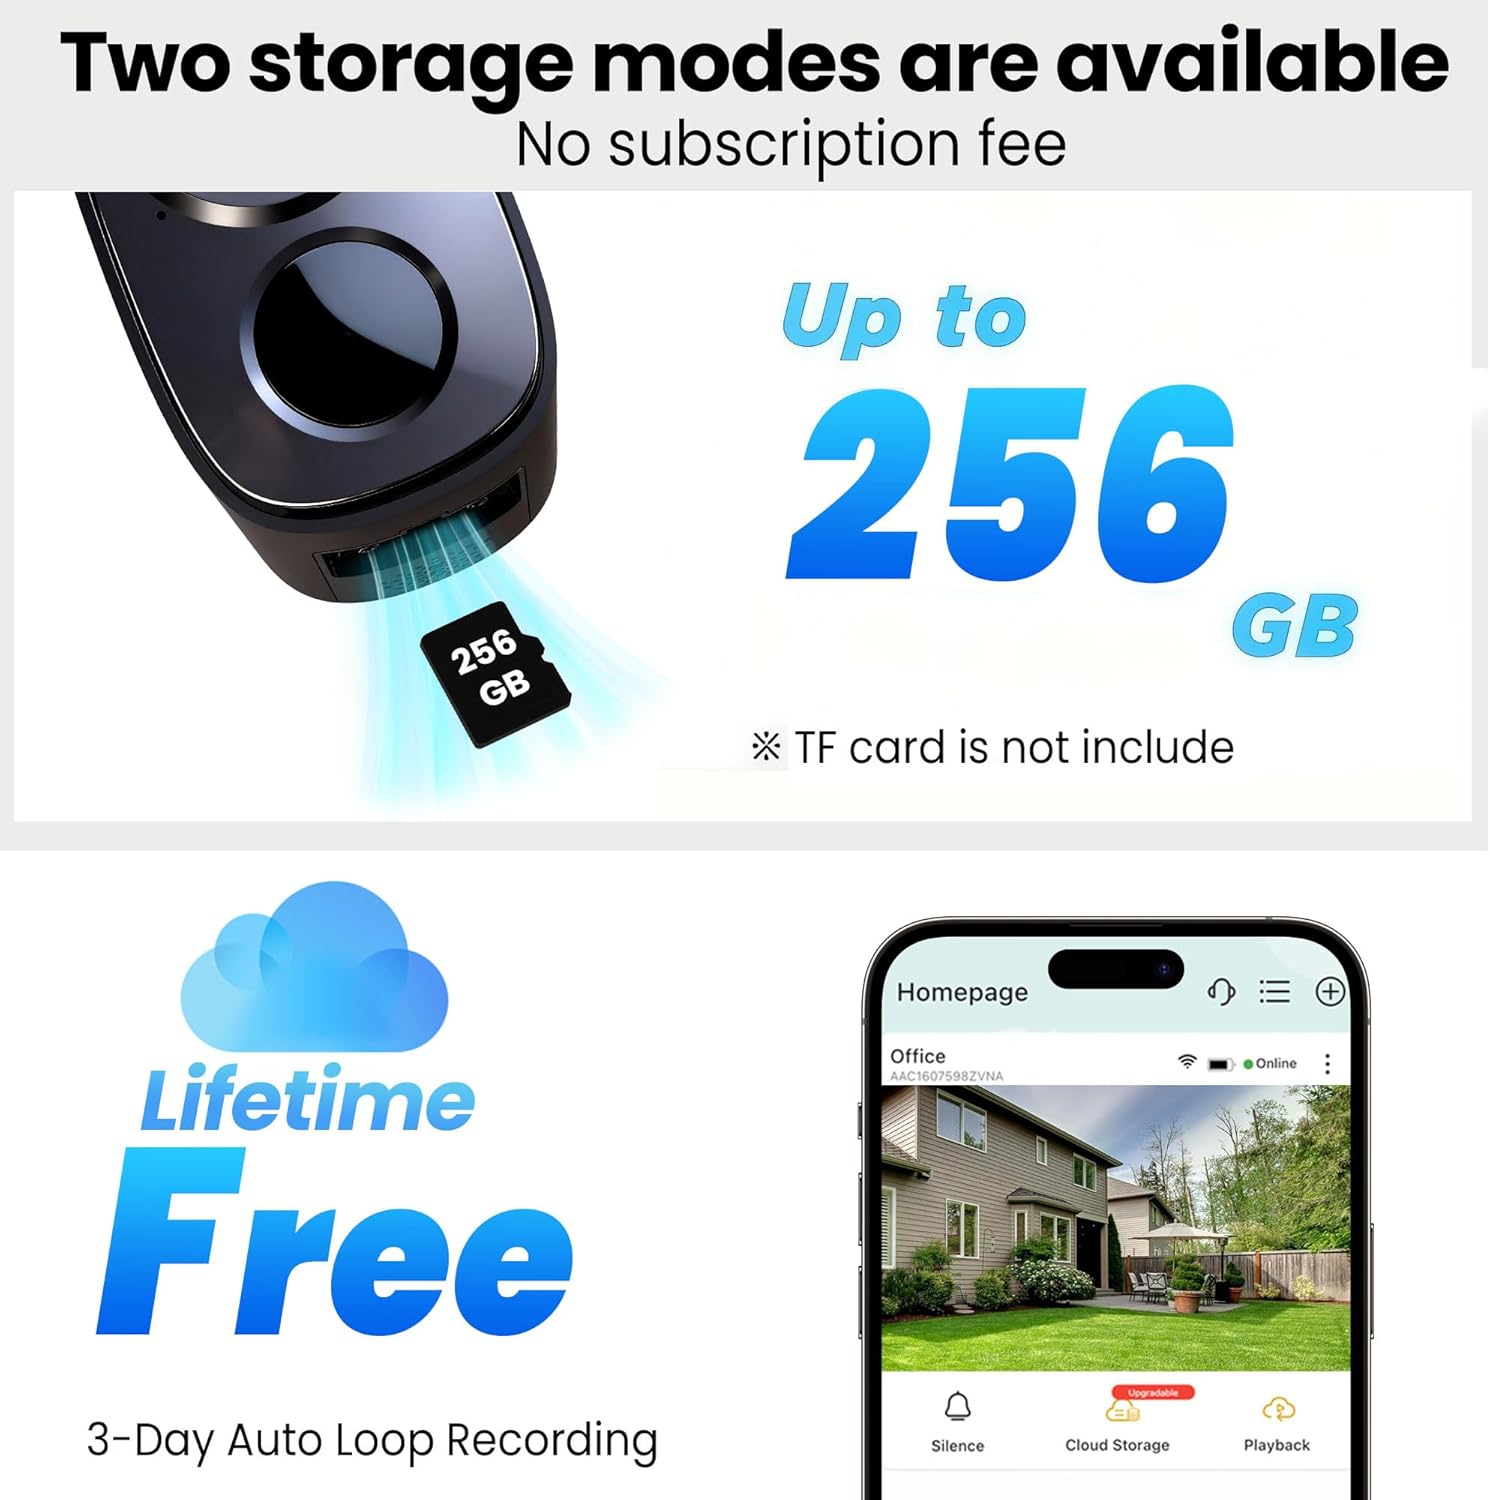
Figure 5.3: Storage Options. This image displays the two available storage modes: lifetime free 3-day auto loop recording to the cloud, and local storage via a TF card (up to 256GB, not included).
5.6 Sharing Access
You can share camera access with family members or trusted individuals through the app. Go to camera settings, find the 'Share Device' option, and follow the instructions to invite others.

Figure 5.4: Multi-User Sharing. This image illustrates the ability to share camera access with multiple users, showing four different individuals viewing the camera feed on their smartphones.
6. Maintenance
6.1 Solar Panel Care
Periodically clean the surface of the solar panel with a soft, damp cloth to remove dust, dirt, or debris that may reduce charging efficiency. Ensure no obstructions block sunlight from reaching the panel.

Figure 6.1: Continuous Power with Solar Panel. This image highlights the benefit of the solar panel, providing 365 days of continuous power, eliminating the need for frequent manual recharging.
6.2 Camera Cleaning
Wipe the camera lens and body with a soft, dry cloth to keep it clean and ensure clear image quality. Avoid using harsh chemicals or abrasive materials.
6.3 Battery Life
While the solar panel provides continuous charging, extreme weather conditions or prolonged periods of low sunlight may affect battery levels. Monitor the battery status in the app and manually charge the camera via USB if necessary.
7. Troubleshooting
- Camera not connecting to Wi-Fi:
- Ensure your Wi-Fi network is 2.4GHz or 5GHz.
- Check Wi-Fi signal strength at the camera's location.
- Restart your router and the camera.
- Re-pair the camera following the app's instructions. - Frequent false alarms:
- Adjust motion detection sensitivity in the app.
- Define specific detection zones to exclude high-traffic areas.
- Ensure the camera is not pointing directly at moving foliage or reflective surfaces. - Poor image quality:
- Clean the camera lens.
- Ensure there are no obstructions in front of the lens.
- Check your Wi-Fi connection speed. - Solar panel not charging:
- Ensure the solar panel is receiving direct sunlight for several hours daily.
- Clean the solar panel surface.
- Check the connection cable between the solar panel and the camera. - Two-way audio not working:
- Check microphone and speaker permissions for the app on your smartphone.
- Ensure volume levels are adequate on both your phone and within the app.
8. Specifications
| Model Name | CB54 |
| Video Resolution | 2K (2000 pixels effective) |
| Field of View | 120° |
| Night Vision Range | Up to 8 meters |
| Connectivity | Wi-Fi (2.4GHz & 5GHz) |
| Storage Options | Free Cloud Storage, TF Card (up to 256GB) |
| Power Source | Battery Powered (with Solar Panel charging) |
| Weather Resistance | IP66 Waterproof |
| Operating Temperature | -4°F to 122°F (-20°C to 50°C) |
| Dimensions | 2.13 x 3 x 2 inches |
| Weight | 5.44 ounces |
9. Warranty and Support
realhide products come with a limited warranty. Please refer to the warranty card included in your package or visit our official website for detailed warranty terms and conditions. For technical support, troubleshooting assistance, or any product-related inquiries, please contact our customer service team:
- Email: [Insert Customer Support Email Here]
- Website: [Insert Official Website Here]
Please have your model number (CB54) and purchase information ready when contacting support.