1. Introduction
The ASRock PRO-650G Power Supply is designed to provide stable and efficient power for your personal computer system. This 650W unit features 80 PLUS Gold certification, ensuring high energy efficiency and reduced heat output. It is compliant with the latest ATX 3.1 standard, making it compatible with modern and next-generation components. This manual provides essential information for the safe installation, operation, and maintenance of your power supply.
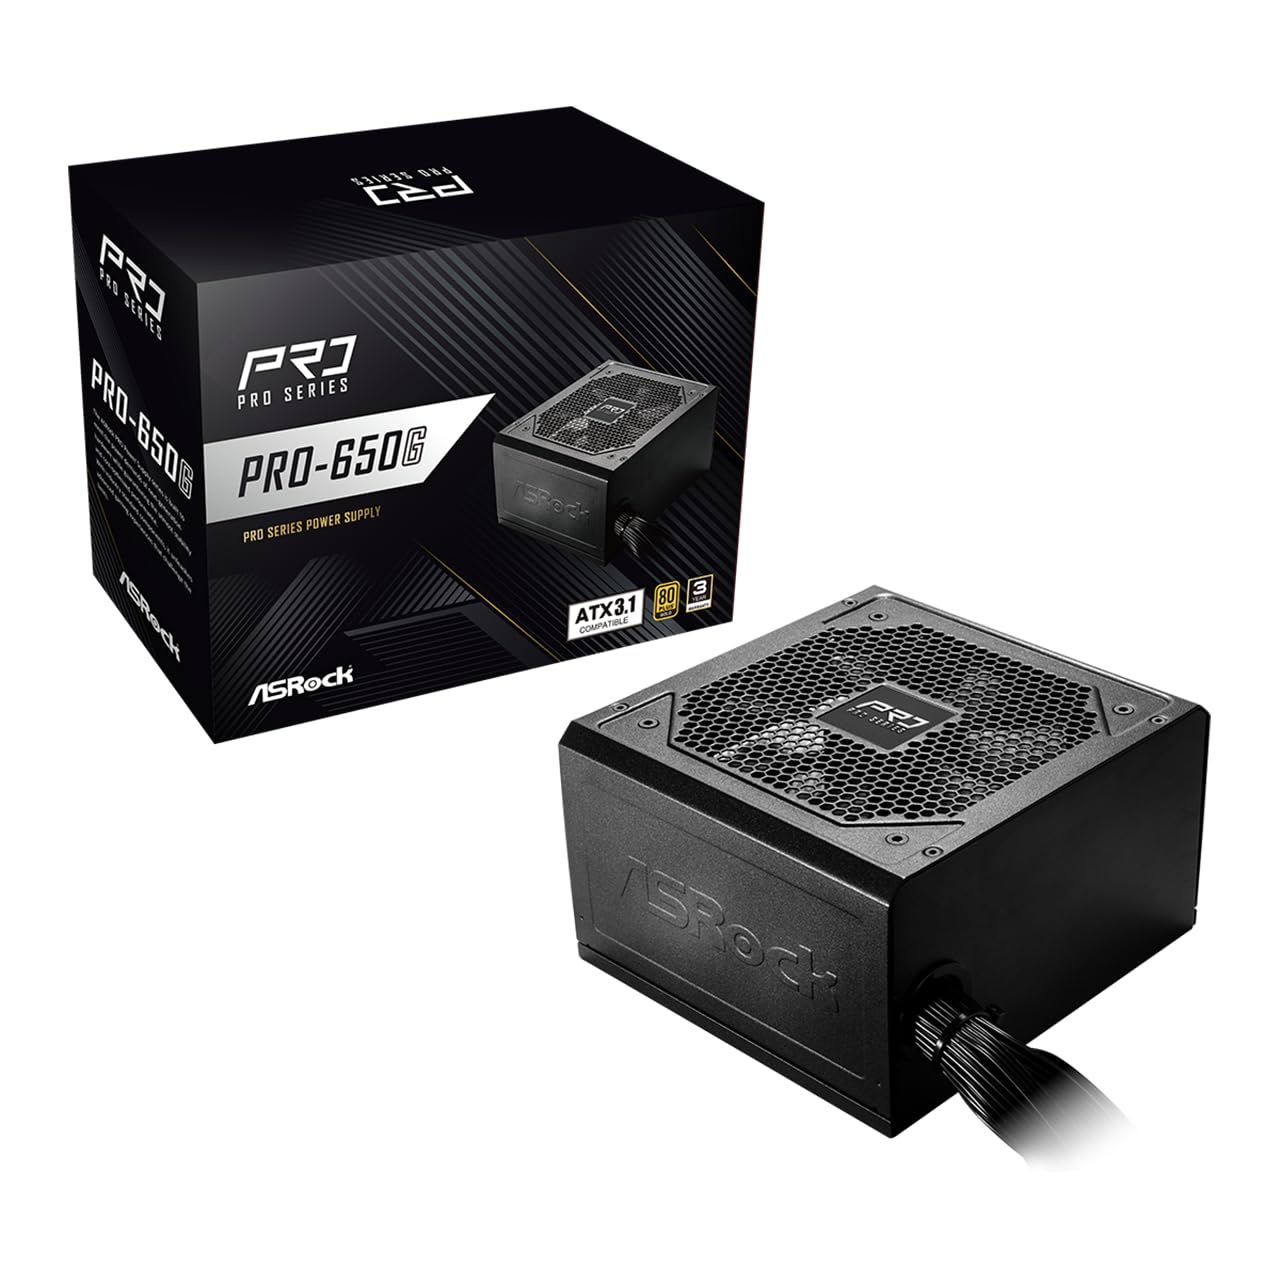
Figure 1: ASRock PRO-650G Power Supply, front view.
2. Safety Information
Please read and follow all safety instructions carefully before installing or using the power supply. Failure to do so may result in personal injury or damage to your equipment.
- Ensure the power supply is disconnected from the main power outlet before installation or maintenance.
- Do not open the power supply casing. High voltages are present inside, even when disconnected.
- Install the power supply in a well-ventilated area to prevent overheating.
- Use only the cables provided with the power supply.
- Avoid exposing the power supply to moisture or extreme temperatures.
- This product is designed for use in personal computer systems only.
3. Package Contents
Verify that all items are present in the package:
- ASRock PRO-650G Power Supply Unit
- AC Power Cord
- Modular Cable Set (as detailed below)
- Mounting Screws
- User Manual

Figure 2: Included modular cables and their quantities.
4. Product Overview and Features
The ASRock PRO-650G Power Supply is engineered for performance and reliability. Key features include:
- 80 PLUS Gold Efficiency: Delivers up to 90% energy efficiency, reducing power consumption and heat output.
- ATX 3.1 Compatible: Meets the latest ATX 3.1 standard, ensuring compatibility with modern and next-generation components.
- Stable 12V Output: Provides 54.1A on the +12V rail for reliable power delivery to CPU and graphics cards.
- Comprehensive Protections: Includes Over Current Protection (OCP), Over Voltage Protection (OVP), Under Voltage Protection (UVP), Over Power Protection (OPP), Over Temperature Protection (OTP), and Short Circuit Protection (SCP) for enhanced system safety.
- Quiet 120mm Fan: Features a balanced cooling solution that maintains low noise levels during operation.
- All-Taiwanese Capacitors: Uses high-quality capacitors for improved durability and longevity.
- Flat Cable Design: Enables easier cable management and improved airflow within the case.
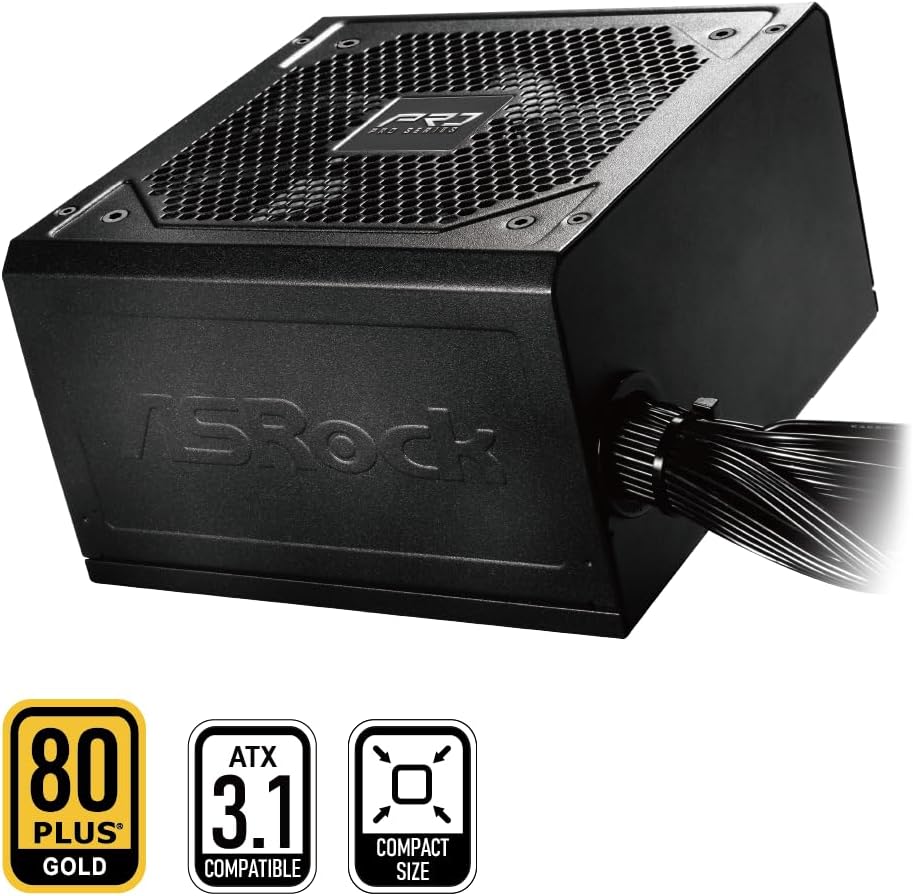
Figure 3: ASRock PRO-650G Power Supply highlighting key certifications.
5. Setup and Installation
Follow these general steps to install your ASRock PRO-650G Power Supply:
- Prepare Your System: Ensure your computer is powered off and unplugged from the wall outlet. Open your PC case.
- Remove Old PSU (if applicable): Disconnect all cables from your old power supply and remove it from the case.
- Mount the New PSU: Insert the ASRock PRO-650G into the power supply bay of your PC case. Secure it with the provided mounting screws.
- Connect Motherboard Cables: Connect the 24-pin ATX motherboard cable and the 4+4-pin CPU power cable to their respective ports on your motherboard.
- Connect Component Cables: Connect the necessary PCIe 6+2-pin cables to your graphics card(s), and SATA/PATA cables to your storage drives and other peripherals. The flat cable design aids in easier routing and improved airflow.
- Cable Management: Organize cables to ensure proper airflow and a tidy build.
- Close Case and Power On: Close your PC case, plug in the AC power cord to the power supply and a wall outlet, then flip the power switch on the PSU to the 'ON' position.

Figure 4: Rear view of the power supply with power switch and AC input.
Installation Video Overview
Watch this video for a visual overview of the ASRock Pro Gold Series power supplies, including details on cable connections and features relevant to installation.
Video 1: ASRock Power Supplies Pro Gold Series Overview. This video demonstrates the features and cable connections of the Pro Gold Series, which includes the PRO-650G model.
6. Operating Instructions
Once installed, operating the ASRock PRO-650G Power Supply is straightforward:
- Power On: Ensure the power supply's main switch (located at the rear) is in the 'ON' position. Press the power button on your computer case to start the system.
- Power Off: Shut down your computer through the operating system. Once the system is off, you may optionally switch the power supply's main switch to the 'OFF' position for complete power disconnection.
- The 120mm cooling fan operates automatically to maintain optimal temperatures and minimize noise.
7. Maintenance
Proper maintenance ensures the longevity and optimal performance of your power supply:
- Dust Cleaning: Periodically clean the exterior of the power supply and its fan grille to prevent dust buildup, which can impede airflow and cooling. Use compressed air or a soft brush. Always disconnect the power supply from the wall outlet before cleaning.
- Cable Inspection: Occasionally check all connected cables to ensure they are securely seated and free from damage.
- Environment: Operate the power supply in a clean, dry, and well-ventilated environment.
8. Troubleshooting
If you encounter issues with your power supply, consider the following troubleshooting steps:
- No Power:
- Ensure the AC power cord is securely connected to both the power supply and the wall outlet.
- Check that the power supply's main switch is in the 'ON' position.
- Verify that the wall outlet is functional by plugging in another device.
- Confirm all internal power cables (24-pin, CPU, PCIe) are correctly and firmly connected.
- System Instability/Crashes:
- Ensure your system's power requirements do not exceed the 650W capacity of the PSU.
- Check for proper ventilation within your PC case to prevent overheating of components, including the PSU.
- Verify that all power connections to components are secure.
- Unusual Noise:
- A slight fan noise is normal during operation. If the noise is excessive or unusual, ensure no cables are obstructing the fan.
- If coil whine is present, it may be due to specific load conditions. While often harmless, if persistent and bothersome, contact support.
If these steps do not resolve the issue, please contact ASRock customer support.
9. Specifications
| Feature | Specification |
|---|---|
| Model Name | PRO-650G |
| Output Wattage | 650 Watts |
| 80 PLUS Certification | Gold |
| ATX Standard | ATX 3.1 Compatible |
| +12V Rail Output | 54.1A |
| Cooling Method | Air (120mm Fan) |
| Capacitors | All-Taiwanese Capacitors |
| Form Factor | ATX (140x150x86mm) |
| Product Dimensions (L x W x H) | 5.51 x 5.91 x 3.39 inches |
| Item Weight | 4.33 pounds |
| Manufacturer | ASRock |
| Item Model Number | 90-UXR065-GNUAA2 |
10. Warranty and Support
The ASRock PRO-650G Power Supply is backed by a 3-Year Warranty, providing peace of mind regarding its quality and durability.
For any product inquiries, technical assistance, or warranty claims, please contact ASRock USA customer support through Amazon or visit the official ASRock website for further support options.
Online Resources:
- ASRock Store on Amazon: Visit ASRock Store