
Important Safety Information
Please read this instruction manual carefully before using the GODOX X3 Pro C TTL Wireless Flash Trigger. Keep this manual for future reference. Do not disassemble or modify the device. Keep the device dry and do not expose it to water or high humidity. Avoid extreme temperatures. The built-in lithium battery should not be exposed to excessive heat or direct sunlight. Use only the specified charging cable.
Product Overview
The GODOX X3 Pro C is a compact and powerful TTL wireless flash trigger designed for Canon cameras, offering advanced control over your lighting setup. It features an intuitive touchscreen interface and robust 2.4G wireless X system for reliable performance.
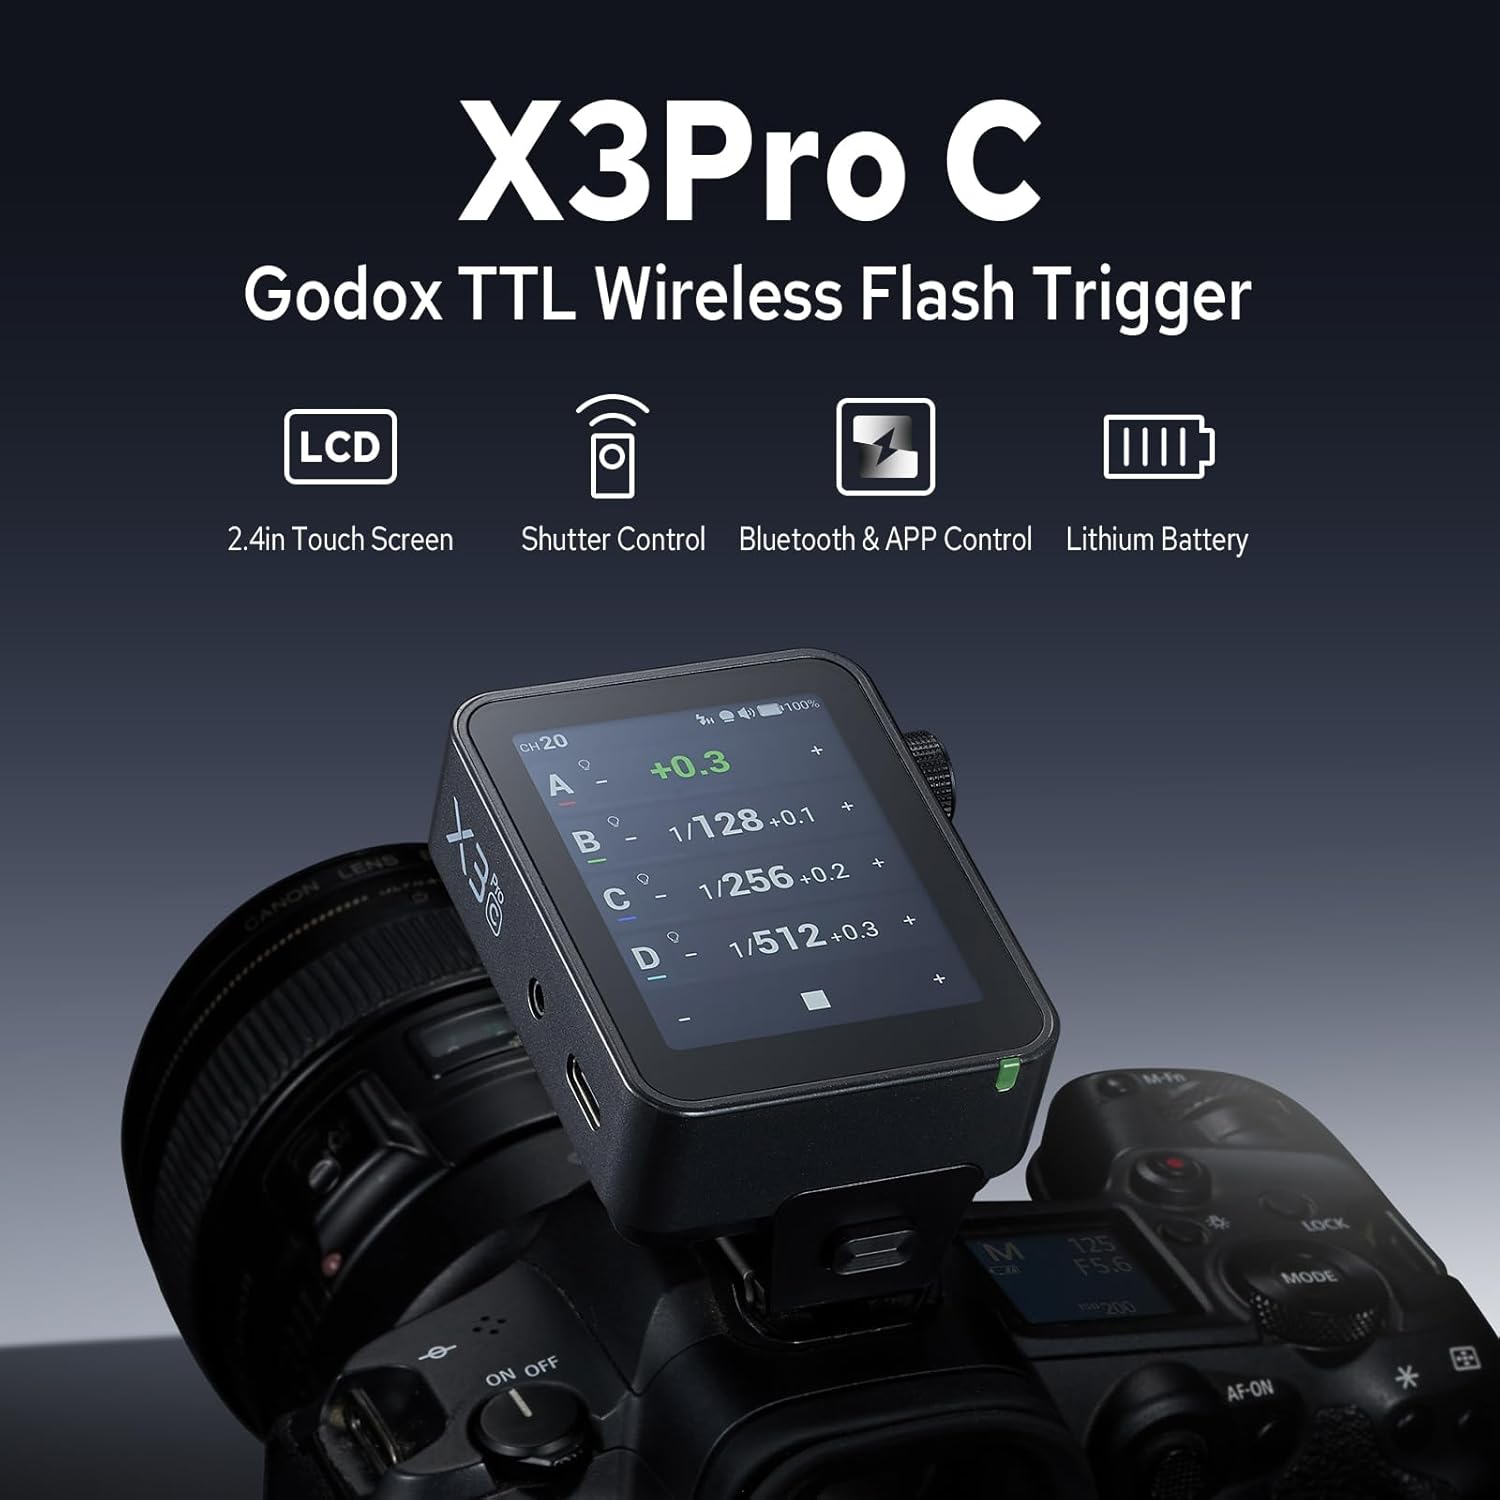
Image: Front view of the GODOX X3 Pro C flash trigger, highlighting its touchscreen, select dial, menu/power button, test/shutter button, indicator, 2.5mm sync port, USB-C port, focus assist beam, and hot shoe.

Image: A hand interacting with the 2.4-inch LCD touchscreen of the X3 Pro C, demonstrating its intuitive interface for real-time monitoring and control of lighting groups.
Getting Started
Installation
- Hold the hot-shoe lock button on the X3 Pro C.
- Slide the trigger into your camera's hot shoe until it clicks into place.
- Release the lock button to secure the trigger.
Power On/Off
- To power on, press and hold the power button (M/O) until the GODOX logo appears on the screen.
- To power off, press and hold the power button (M/O) until the screen turns off.
Video: This tutorial demonstrates the installation of the X3 Pro C on a camera, powering it on, and navigating its touchscreen interface for various settings and adjustments.
Basic Operation
Touchscreen and Dial Control
The X3 Pro C features a color touchscreen for intuitive navigation. Tap on screen elements to select or adjust. The select dial provides precise control for fine-tuning values. Press the dial to confirm selections.
Multi-Group Adjustment
The touchscreen displays up to four lighting groups simultaneously. You can instantly apply unified parameters across all groups or select individual units for fine-tuned parameter refinement. Swipe to view more groups if needed.
Separate Group Control
Tap on a specific group (A, B, C, D, etc.) to enter its individual settings. Here you can adjust:
- Power Output: Adjust flash power from Min to 1/1.
- Zoom Value: Set the flash zoom from Auto to specific focal lengths (e.g., 24mm, 50mm, 105mm).
- Modeling Lamp: Turn the modeling lamp on/off and adjust its intensity.
- TTL Compensation: Adjust exposure compensation in TTL mode.

Image: A photographer using the X3 Pro C to adjust lighting groups, demonstrating the ability to switch between TTL and Manual modes, and independently adjust TCM, zoom value, and modeling lamp.
Wireless Control
2.4G Wireless X System
The X3 Pro C utilizes the reliable Godox 2.4G X system, providing a wide transmission range and interference-resistant channel scanning. It supports 16 groups and 32 channels for stable triggering and precise light deployment in various shooting environments.
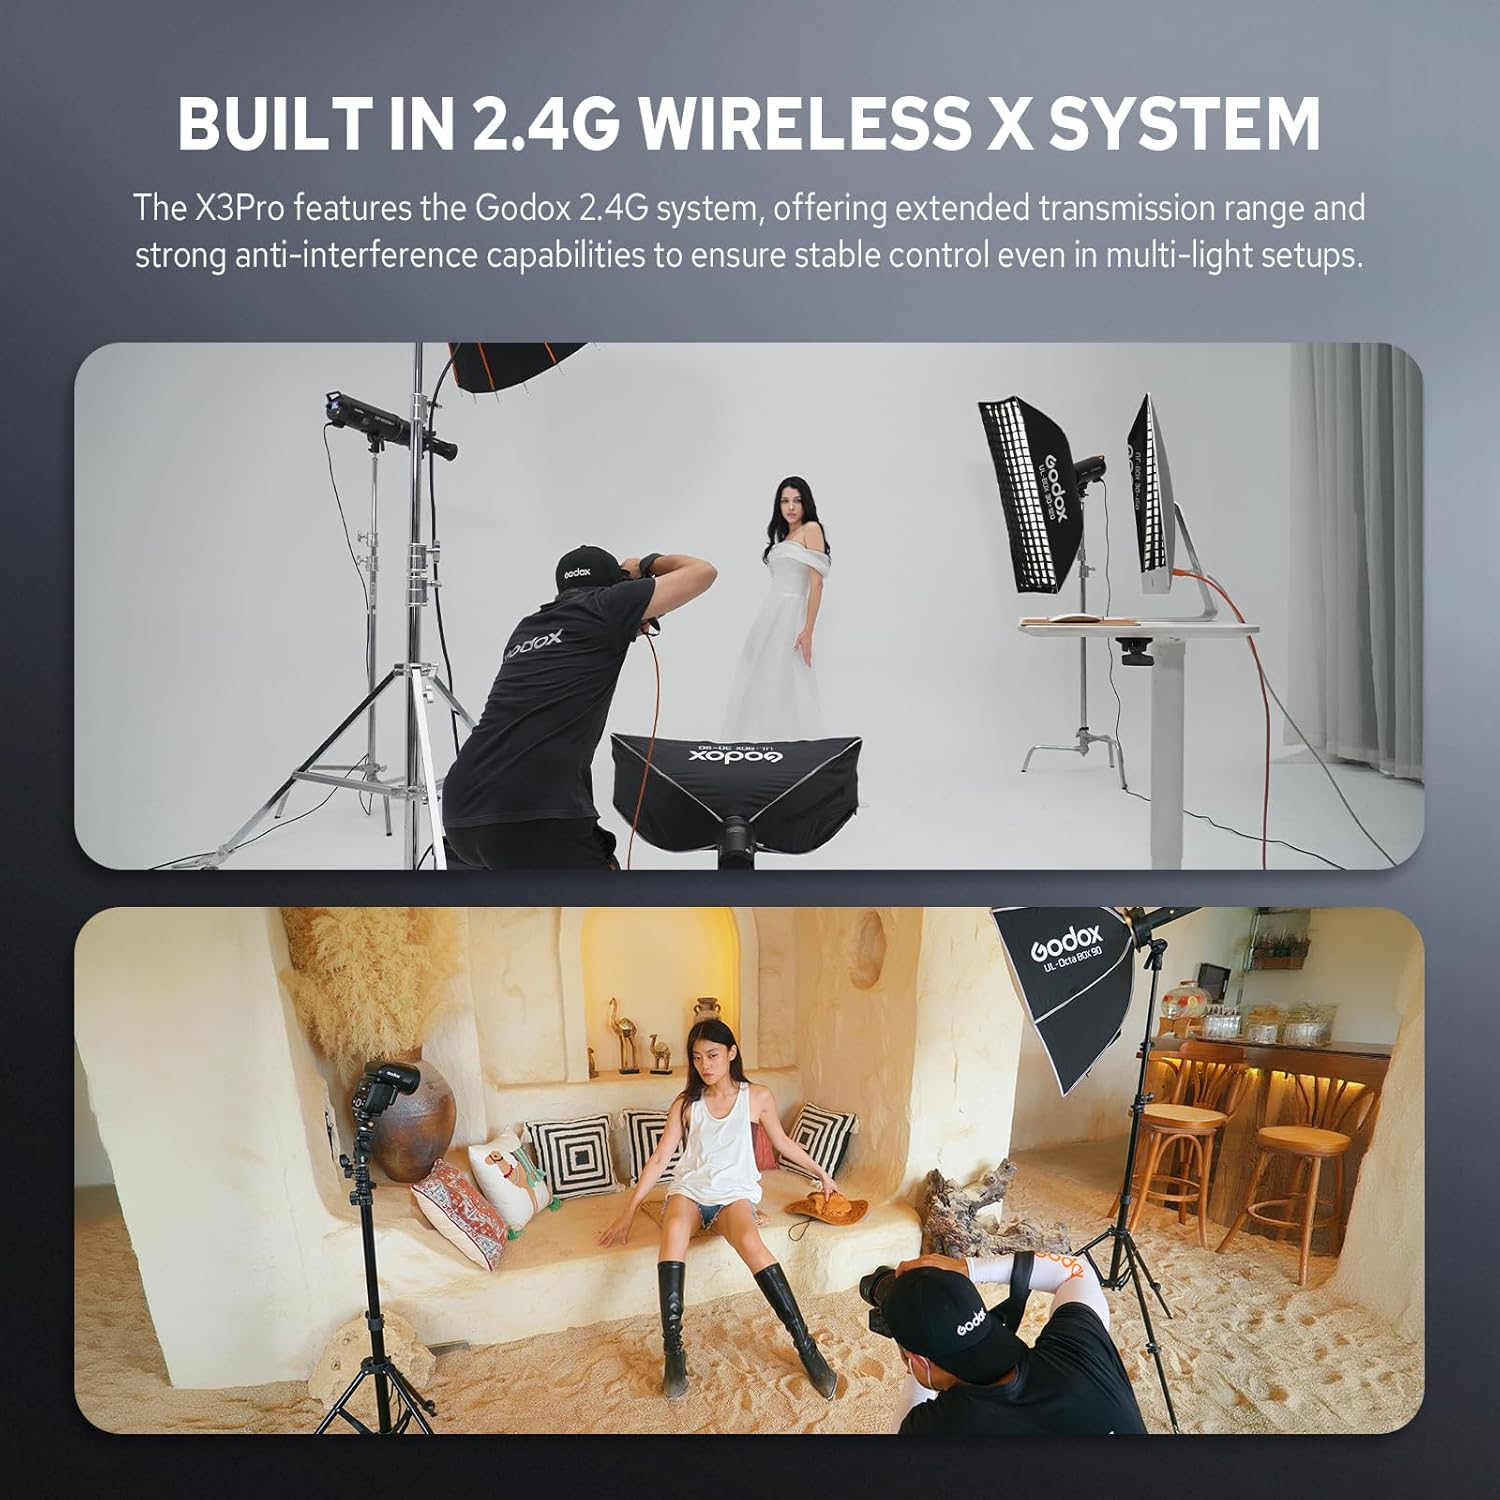
Image: A studio environment with multiple Godox flashes and a model, illustrating the use of the 2.4G Wireless X System for controlling various lighting units.
Bluetooth & APP Control
Pair your GODOX X3 Pro C flash trigger with the Godox Flash APP via Bluetooth for complete wireless control from your smartphone or tablet. This allows you to adjust power, group settings, and trigger flashes remotely, which is ideal for setups where the trigger is not easily accessible.
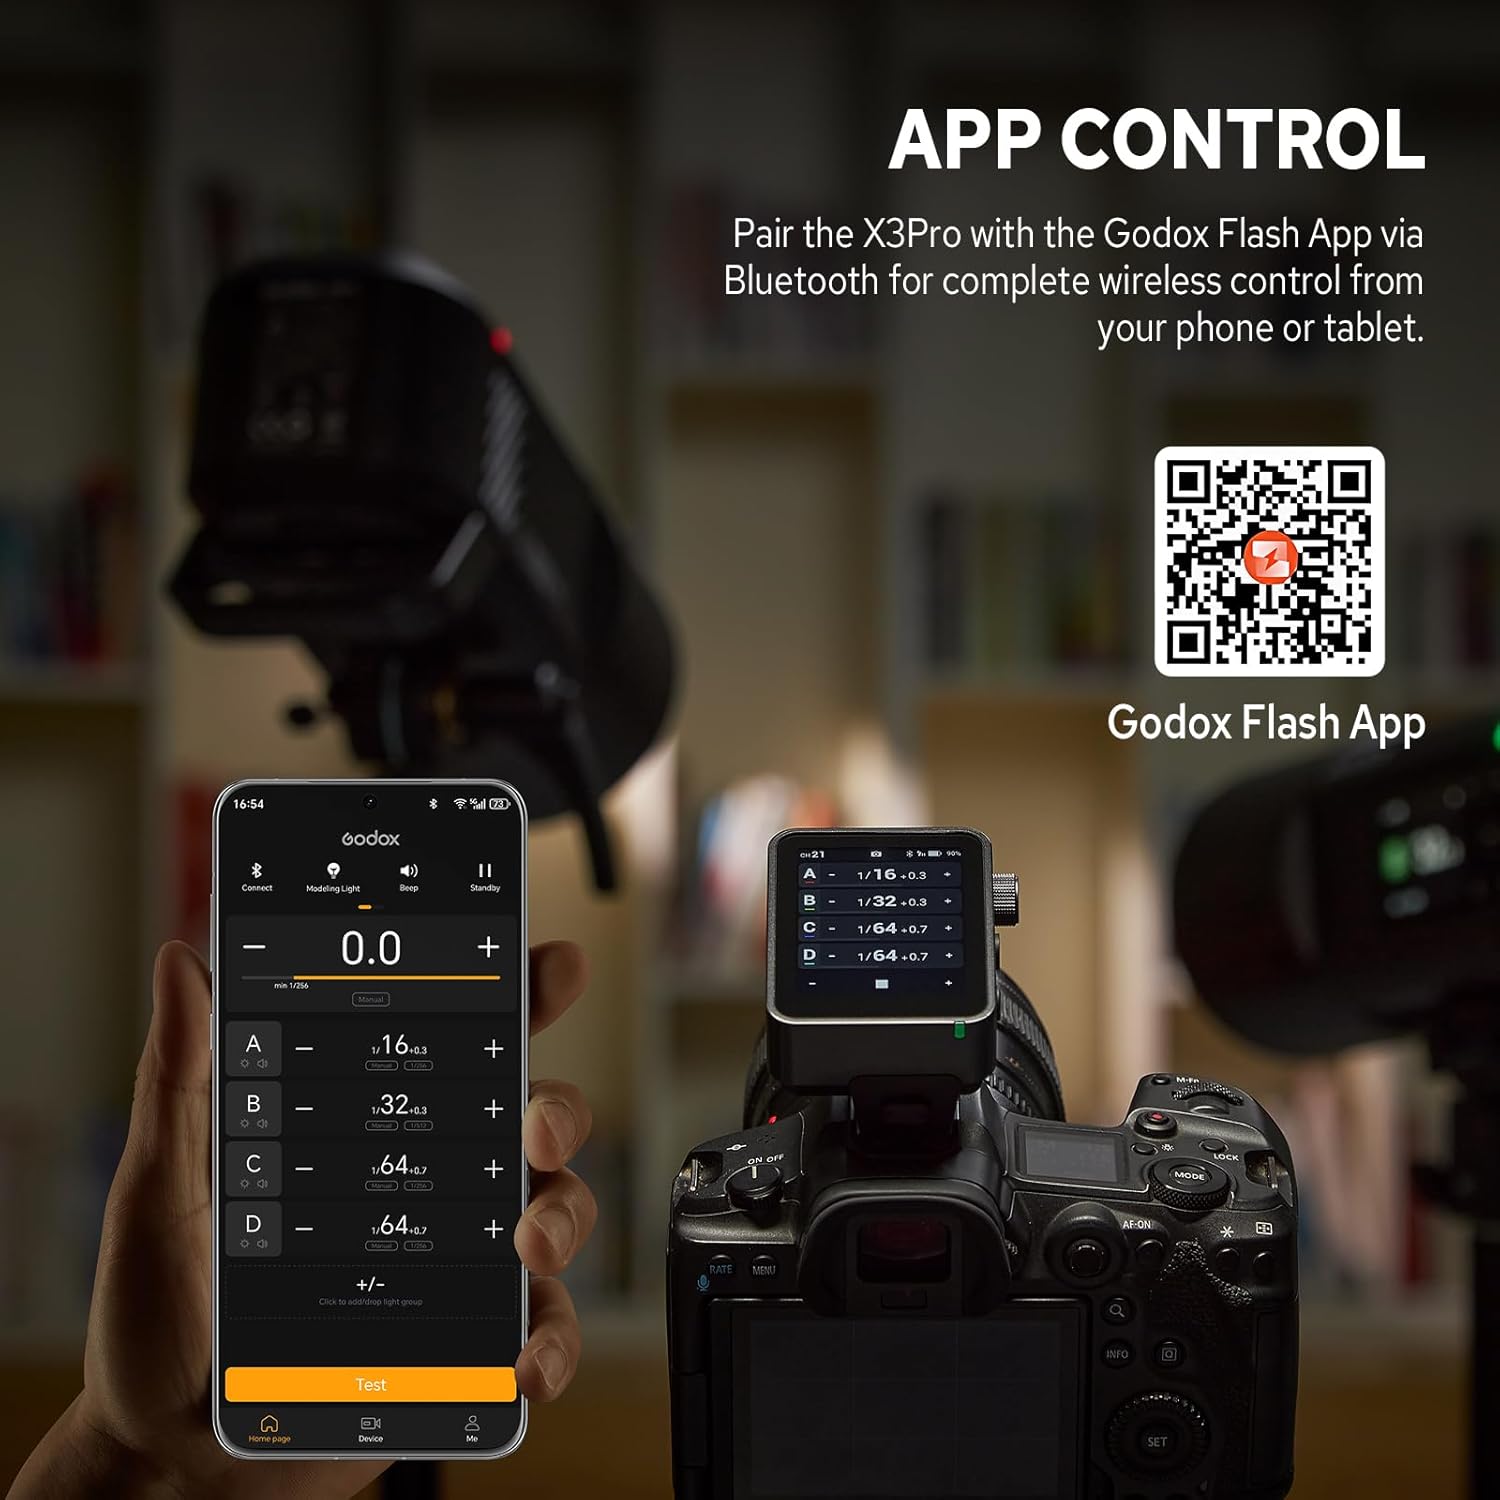
Image: A smartphone screen showing the Godox Flash App interface, connected via Bluetooth to the X3 Pro C trigger mounted on a camera, enabling remote control of flash settings.
Advanced Features
Creative Shutter Control
The X3 Pro C allows you to program single-shot, time-lapse, and long-exposure sequences through its intuitive touchscreen interface. Effortlessly customize exposure duration, intervals, and shot count. Triggering via the PC sync port or Godox XR/TR-RX receivers minimizes body vibration, providing wireless shutter control.

Image: The X3 Pro C mounted on a camera, displaying settings for creative shutter control, including delay, long exposure, and interval for time-lapse photography against a city skyline.
Optional XR Receiver
By adding an optional XR TTL Wireless Receiver (sold separately), you can unlock wireless shutter control and universal flash triggering. When connected to an X3 Pro or XR series receiver, it can control flash units from Canon, Nikon, Sony, and other brands, and trigger other lighting equipment via the sync interface. This allows for precise remote control of your camera and access to various shutter control functions.

Image: A GODOX XR Receiver shown connected to a flash and a camera, illustrating its function in enabling wireless shutter control and universal flash triggering with the X3 Pro C.
Menu Options
Access the main menu by tapping the menu icon on the touchscreen. Key menu options include:
- Bluetooth: Enable/disable Bluetooth for APP control.
- Shoot Mode: Select between One-Shoot, All-Shoot, and L-858 modes for different triggering scenarios.
- Legacy Hot Shoe: For compatibility with older hot shoe systems.
- Auto Off: Set the auto-off timer to conserve battery.
- Trigger Dist: Adjust trigger distance settings.
- Step: Configure power adjustment steps.
- TCM: Toggle TCM (TTL Convert Manual) mode.
- HSS Delay: Adjust High-Speed Sync delay.
- Preset: Save and load custom settings presets.
- Screen: Adjust screen brightness and timeout.
- Language: Select device language.
- Reset: Perform a factory reset.
- Device Info: View device model and firmware version.
Power Management
Fast Charging, Long Runtime
The GODOX X3 Pro C is powered by a built-in lithium battery, offering up to a month of standby time. Universal USB-C charging delivers a full recharge in approximately 2 hours, ensuring the device is ready for extended shooting sessions.

Image: The X3 Pro C connected to a USB-C charging cable, with its screen displaying the battery charge level and icons indicating 1 month standby time, 2 hours for full charge, and 2930mAh lithium battery capacity.
Portability
Ultra Compact & Portable Design
Built with a robust metal base and a compact form factor, the X3 Pro C reduces weight and volume, ensuring effortless portability for on-location shoots. Its design allows it to easily fit into your bag, making it a convenient companion for any photography work.

Image: A hand holding the compact X3 Pro C, with another image showing it easily fitting into a pocket, emphasizing its ultra-compact and portable design.
Specifications

Image: A detailed table outlining the technical specifications of the GODOX X3 Pro C, including compatible cameras, battery, charging time, standby time, and various flash modes.
| Feature | Description |
|---|---|
| Model | X3Pro C |
| Compatible Cameras | Canon cameras |
| Built-in Lithium Battery | 3.87V 2930mAh 11.34Wh |
| Charging Time | ≤2h |
| Standby Time | ≈35 days |
| TTL Auto Flash | ✓ |
| Manual Flash | ✓ |
| Multi Flash | ✓ |
| High-speed Sync | ✓ |
| First-curtain Sync | ✓ |
| Second-curtain Sync | ✓ |
| Focus Assist Beam | ✓ |
| Flash Exposure Compensation | ±3EV (exposure value), adjustable in 1/3 EV increment |
| Beep | Control the beep by flash trigger |
| ZOOM Setting | AUTO/Focus length 24-200mm |
| TCM Transform | Transform the TTL shooting value into the output value in M mode |
| Firmware Upgrade | Upgrade through the USB-C port |
| Memory Function | Settings will be stored 2 seconds after last operation and recover after a restart |
| Display Panel | 2.4" LCD touch screen |
| Transmission Range (approx.) | 0-100m |
| Built-in Wireless | 2.4GHz/Bluetooth |
| 2.4G Wireless Channel | 32 |
| Wireless ID | OFF, 01-99 |
| Group | A-F, 0-9 |
| Dimension | 2.13"×2.6"×1.61" / 54×66×41mm |
| Net Weight | ≈3.63oz/103g |
What's in the Box
- 1× X3Pro C Flash Trigger
- 1× USB Type-C Charging Cord
- 1× Storage Bag
Maintenance
- Clean the device regularly with a soft, dry cloth.
- Avoid using harsh chemicals or solvents.
- Store the device in a cool, dry place away from direct sunlight and extreme temperatures.
- Charge the battery periodically if the device is not used for extended periods to maintain battery health.
Troubleshooting
- Device not powering on: Ensure the battery is charged. Connect to a USB-C power source.
- Flash not triggering: Check that the X3 Pro C and your flash unit are set to the same channel and ID. Ensure the flash is powered on and ready.
- Bluetooth connection issues: Ensure Bluetooth is enabled on both the X3 Pro C and your smartphone/tablet. Restart both devices and try pairing again.
- Inaccurate exposure: Verify flash mode (TTL/Manual) and adjust exposure compensation or power settings as needed.
Warranty and Support
This GODOX product is covered by a limited warranty. For detailed warranty information, product support, or service inquiries, please refer to the official GODOX website or contact your authorized GODOX dealer. Keep your proof of purchase for warranty claims.
Video: An introductory video to the Godox X3 Pro TTL Wireless Flash Trigger, showcasing its key features and design.