
SakerPlus 3D Carpenter's Triangle Square
SakerPlus 3D Carpenter's Triangle Square Instruction Manual
Model: 3D Carpenter's Triangle Square
1. Introduction
Thank you for choosing the SakerPlus 3D Carpenter's Triangle Square. This multi-purpose tool is designed to enhance precision and efficiency in woodworking, carpentry, and various DIY projects. Crafted from durable aluminum alloy, it offers a range of measuring, marking, and layout functionalities for both two-dimensional and three-dimensional workpieces.
This manual provides detailed instructions on the proper use, assembly, and maintenance of your new tool to ensure optimal performance and longevity.

Figure 1: The SakerPlus 3D Carpenter's Triangle Square, shown with included hex key and screws.
2. Product Overview and Features
The SakerPlus 3D Carpenter's Triangle Square is engineered for versatility and accuracy. Key features include:
- Multi-Angle Marking: Accurately mark angles from 0° to 90°, with integrated guides for common angles such as 22.5°, 30°, 45°, 60°, 67.5°, and 75°.
- Precision Drilling & Layout Guide: Features multiple drill guide holes (Φ2–Φ10) and a 3D ruler layout for precise and repeatable hole positioning.
- Durable Construction: Crafted from high-strength anodized aluminum for long-lasting durability, lightweight handling, and corrosion resistance.
- 3D Scribing & Drawing: Vertical and horizontal rulers facilitate scribing parallel lines on edges and corners of three-dimensional materials.
- Detachable Design: The tool can be separated into a square ruler and a triangular woodworking ruler for enhanced flexibility in various tasks.
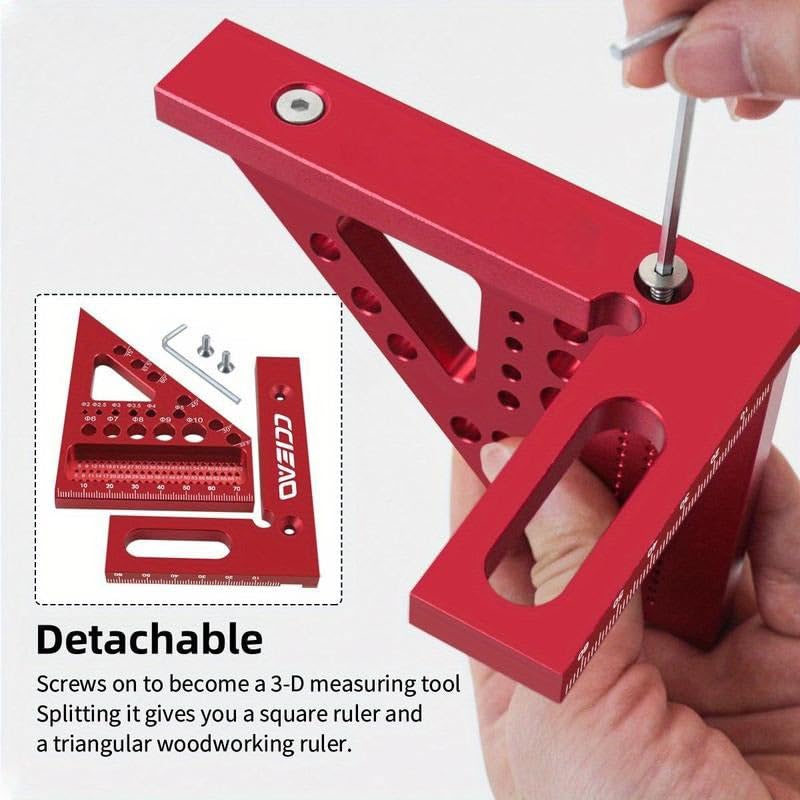
Figure 2: The detachable design allows the tool to be used as a square ruler and a triangular ruler independently.
3. Setup and Assembly
The SakerPlus 3D Carpenter's Triangle Square typically comes pre-assembled. However, its detachable design allows for configuration based on your specific needs.
3.1. Assembling the 3D Square
- Align the square ruler component with the triangular ruler component, ensuring the screw holes match.
- Insert the provided screws into the designated holes.
- Use the included hex key to tighten the screws securely. Do not overtighten.
3.2. Disassembling for Individual Use
- Using the hex key, loosen and remove the screws connecting the two components.
- Carefully separate the square ruler from the triangular ruler.
- Store the screws and hex key in a safe place to prevent loss.
4. Operating Instructions
This tool offers multiple functionalities for precise measurement and marking.
4.1. Angle Marking and Transfer
- Place the edge of the triangle square firmly against the workpiece.
- Utilize the engraved angle markings (0° to 90°) or the preset angle guides (22.5°, 30°, 45°, 60°, 67.5°, 75°) to draw desired angles.
- For miter cuts, framing, or bevels, align the appropriate angle guide with the edge of your material and mark along the corresponding edge of the tool.
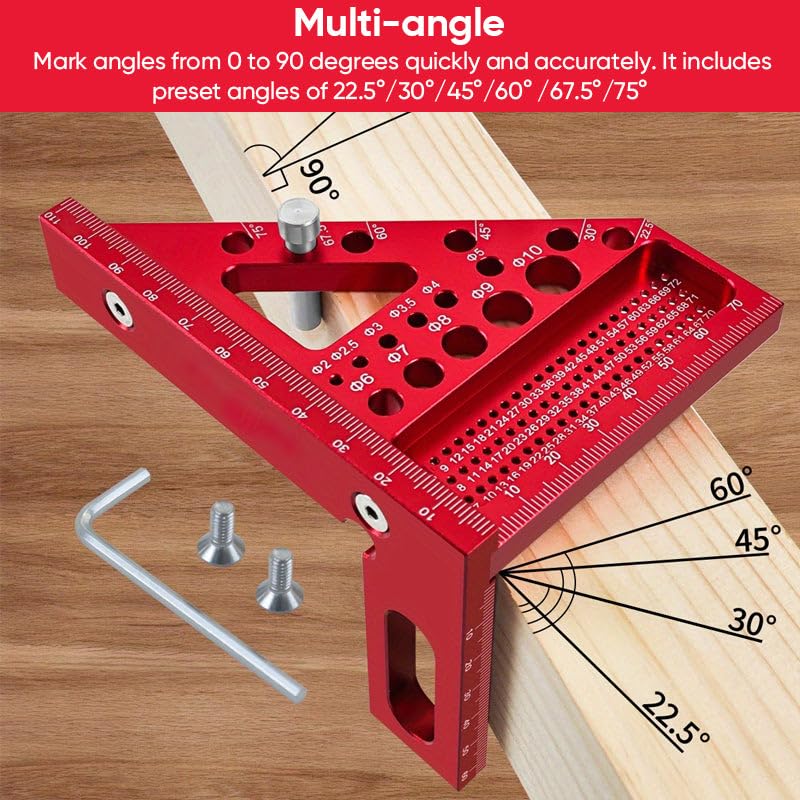
Figure 3: Demonstrating the use of the multi-angle marking feature on a wooden board.
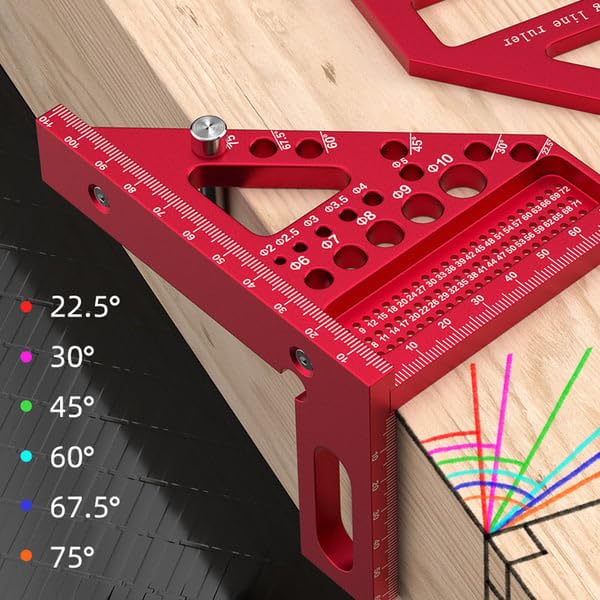
Figure 4: Detailed view of angle markings and their application on a workpiece.
4.2. 3D Scribing and Parallel Lines
- For scribing parallel lines on the face of a board, use the main ruler edge.
- To scribe lines on the edges or corners of 3D materials, position the tool so that its vertical or horizontal ruler edge aligns with the desired marking plane.
- Hold a pencil or marking tool against the appropriate measurement mark and slide the square along the workpiece edge to create a precise parallel line.
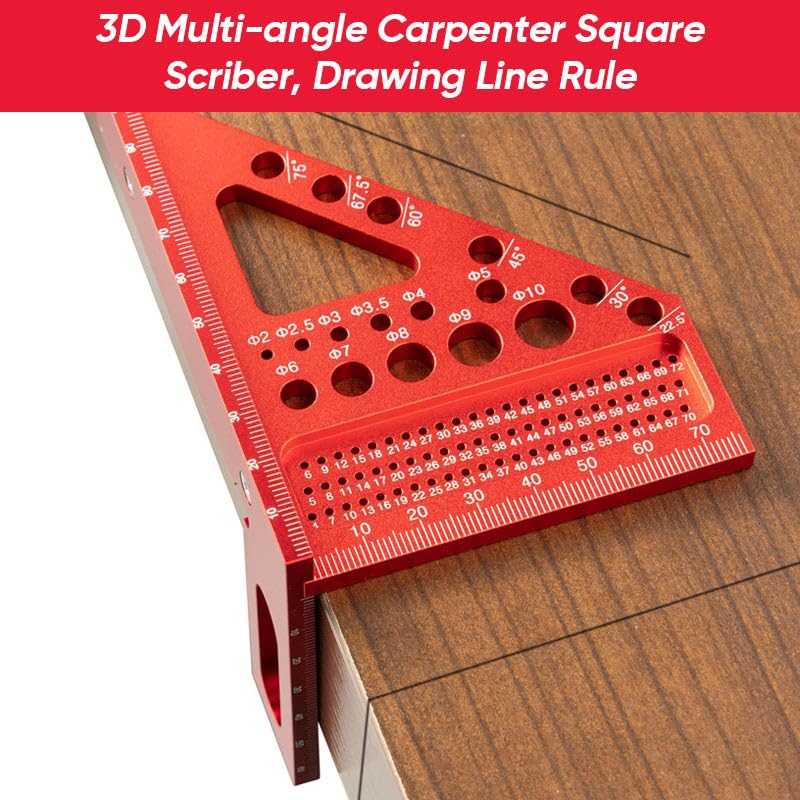
Figure 5: Scribing a line along the edge of a wooden board using the 3D ruler functionality.
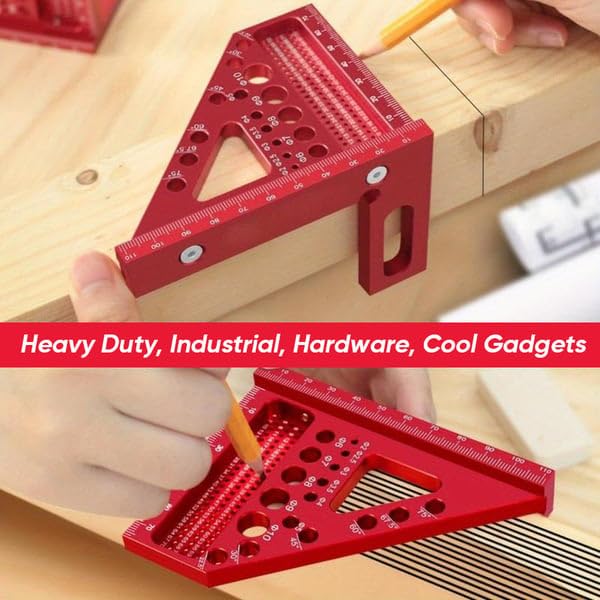
Figure 6: A user marking a line on a wooden surface with the tool.
4.3. Drill Guide Holes
- Identify the desired drill hole diameter from the marked holes (Φ2–Φ10) on the tool.
- Position the tool firmly on the workpiece, aligning the chosen drill guide hole with the intended drilling location.
- Use a drill bit of the corresponding size to guide your drilling for precise and repeatable holes.
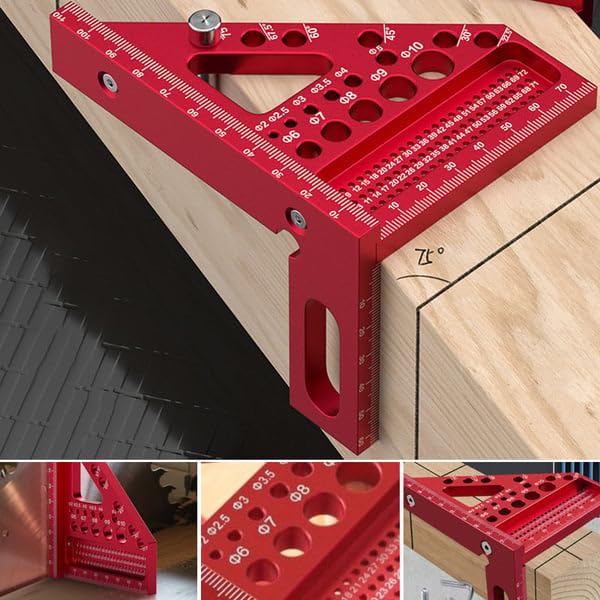
Figure 7: Detailed view of the drill guide holes (Φ2–Φ10) and angle markings on the tool.
5. Maintenance
Proper care will ensure the longevity and accuracy of your SakerPlus 3D Carpenter's Triangle Square.
- Cleaning: Wipe the tool with a soft, dry cloth after each use to remove dust, wood shavings, or other debris. For stubborn marks, a slightly damp cloth can be used, followed by immediate drying.
- Storage: Store the tool in a clean, dry environment, away from excessive moisture or extreme temperatures. Avoid dropping or subjecting the tool to impacts, as this can affect its calibration and accuracy.
- Inspection: Periodically inspect the tool for any signs of damage, bending, or wear that might compromise its accuracy.
6. Troubleshooting
If you encounter issues with your SakerPlus 3D Carpenter's Triangle Square, consider the following:
- Inaccurate Markings: Ensure the tool is held firmly against the workpiece and that your marking pencil is sharp and consistent. Check for any debris obstructing the tool's contact with the surface.
- Loose Components: If the detachable parts feel loose, use the hex key to re-tighten the screws as described in the "Setup and Assembly" section.
- Difficulty Scribing: Ensure the workpiece surface is clean and free of obstructions. Apply consistent pressure while sliding the tool.
7. Specifications
| Model | 3D Carpenter's Triangle Square |
| Material | Anodized Aluminum Alloy |
| Dimensions (Approximate) | 112mm (4.41in) x 85mm (3.35in) x 79mm (3.11in) |
| Drill Guide Holes | Φ2, Φ2.5, Φ3, Φ3.5, Φ4, Φ5, Φ6, Φ7, Φ8, Φ9, Φ10 |
| Preset Angle Guides | 22.5°, 30°, 45°, 60°, 67.5°, 75° |
| Color | Red |
| ASIN | B0FSKZ17HK |
| UPC | 735366961671 |
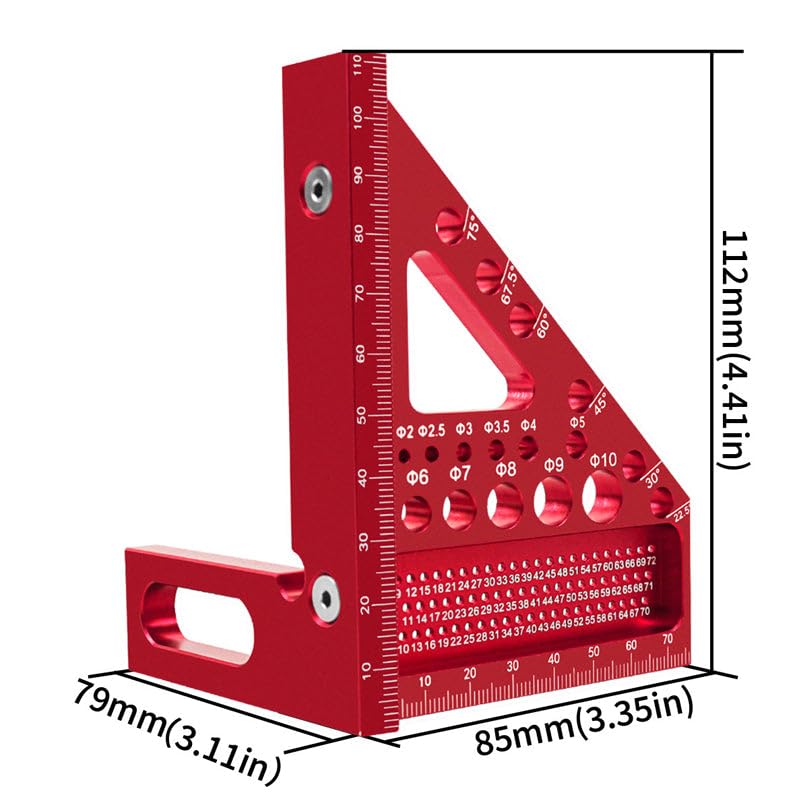
Figure 8: Approximate dimensions of the SakerPlus 3D Carpenter's Triangle Square.
8. Warranty and Support
For specific warranty information and customer support, please refer to the documentation provided at the time of purchase or contact the seller directly. SakerPlus is committed to providing quality tools and support for its products.
You can often find additional support and contact information on the official SakerPlus brand store page or through the retailer where the product was purchased.
Ask a question about this manual
Ask about setup, troubleshooting, compatibility, parts, safety, or missing instructions. Manuals+ will review the question and use this page’s manual context to help answer it.