1. Introduction
This manual provides instructions for the safe and efficient operation of your TOSHIBA ChefFry Air Fryer Toaster Oven Combo, Model TL2-AC368LEA. Please read all instructions carefully before use and retain this manual for future reference.
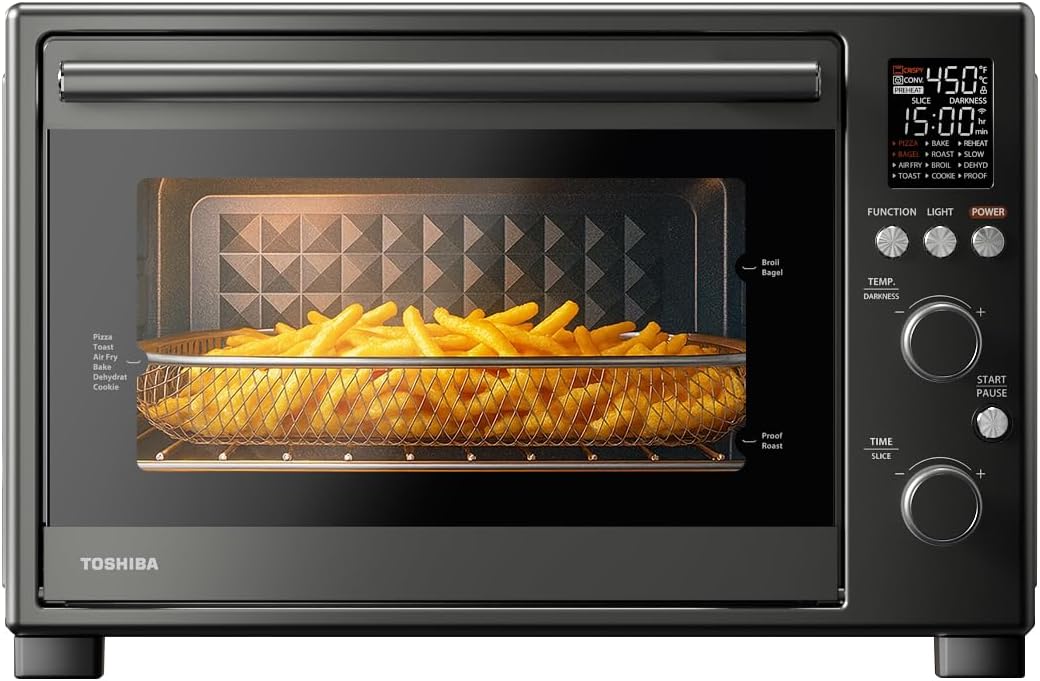
Image 1.1: The TOSHIBA ChefFry Air Fryer Toaster Oven Combo with french fries in the air fry basket.
2. Important Safety Instructions
When using electrical appliances, basic safety precautions should always be followed, including the following:
- Read all instructions.
- Do not touch hot surfaces. Use handles or knobs.
- To protect against electrical shock, do not immerse cord, plugs, or appliance in water or other liquid.
- Close supervision is necessary when any appliance is used by or near children.
- Unplug from outlet when not in use and before cleaning. Allow to cool before putting on or taking off parts.
- Do not operate any appliance with a damaged cord or plug or after the appliance malfunctions or has been damaged in any manner.
- The use of accessory attachments not recommended by the appliance manufacturer may cause injuries.
- Do not use outdoors.
- Do not let cord hang over edge of table or counter, or touch hot surfaces.
- Do not place on or near a hot gas or electric burner, or in a heated oven.
- Extreme caution must be used when moving an appliance containing hot oil or other hot liquids.
- Always attach plug to appliance first, then plug cord into the wall outlet. To disconnect, turn any control to "off", then remove plug from wall outlet.
- Do not use appliance for other than intended use.
- Safety Warning: While the cool-touch door remains significantly cooler, the top exterior may become hot during operation. Avoid direct contact to prevent burns.
3. Product Components and Accessories
The TOSHIBA ChefFry Air Fryer Toaster Oven Combo includes the following components and accessories:
- 1 x Toaster Oven Unit
- 1 x Enamel Baking Pan
- 2 x Baking Racks
- 1 x Air Fry Basket
- 1 x Crumb Tray

Image 3.1: Included accessories: Crumb Tray, Enamel Baking Pan, Two Baking Racks, and Air Fry Basket.
4. Setup and First Use
- Unpacking: Carefully remove the oven and all accessories from the packaging. Remove any protective film or stickers.
- Placement: Place the oven on a stable, heat-resistant, and level surface. Ensure there is adequate clearance (at least 4 inches) on all sides and above the oven for proper ventilation. Do not place near flammable materials.
- Cleaning: Before first use, wipe the interior cavity and all accessories with a damp cloth and mild detergent. Dry thoroughly.
- First Burn-in: It is recommended to run the oven empty for approximately 15 minutes at 400°F (200°C) to burn off any manufacturing residues. A slight odor or smoke may be present during this process; ensure good ventilation.
- Power Connection: Plug the power cord into a grounded electrical outlet.
5. Operating Instructions
The TOSHIBA ChefFry oven features a digital control panel and two rotary knobs for function, temperature/darkness, and time/slices selection. It offers 12 versatile cooking modes.
5.1 Control Panel Overview
Image 5.1: Front view of the oven showing the digital display and control knobs.
- Digital Display: Shows selected function, temperature, time, and preheat status.
- Function Knob: Rotate to select desired cooking mode (Pizza, Bagel, Air Fry, Toast, Bake, Roast, Broil, Cookie, Reheat, Slow, Dehydrate, Proof).
- Temp/Darkness Knob: Rotate to adjust temperature or toast darkness level.
- Time/Slice Knob: Rotate to adjust cooking time or number of toast slices.
- Start/Pause Button: Initiates or pauses the cooking cycle.
- Light Button: Activates the interior oven light.
- Power Button: Turns the oven on or off.
5.2 Using the 12 Cooking Modes
The oven offers a temperature range of 80°F to 450°F, accommodating various cooking needs.

Image 5.2: Visual representation of the 12 cooking functions: Proof, Dehydrate, Slow, Bake, Reheat, Cookie, Pizza, Roast, Air Fry, Broil, Bagel, Toast.
- Place food in the appropriate accessory (baking pan, wire rack, or air fry basket) and insert into the oven.
- Turn the Function Knob to select the desired cooking mode. The display will show default settings.
- Adjust the Temp/Darkness Knob to set the desired temperature or toast darkness.
- Adjust the Time/Slice Knob to set the desired cooking time or number of toast slices.
- Press the Start/Pause Button to begin cooking. Some functions include a preheat cycle. If the oven beeps to indicate preheat completion, press Start again to continue cooking.
- The oven will beep when the cooking cycle is complete.
Specific Mode Details:
- Pizza Mode: Utilizes Dual-Temp Technology to crisp the crust from below and caramelize toppings from above.
- Air Fry: Uses Turbo Cyclone Fans for even cooking and crispy results with less oil.
- Proof/Slow: Gentle heating at approximately 80°F for dough proofing or slow cooking.
- Bake/Roast/Broil: Standard oven functions for various cooking needs.
- Toast/Bagel: Dedicated settings for bread and bagels with adjustable darkness.
- Cookie/Reheat/Dehydrate: Specialized functions for specific food preparation.
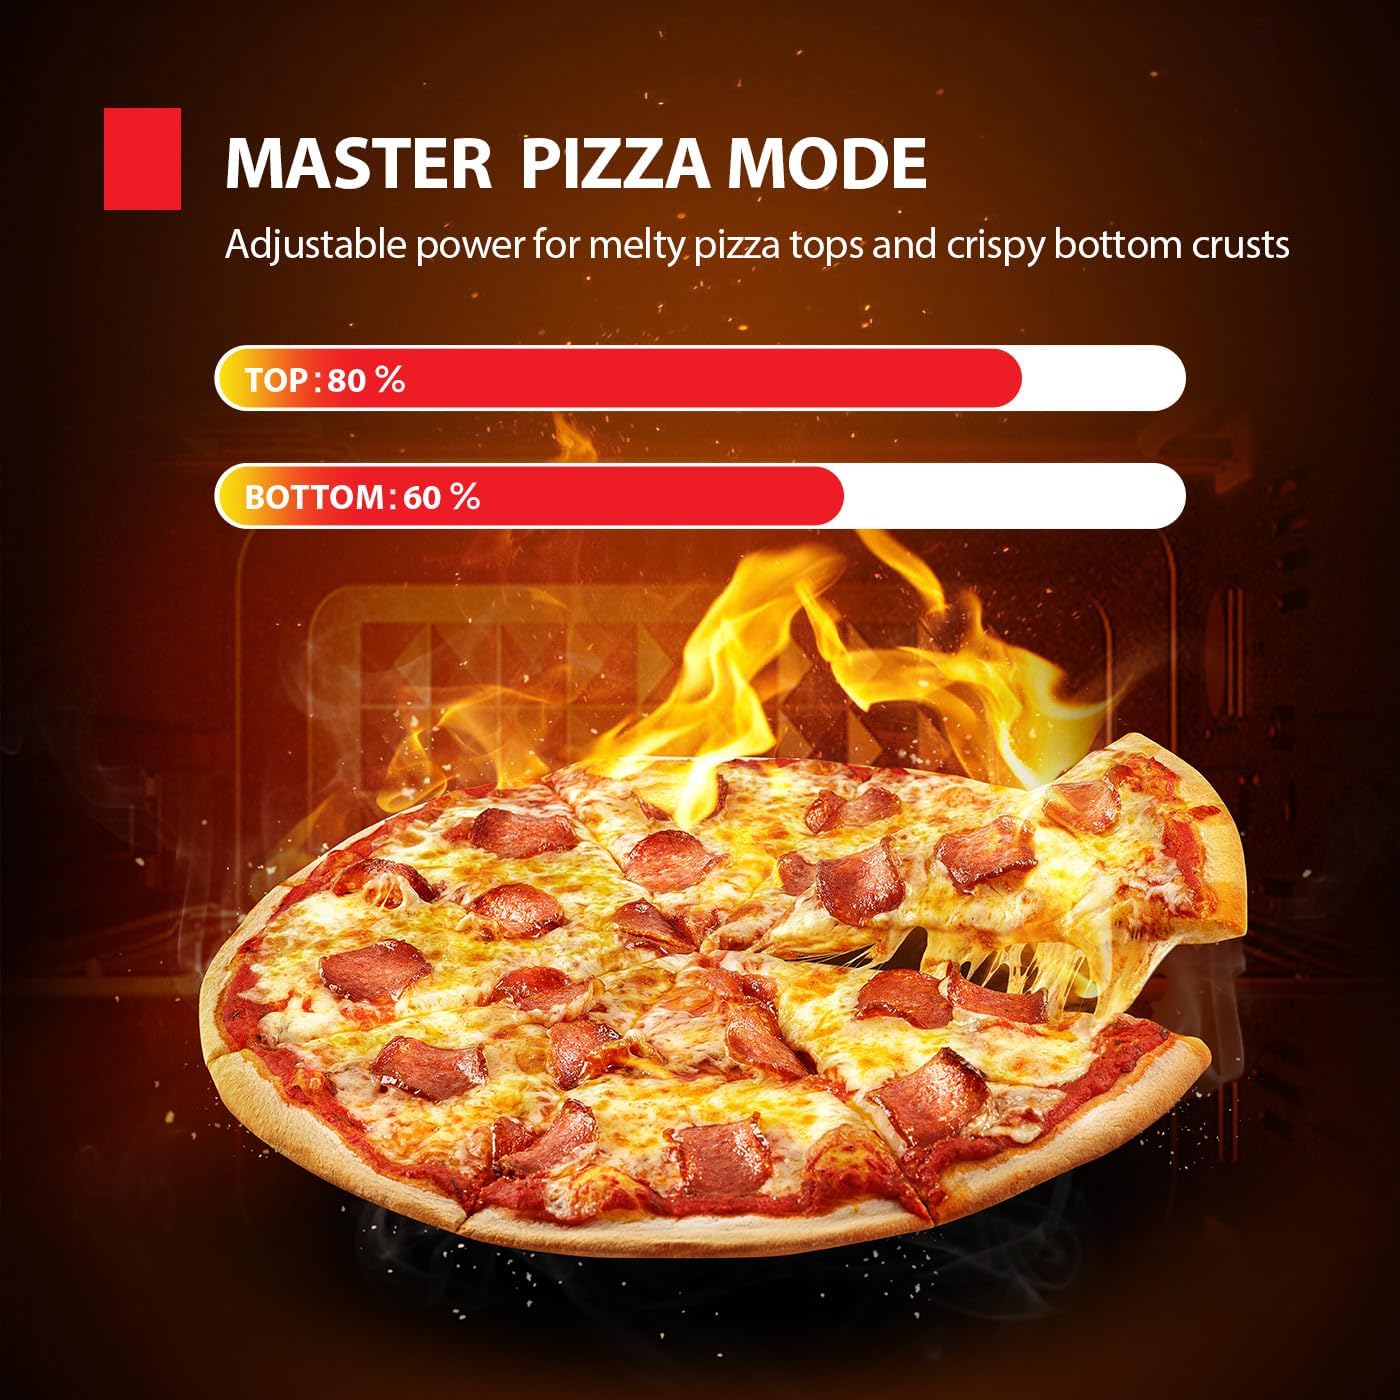
Image 5.3: Illustration of the Master Pizza Mode's dual heating elements for top and bottom cooking.
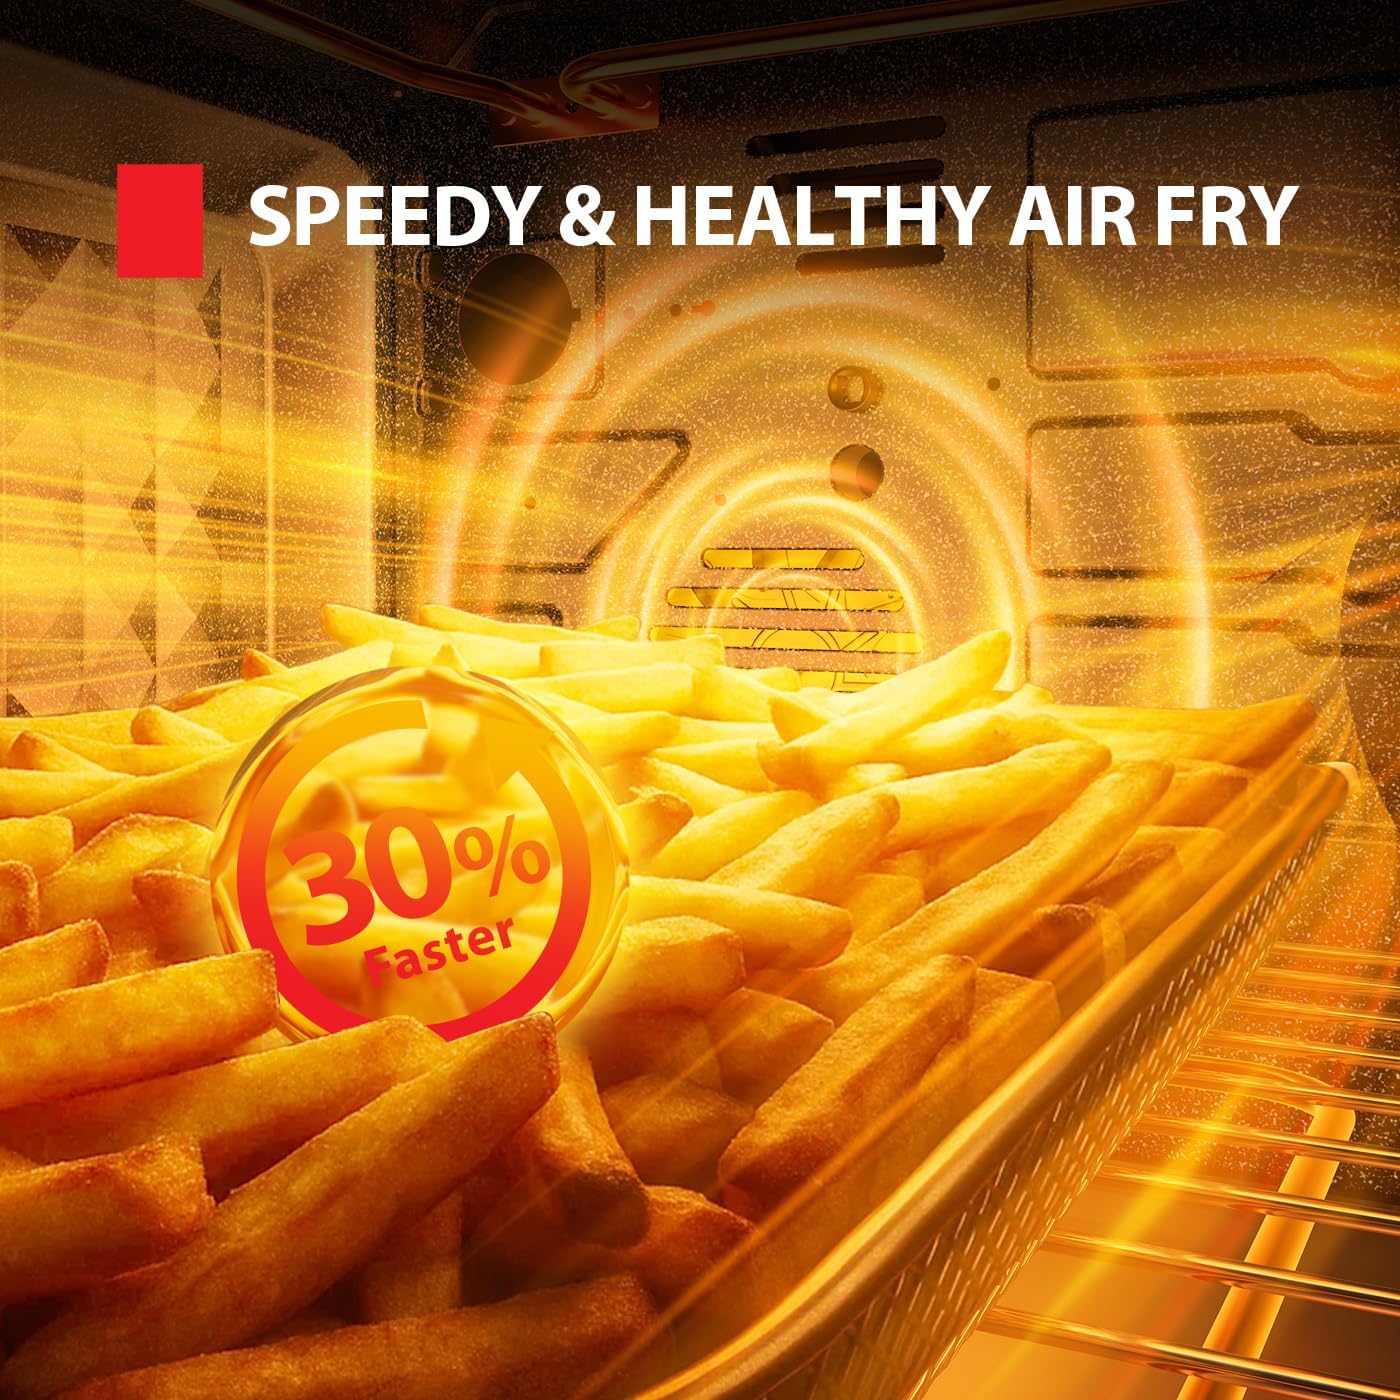
Image 5.4: Close-up of french fries being air-fried, demonstrating the "Speedy & Healthy Air Fry" feature.
6. Maintenance and Cleaning
Regular cleaning ensures optimal performance and extends the life of your oven.
- Power Off and Cool: Always unplug the oven from the power outlet and allow it to cool completely before cleaning.
- Interior Cleaning: The scratch-resistant enamel interior can be wiped clean with a soft cloth and warm, soapy water. Avoid abrasive cleaners or scrubbing pads that could damage the surface.
- Exterior Cleaning: Wipe the stainless steel exterior with a soft, damp cloth. For stubborn stains, use a mild stainless steel cleaner. The dual-layer glass door can be cleaned with a glass cleaner.
- Accessory Cleaning: Wash the baking pan, wire racks, air fry basket, and crumb tray in warm, soapy water. Rinse thoroughly and dry completely before storing or reinserting into the oven.
- Crumb Tray: Empty the crumb tray regularly to prevent grease buildup and potential fire hazards.
- Drying: Ensure all surfaces and accessories are thoroughly dry before the next use or storage.
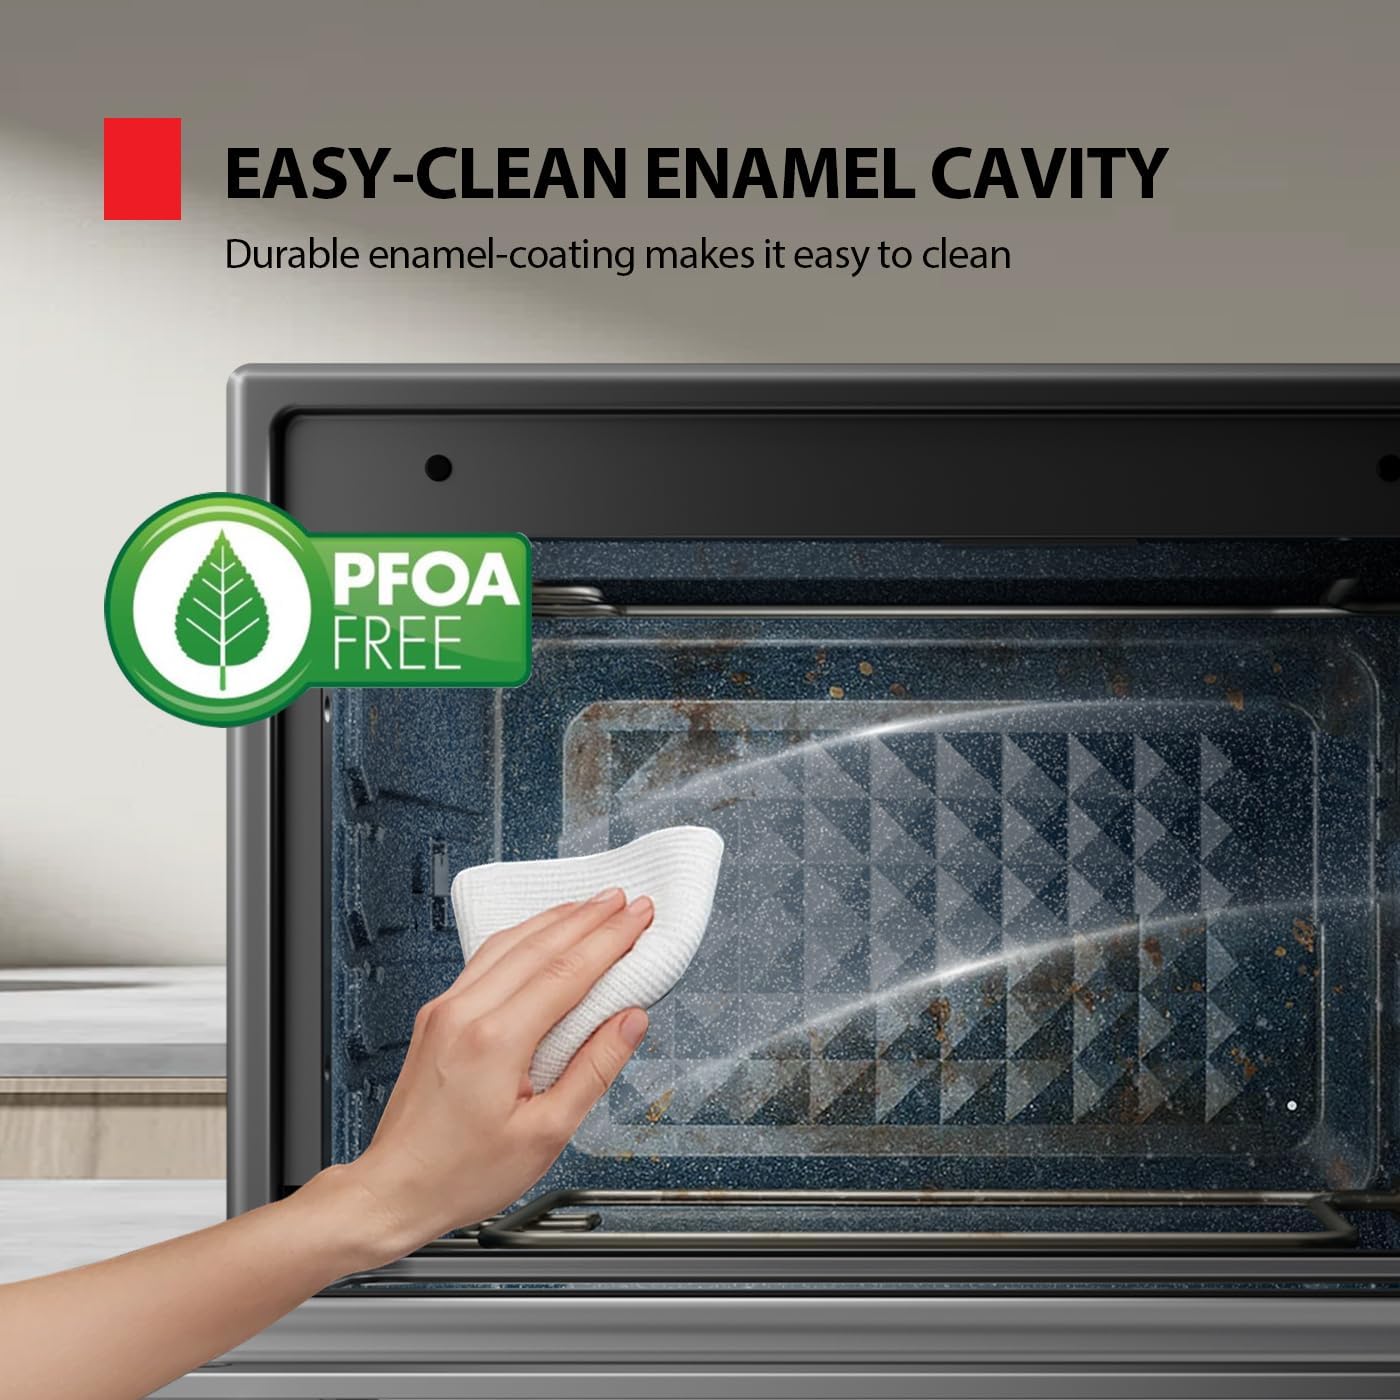
Image 6.1: A hand wiping the interior enamel cavity, demonstrating easy cleaning.
7. Troubleshooting
Refer to this section for common issues and their solutions.
| Problem | Possible Cause | Solution |
|---|---|---|
| Oven does not turn on. | Not plugged in; power outage; faulty outlet. | Ensure the oven is securely plugged into a working outlet. Check circuit breaker. |
| Food not cooking evenly. | Overcrowding; incorrect temperature/time; accessories not positioned correctly. | Avoid overcrowding the oven. Ensure correct temperature and time settings. Refer to recipe guidelines. Use appropriate rack positions. |
| Excessive smoke during cooking. | Food residue; high-fat foods; crumb tray not cleaned. | Clean the interior and accessories thoroughly. Empty the crumb tray. Reduce fat content for certain foods or use a baking pan to catch drips. |
| Oven exterior becomes very hot. | Normal operation for some surfaces. | This is normal for the top and sides. Always use oven mitts and avoid direct contact with hot surfaces. The door is designed to be cooler. |
| Preheat cycle completes, but cooking doesn't start. | Requires manual start after preheat. | After the preheat beep, press the Start/Pause Button again to begin the cooking cycle. |
8. Product Specifications
- Brand: TOSHIBA
- Model: TL2-AC368LEA
- Capacity: 34 QT / 32 L
- Power: 1750W
- Color: Stainless Steel
- Product Dimensions (D x W x H): 15.91" x 18.19" x 10.83"
- Item Weight: 22.3 pounds
- Special Features: Programmable, Stain Resistant, Temperature Control, Timer, Dual-Temp Tech (Pizza Mode), Turbo Cyclone Fans (Air Fry)
- Included Components: 1 Enamel Baking Pan, 2 Baking Racks, 1 Air Fry Basket, 1 Crumb Tray
- UPC: 840296513682

Image 8.1: Diagram showing the dimensions of the oven and examples of food capacity.
9. Warranty and Support
For warranty information or technical support, please refer to the warranty card included with your product or contact TOSHIBA customer service. Contact details can typically be found on the official TOSHIBA website or on the product packaging.
Please have your model number (TL2-AC368LEA) and purchase date available when contacting support.


