1. Product Overview
The Acer KB272 P6bi is a 27-inch IPS Full HD (1920 x 1080) monitor designed for both gaming and office use. It features a Zero-Frame design, AMD FreeSync Technology, up to a 144Hz refresh rate, and a 1ms Visual Response Boost (VRB) for smooth visuals. The IPS panel ensures accurate colors and wide viewing angles.

Figure 1: Front view of the Acer KB272 P6bi monitor.
Key Features:
- Vibrant Full HD Display: Experience crisp, true-to-life colors with 1920x1080 resolution and a 16:9 aspect ratio.
- AMD FreeSync Technology: Eliminates screen tearing and stuttering by synchronizing the monitor's refresh rate with your graphics card's frame rate.
- Rapid Response Time: A fast 1ms (VRB) response time ensures smooth rendering of fast-moving action without smearing or ghosting.
- High Refresh Rate: Up to 144Hz refresh rate provides ultra-smooth 2D motion scenes.
- ZeroFrame Design: A near bezel-less design maximizes screen real estate and allows for seamless multi-monitor setups.
- IPS Technology: Delivers accurate colors and consistent image quality across wide viewing angles of up to 178 degrees.
2. What's in the Box
Verify that all components are present before proceeding with the setup.
- Acer KB272 P6bi Monitor Display
- Monitor Stand (Base and Neck)
- Power Cord
- HDMI Cable
3. Setup Instructions
3.1 Assembling the Monitor Stand
- Carefully place the monitor face down on a soft, clean surface to prevent scratches.
- Attach the stand neck to the back of the monitor until it clicks into place or is secured with screws (refer to the quick start guide for specific model details).
- Attach the stand base to the stand neck, ensuring it is firmly secured.
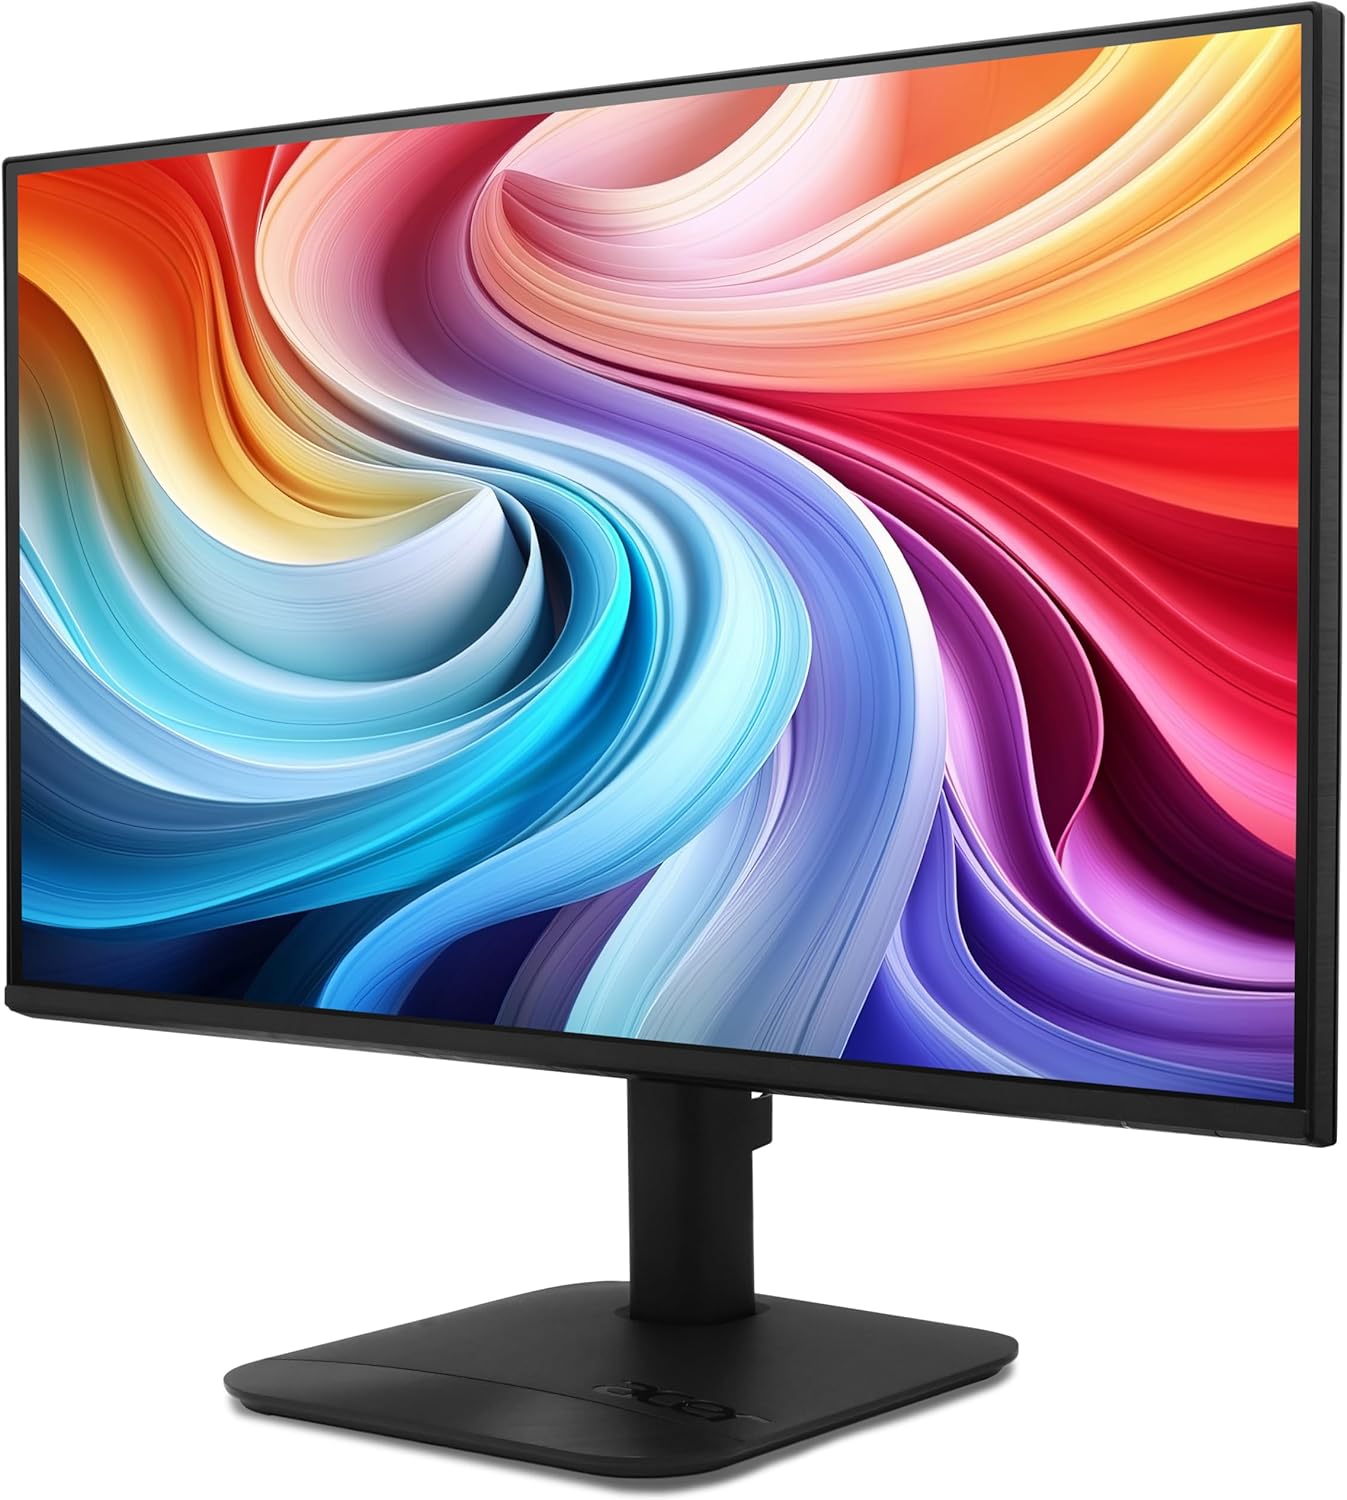
Figure 2: Rear view of the monitor with stand attachment area.
3.2 Connecting the Monitor
- Connect one end of the provided HDMI cable to the HDMI port on your computer or graphics card.
- Connect the other end of the HDMI cable to the HDMI port on the Acer KB272 P6bi monitor. Alternatively, use a VGA cable if your system requires it.
- Connect the power cord to the monitor's power input and then to a power outlet.
- Press the power button on the monitor to turn it on.

Figure 3: Monitor connectivity ports (HDMI and VGA).
4. Operating the Monitor
4.1 Power On/Off
Press the power button, typically located on the back or bottom right of the monitor, to turn the display on or off.
4.2 On-Screen Display (OSD) Menu
The monitor features a joystick-style button, often integrated with the power button, for navigating the OSD menu. Press the button once to bring up the options, then tilt it in one of four directions to select and adjust settings such as brightness, contrast, color temperature, and input source.
4.3 Adjusting Display Settings
- Brightness/Contrast: Adjust these settings to suit your viewing environment and preferences.
- Color Settings: Modify color temperature or select preset modes for optimal visual experience.
- Input Source: Manually select between HDMI and VGA inputs if auto-detection does not work.
- Refresh Rate: Ensure your computer's display settings are configured to utilize the monitor's maximum refresh rate (up to 144Hz) for the smoothest experience.
- AMD FreeSync: Enable FreeSync in both the monitor's OSD menu and your graphics card's control panel for tear-free gaming.

Figure 4: Visual representation of AMD FreeSync technology.
5. Maintenance
5.1 Cleaning the Monitor
- Always turn off the monitor and unplug the power cord before cleaning.
- Use a soft, lint-free cloth lightly dampened with water or a mild, non-abrasive screen cleaner.
- Wipe the screen gently. Avoid applying excessive pressure.
- Do not use alcohol, ammonia-based cleaners, or abrasive materials, as these can damage the screen surface.
5.2 General Care
- Avoid placing heavy objects on the monitor or its cables.
- Keep the monitor away from direct sunlight, heat sources, and excessive moisture.
- Ensure adequate ventilation around the monitor to prevent overheating.
6. Troubleshooting
6.1 No Display / Black Screen
- Check if the monitor is powered on and the power indicator light is illuminated.
- Ensure all video cables (HDMI/VGA) are securely connected to both the monitor and the computer.
- Verify that the correct input source is selected in the monitor's OSD menu.
- Test the monitor with another computer or a different video cable if possible.
6.2 Image Flickering or Distortion
- Check the video cable for damage or loose connections.
- Adjust the refresh rate in your computer's display settings to match the monitor's capabilities.
- Disable AMD FreeSync in the OSD menu and graphics card settings to see if it resolves the issue.
- Ensure your graphics card drivers are up to date.
6.3 Colors Appear Incorrect
- Reset the monitor's color settings to factory defaults via the OSD menu.
- Adjust the color temperature or individual RGB values in the OSD menu.
- Calibrate your display using your operating system's color calibration tools.
7. Specifications
Detailed technical specifications for the Acer KB272 P6bi monitor:
| Feature | Specification |
|---|---|
| Screen Size | 27 Inches |
| Panel Type | IPS |
| Resolution | 1920 x 1080 (Full HD) |
| Aspect Ratio | 16:9 |
| Refresh Rate | Up to 144Hz |
| Response Time | 1ms (VRB) |
| Adaptive Sync Technology | AMD FreeSync |
| Connectivity | HDMI, VGA |
| Viewing Angle | 178° (H/V) |
| Color | Black |
| Item Weight | 8.38 pounds |
| Product Dimensions | 8.26 x 27.36 x 18.29 inches |
8. Warranty and Support
For warranty information and technical support, please refer to the documentation included with your product or visit the official Acer support website. Keep your purchase receipt for warranty claims.


