1. Introduction
This manual provides comprehensive instructions for the safe and efficient use of your Whirlpool C WD R47M WBS IT 7kg Heat Pump Tumble Dryer. Please read all instructions carefully before installation and use, and keep this manual for future reference. This appliance features a spacious 7kg drum capacity, 6th SENSE technology for optimal drying, and a heat pump system for energy efficiency.
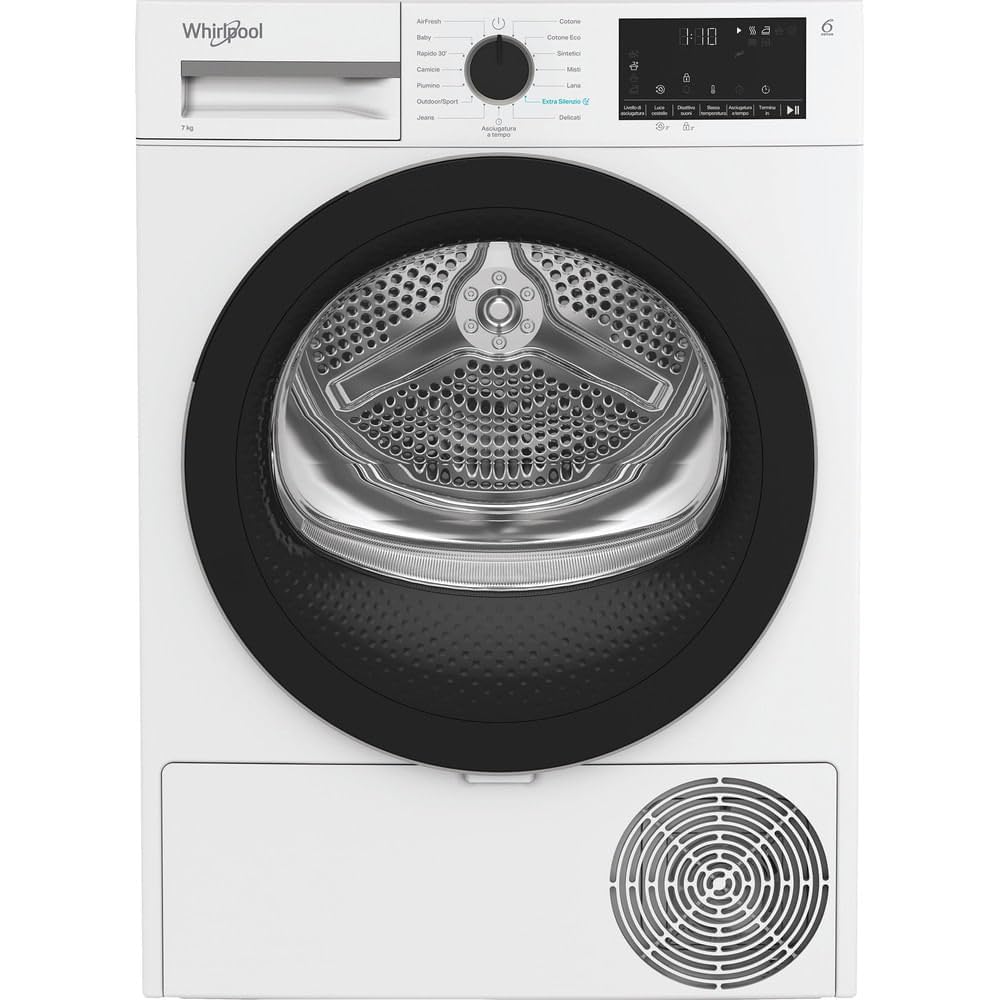
Image 1.1: Front view of the Whirlpool C WD R47M WBS IT 7kg Heat Pump Tumble Dryer.
2. Safety Information
Important Safety Instructions:
- Read all instructions before using the appliance.
- Do not install or store this appliance where it will be exposed to the weather.
- Do not tamper with controls.
- Do not repair or replace any part of the appliance or attempt any servicing unless specifically recommended in this manual.
- Keep the area around the exhaust opening and adjacent surrounding areas free from the accumulation of lint, dust, and dirt.
- Do not allow children to play on or in the appliance. Close supervision of children is necessary when the appliance is used near children.
- Always disconnect the appliance from the power supply before cleaning or performing any maintenance.
3. Setup
3.1 Unpacking and Placement:
- Remove all packaging materials.
- Place the dryer on a firm, level floor. Adjust the feet to ensure the appliance is stable.
- Ensure adequate ventilation around the dryer.
3.2 Electrical Connection:
- Connect the power cord to a properly grounded electrical outlet. Refer to the specifications for voltage and current requirements.
3.3 Water Drainage:
- The dryer collects condensed water in a removable tank. Ensure the tank is correctly inserted.
- Alternatively, you can connect a drainage hose for direct water discharge (refer to the separate installation guide for details).
4. Operating Instructions
4.1 Loading Laundry:
- Open the dryer door.
- Load laundry into the drum, ensuring it is not overloaded. For best results, separate items by fabric type and desired dryness level.
- Close the door firmly.

Image 4.1: The dryer drum with the door open, showing the interior.
4.2 Control Panel Overview:
The digital XL display and touch controls allow for easy program selection and customization.

Image 4.2: Close-up of the control panel, showing the program dial and digital display.
4.3 Program Selection:
- Turn the program dial to select the desired drying program. Available programs include: Auto, Baby Care, Cotton, Cotton Eco, Delicates/Silk, Jeans/Denim, Quick, Refresh, Synthetics, and Wool.
- The 6th SENSE technology automatically monitors humidity levels to prevent over-drying and protect fabrics.
4.4 Starting a Cycle:
- Press the Start/Pause button to begin the selected program.
- The display will show the estimated remaining time.
4.5 Delayed Start Function:
- Use the delayed start function to postpone the start of a drying cycle. This can be useful for taking advantage of off-peak electricity rates.
- Refer to the control panel for specific button functions to set the delay time.
5. Maintenance
Regular maintenance ensures optimal performance and longevity of your dryer.
5.1 Cleaning the Lint Filter:
- Clean the lint filter after every cycle.
- Pull the filter out from its housing (usually located inside the door opening).
- Remove accumulated lint by hand or with a soft brush.
- Rinse the filter under running water if necessary, and ensure it is completely dry before reinserting.

Image 5.1: The lint filter located inside the dryer drum.
5.2 Emptying the Water Tank:
- Empty the condensed water tank after each drying cycle.
- Pull out the water tank (usually located at the top left of the control panel).
- Pour out the collected water.
- Reinsert the tank securely.
5.3 Cleaning the Condenser:
- The condenser should be cleaned periodically (e.g., every few months) to maintain efficiency.
- Refer to the specific instructions in your full user manual for accessing and cleaning the heat pump condenser unit.
6. Troubleshooting
Before contacting customer service, try the following solutions for common issues:
| Problem | Possible Cause | Solution |
|---|---|---|
| Dryer does not start | Power cord not plugged in; Door not closed properly; Program not selected. | Check power connection; Ensure door is latched; Select a program and press Start. |
| Laundry not drying properly | Lint filter clogged; Water tank full; Incorrect program selected; Overloaded drum. | Clean lint filter; Empty water tank; Select appropriate program; Reduce load size. |
| Unusual noise during operation | Foreign objects in drum; Dryer not level. | Check drum for loose items; Adjust dryer feet to level the appliance. |
| Error code displayed | Specific internal fault. | Refer to the full user manual for specific error code meanings and solutions, or contact customer support. |
7. Specifications
Key technical specifications for the Whirlpool C WD R47M WBS IT tumble dryer:
| Feature | Value |
|---|---|
| Brand | Whirlpool |
| Model Number | CWDR47MWBSIT |
| Appliance Placement | Freestanding |
| Loading Type | Front-load |
| Drying System | Heat Pump |
| Product Color | White |
| Control Type | Knob, Touch |
| Built-in Display | Yes |
| Door Color | Black |
| Drum Volume | 92 L |
| Cable Length | 1.5 m |
| Under-counter Installation | No |
| Inverter Technology | Yes |
| Drum Capacity | 7 kg |
| Condensation Efficiency Class | B |
| Noise Emission Class | B |
| Acoustic Emission | 64 dB |
| Anti-crease Function | Yes |
| Alternate Rotation | Yes |
| Humidity Sensor | Yes |
| Delayed Start | Yes |
| Product Dimensions (W x D x H) | 54.5 x 65 x 88.5 cm |
| Material | Stainless Steel |

Image 7.1: Dimensional drawing of the dryer (measurements in mm).
8. Warranty and Support
Your Whirlpool C WD R47M WBS IT tumble dryer comes with a standard manufacturer's warranty. Please refer to the warranty card included with your appliance for specific terms and conditions, including coverage duration and what is covered.
For technical assistance, spare parts, or to schedule a service appointment, please contact Whirlpool Customer Service. You can find contact information on the Whirlpool website or in the documentation provided with your appliance.
When contacting support, please have your appliance's model number (CWDR47MWBSIT) and serial number ready. This information is typically found on a label inside the dryer door or on the back of the appliance.


