
1. Introduction
Thank you for choosing the Weeflos 4 Gallon Battery Powered Backpack Sprayer. This manual provides essential information for the safe and efficient operation, maintenance, and troubleshooting of your new sprayer. Please read this manual thoroughly before use and retain it for future reference.
2. Product Overview
The Weeflos 4 Gallon Battery Powered Backpack Sprayer is designed for various outdoor and indoor tasks, including gardening, lawn care, cleaning, and disinfection. It features a robust design with a wheeled cart for easy mobility and a powerful electric pump for consistent spray. Key components and features are detailed below.
Key Features:
- Battery Powered Electric Sprayer: Operates on two detachable 21V lithium-ion batteries, each supporting 8–12 gallons of spray.
- High Pressure: Adjustable up to 100 PSI for effective spraying.
- 4.2-Gallon Tank: Large capacity to handle extensive tasks with fewer refills.
- Tow-Behind Mobility: Heavy-duty tank-style off-road wheels and an extended outlet hose ensure easy maneuvering across various terrains.
- 11 Interchangeable Nozzles: Provides versatility for different applications, from fine misting to strong jet streams.
- Automatic Mixing: One-touch automatic mixing feature ensures uniform solution distribution.
- User-Friendly Design: Features a large, filtered fill port, transparent water-level indicator, and includes a tool bag for accessories.
Components Included:
- 4 Gallon tank
- Weeflos 100 PSI electric pump
- Telescopic wand
- 11 Nozzles
- 2.6 Ah 21V battery (x2)
- 110-240V charger
- Wheeled cart assembly
- Tool bag

Figure 2.1: The Weeflos 4 Gallon Battery Powered Backpack Sprayer with its main components and accessories.

Figure 2.2: Detailed view of the sprayer's components, including the 4.2-gallon tank, two 21V batteries, wheels, and a selection of 11 interchangeable nozzles.

Figure 2.3: The sprayer's internal mixing design for even solution distribution and the accessible battery compartment.
3. Setup and Assembly
Follow these steps to assemble your Weeflos Battery Powered Backpack Sprayer. Ensure all components are present and undamaged before beginning assembly.
3.1. Assemble the Wheeled Cart
- Attach the wheels to the cart base using the provided bolts, washers, and wrenches. Ensure the wheels are securely fastened and rotate freely.
- Connect the handle bars to the cart base. Align the holes and secure them with the provided screws and nuts.
- Place the sprayer tank onto the assembled cart. Ensure it sits firmly and is aligned with the cart's frame.
- Secure the sprayer tank to the cart using the designated fasteners or clips.
Video 3.1: This video demonstrates the assembly process of the Weeflos 4 Gallon Battery Powered Backpack Sprayer, including attaching the wheels, handle, and securing the tank to the cart. It also shows the connection of the spray wand and battery installation.
3.2. Connect the Spray Wand and Nozzle
- Connect the spray hose to the sprayer unit's outlet.
- Attach the telescopic wand to the spray hose handle. Ensure a tight connection to prevent leaks.
- Select the desired nozzle from the 11 interchangeable options. Twist the nozzle onto the end of the telescopic wand until secure.
- Store the remaining nozzles in the provided tool bag.

Figure 3.1: A selection of the 11 interchangeable nozzles, demonstrating the variety of spray patterns available for different applications.
3.3. Install the Battery
- Locate the battery compartment on the side of the sprayer.
- Insert a charged 21V lithium-ion battery into the compartment until it clicks into place.
- Close the battery compartment cover securely.
- Ensure the second battery is charged and ready for use as a spare.
4. Operating Instructions
Before operating, ensure the sprayer is fully assembled, the battery is charged, and the tank is filled with the desired liquid.
4.1. Filling the Tank
- Open the large, filtered fill port on top of the tank.
- Pour your liquid solution into the tank. The transparent water-level indicator allows you to monitor the fill level.
- If using concentrates, the automatic mixing feature will ensure even distribution.
- Close the fill port securely after filling.
Figure 4.1: The transparent water-level indicator and internal mixing design ensure proper filling and solution consistency.
4.2. Spraying
- Turn on the power switch located on the sprayer unit.
- Press the trigger on the spray wand handle to begin spraying. The electric pump will activate, providing consistent pressure.
- Adjust the spray pattern by rotating the selected nozzle.
- To stop spraying, release the trigger.
- When moving the sprayer, utilize the wheeled cart for easy transport across various terrains.

Figure 4.2: The sprayer in use, demonstrating its mobility and ease of operation for garden tasks.
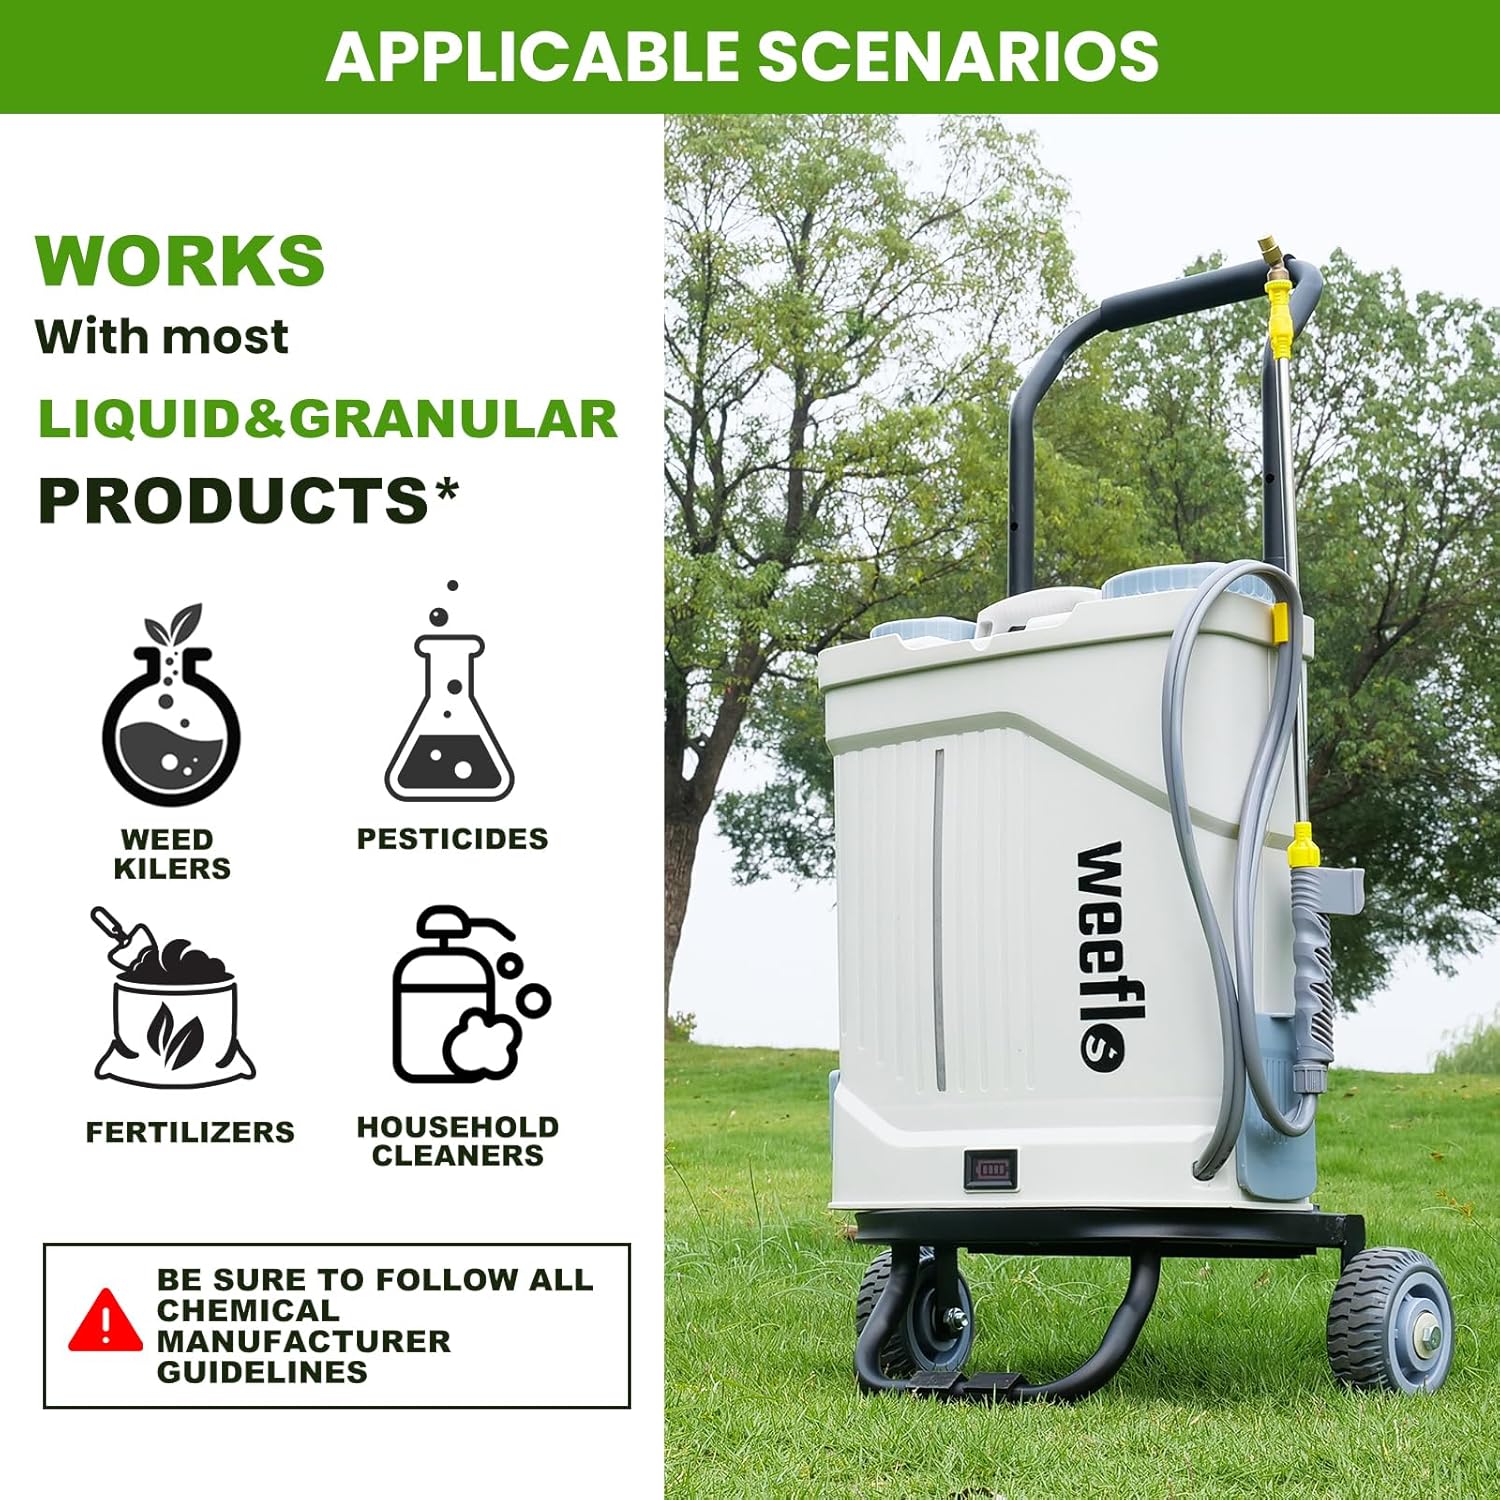
Figure 4.3: Close-up of the spray pattern, highlighting the adjustable nature of the nozzles for precise application.
5. Maintenance
Proper maintenance ensures the longevity and optimal performance of your sprayer.
5.1. Cleaning After Use
- Empty any remaining solution from the tank.
- Rinse the tank thoroughly with clean water.
- Fill the tank with clean water and spray it through the wand and nozzle to flush out any residue.
- Clean the exterior of the sprayer with a damp cloth.
5.2. Battery Care
- Always remove the battery from the sprayer when not in use or during cleaning.
- Charge batteries fully before storage and periodically during long storage periods to maintain battery health.
- Store batteries in a cool, dry place away from direct sunlight.
5.3. Nozzle and Hose Inspection
- Regularly inspect nozzles for clogs or damage. Clean clogged nozzles with a small brush or pin.
- Check the hose and connections for any signs of wear, cracks, or leaks. Replace damaged parts immediately.
6. Troubleshooting
If you encounter issues with your sprayer, refer to the following common problems and solutions:
| Problem | Possible Cause | Solution |
|---|---|---|
| Sprayer does not turn on. | Battery not charged or improperly installed. | Ensure battery is fully charged and correctly inserted. Check power switch. |
| No spray or weak spray. | Clogged nozzle, low liquid level, or kinked hose. | Clean nozzle, refill tank, straighten hose. Check pump for obstructions. |
| Leaking from connections. | Loose connections or worn O-rings. | Tighten all connections. Inspect and replace O-rings if damaged. |
| Automatic mixing not working. | Mixing mechanism obstructed. | Ensure the tank is clean and free of debris that might impede the mixing function. |
If problems persist, contact customer support for assistance.
7. Specifications
| Feature | Detail |
|---|---|
| Brand | weeflos |
| Model Name | 4gallon |
| Model Number | PWQ-18L-01 |
| Tank Volume | 4.2 Gallons |
| Power Source | Battery Powered (2x 21V Lithium-ion) |
| Maximum Pressure | 100 Pound per Square Inch |
| Hose Length | 51 Inches |
| Material | High Density Polyethylene (HDPE), Nylon |
| Item Dimensions (W x H) | 9.84"W x 23.62"H |
| Recommended Uses | Garden sprayer, Weed Control, Fertilizer sprayer, General Cleaning, Washing, Pet Bathing, Disinfection |
8. Warranty and Support
Weeflos products are designed for durability and performance. For warranty information, product support, or to purchase replacement parts, please refer to the contact information provided with your product packaging or visit the official Weeflos website. Keep your purchase receipt as proof of purchase for warranty claims.
For additional support, you may visit the Weeflos Store on Amazon.