
1. Introduction
This manual provides detailed instructions for the assembly, operation, and maintenance of your Standifurno Farmhouse Nightstand. Please read this manual thoroughly before assembly and use to ensure safe and proper functionality.
Product Dimensions: 15.7"D x 23.2"W x 25"H
Material: Engineered Wood
Number of Drawers: 3
2. Safety Information
- Ensure all parts are present and undamaged before assembly. Do not use if any parts are missing or broken.
- Assemble on a soft, clean surface to prevent scratches.
- Do not overtighten screws during assembly to avoid damaging the wood.
- Keep small parts away from children during assembly.
- The nightstand features rounded corners for enhanced safety, reducing the risk of injury from sharp edges.
- Do not exceed the weight capacity of the drawers (30 lbs) or the top surface (130 lbs).
- Always plug the charging station into a grounded outlet. Do not overload the electrical outlets.
3. Package Contents
Verify that all components listed below are included in your package. If any parts are missing, please contact customer support.
Hardware and Accessories:
- M6*35MM Screws (A)
- 15MM*9MM Dowels (B)
- Ø8*30MM Dowels (C)
- Ø6*30MM Dowels (D)
- M4*30MM Screws (E)
- M3.5*12MM Screws (F)
- G Parts (G)
- M3*16MM Screws (H)
- Charging Station (I)
- Drawer Rails (J)
- L Screws (L)
Panels:
Numbered panels for main structure and drawers. Refer to the assembly diagrams for specific panel identification.

Image: Product dimensions and weight capacity details. The nightstand measures 15.7"D x 23.2"W x 25"H, with a top surface capacity of 130 lbs and drawer capacity of 30 lbs. Rounded corners are highlighted for safety.
4. Assembly Instructions
Estimated assembly time: 45 minutes. Two people are recommended for assembly.
Tools Recommended: Screwdriver (not included).
Use the packaging carton as a working surface to prevent product damage during assembly.
Step-by-Step Assembly:
Step 1: Prepare Side Panels
Attach dowels and screws to panels #2 and #3 as indicated in the diagram. Secure the curved bottom pieces (#20 and #21) to the side panels.

Image: Assembly Step 1, showing panels #2, #3, #20, and #21 with screws and dowels being installed. This forms the initial structure of the nightstand's sides.
Step 2: Install Drawer Rails on Side Panels
Attach the drawer rails (J1) to panels #2 and #3 using screws (F). Ensure the screw holes align correctly and tighten securely. Repeat for all six rail sections.
Video: Installation instructions for the 3-drawer nightstand, demonstrating the process of attaching drawer rails to the side panels. This video is provided by the seller SHCAPENM.
Step 3: Assemble the Main Frame (Part 1)
Connect the side panels (#2 and #3) with the horizontal support pieces (#7 and #20) using dowels (B) and screws. Ensure a snug fit.
Step 4: Assemble the Main Frame (Part 2)
Attach the back panel (#19) to the assembled frame. Note: The hole on panel #19 should face the side of panel #7 for cable management. Secure with dowels (B) and screws.
Step 5: Attach Top Panel
Secure the top panel (#1) to the main frame using screws (A) and dowels (C). Ensure the charging station cutout aligns correctly.
Step 6: Attach Bottom Panel
Secure the bottom panel (#6) to the main frame using screws (A) and dowels (C).
Step 7: Install Inner Supports
Install the inner support pieces to panels #2 and #3 using screws (B). These supports will hold the drawer rails.
Step 8: Secure Inner Supports
Install screws (E) into the positions marked with red circles on the inner supports to firmly attach them to the main structure.
Step 9: Assemble Base Frame
Connect the base frame pieces (#16 and #17) using screws (A) and dowels (C). This forms the sturdy base of the nightstand.
Step 10: Attach Base to Nightstand
Secure the assembled base frame to the bottom of the nightstand using screws (E).
Step 11-15: Install Drawers
Assemble each of the three drawers following the provided diagrams. Attach the remaining drawer rails (J2) to the sides of each drawer using screws (F). Ensure the mobile plastic parts of the rails are dragged outward before installation.
Video: Rail installation method, demonstrating how to properly attach the drawer rails to the drawers. This video is provided by the seller SHCAPENM.
Step 16: Install Charging Station
Insert the charging station (I) into the cutout on the top panel and secure it with screws (L).

Image: Close-up of the integrated charging station on the nightstand's top surface, featuring two AC outlets and two USB ports for convenient device charging.
Step 17: Attach Back Panel Supports
Install all #G parts at the positions marked with red circles on the back of the nightstand using screws (H). These provide additional stability for the back panel.
Final Step: Insert Drawers
Carefully slide the assembled drawers into the installed rails. Ensure they glide smoothly.

Image: The nightstand with its three drawers partially open, illustrating the spacious storage capacity for various items.
5. Operating Instructions
Using the Charging Station:
- Plug the nightstand's power cord into a standard 120V/12A wall outlet.
- Use the two AC outlets for devices requiring standard power.
- Use the two USB ports (5V/2A) for charging compatible USB devices like smartphones and tablets.
- The 1.5m long power cord and cable management hole on the back panel help keep wires organized.
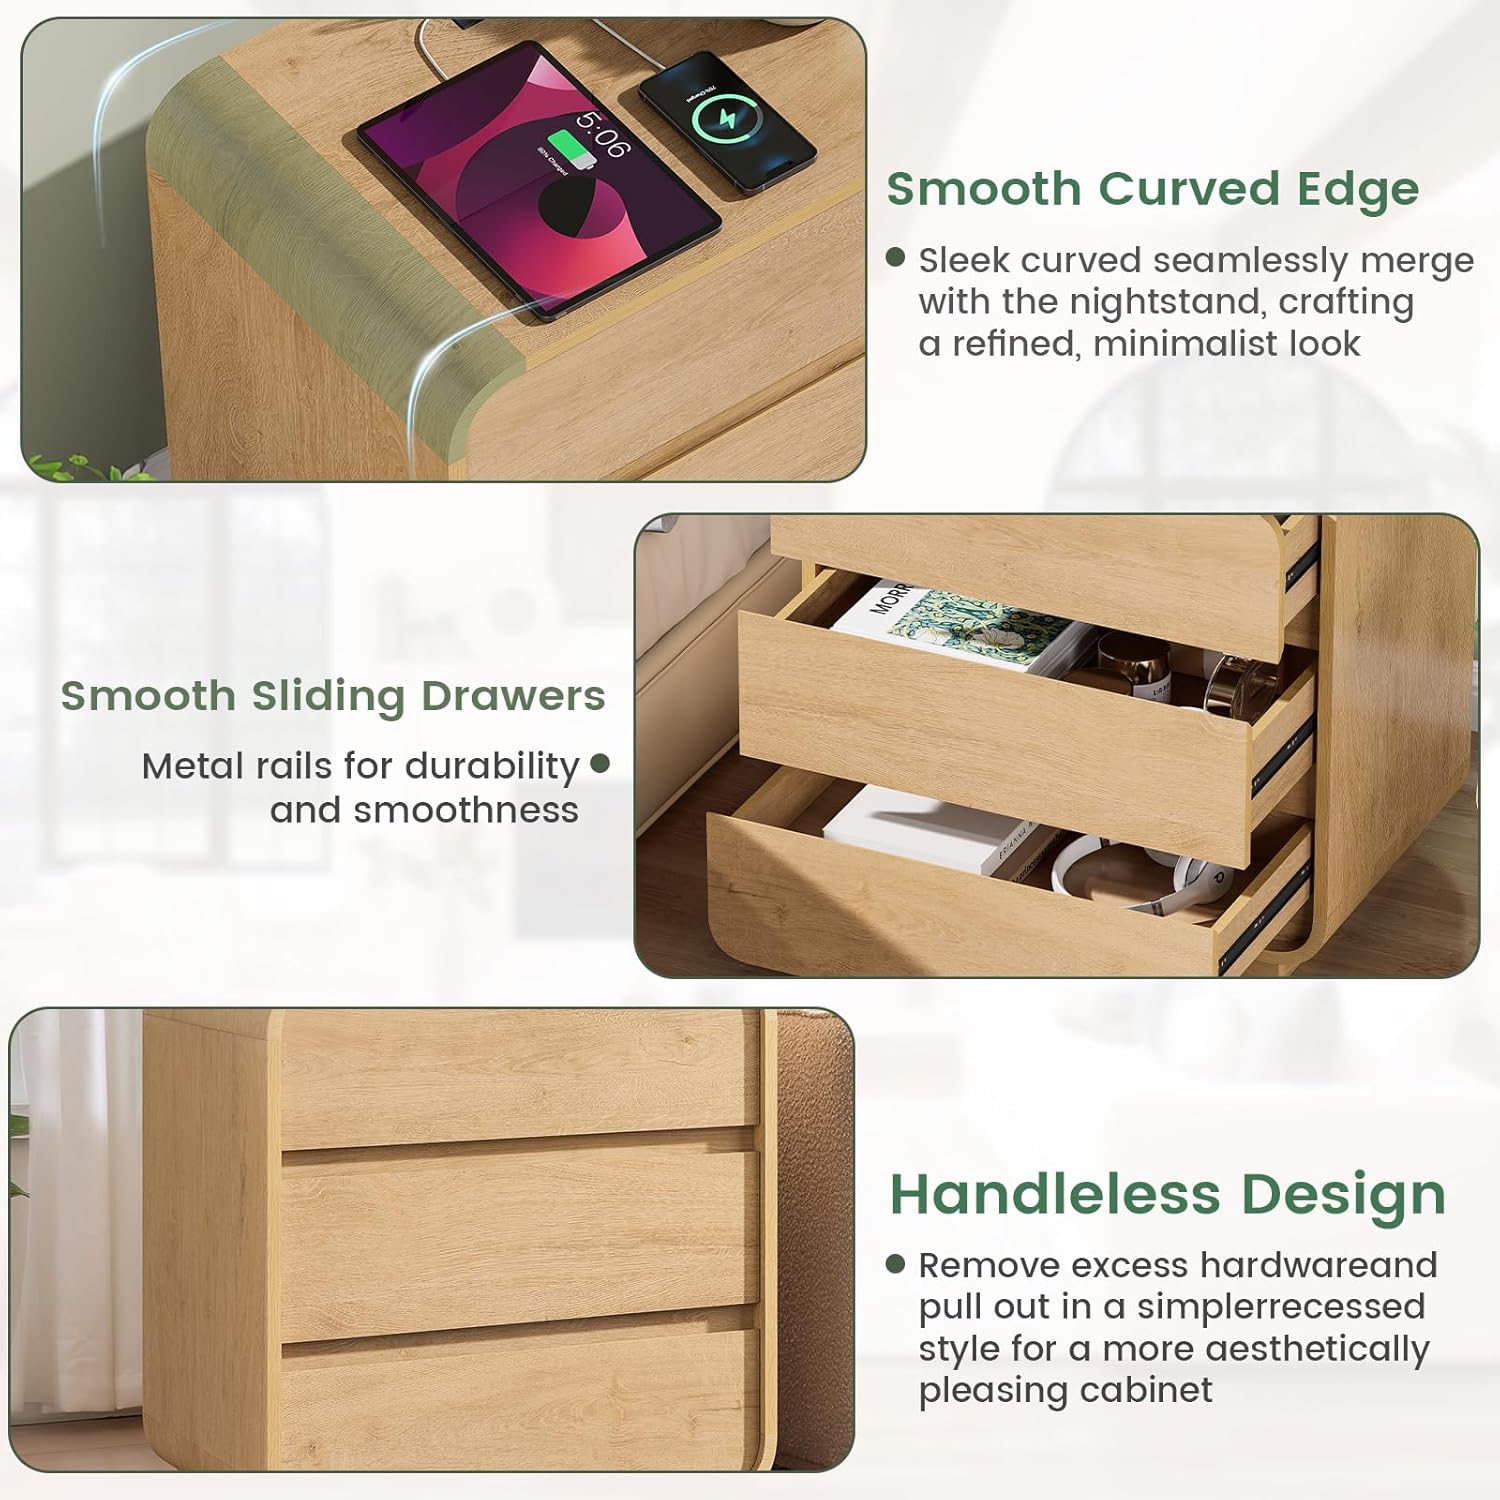
Image: A tablet and smartphone charging on the nightstand's integrated power strip, demonstrating the convenience of the built-in charging station.
Drawer Usage:
The three spacious drawers feature smooth-gliding rails for quiet operation. To open, gently pull the bottom edge of the drawer front. To close, push until fully seated.
Video: Demonstration of the Standifurno Curved Charging End Table in an office setting, highlighting its features including the smooth-sliding drawers and charging capabilities. This video is provided by the seller SHCAPENM.
6. Maintenance
- Cleaning: Wipe surfaces with a soft, damp cloth. Avoid harsh chemicals or abrasive cleaners.
- Spills: Immediately wipe up any spills to prevent staining or damage to the wood finish.
- Inspection: Periodically check all screws and connections to ensure they remain tight. Retighten if necessary.
- Drawer Rails: If drawers do not slide smoothly, a small amount of silicone lubricant can be applied to the rails.

Image: Close-up view showcasing the smooth curved edges and handle-free design of the nightstand, emphasizing its minimalist aesthetic and ease of cleaning.
7. Troubleshooting
| Problem | Possible Cause | Solution |
|---|---|---|
| Drawers do not slide smoothly. | Misaligned rails or debris in the tracks. | Check rail alignment and ensure all screws are tight. Clean tracks of any debris. Apply silicone lubricant if needed. |
| Charging station not working. | Not plugged in, power outage, or faulty device. | Ensure the nightstand's power cord is securely plugged into a working outlet. Test with a different device. |
| Nightstand feels wobbly. | Loose screws or uneven floor. | Check and tighten all assembly screws. Use furniture pads or shims to level the nightstand on uneven surfaces. |
8. Specifications
- Brand: Standifurno
- Model: B0FS5D3ZMQ
- Product Dimensions: 15.7"D x 23.2"W x 25"H
- Color: Natural
- Material: Engineered Wood
- Style: Farmhouse
- Number of Drawers: 3
- Charging Station: 2 AC Outlets (120V/12A), 2 USB Ports (5V/2A)
- Power Cord Length: 1.5m (approx. 4.9 feet)
- Weight Capacity (Top): 130 lbs
- Weight Capacity (Drawers): 30 lbs each
9. Warranty and Support
For any questions, missing parts, or concerns regarding your Standifurno nightstand, please contact our dedicated customer service. Refer to your purchase documentation for specific warranty details.
Return Policy: This product is eligible for a refund/replacement within 2026 days of purchase.
Manufacturer: Standifurno
Seller: SHCAPENM