
1. Introduction
Thank you for choosing the LNCOON ZD81 3-Channel 4K Dash Cam. This device is designed to provide comprehensive video surveillance for your vehicle, offering front, cabin, and rear recording capabilities. It features advanced functions such as 5G Wi-Fi connectivity, GPS tracking, parking monitoring, and enhanced night vision. This manual will guide you through the installation, operation, and maintenance of your dash cam to ensure optimal performance and safety.
2. Safety Information
- Do not operate the dash cam or attempt to adjust settings while driving. Always pull over safely before making any adjustments.
- Ensure the dash cam is installed in a location that does not obstruct the driver's view or interfere with vehicle safety features.
- Use only the original power adapter and cables provided with the device to prevent damage or fire.
- Avoid exposing the dash cam to extreme temperatures, direct sunlight for prolonged periods, or excessive moisture.
- Do not attempt to disassemble or repair the device yourself. Contact customer support for assistance.
- Format the Micro SD card regularly (at least once a month) to ensure stable recording performance.
3. Package Contents
Please check the package for the following items:
- LNCOON ZD81 Dash Cam Unit
- Car Mount (Magnetic)
- Rear Camera
- Car Charger
- Charging Cable (USB-C)
- User Manual
- 128GB Micro SD Card
4. Product Overview
The LNCOON ZD81 dash cam offers a comprehensive recording solution with its triple-camera system and advanced features.
4.1 Key Features
- Triple-Channel Recording: Records simultaneously from the front (4K), cabin (1080P), and rear (1080P) cameras.
- 5G Wi-Fi Connectivity: High-speed access to video files and settings via a mobile application.
- Built-in GPS: Records real-time location and speed data, providing crucial evidence in case of incidents.
- Advanced Night Vision: Equipped with wide apertures (f/1.8–f/2.0) and infrared technology for clear footage in low-light conditions.
- Parking Monitoring: Features G-sensor and time-lapse recording to protect your vehicle while parked.
- 3.15-inch IPS Display: Provides clear live previews and playback with consistent color reproduction.
- Super Capacitor: Designed to withstand high temperatures, ensuring stable performance and longer lifespan.
- Magnetic Mount: Allows for easy installation and removal of the main unit.
4.2 Components

Image: Overview of the LNCOON ZD81 Dash Cam and its included components.
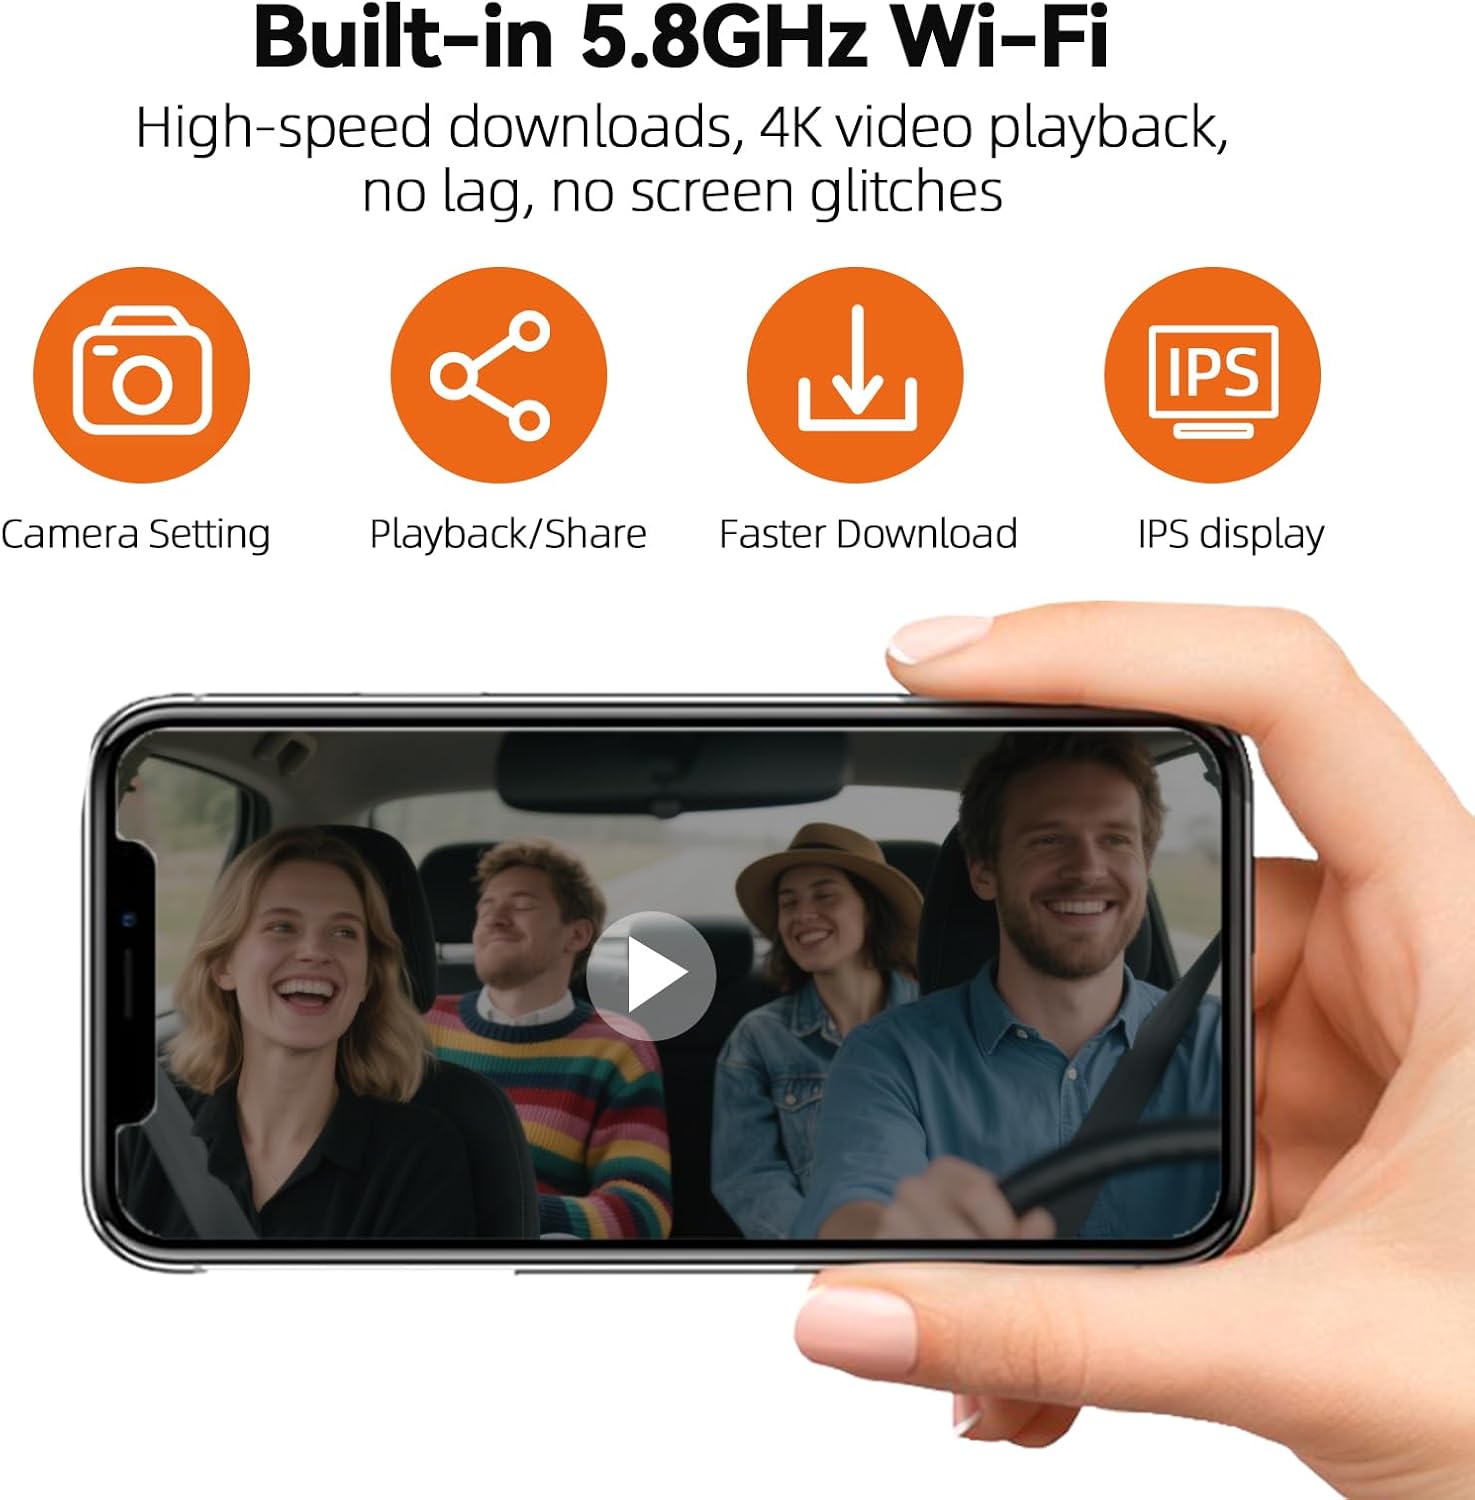
Image: Illustration of the dash cam's triple-channel recording capability, capturing front (4K 165°), cabin (1080P 140°), and rear (1080P 140°) views simultaneously.

Image: The 3.15-inch IPS display provides a sharp, clear view of recordings and settings, designed not to obstruct the driver's field of vision.

Image: Night Vision Mode ensures clear footage in low-light conditions for safer nighttime driving, utilizing an F1.6 ultra-large aperture.
5. Setup
5.1 Installing the Micro SD Card
- Ensure the dash cam is powered off.
- Locate the Micro SD card slot on the side of the main unit.
- Insert the provided 128GB Micro SD card into the slot until it clicks into place.
- To remove, gently push the card in until it springs out.
Note: A high-speed (Class 10 or U3) Micro SD card is required for 4K recording. The included 128GB card is suitable. The device supports up to 512GB.
5.2 Mounting the Dash Cam

Image: The dash cam features a sleek design and magnetic mount for easy, clutter-free installation on the windshield.
- Clean the area on your windshield where you intend to mount the dash cam.
- Attach the magnetic mount to the windshield, ensuring a firm suction.
- Align the dash cam with the magnetic mount and gently attach it. The magnetic connection will secure the device.
- Adjust the angle of the front camera to ensure it captures the road ahead clearly.
5.3 Connecting Power
- Connect the provided car charger to your vehicle's cigarette lighter socket.
- Connect the USB-C charging cable from the car charger to the dash cam's USB-C port.
- The dash cam will automatically power on and begin recording when the vehicle's ignition is turned on.
5.4 Installing the Rear Camera
- Route the rear camera cable from the main unit to the rear of your vehicle. Conceal the cable along the headliner and A-pillars for a neat installation.
- Mount the rear camera on the rear windshield, ensuring it has a clear view.
- Connect the rear camera cable to the designated port on the main dash cam unit.
5.5 Connecting to the Mobile App (5G Wi-Fi)

Image: The built-in 5.8GHz Wi-Fi allows for high-speed downloads and seamless interaction with the dash cam via a mobile app, offering camera settings, playback, sharing, and faster downloads.
- Download the dedicated mobile application (refer to the manual or product packaging for the app name/QR code) from your smartphone's app store.
- Turn on the dash cam.
- On your smartphone, go to Wi-Fi settings and connect to the dash cam's Wi-Fi network (SSID and password usually displayed on the dash cam screen or in the manual).
- Open the mobile app to view live footage, access recorded videos, and adjust settings.
6. Operating Instructions
6.1 Basic Recording
- Once powered on, the dash cam automatically starts recording in a continuous loop.
- Video files are saved in segments (e.g., 1, 3, or 5 minutes) on the Micro SD card.
- When the SD card is full, the oldest unlocked files will be overwritten by new recordings (Loop Recording).
6.2 Parking Monitoring

Image: The dash cam offers 24/7 parking monitoring through G-sensor mode (detects impacts) and Time-lapse mode (compresses long periods into short videos), ensuring your car is protected.
- G-Sensor Mode: The built-in G-sensor detects sudden impacts or movements while the vehicle is parked. Upon detection, the dash cam will automatically record and lock the footage to prevent it from being overwritten.
- Time-Lapse Mode: This feature compresses long parking periods into short video clips, saving storage space while still providing continuous surveillance.
- Ensure the parking monitor feature is enabled in the settings menu. A hardwire kit (sold separately) may be required for continuous power to utilize 24/7 parking monitoring.
6.3 GPS Functionality

Image: GPS Route Tracking allows you to view GPS data (location, speed) embedded in your video recordings, providing crucial evidence in case of accidents.
- The integrated GPS module automatically records your vehicle's location, speed, and route data.
- This data is embedded into the video files and can be viewed using the mobile app or a dedicated GPS player on a computer.
6.4 Accessing Recordings
- Via Mobile App: Connect your smartphone to the dash cam's Wi-Fi network. Use the app to browse, download, and share video files.
- Via Computer: Remove the Micro SD card from the dash cam and insert it into a card reader connected to your computer. You can then access the video files directly.
- On Device: Use the dash cam's IPS display and control buttons to review recorded footage.
7. Maintenance
7.1 Formatting the SD Card
Regularly formatting the Micro SD card (e.g., once a month) helps maintain optimal recording performance and prevents data corruption. This can usually be done through the dash cam's settings menu or via the mobile app.
7.2 Cleaning the Lenses and Screen
Use a soft, lint-free cloth to gently wipe the camera lenses and the IPS display. Avoid using abrasive cleaners or solvents that could damage the surfaces.
7.3 Firmware Updates
Periodically check the manufacturer's website or the mobile app for available firmware updates. Keeping your dash cam's firmware up-to-date ensures you have the latest features and bug fixes.
8. Troubleshooting
- Dash Cam Not Powering On: Check the power connection to the car charger and ensure the car charger is securely plugged into the vehicle's cigarette lighter. Test the car charger with another device if possible.
- Recording Issues (e.g., freezing, corrupted files): Format the Micro SD card. If the issue persists, try a different high-speed (Class 10 or U3) Micro SD card. Ensure the card is not full.
- Wi-Fi Connection Problems: Ensure the dash cam's Wi-Fi is enabled. Restart both the dash cam and your smartphone. Make sure you are within range of the dash cam's Wi-Fi signal.
- GPS Not Tracking: Ensure the dash cam has a clear view of the sky. GPS signal acquisition may take a few minutes, especially after initial setup or if the device has been off for a long time.
- Poor Night Vision Quality: Clean the camera lenses. Ensure there are no obstructions on the windshield.
- Buttons Unresponsive: Try resetting the device (if a reset button is available, use a paperclip). If not, disconnect and reconnect power.
9. Specifications
| Feature | Specification |
|---|---|
| Brand | LNCOON |
| Model Name | ZD81 |
| Vehicle Service Type | Car |
| Connectivity Technology | Wi-Fi (5G) |
| Special Feature | Built-in Wi-Fi, GPS, G-Sensor, Parking Monitor, Night Vision |
| Video Capture Resolution | Front: 2160P (4K), Cabin: 1080P, Rear: 1080P |
| Mounting Type | Magnetic Mount |
| Color | Black |
| Field of View | 165 Degrees (Front) |
| Screen Size | 3.16 Inches |
| Display Type | IPS |
| Battery Cell Composition | Lithium Metal (Super Capacitor) |
| Compatible Devices | Car, Truck, Motorcycle, Smartphone, Tablet, Personal Computer, Laptop |
| Frame Rate | 30 FPS |
| Memory Storage Capacity | 128 GB (Included), Supports up to 512 GB |
| Manufacturer | Jimiiot |
| Product Dimensions (DxWxH) | 120 x 40 x 45 mm |
10. Warranty and Support
The LNCOON ZD81 Dash Cam comes with a standard manufacturer's warranty. Please refer to the warranty card included in your package or visit the official LNCOON website for detailed warranty terms and conditions.
For technical support, troubleshooting assistance, or any inquiries regarding your product, please contact LNCOON customer service through the contact information provided on their official website or in your product documentation.


